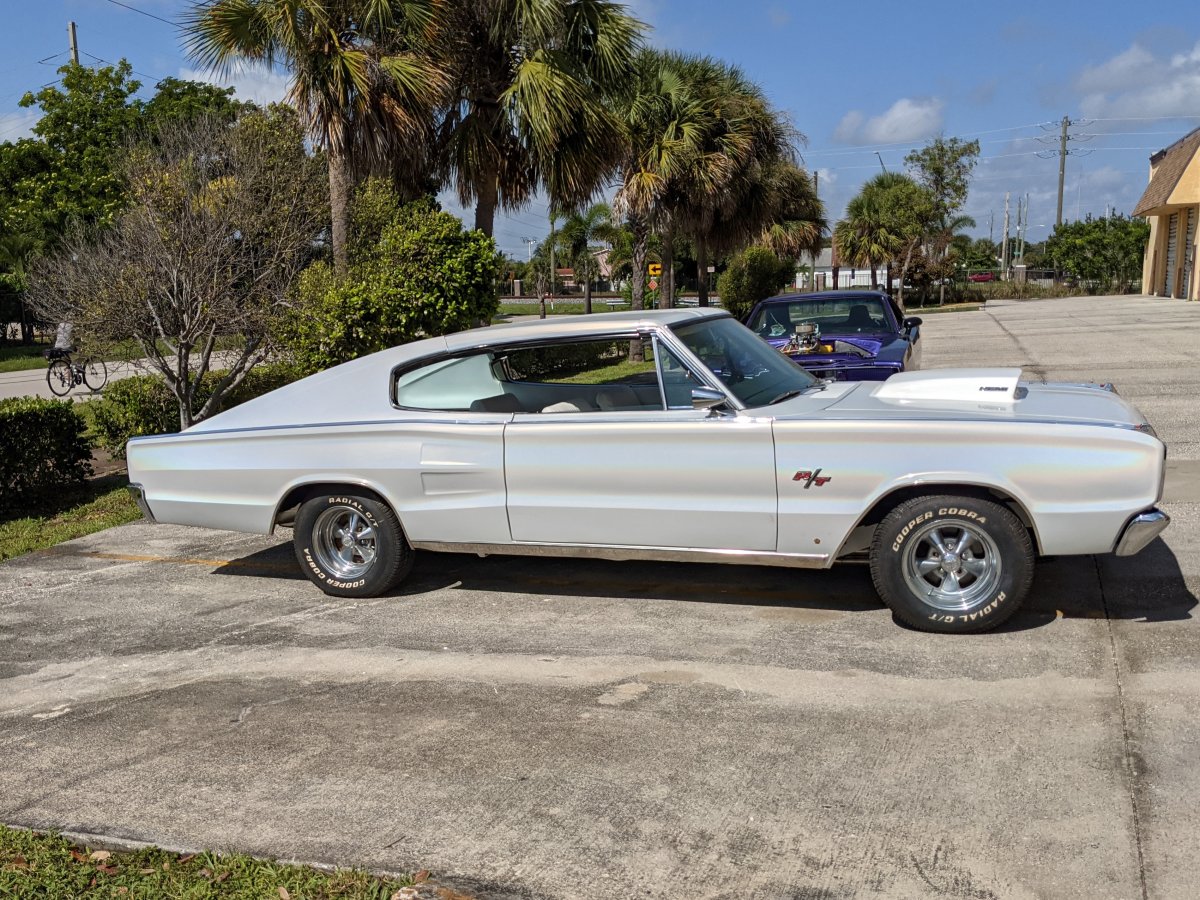
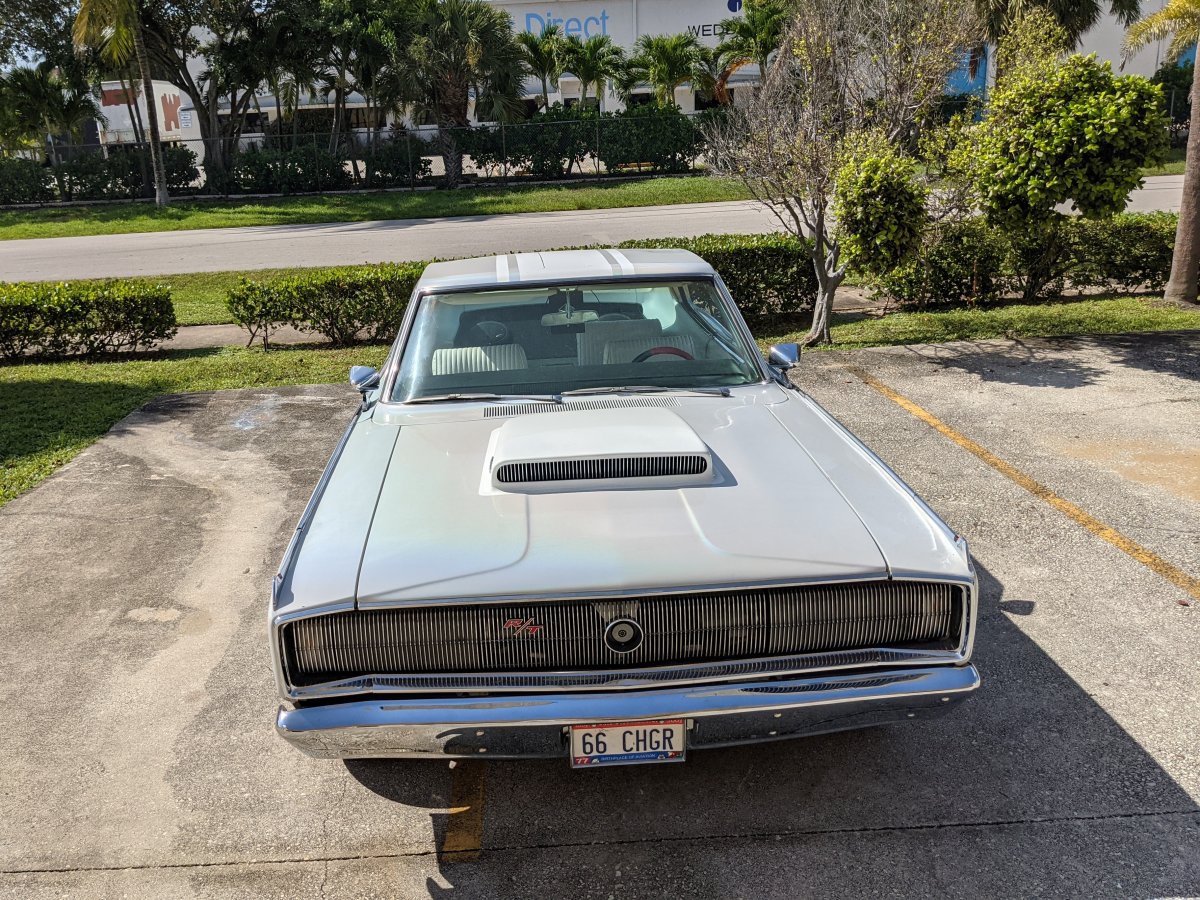
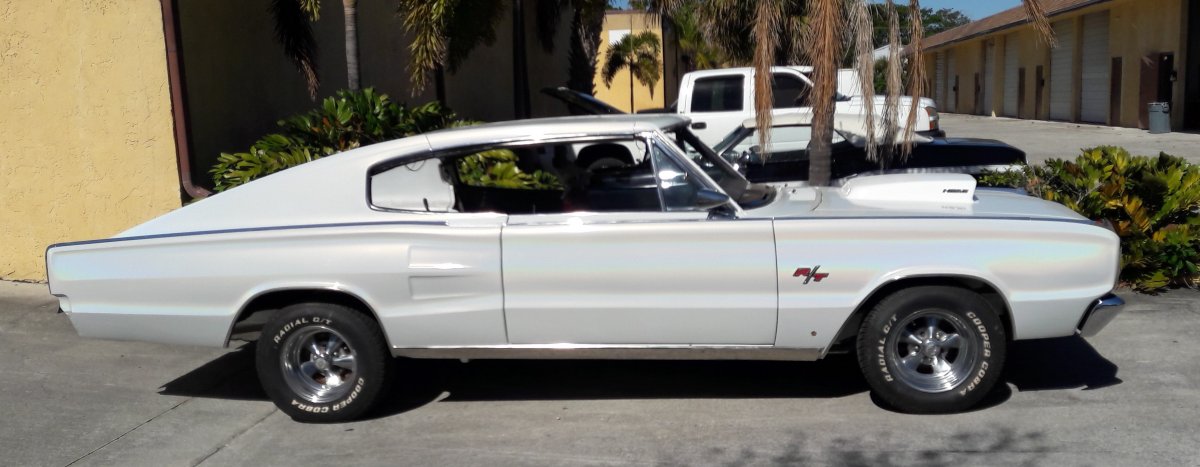
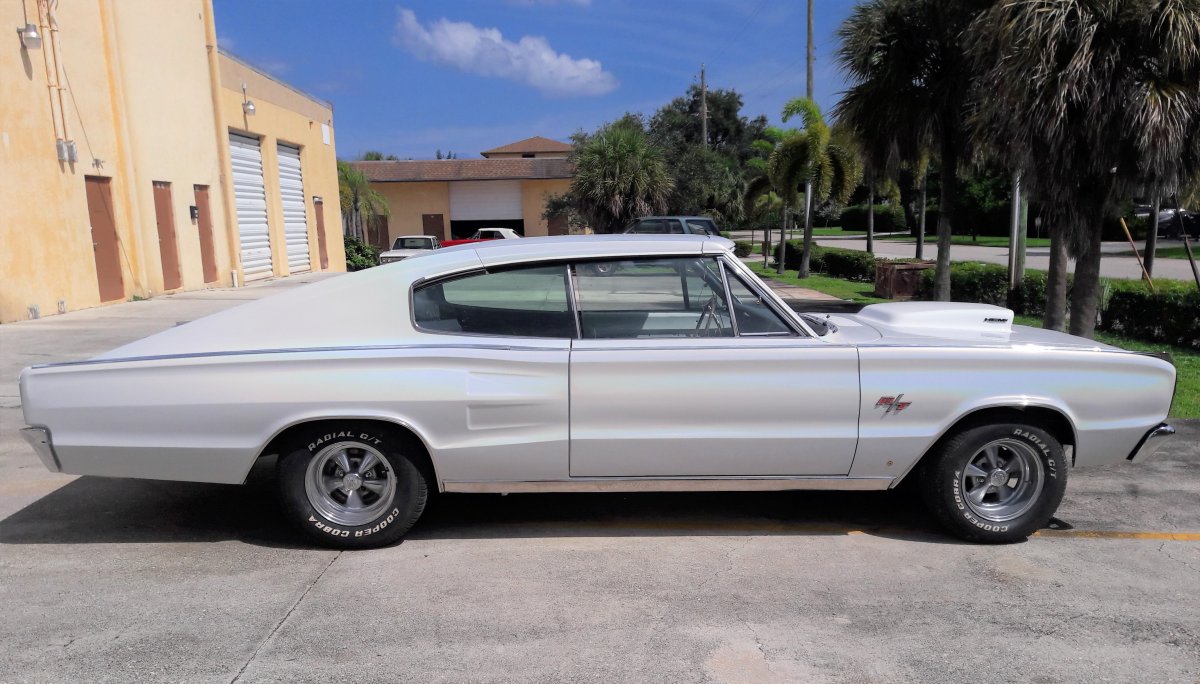
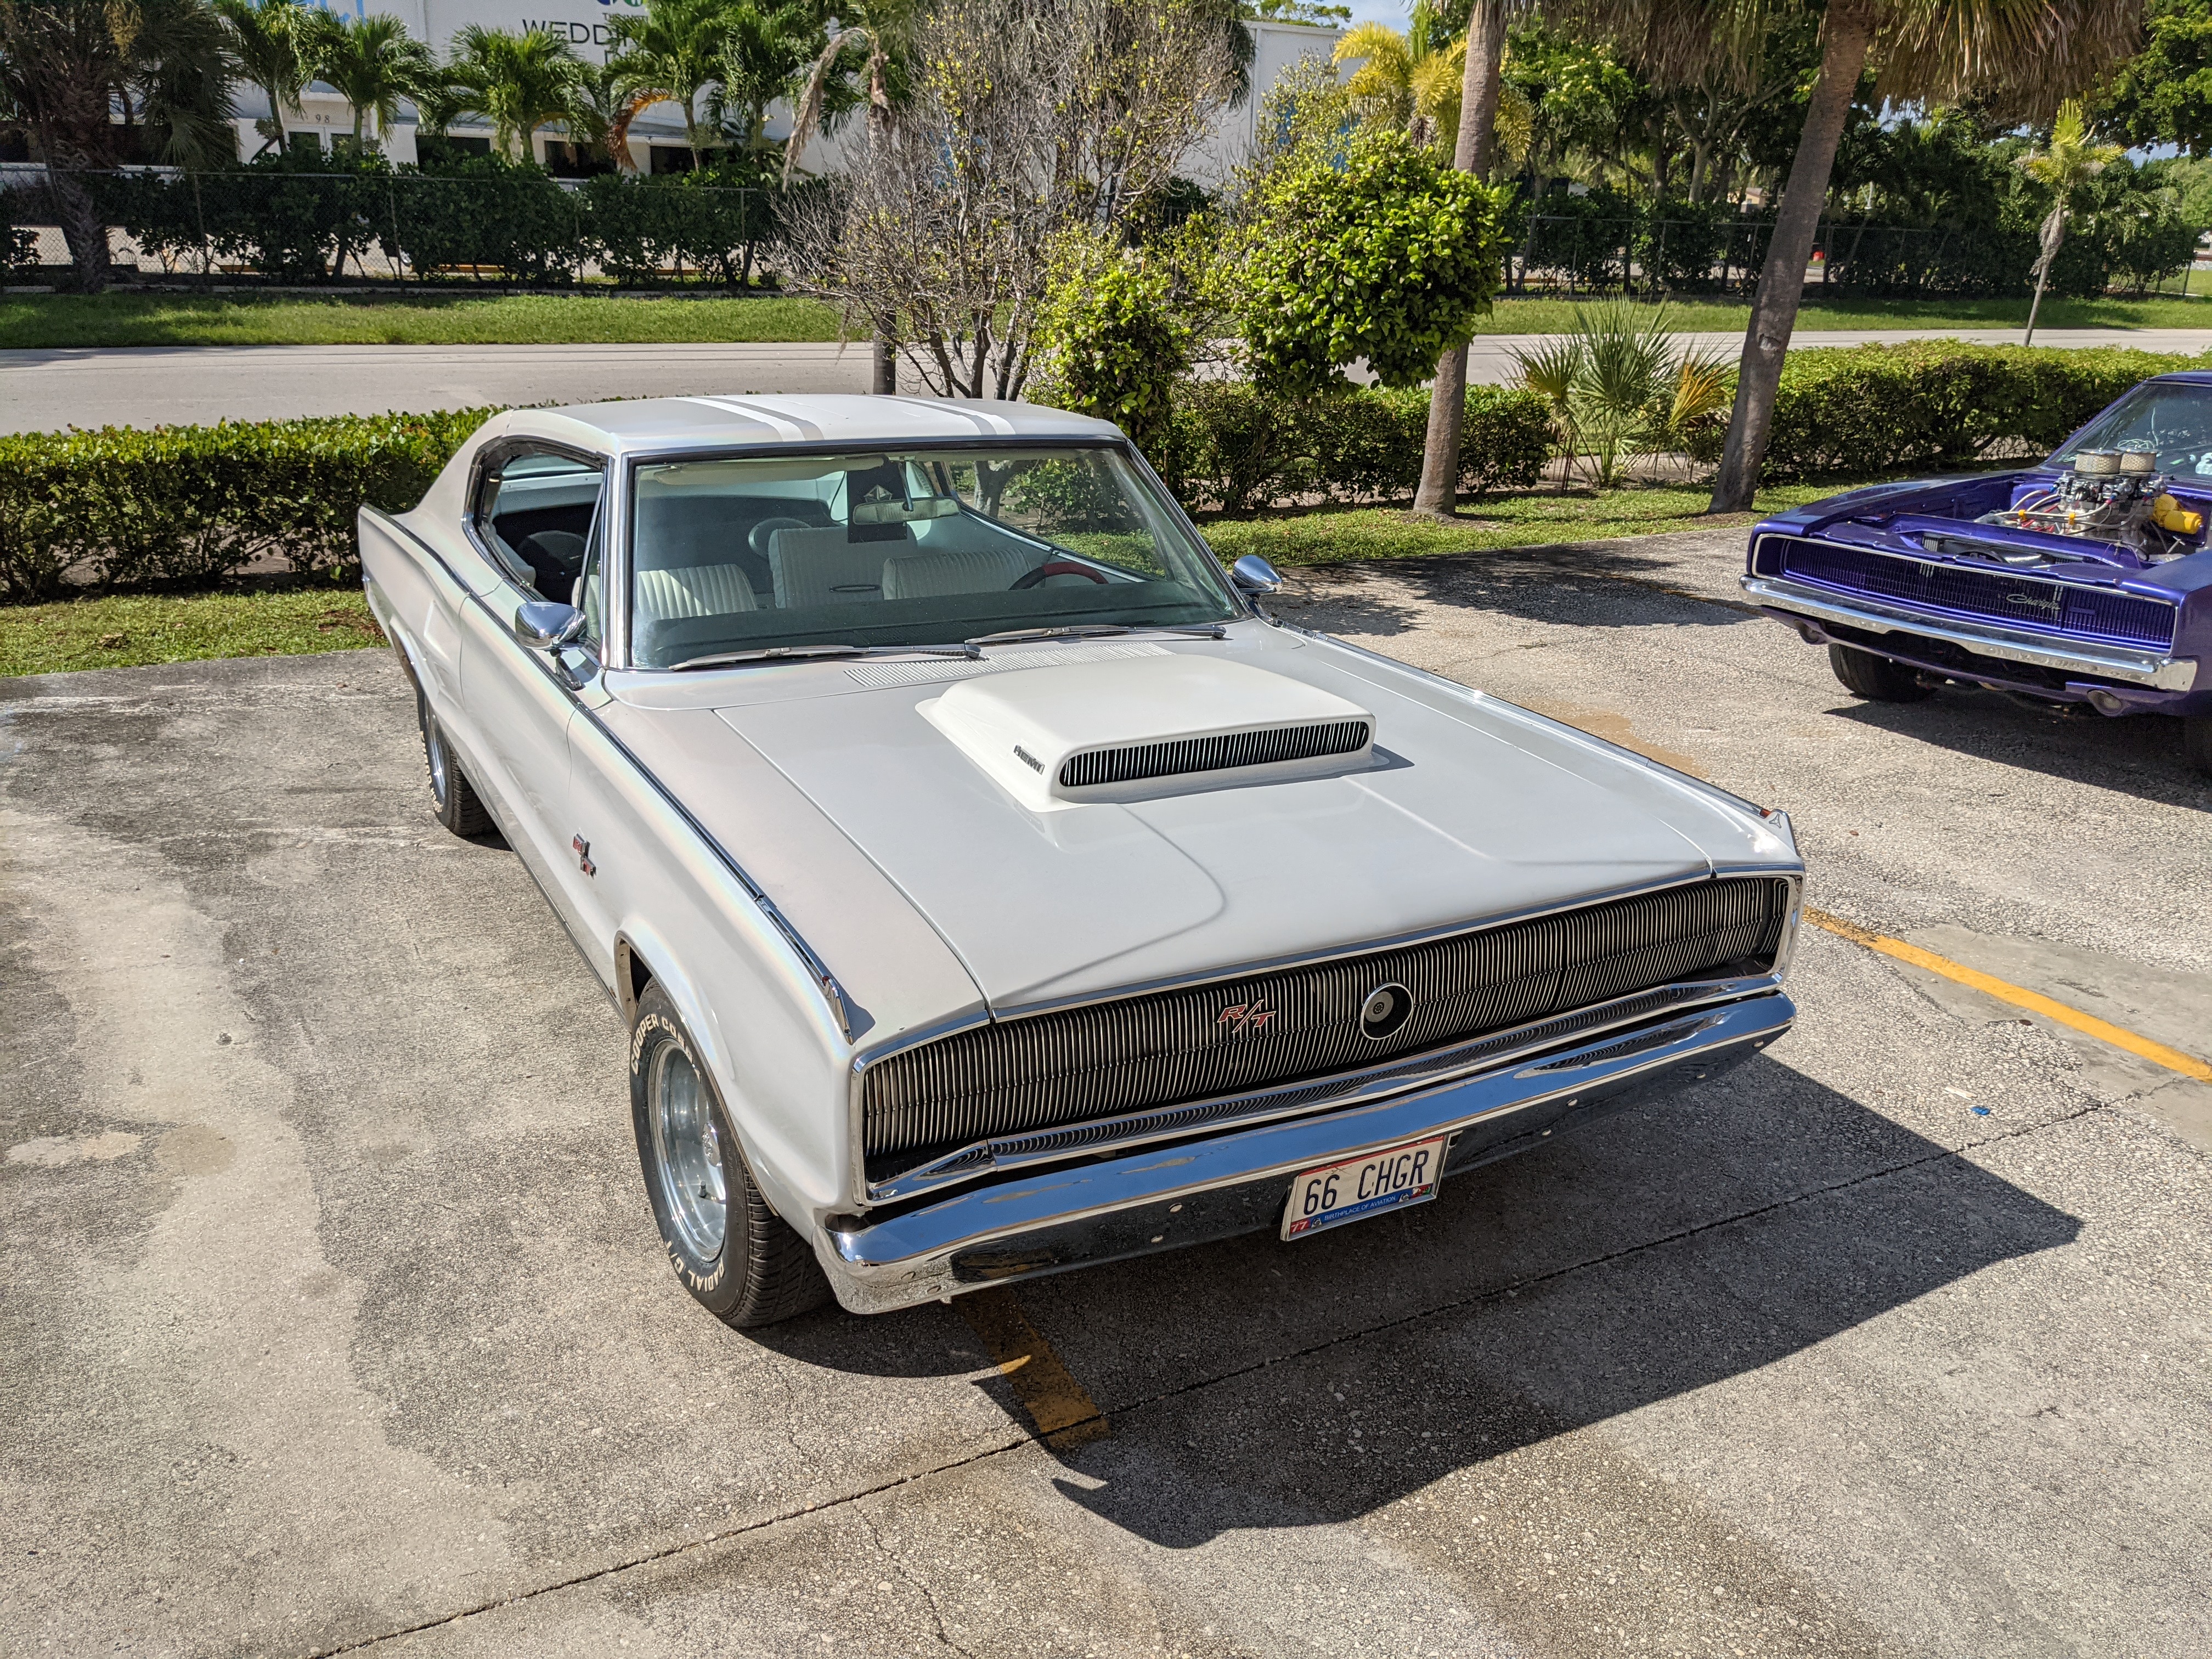
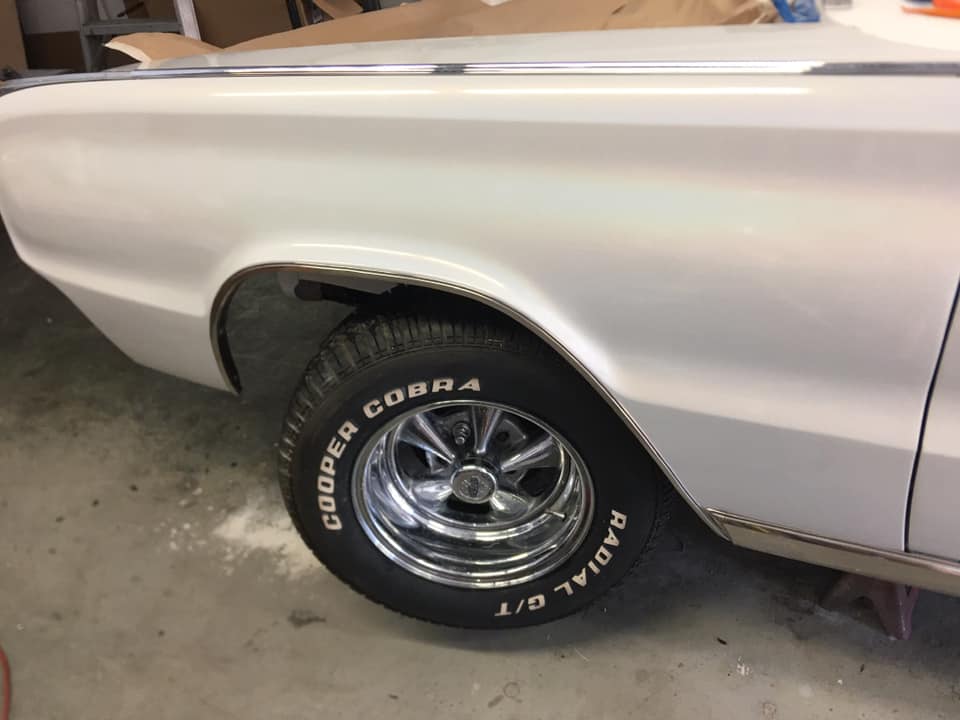
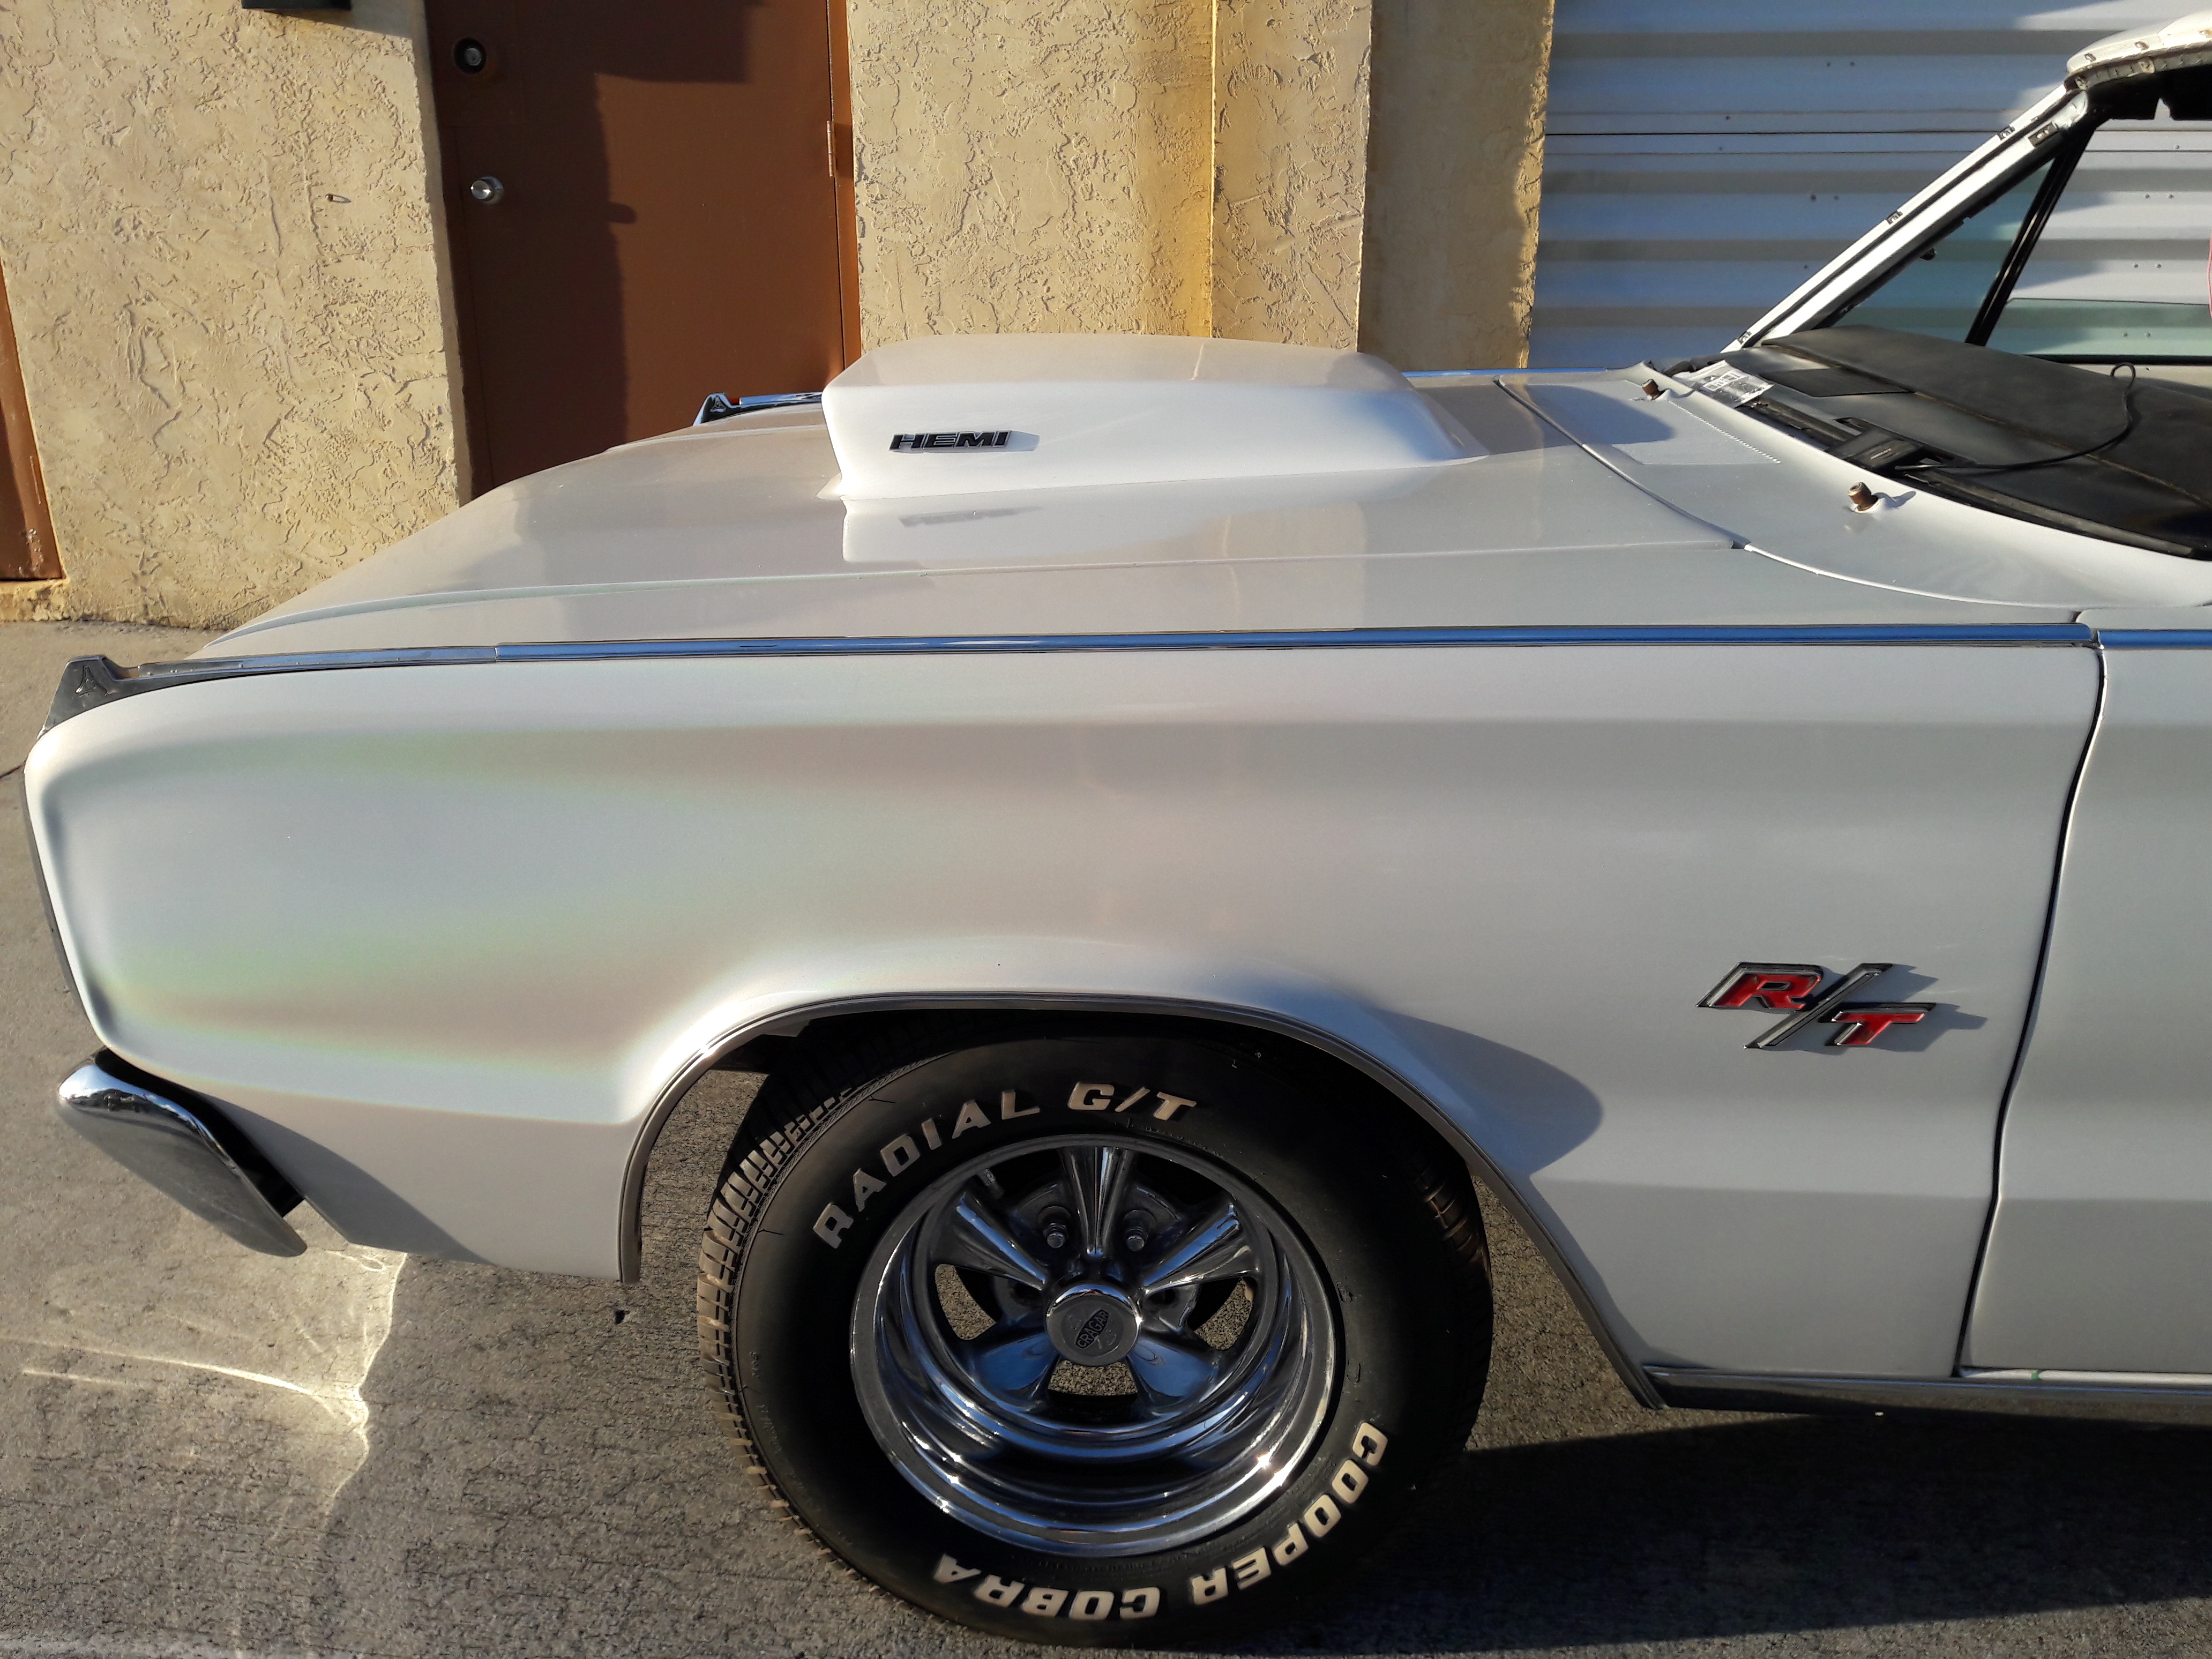
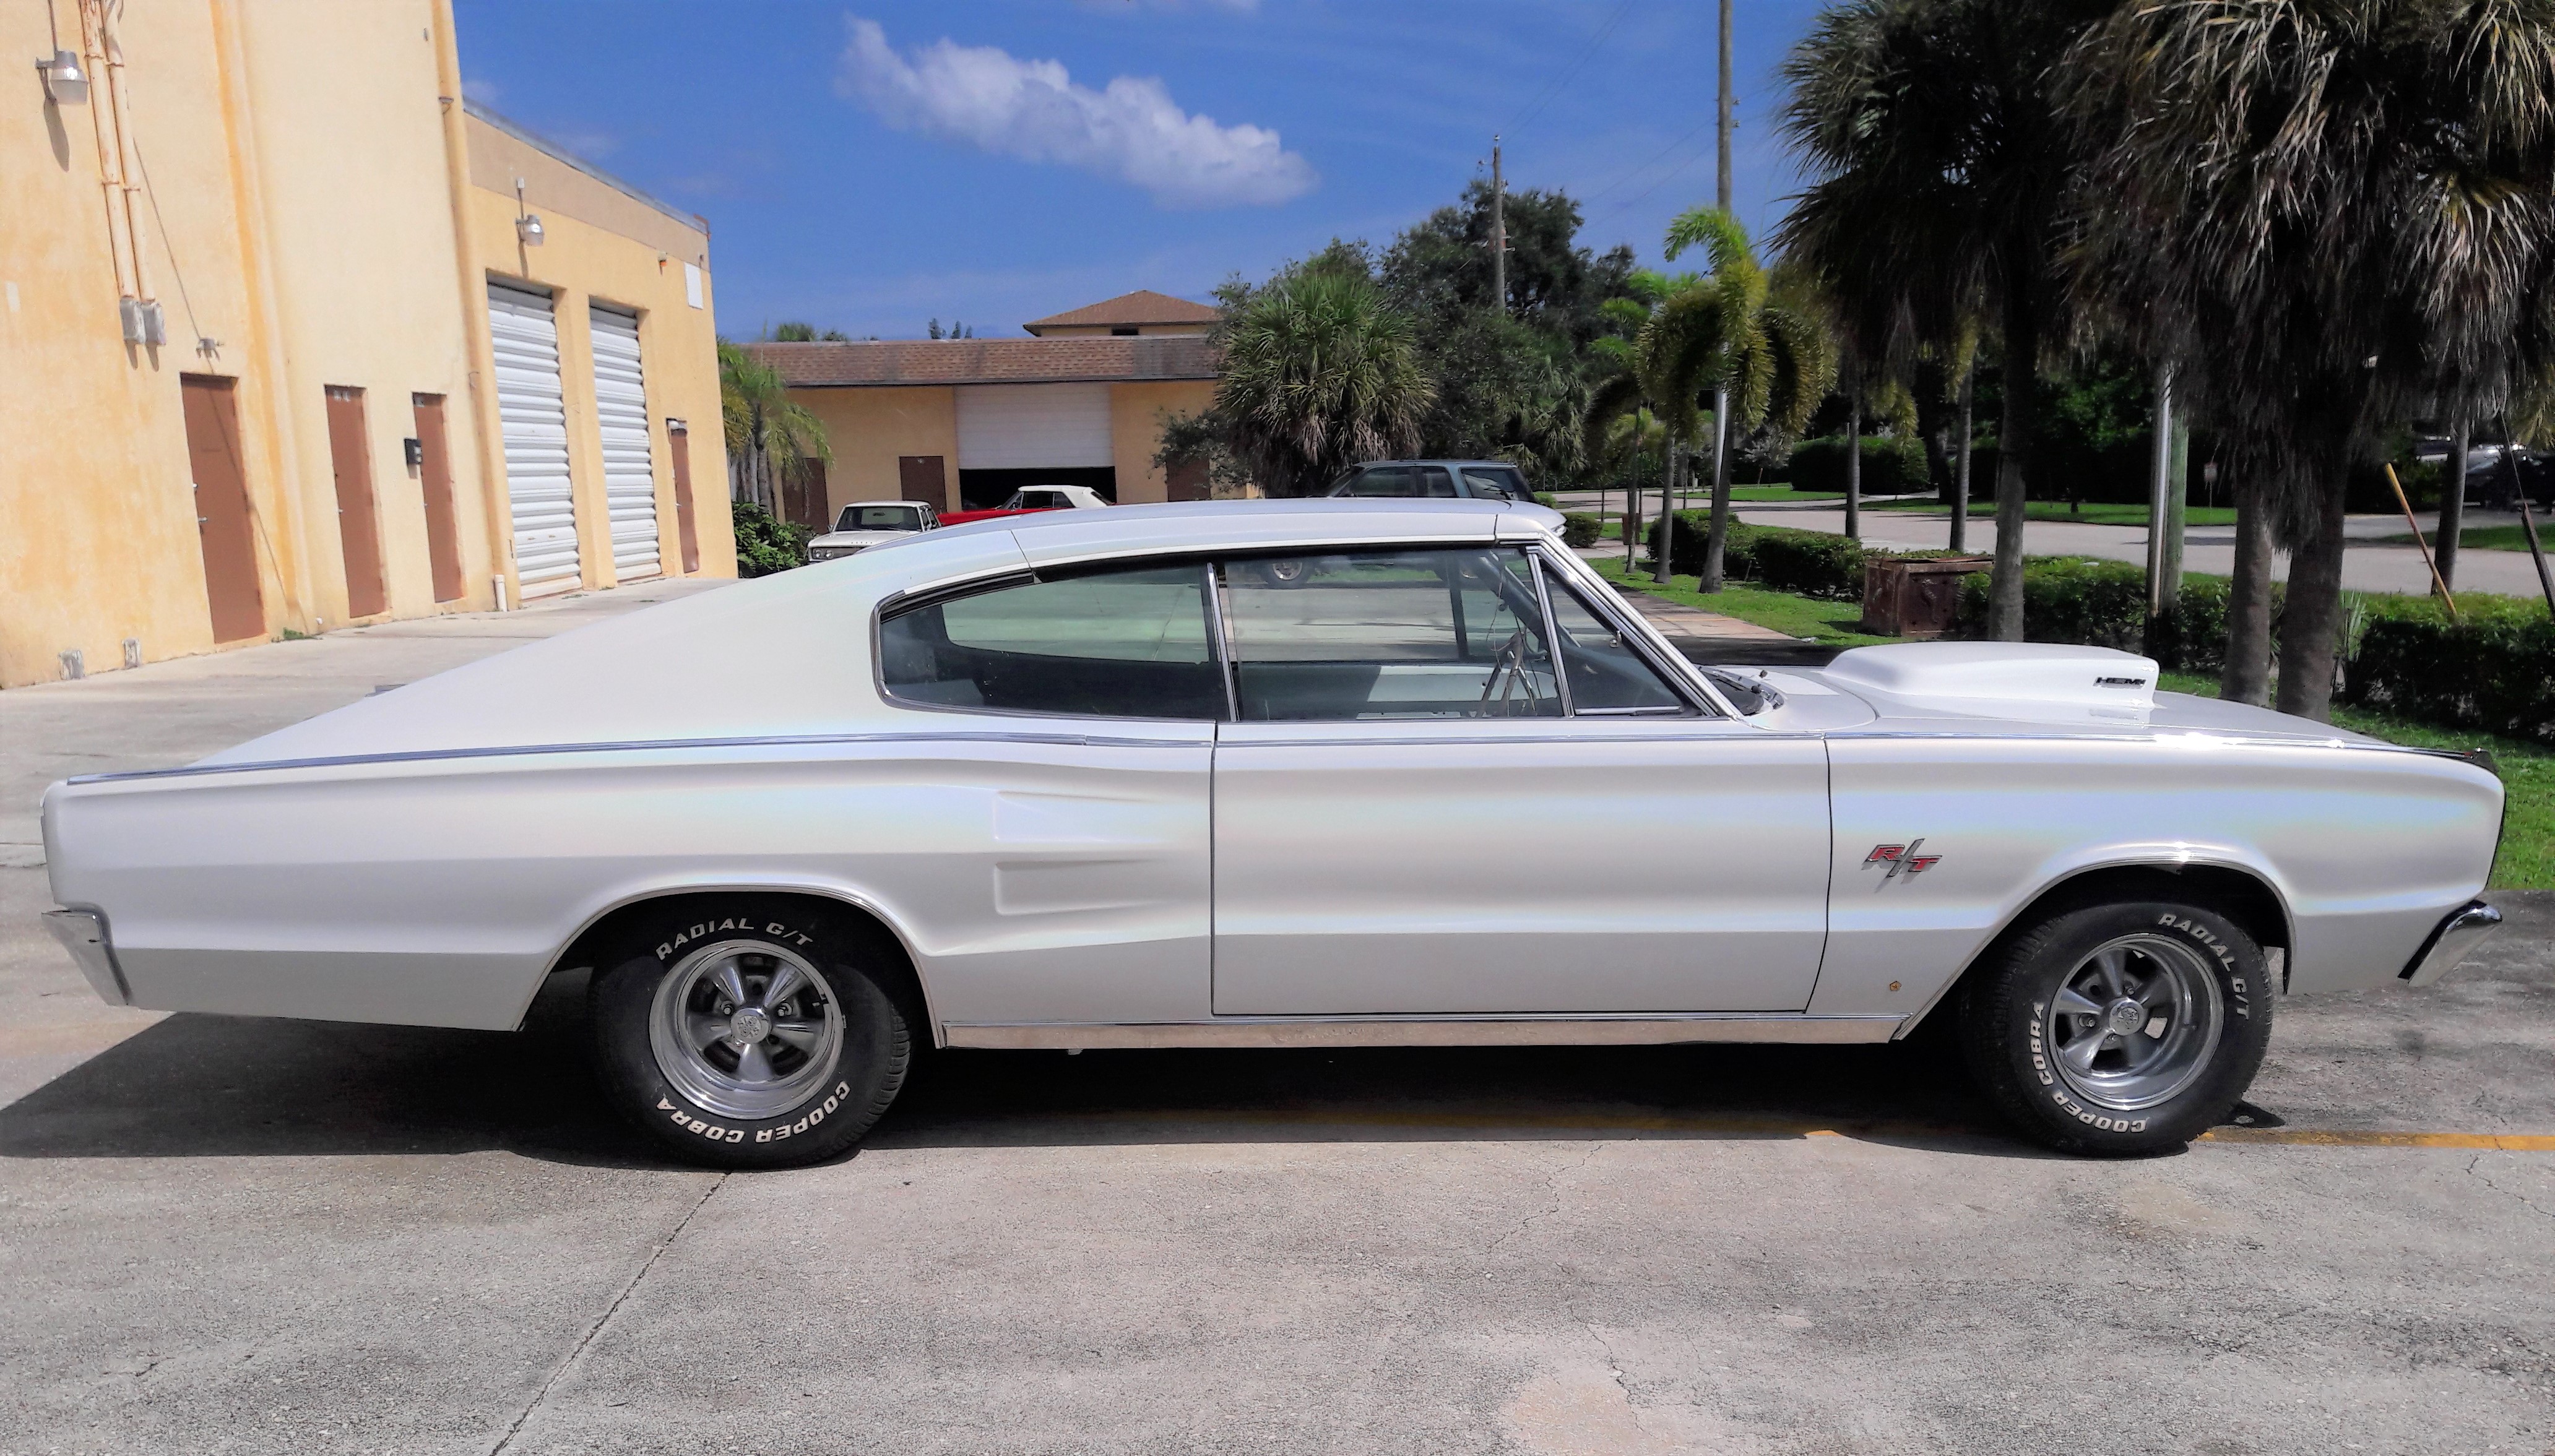
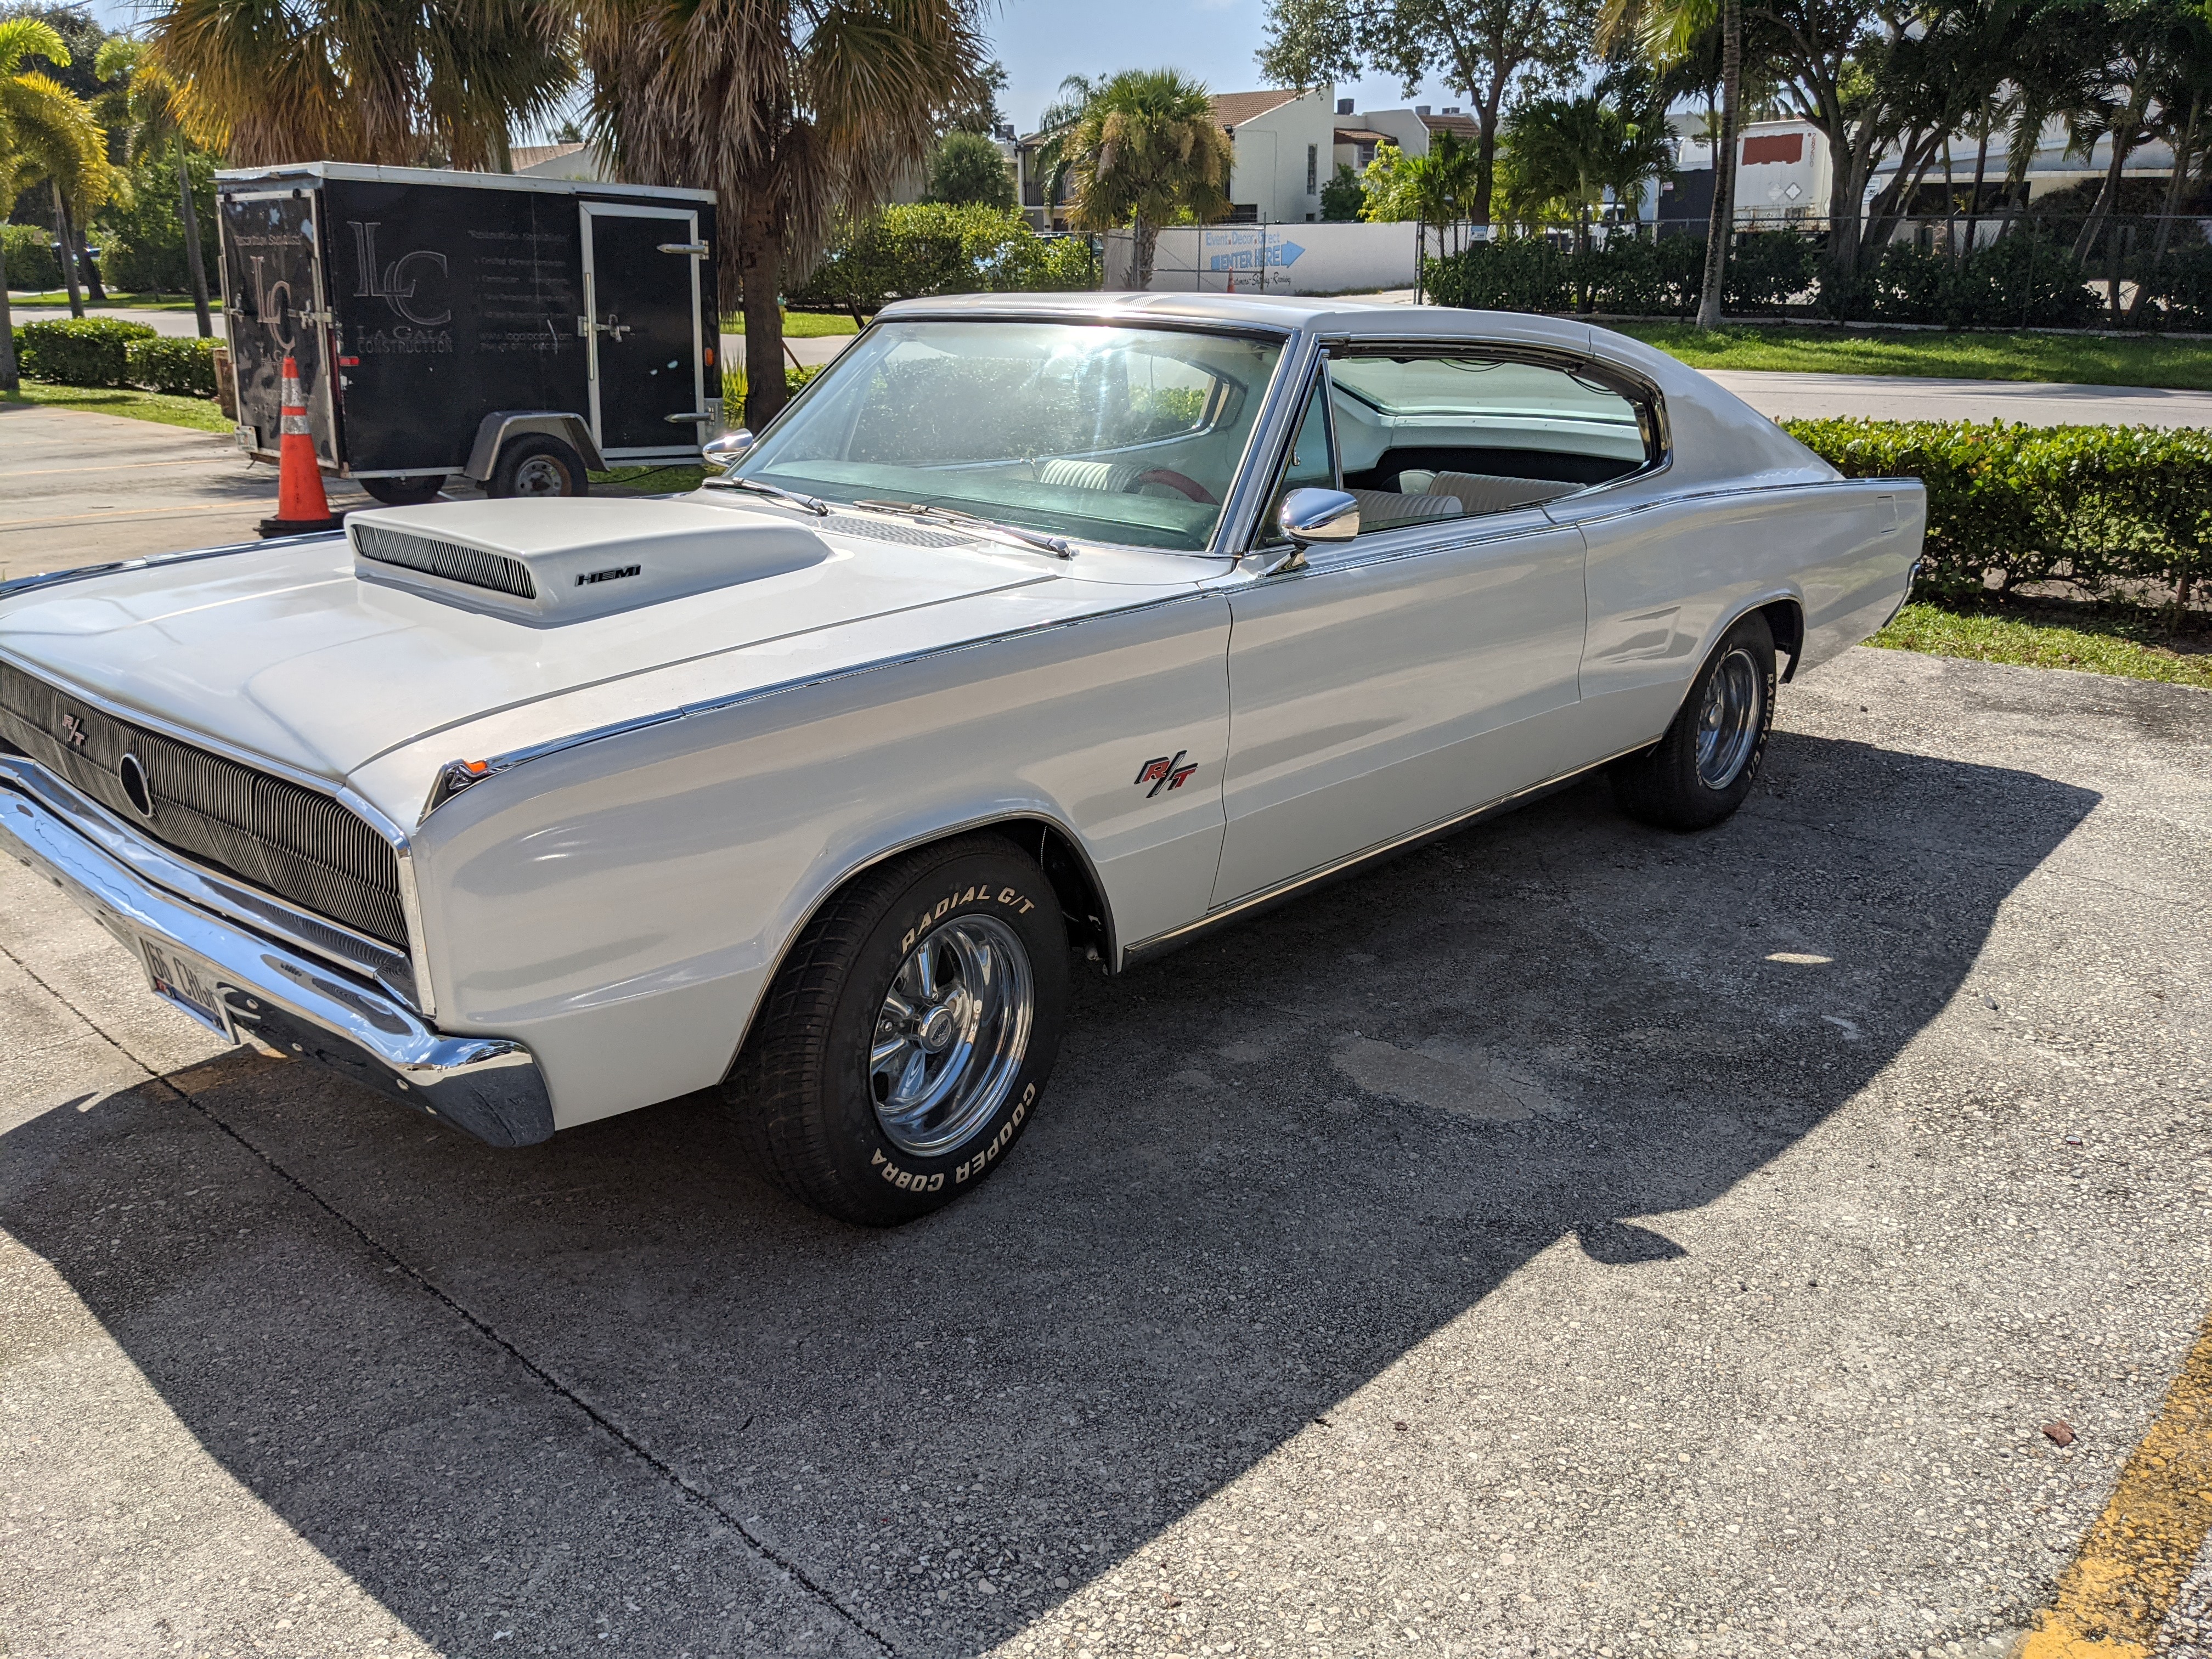
66 Charger
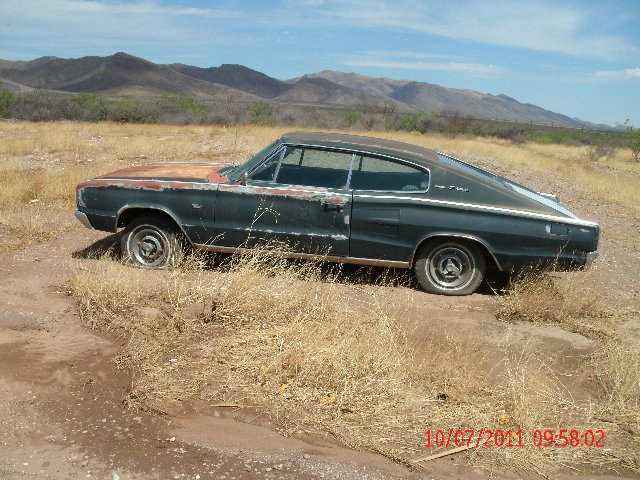
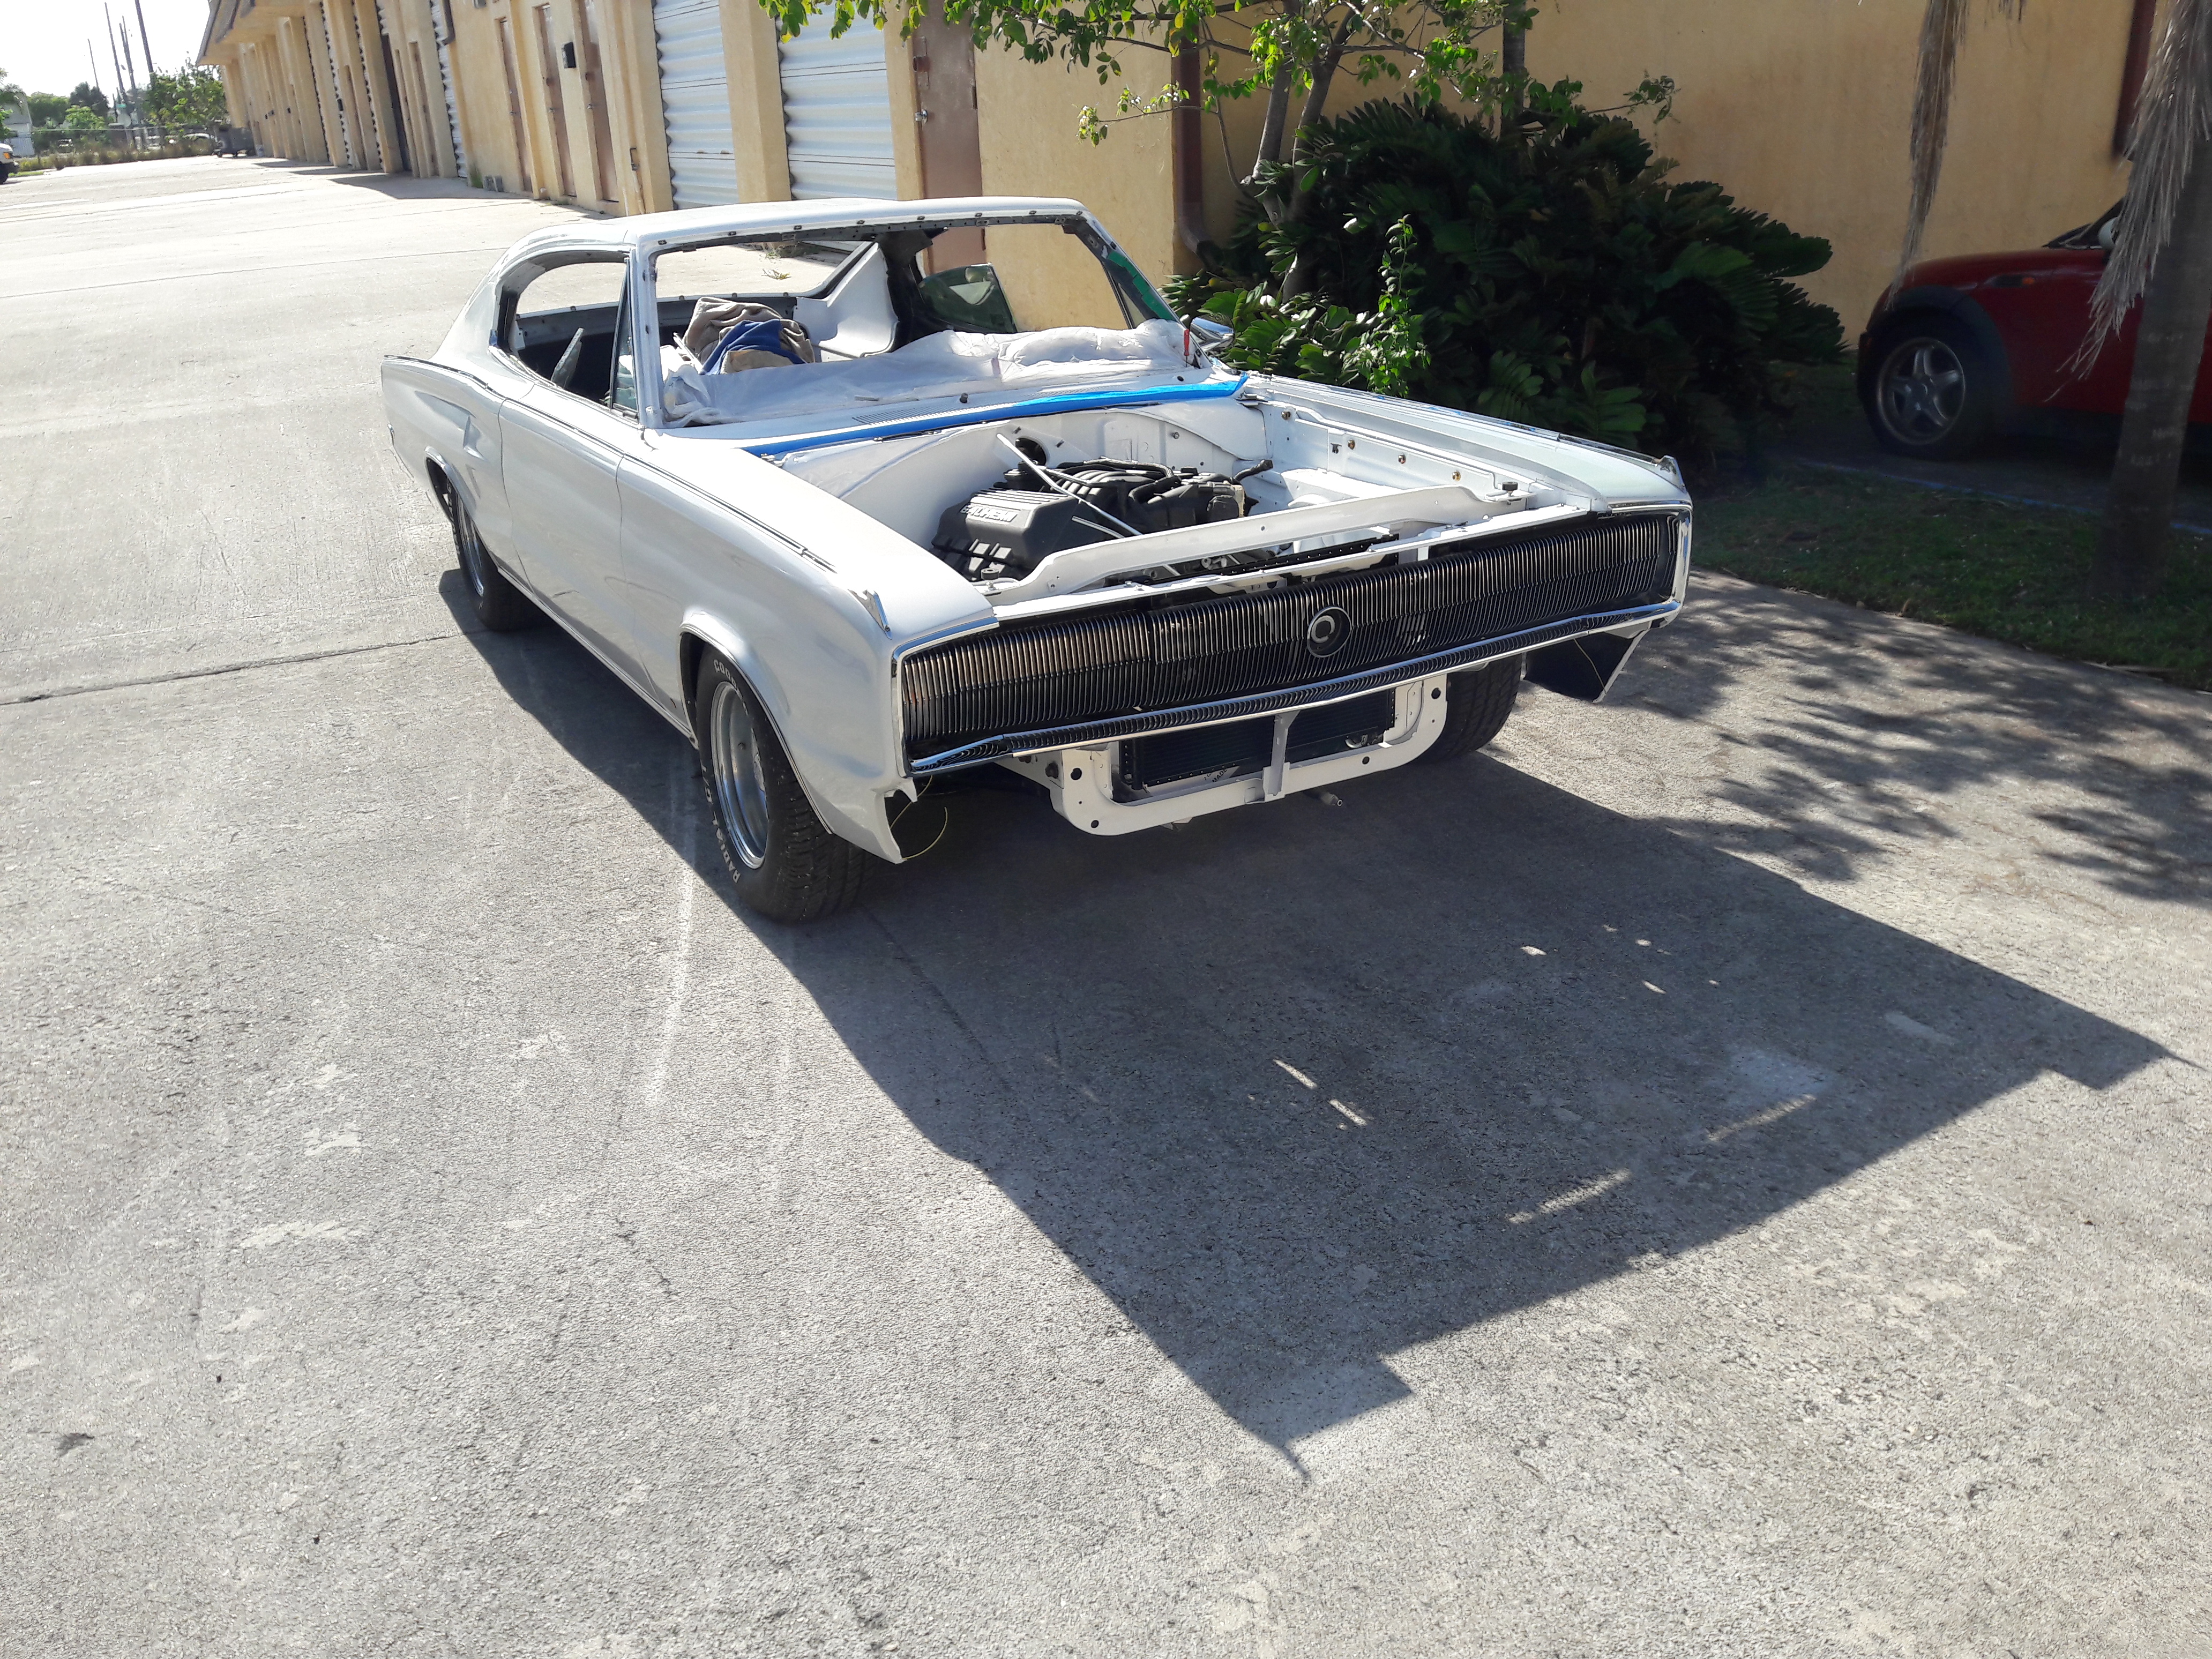
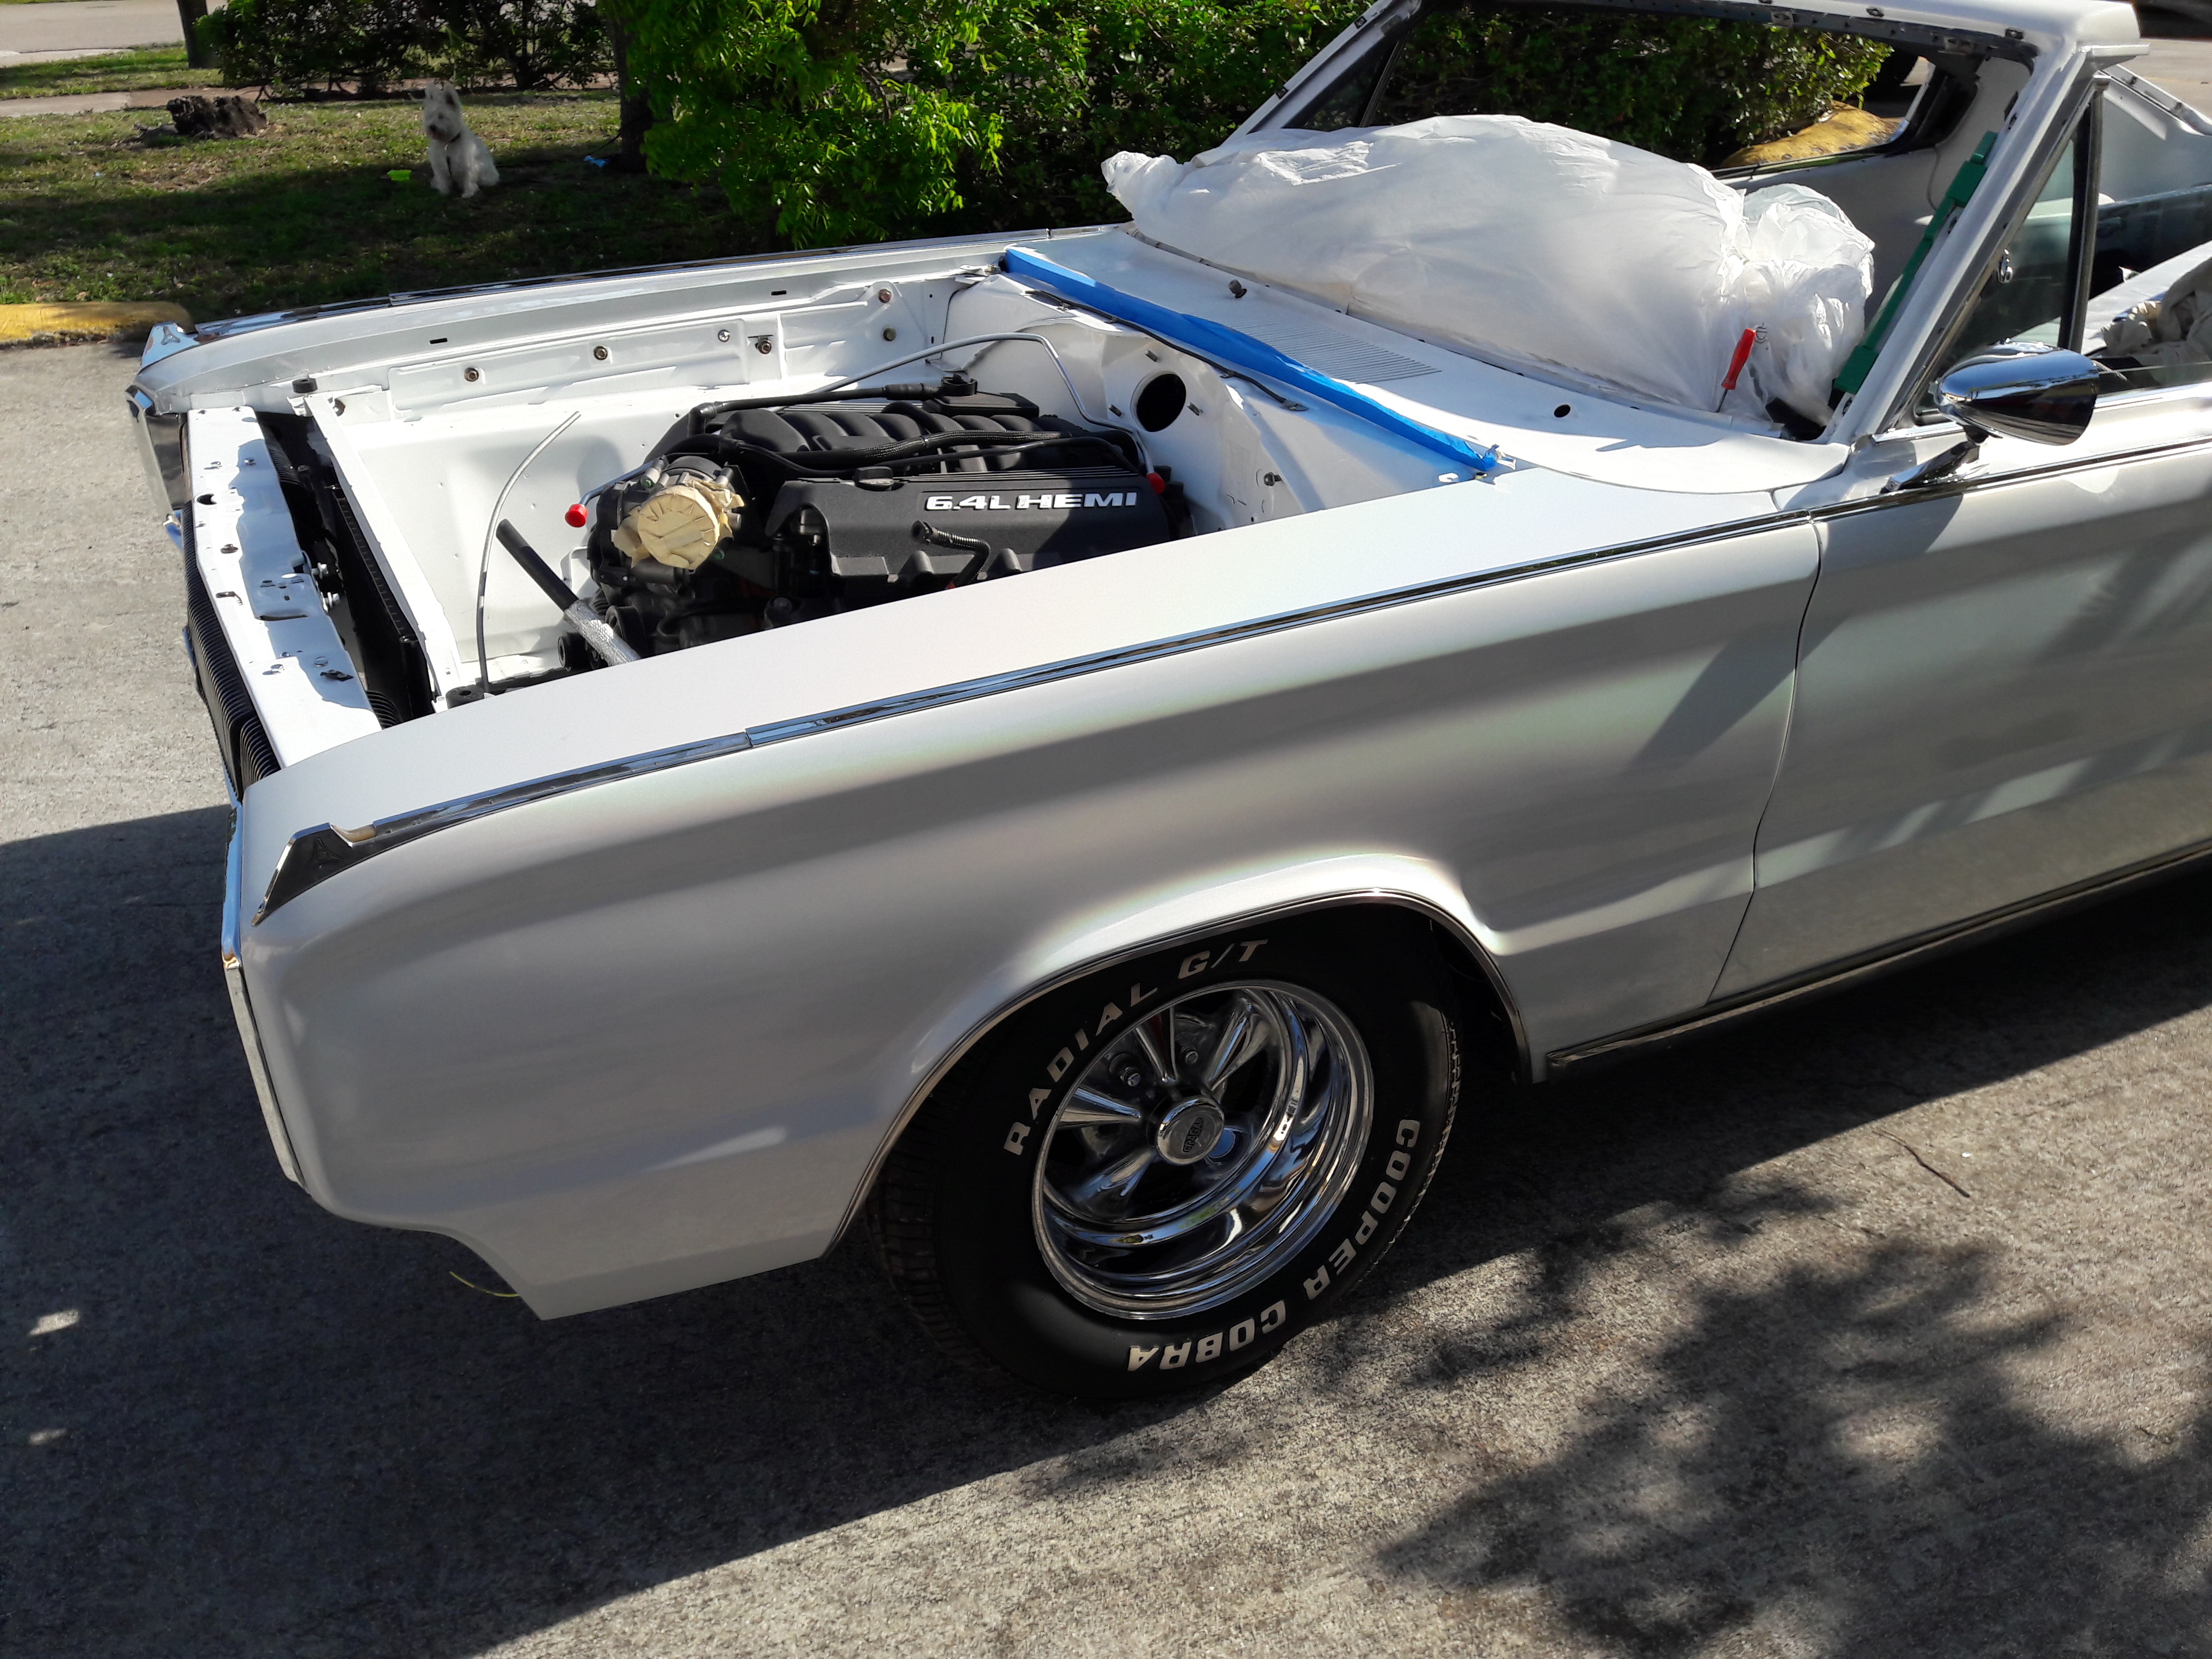
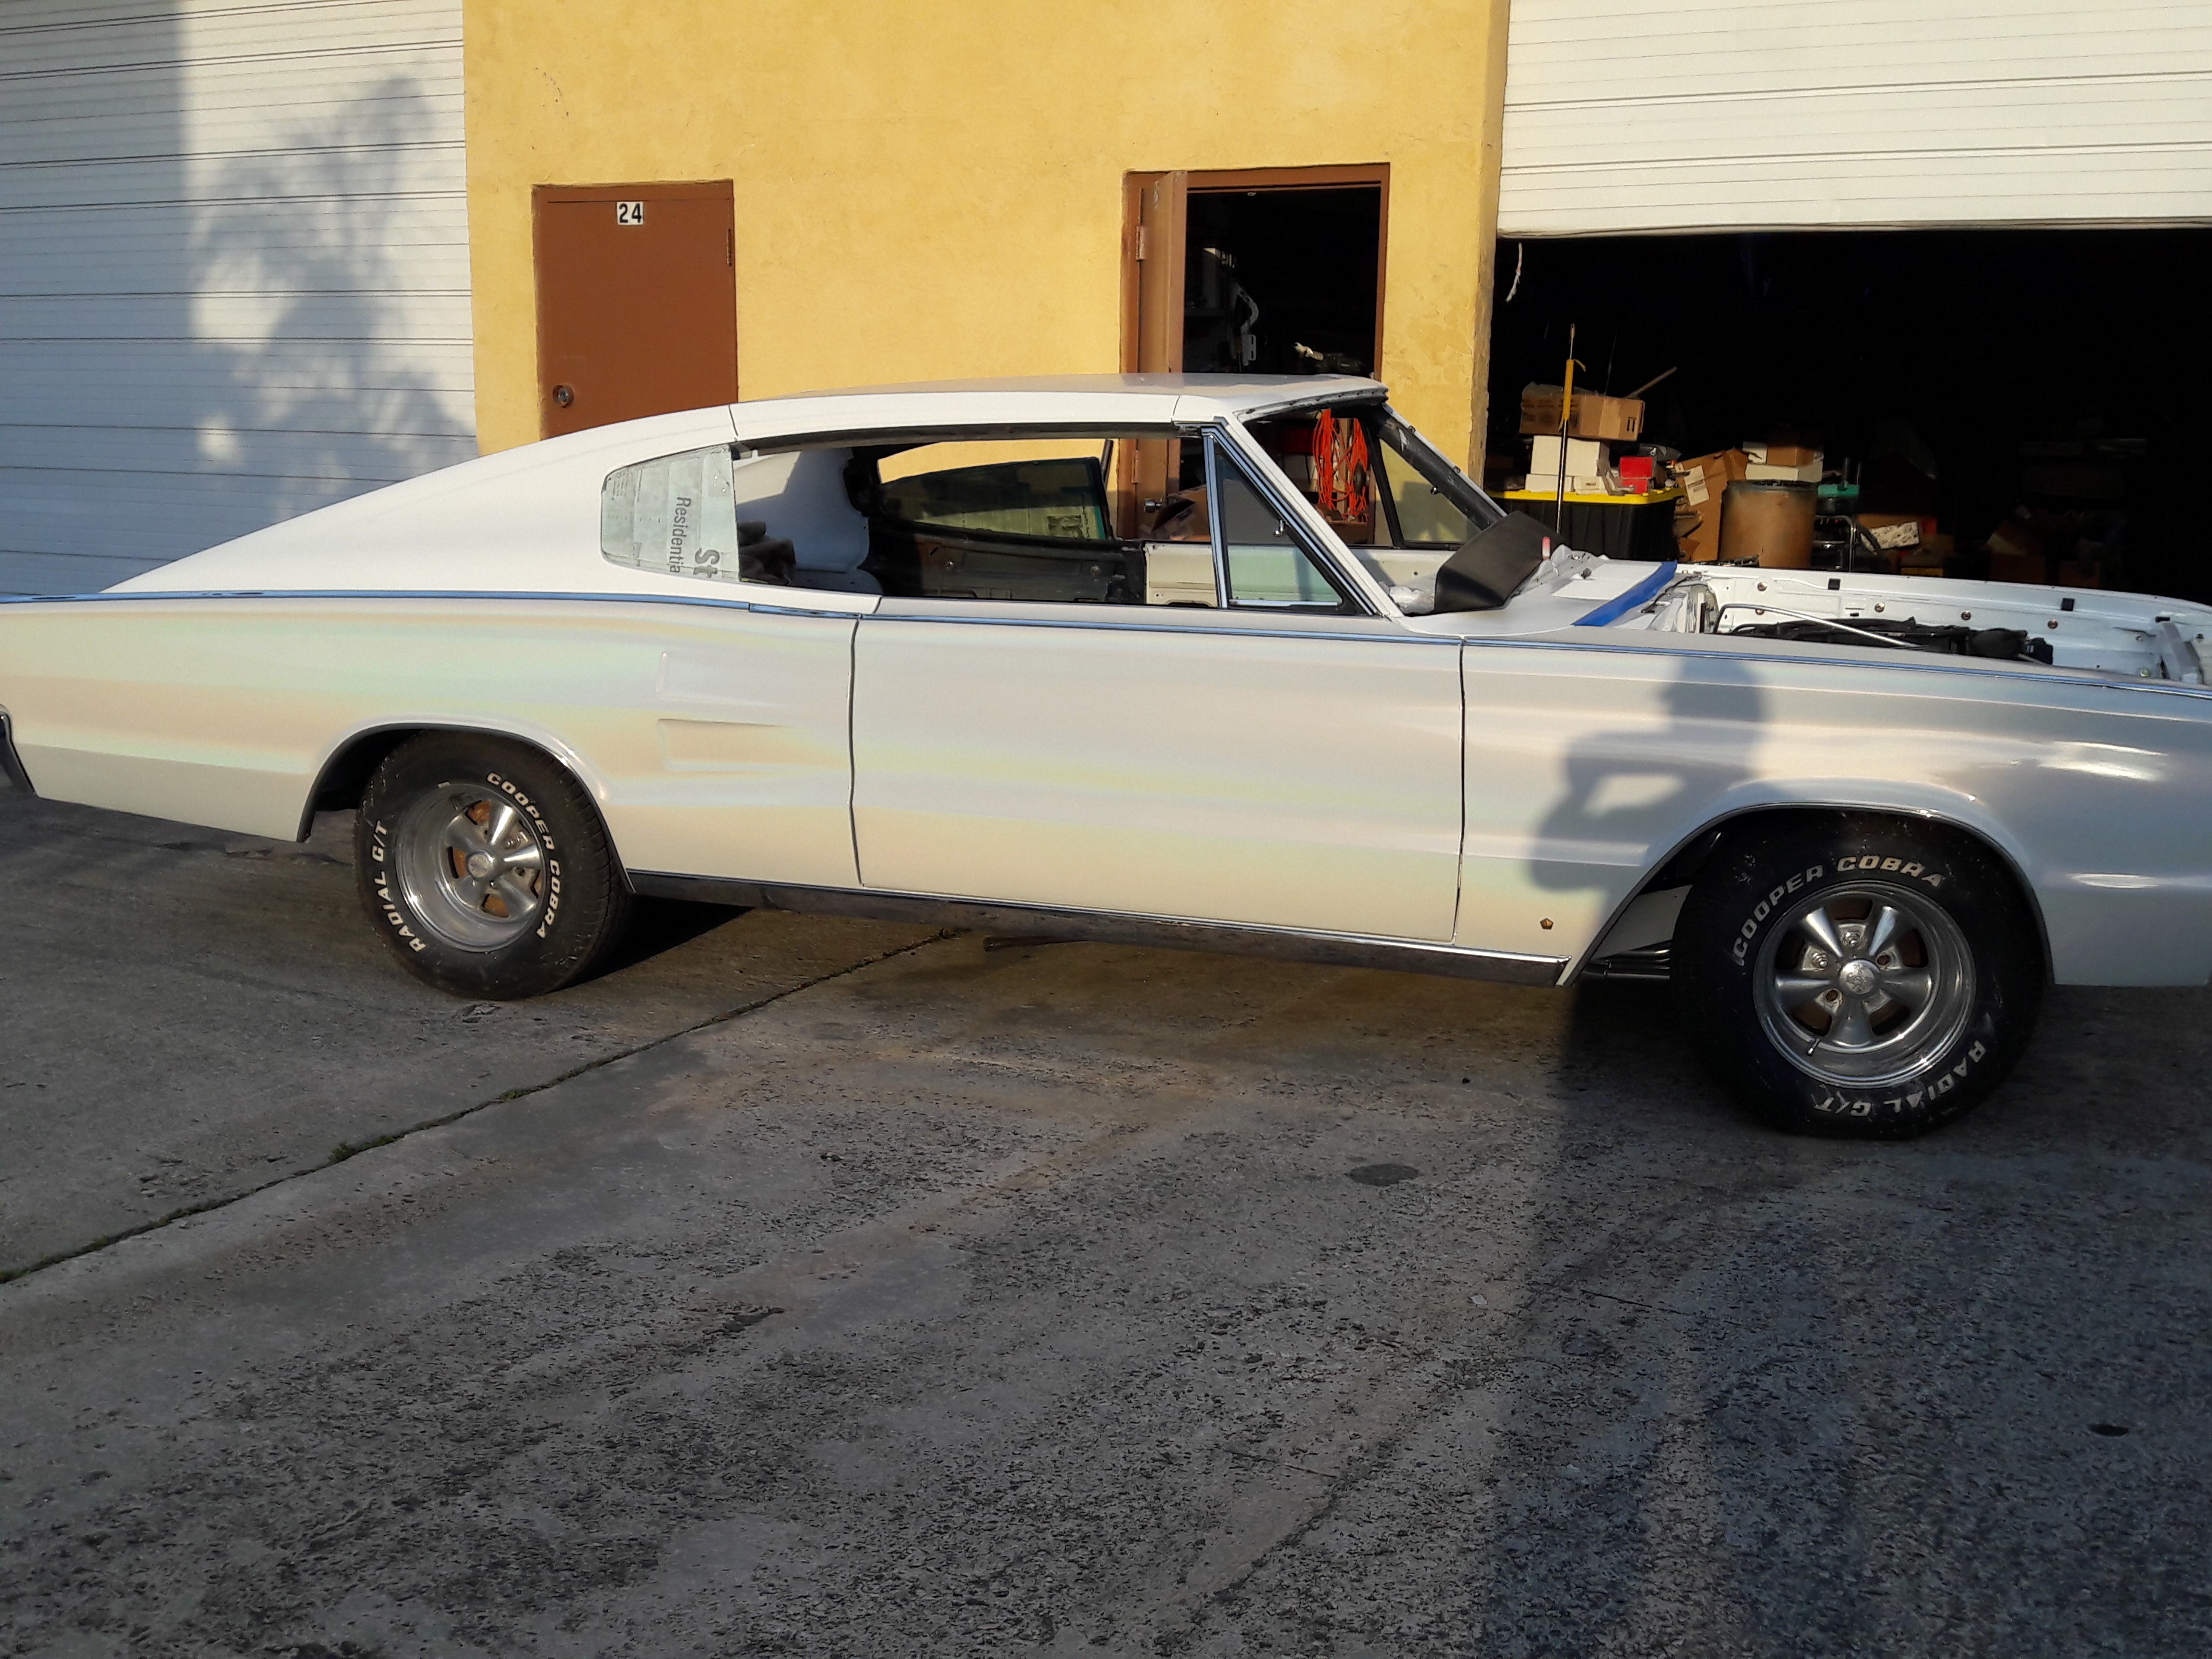
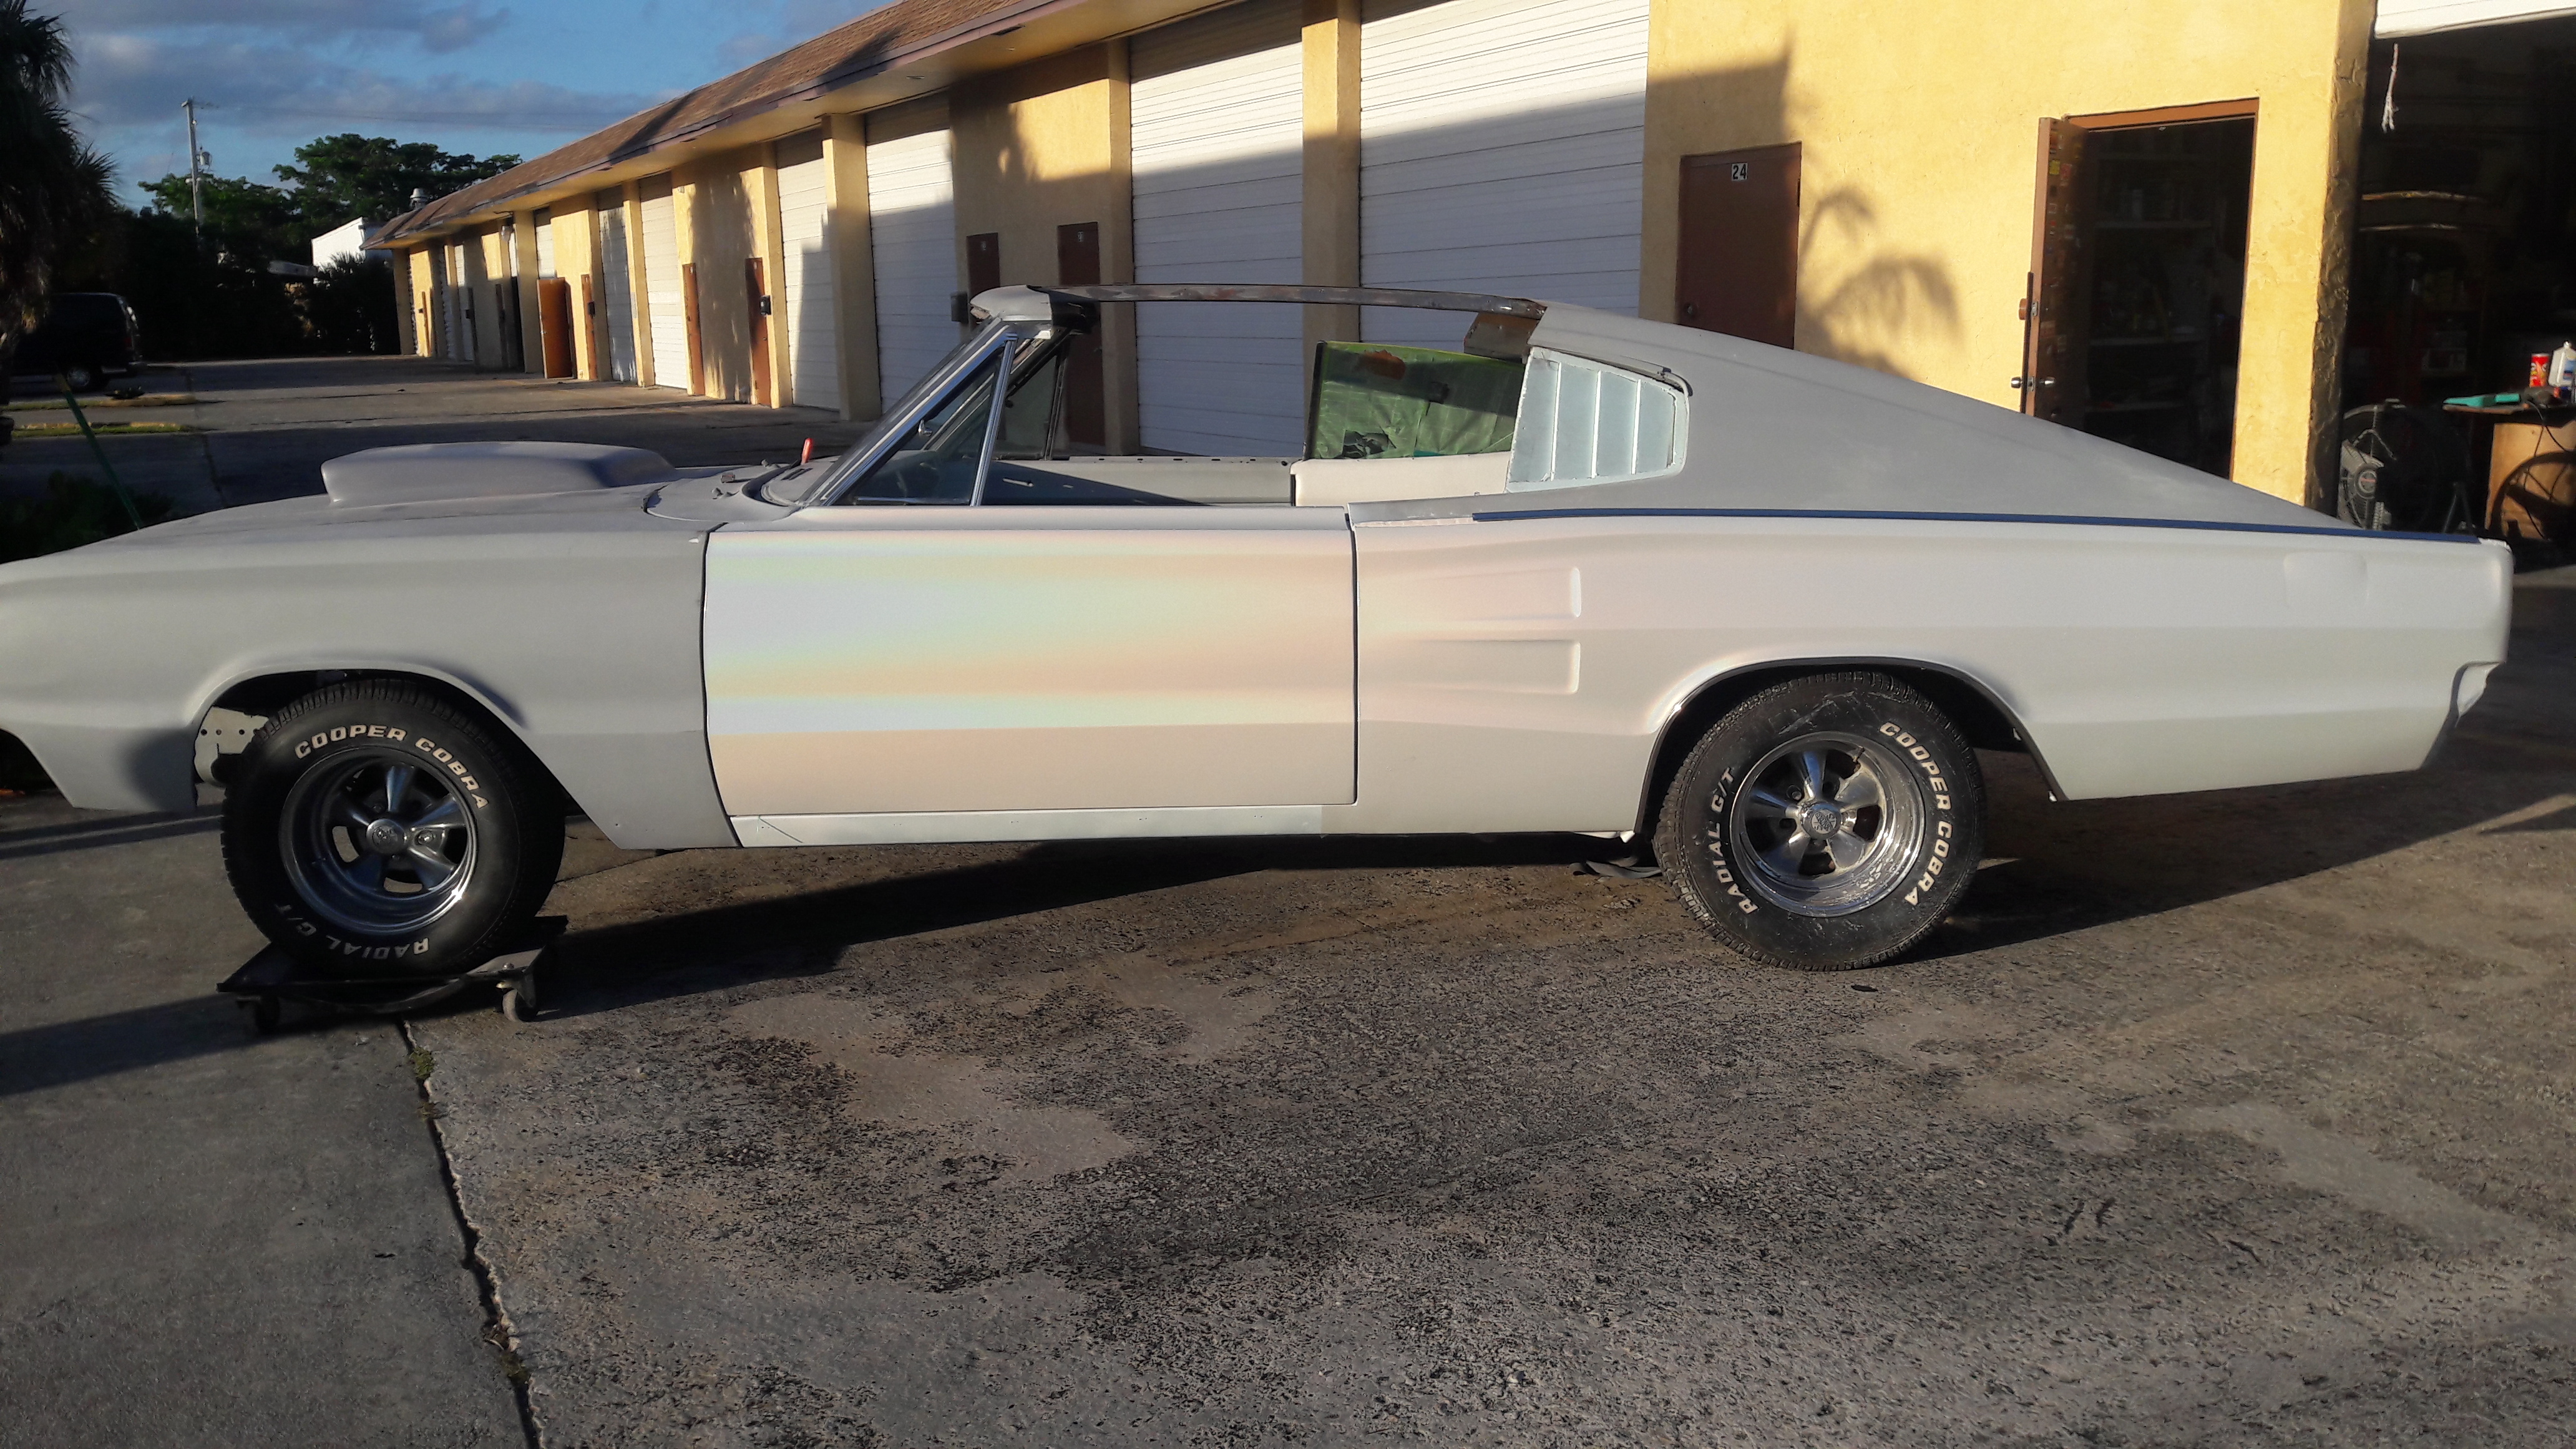
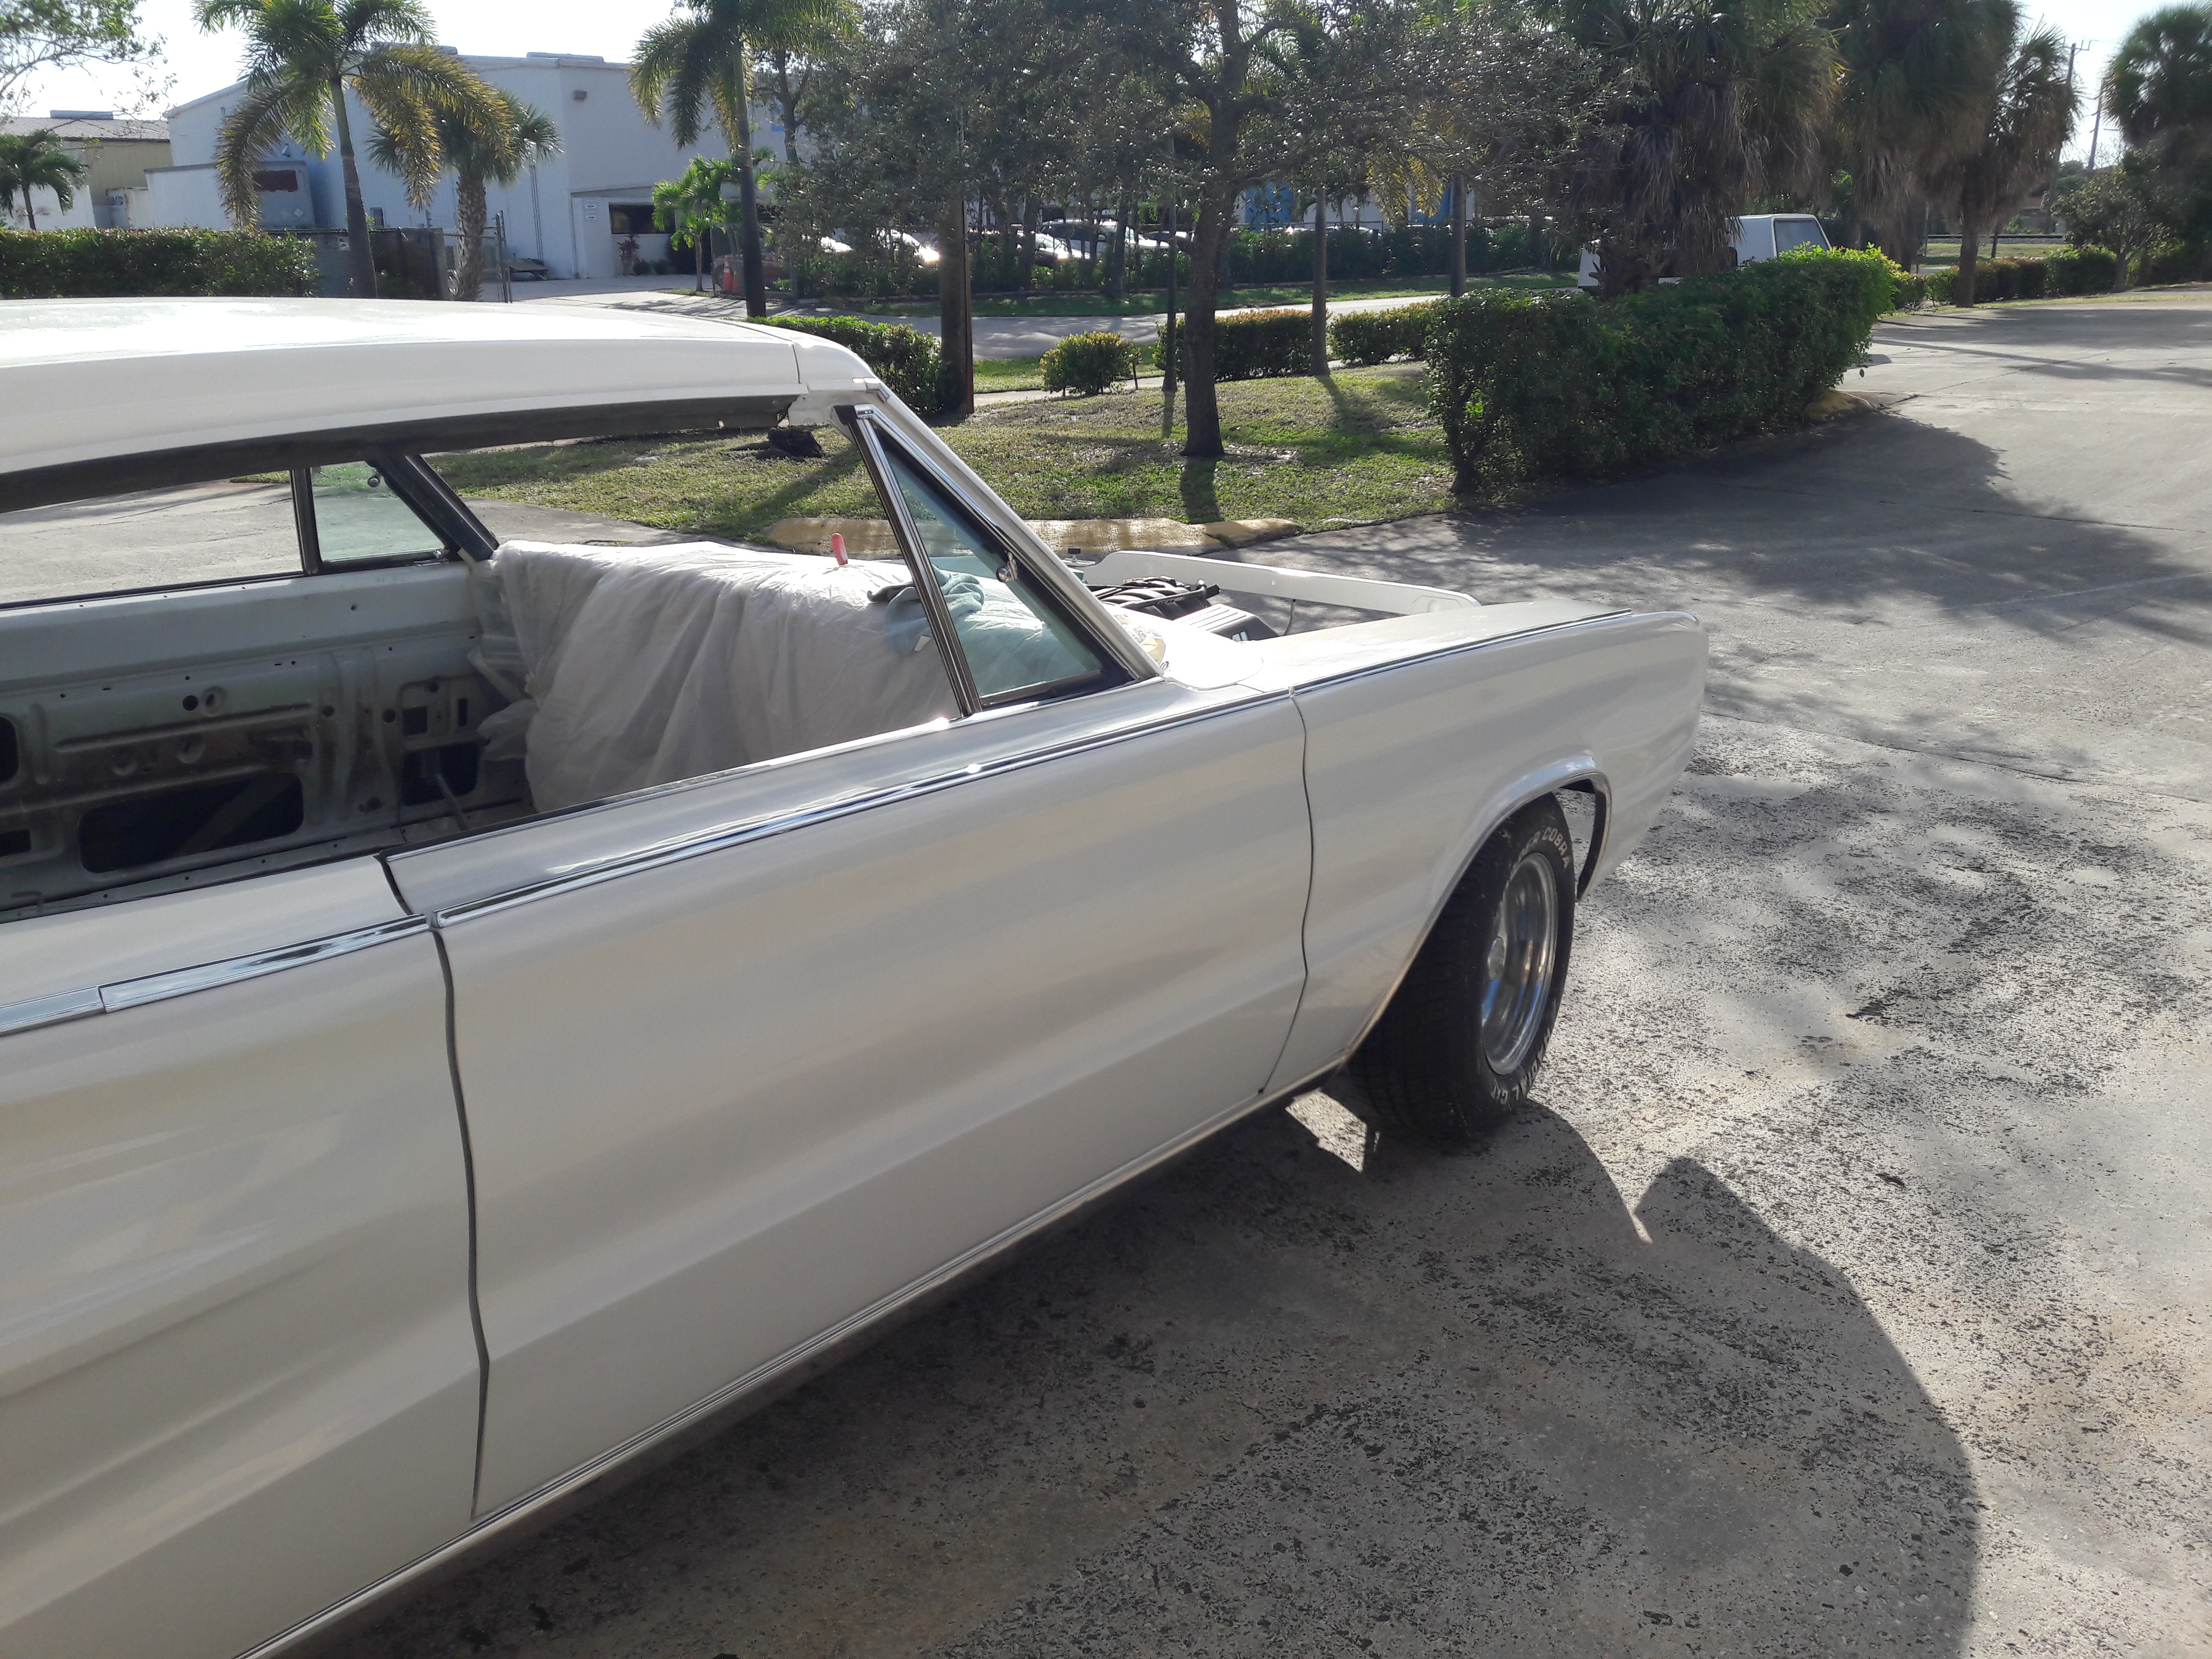
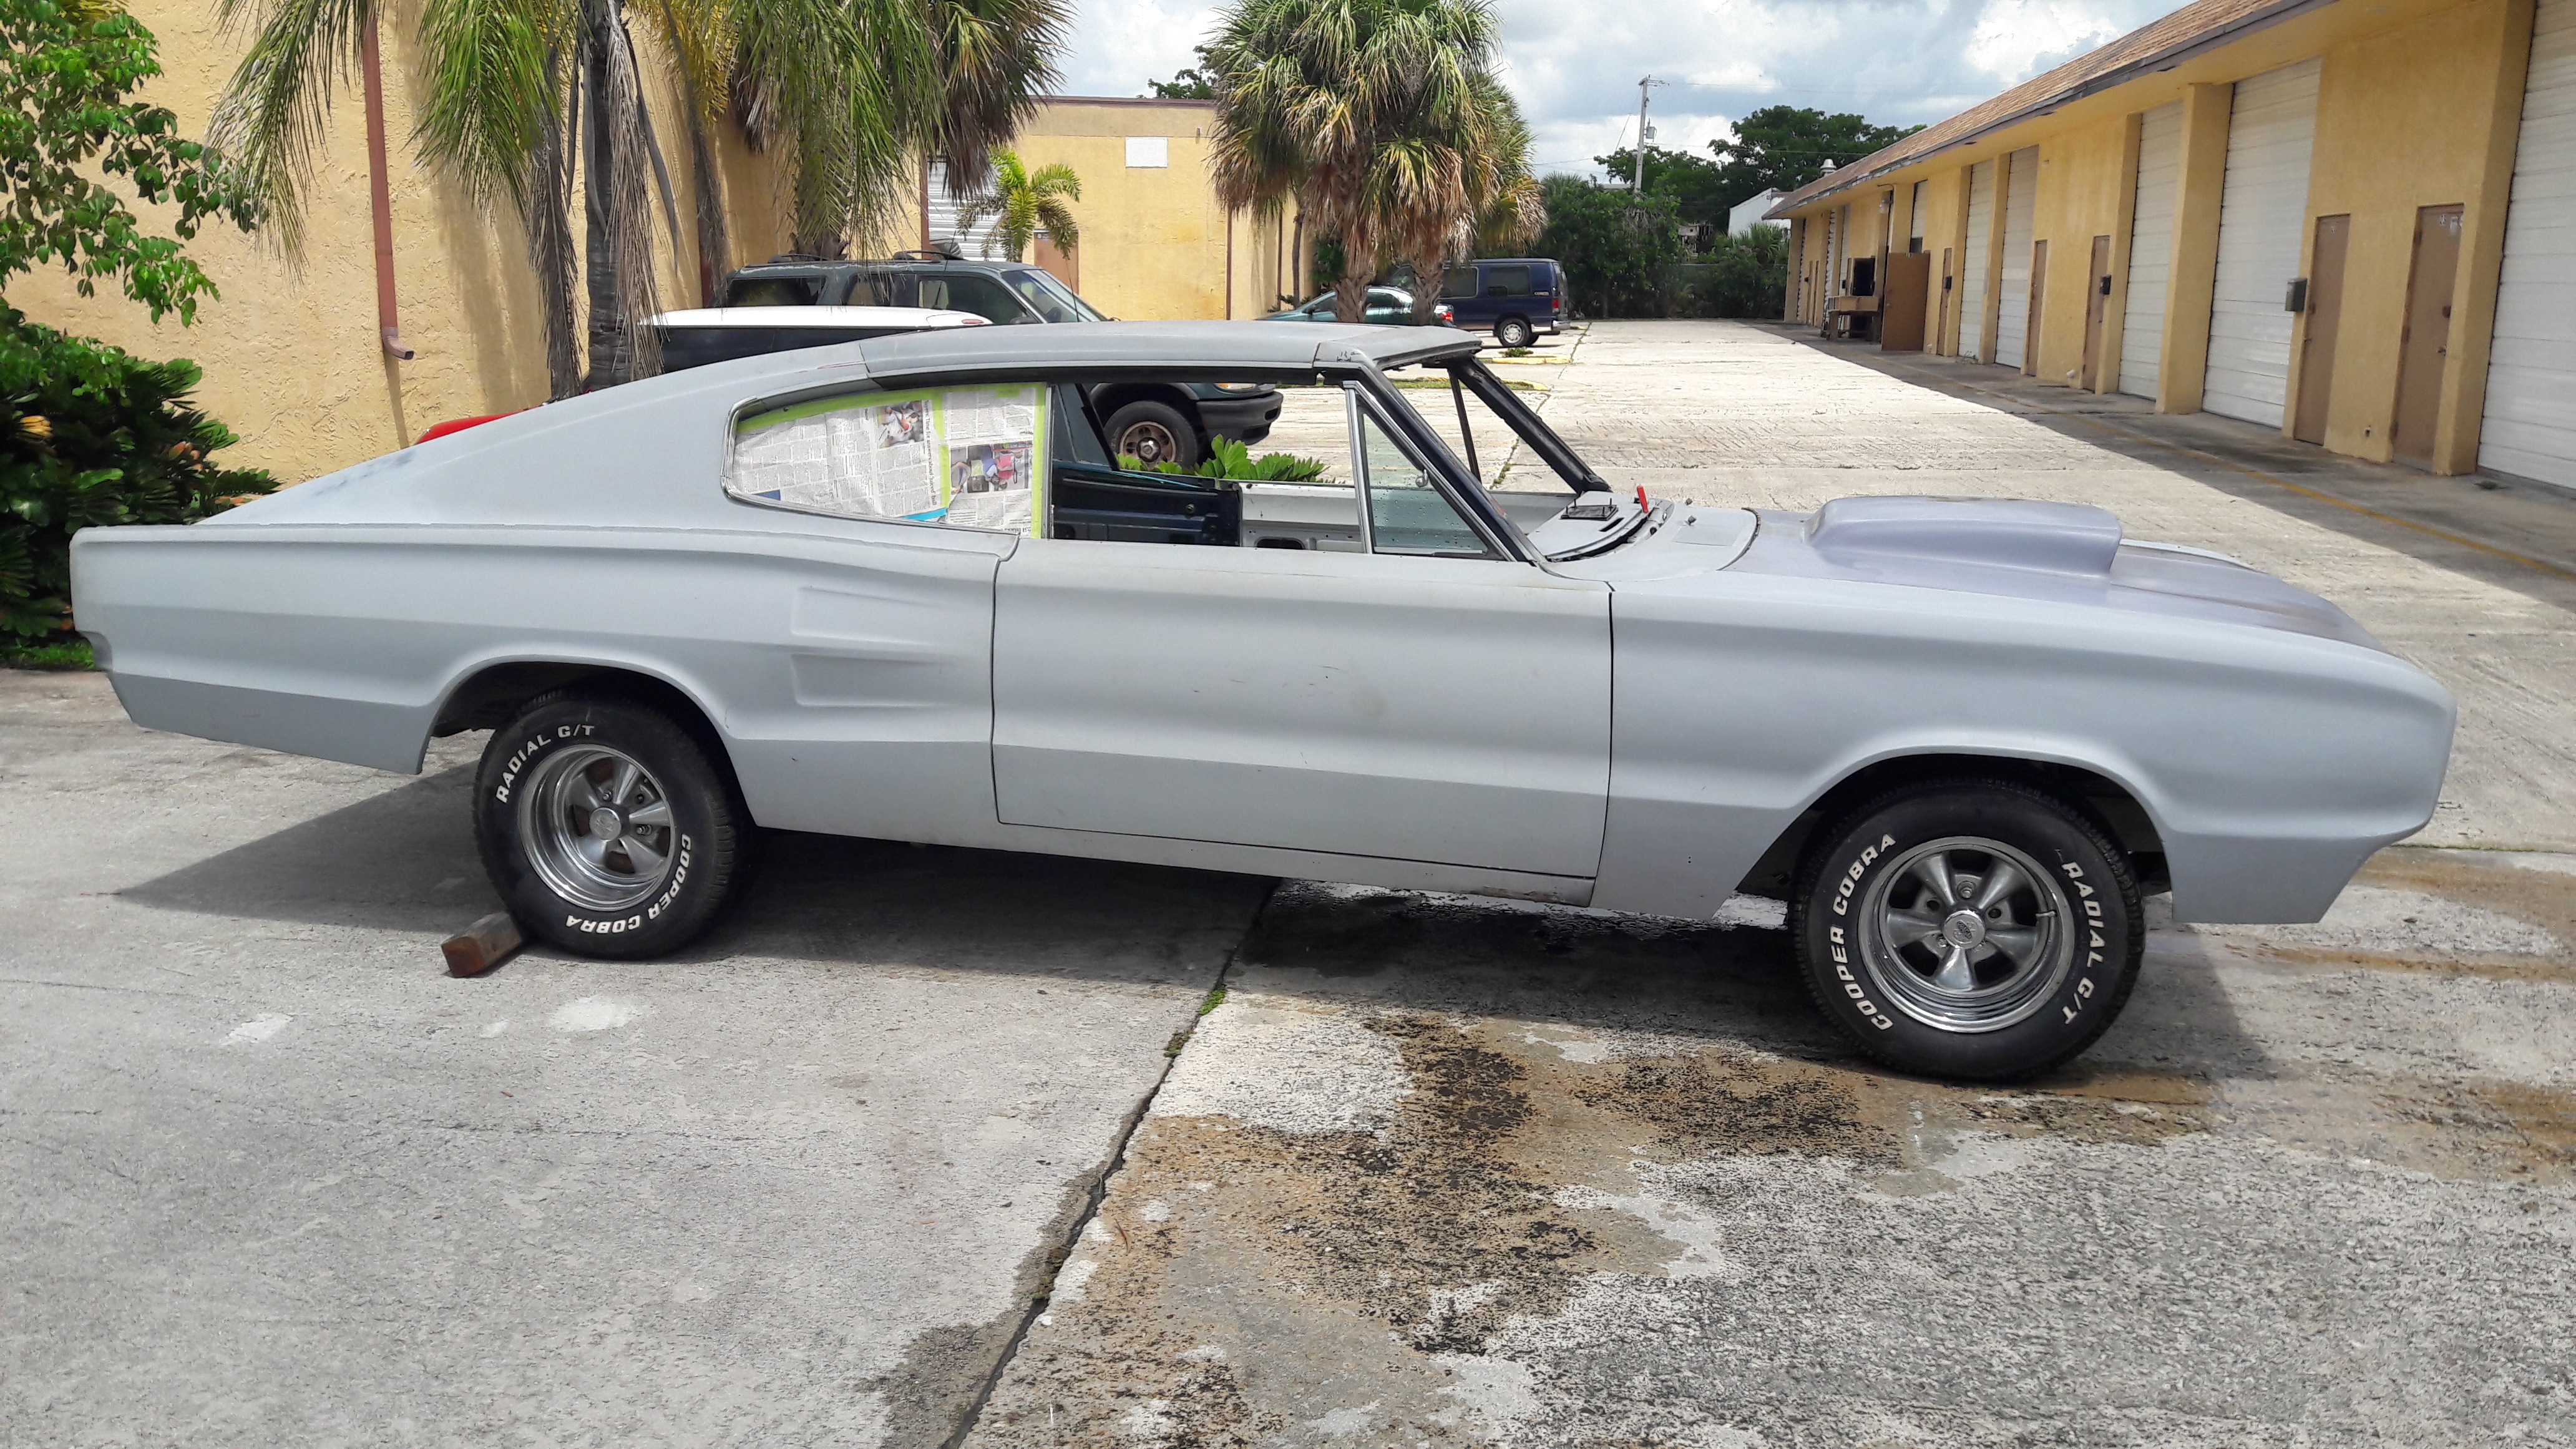
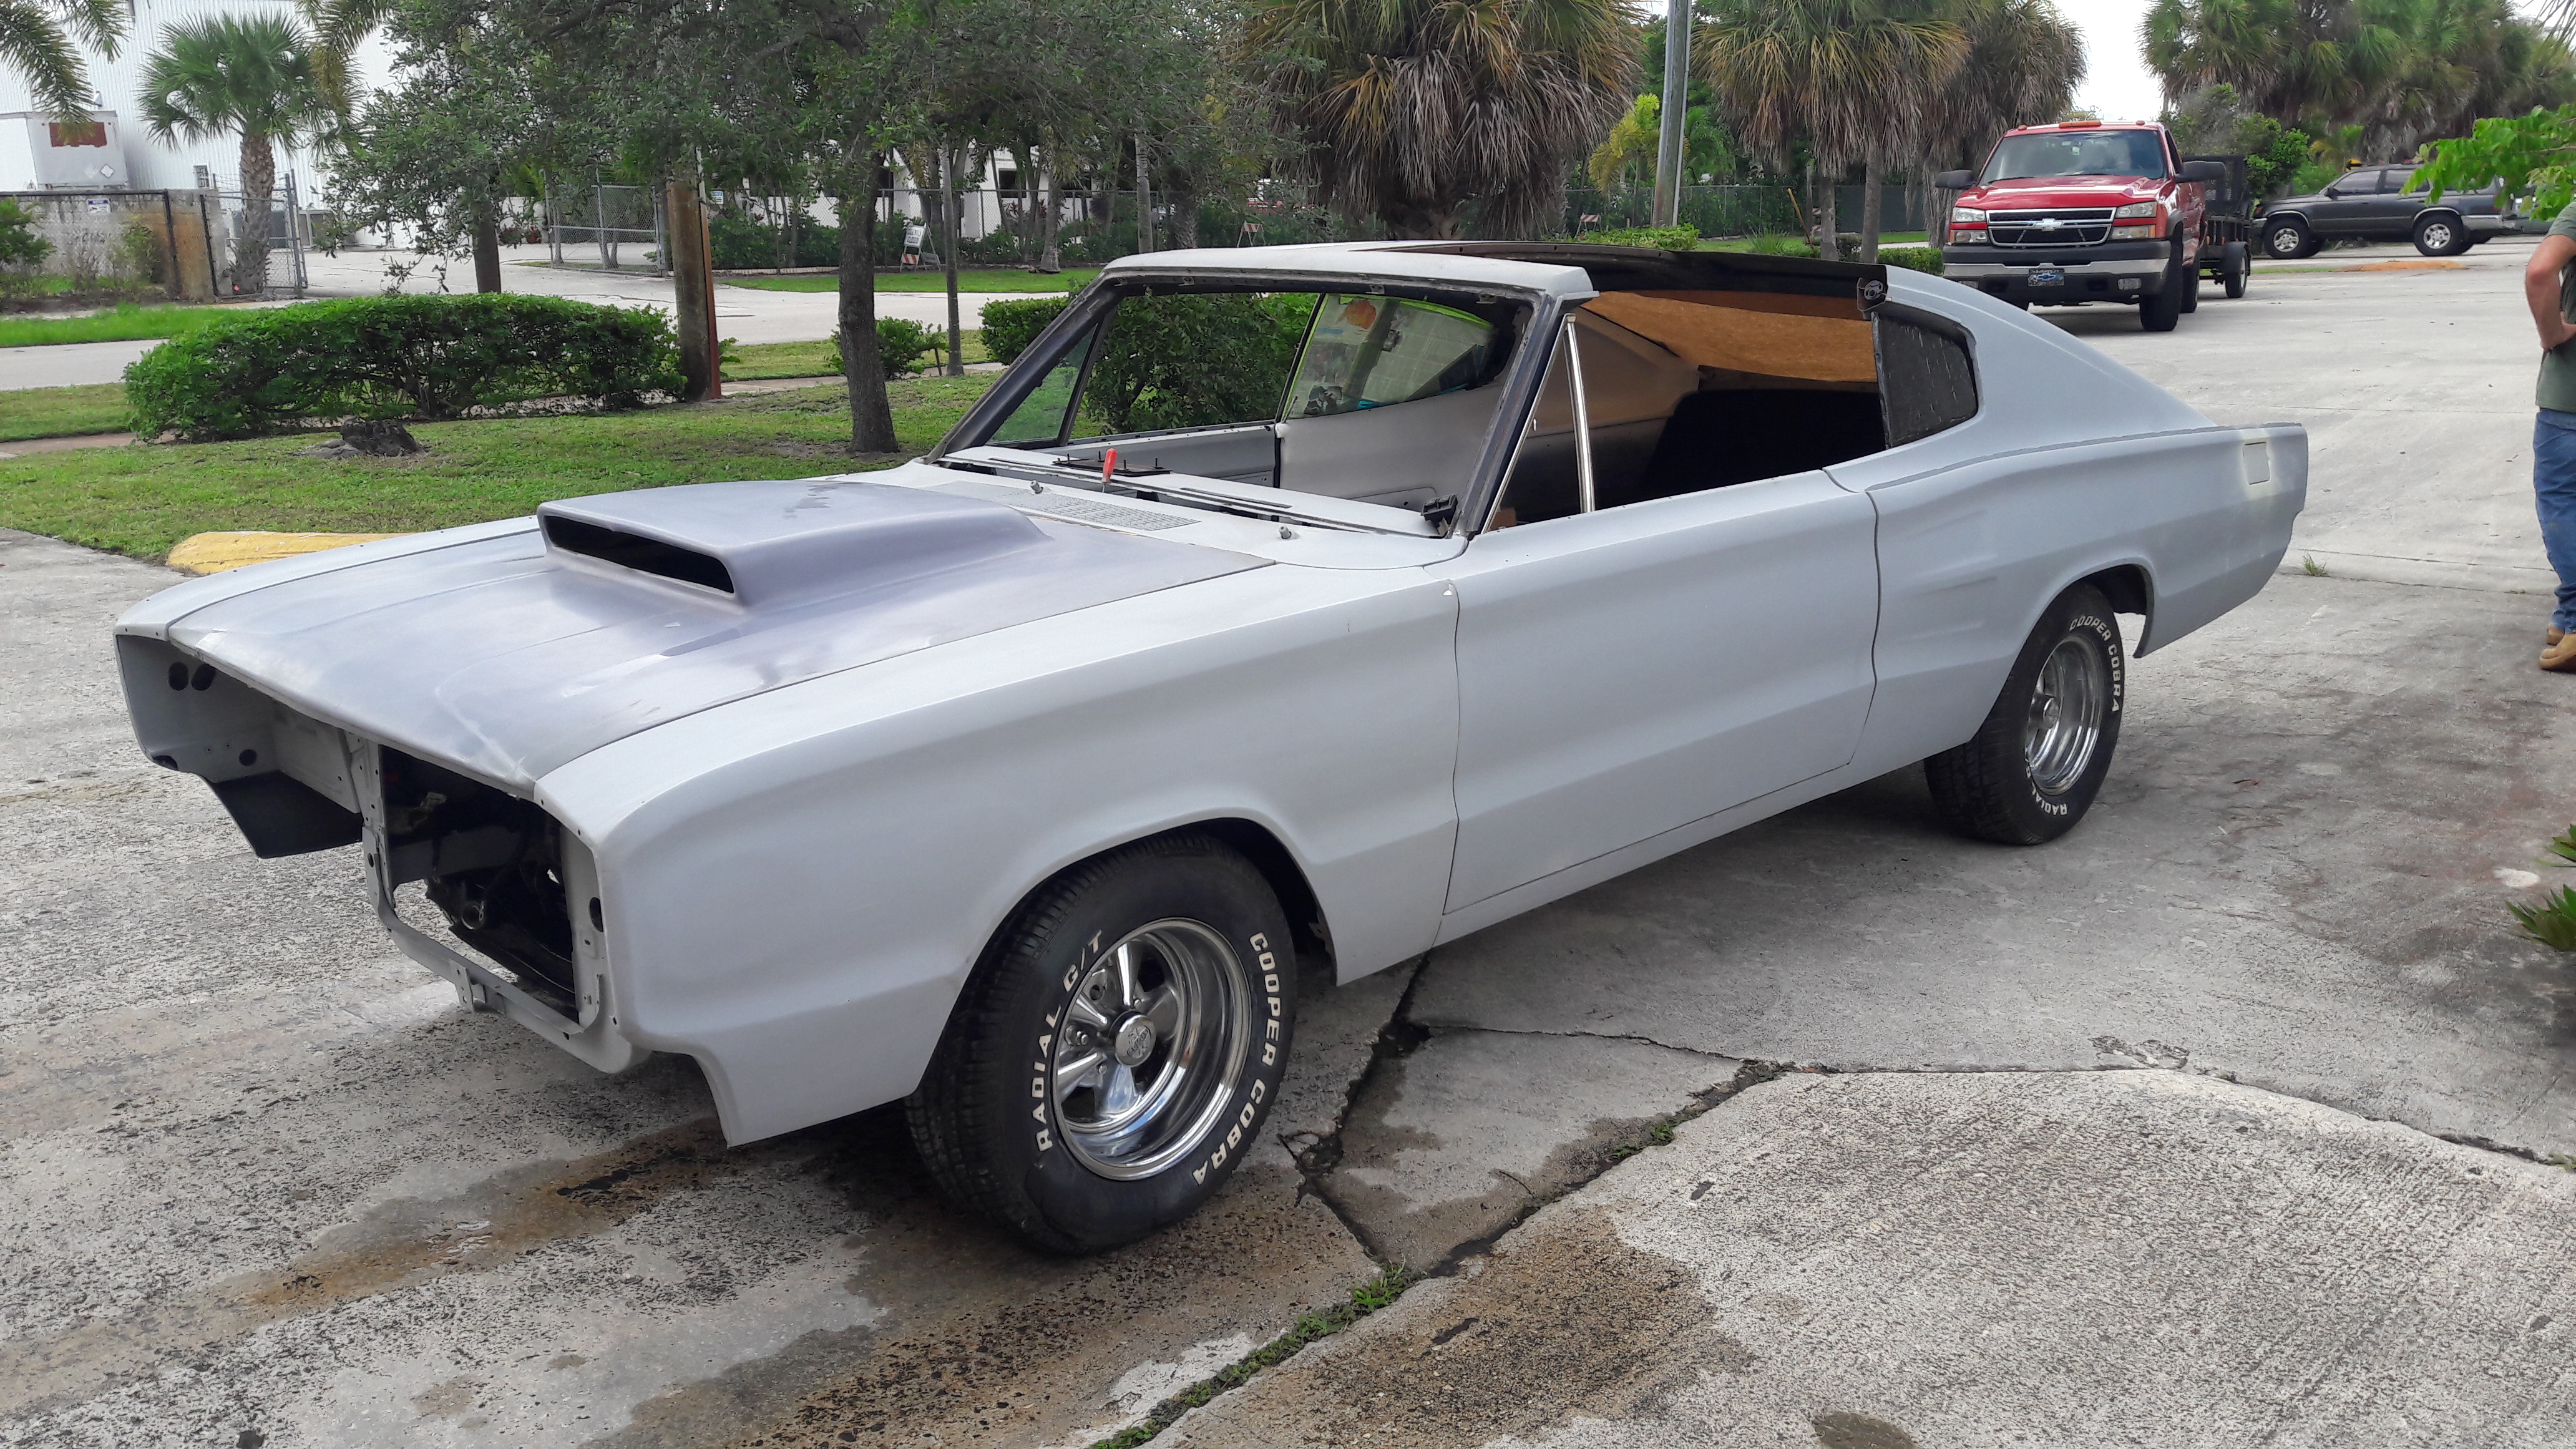
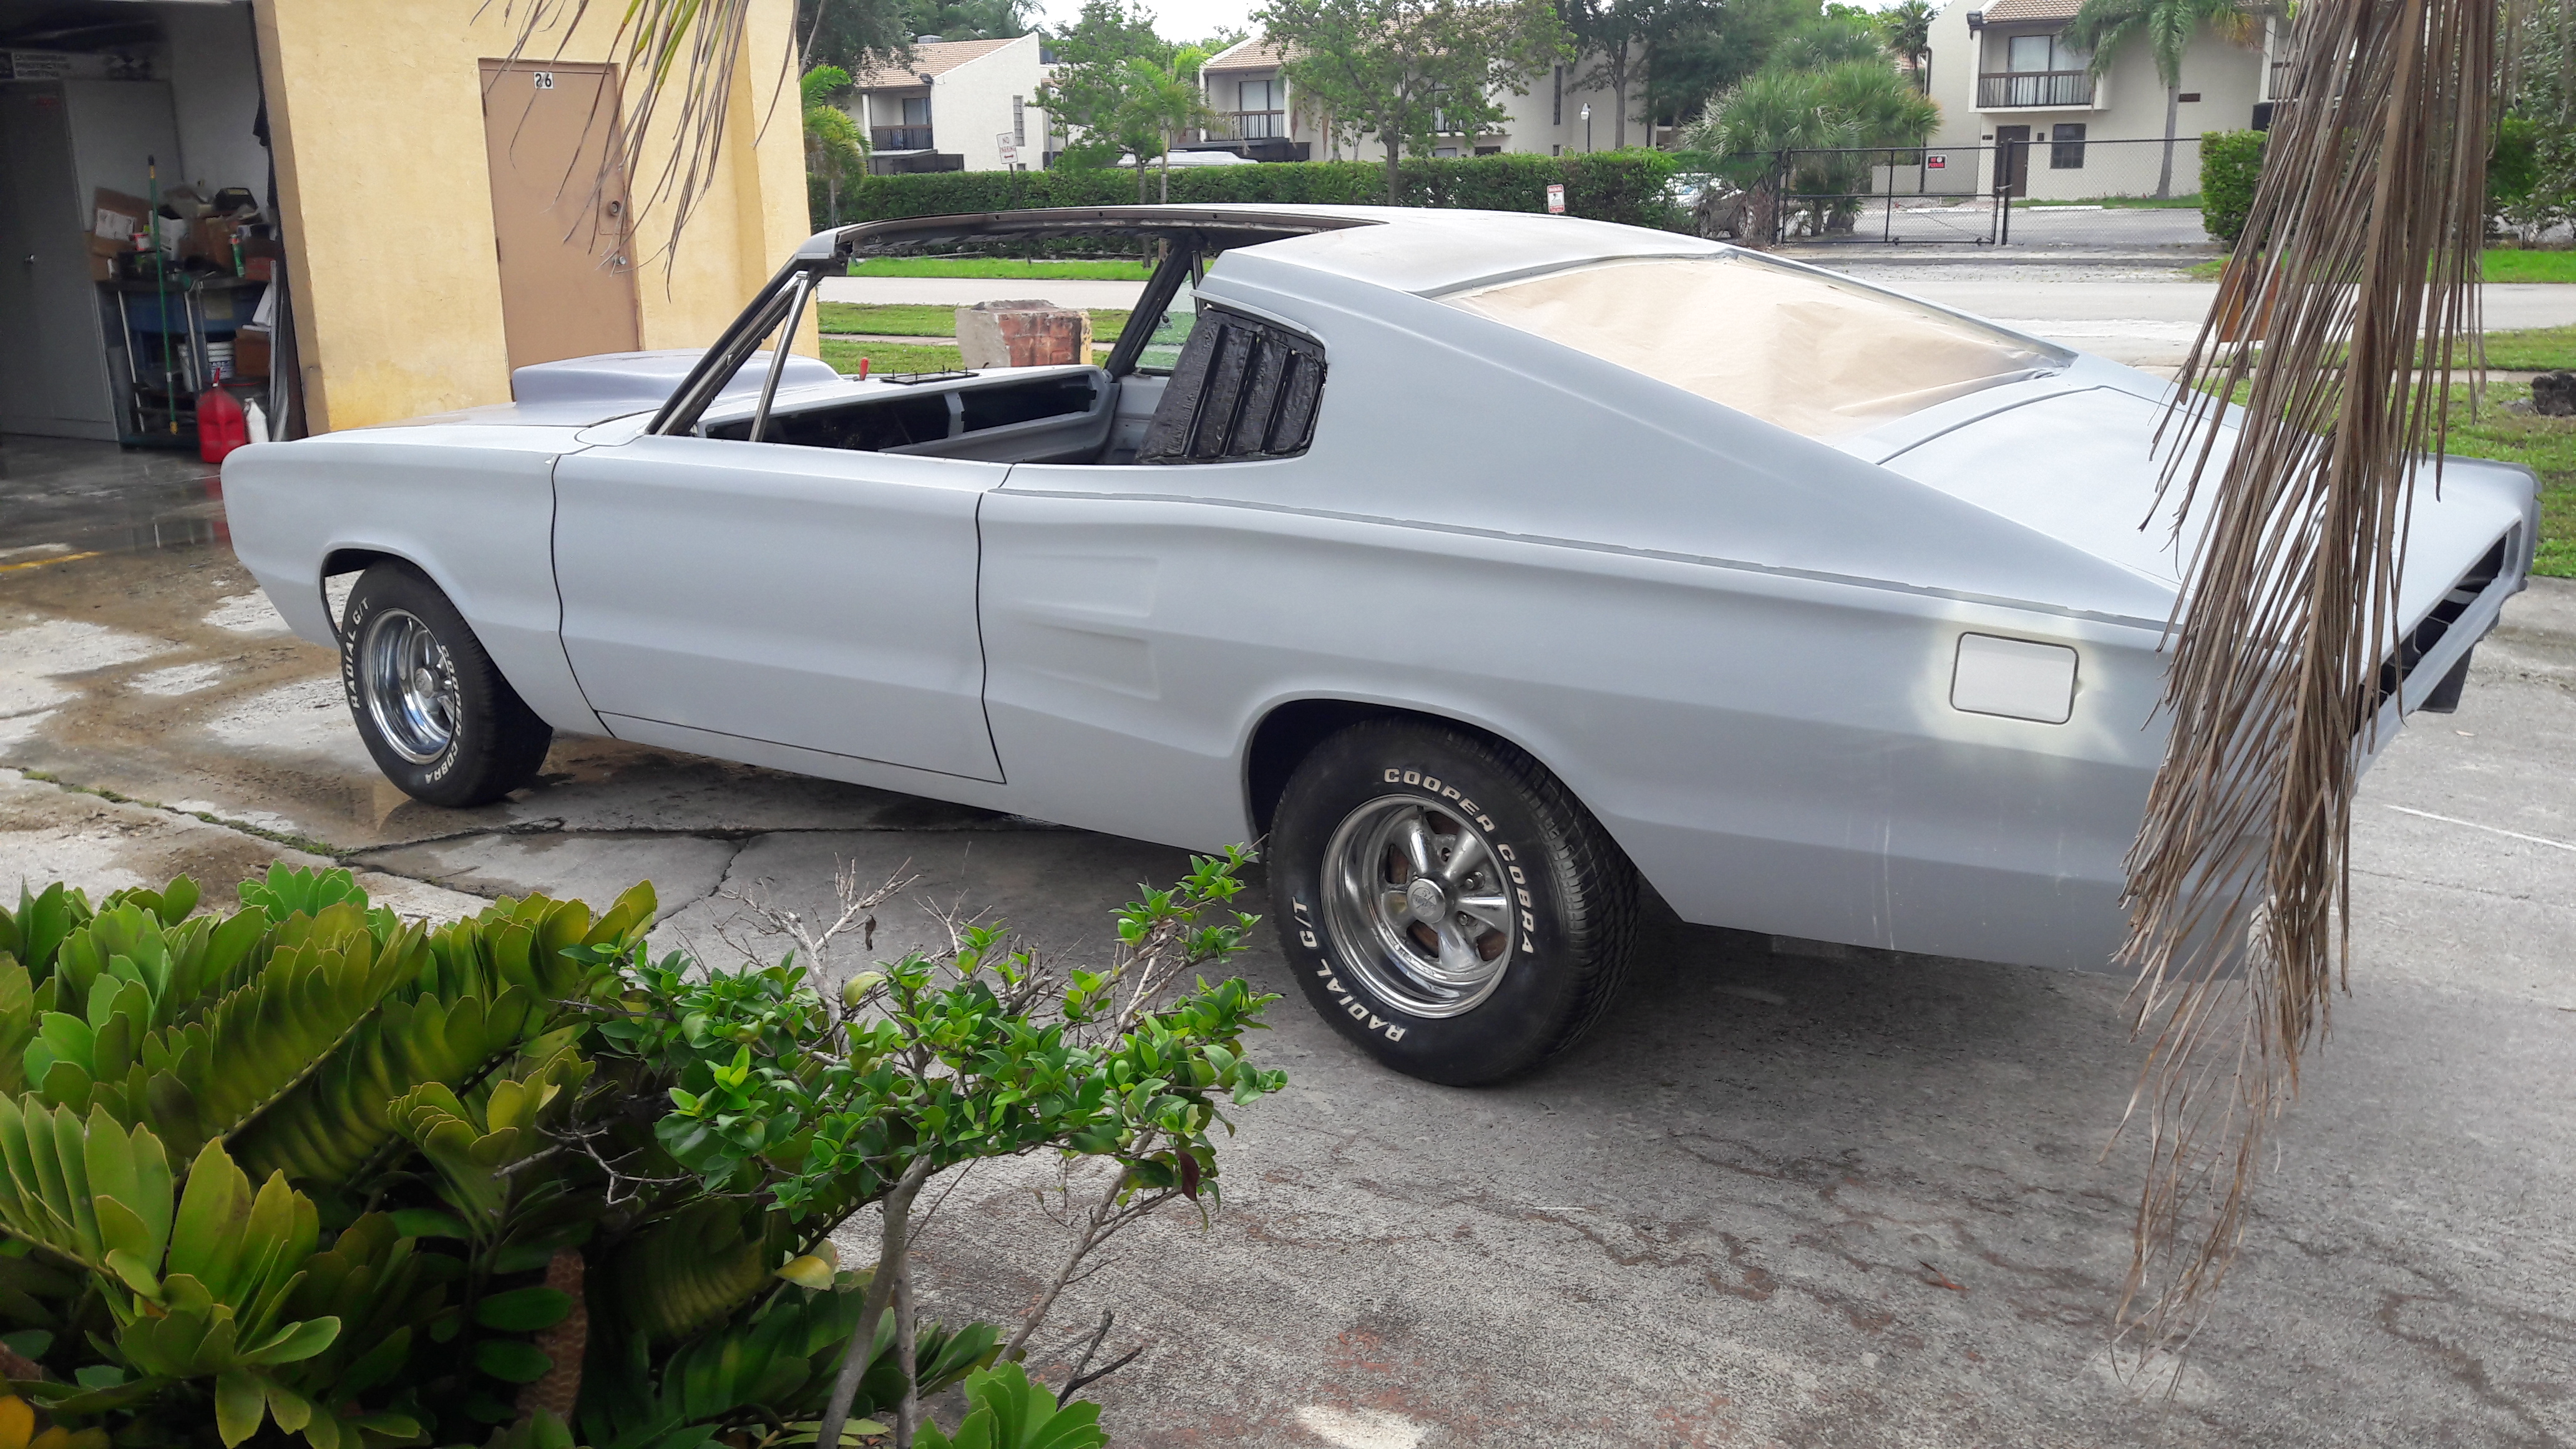
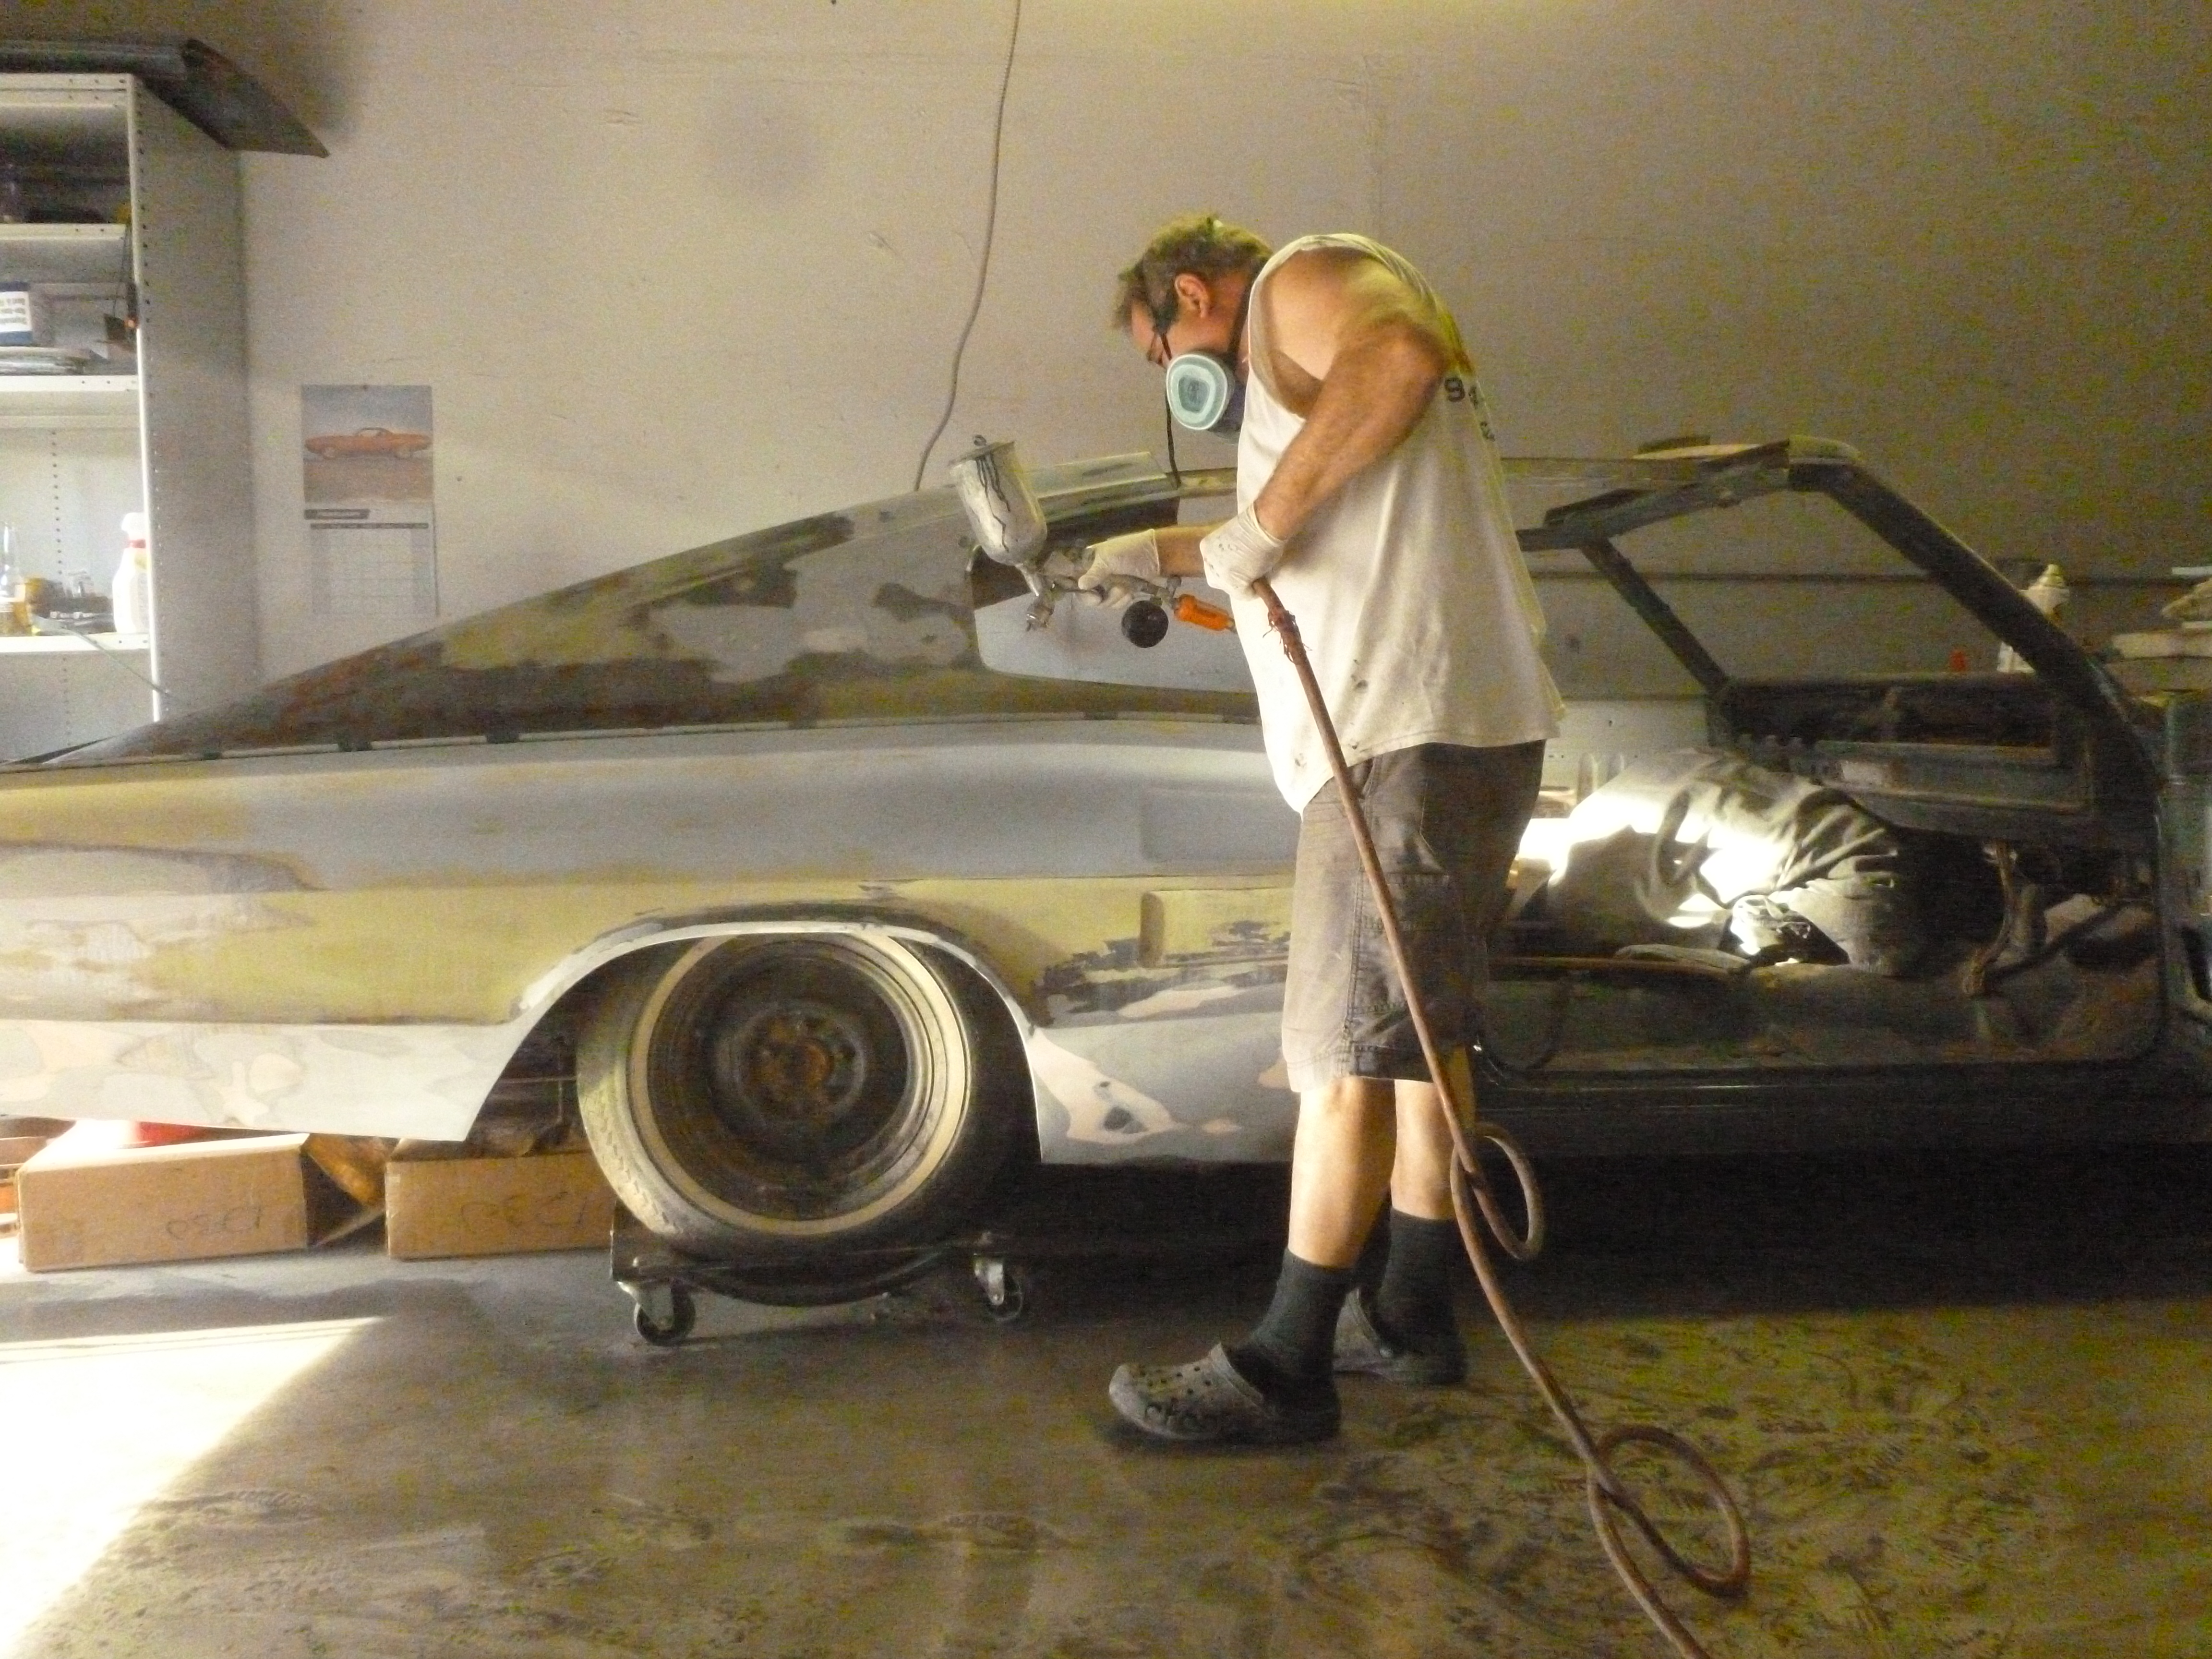
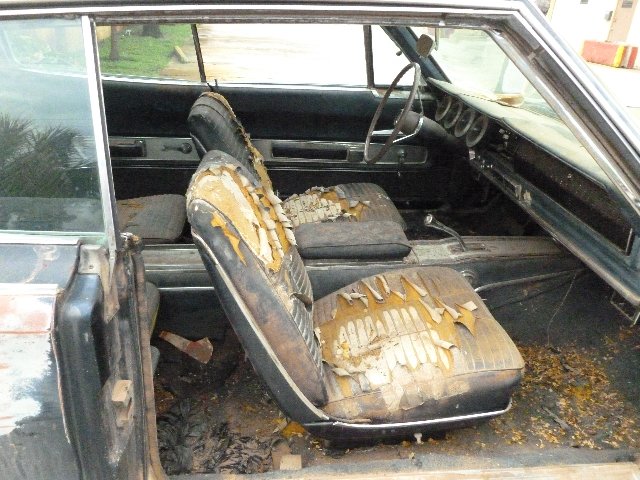
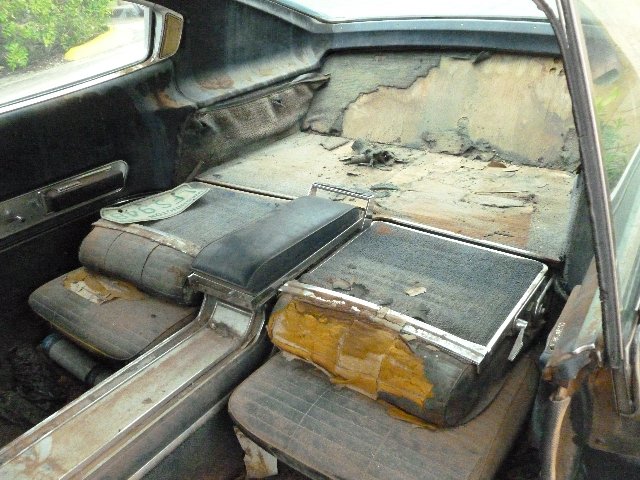
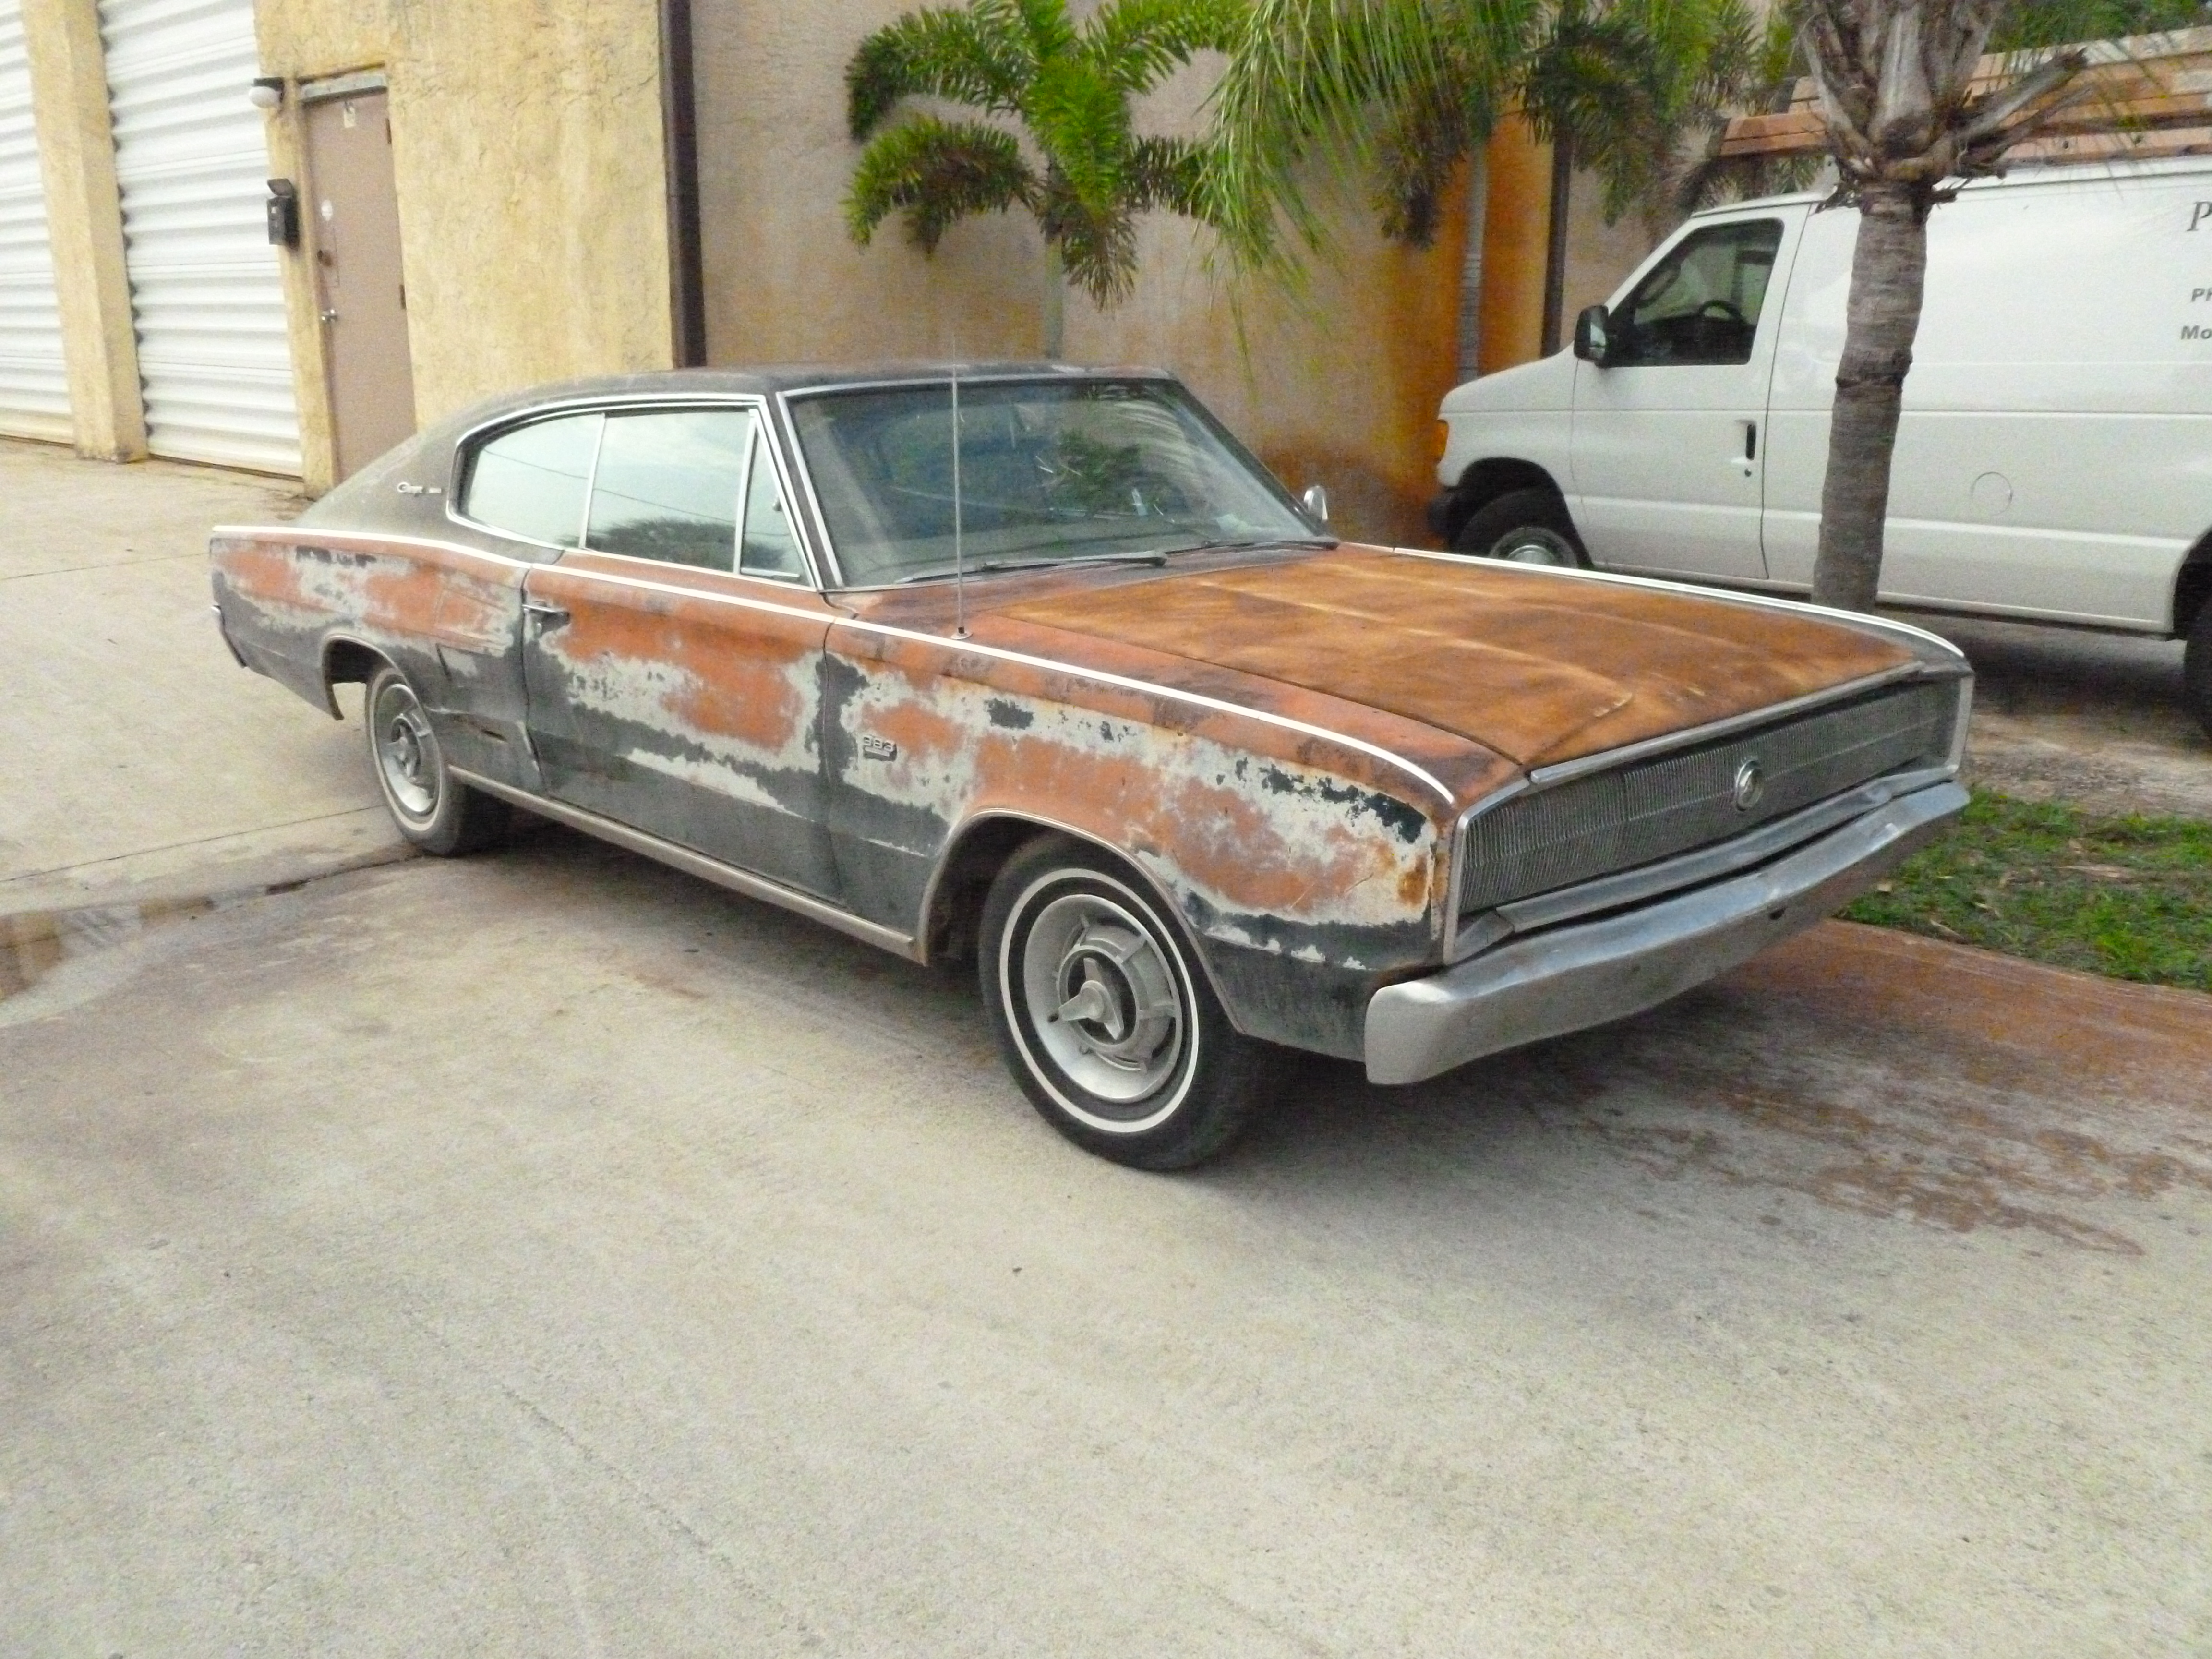
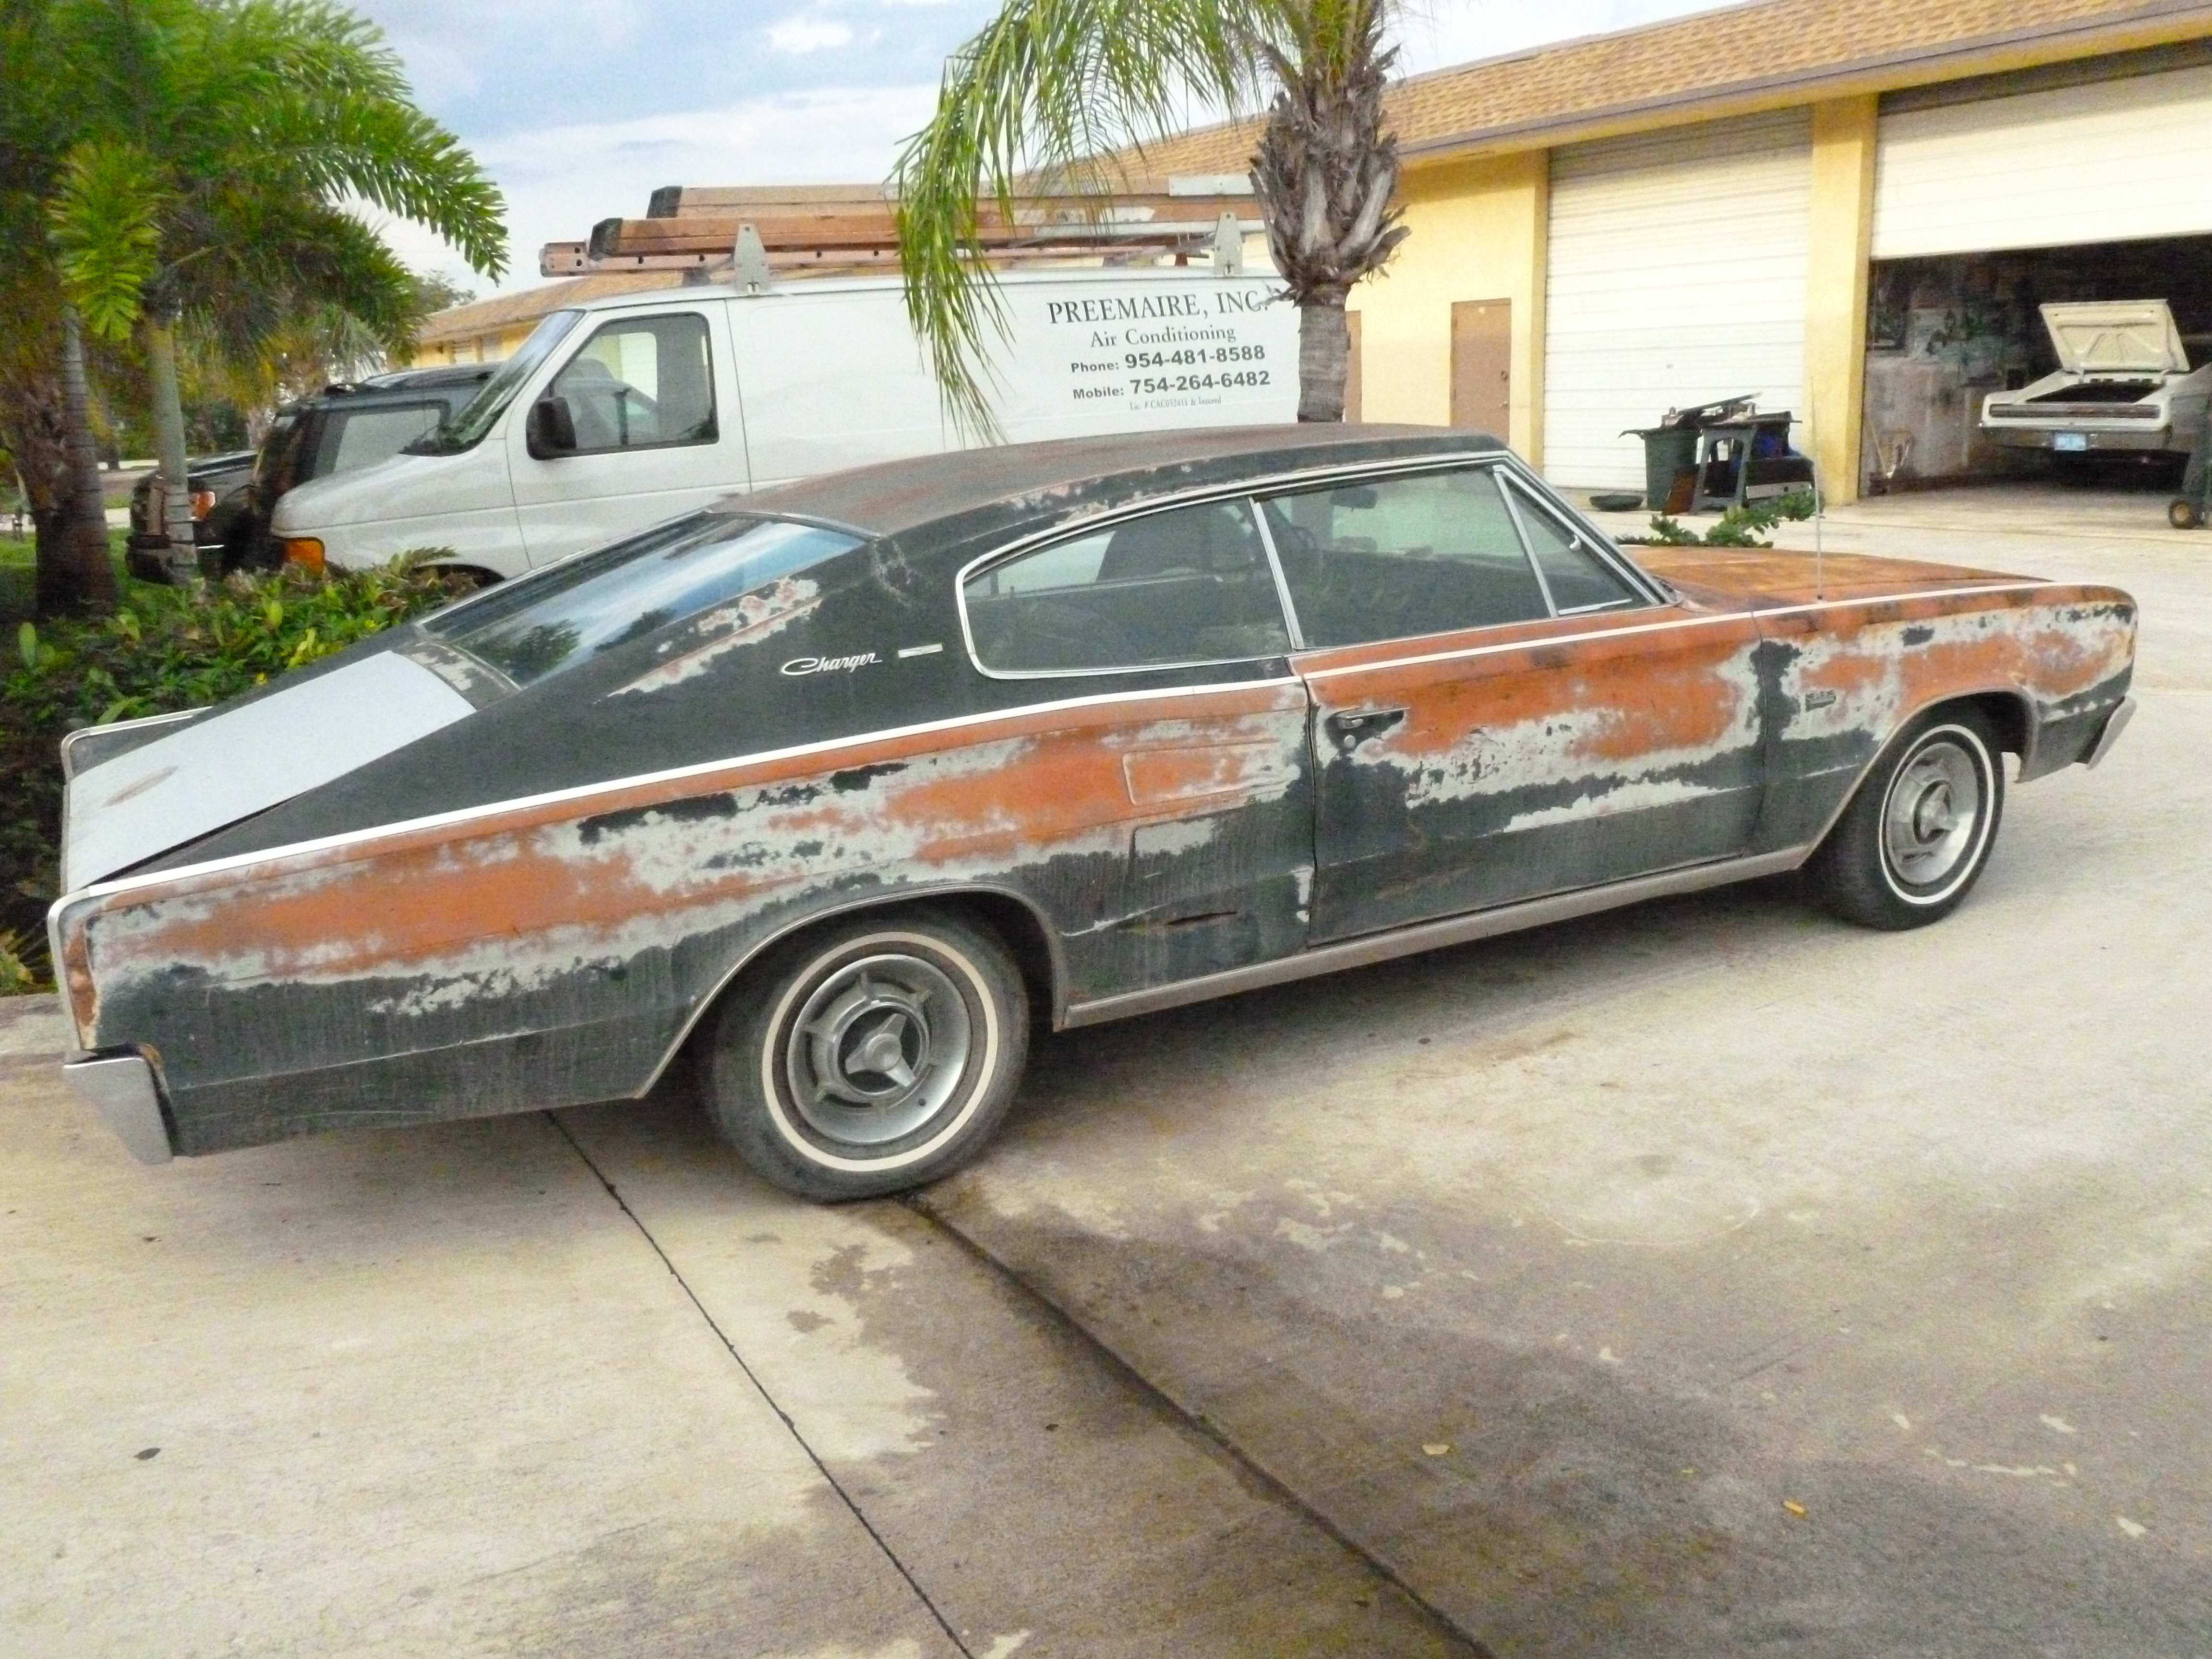
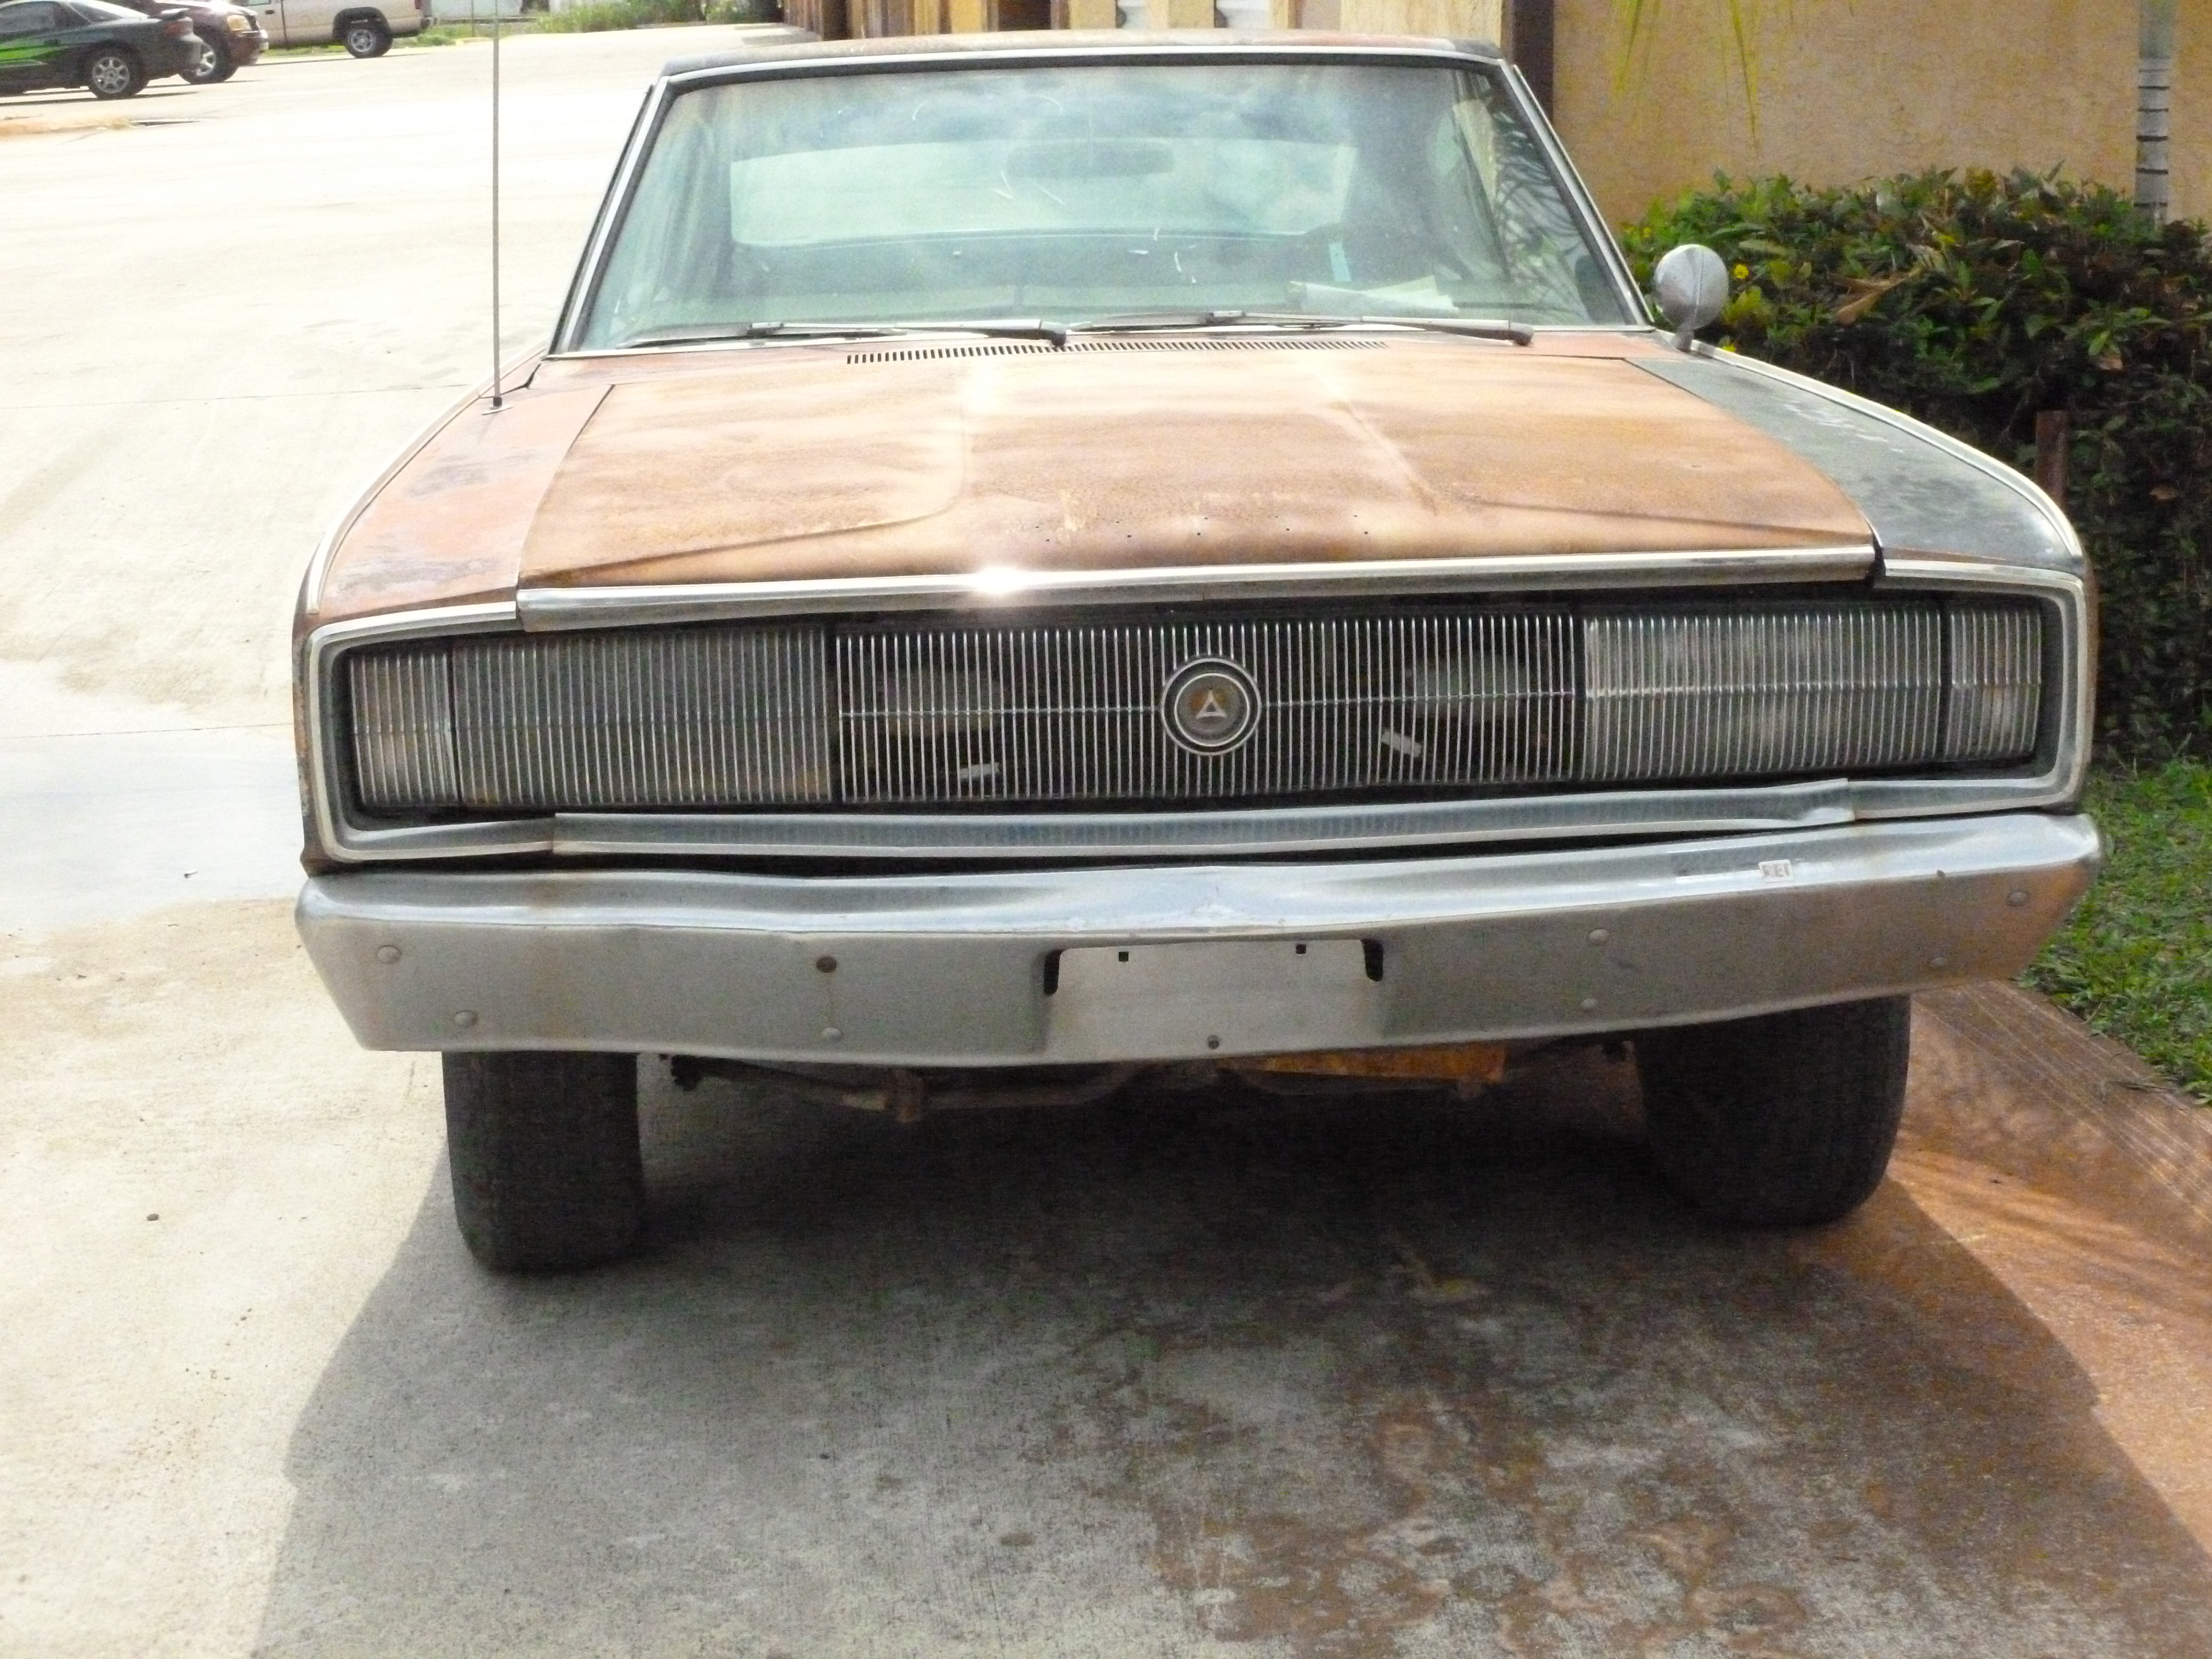
This is Rick's 6th & last 1966 Charger project. The car was located through Mopar Muscle group on Linkedin. Purchased by pictures, the car was relatively, a time capsule. The engine wore out and nobody touched the car until now. The car was undamaged and complete. This was the starting point for a modfied roof project in my head. Buy a good car and cut the roof off!! LOL
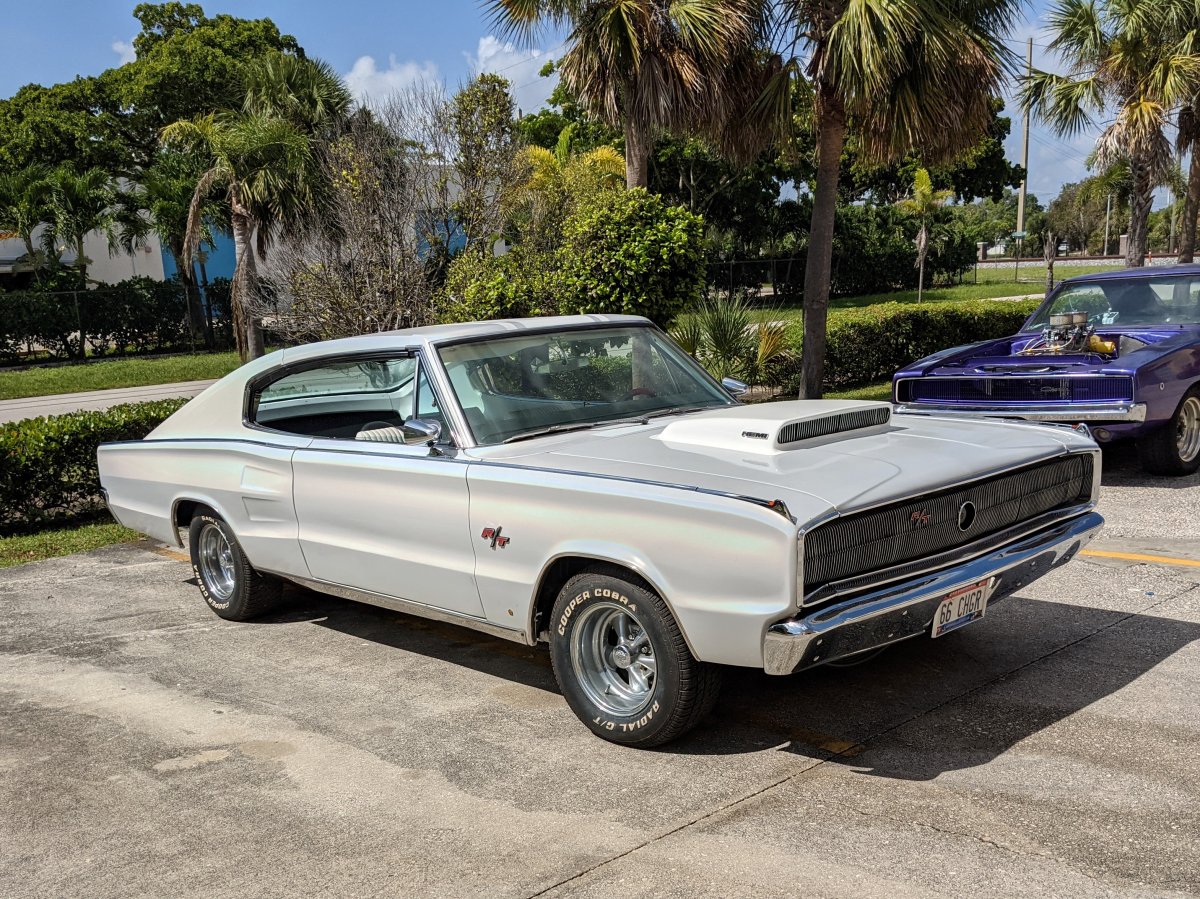
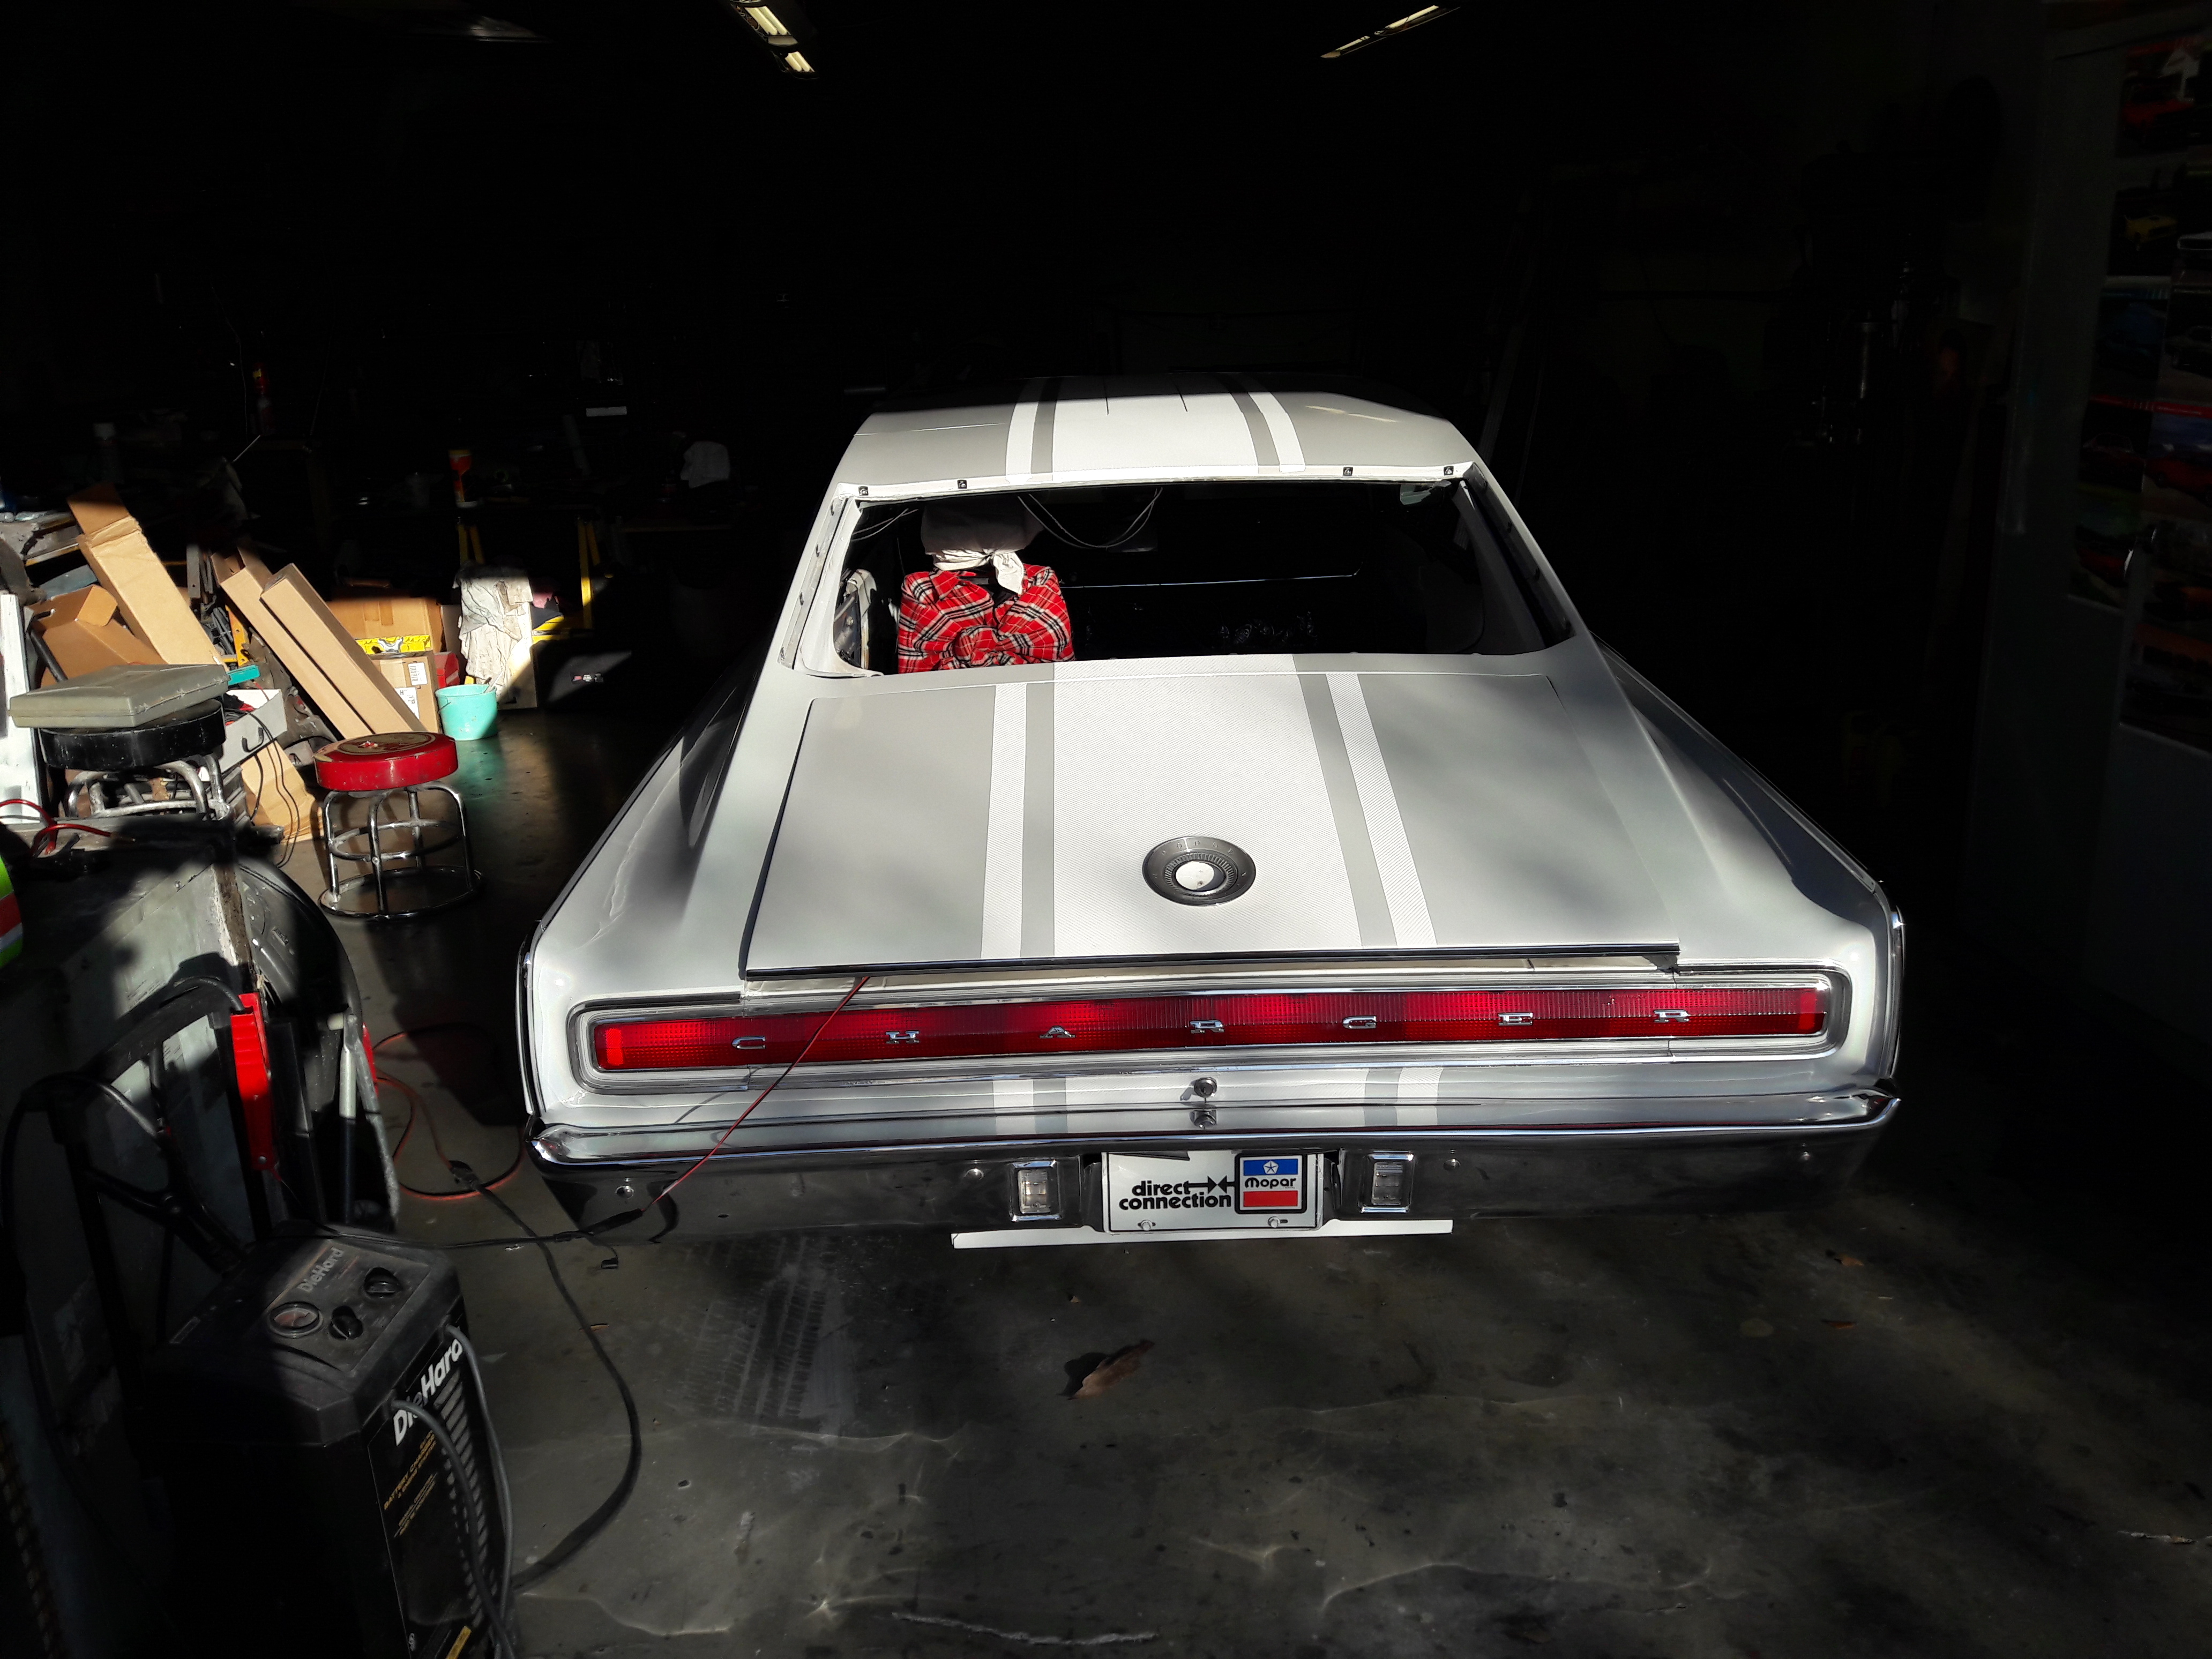
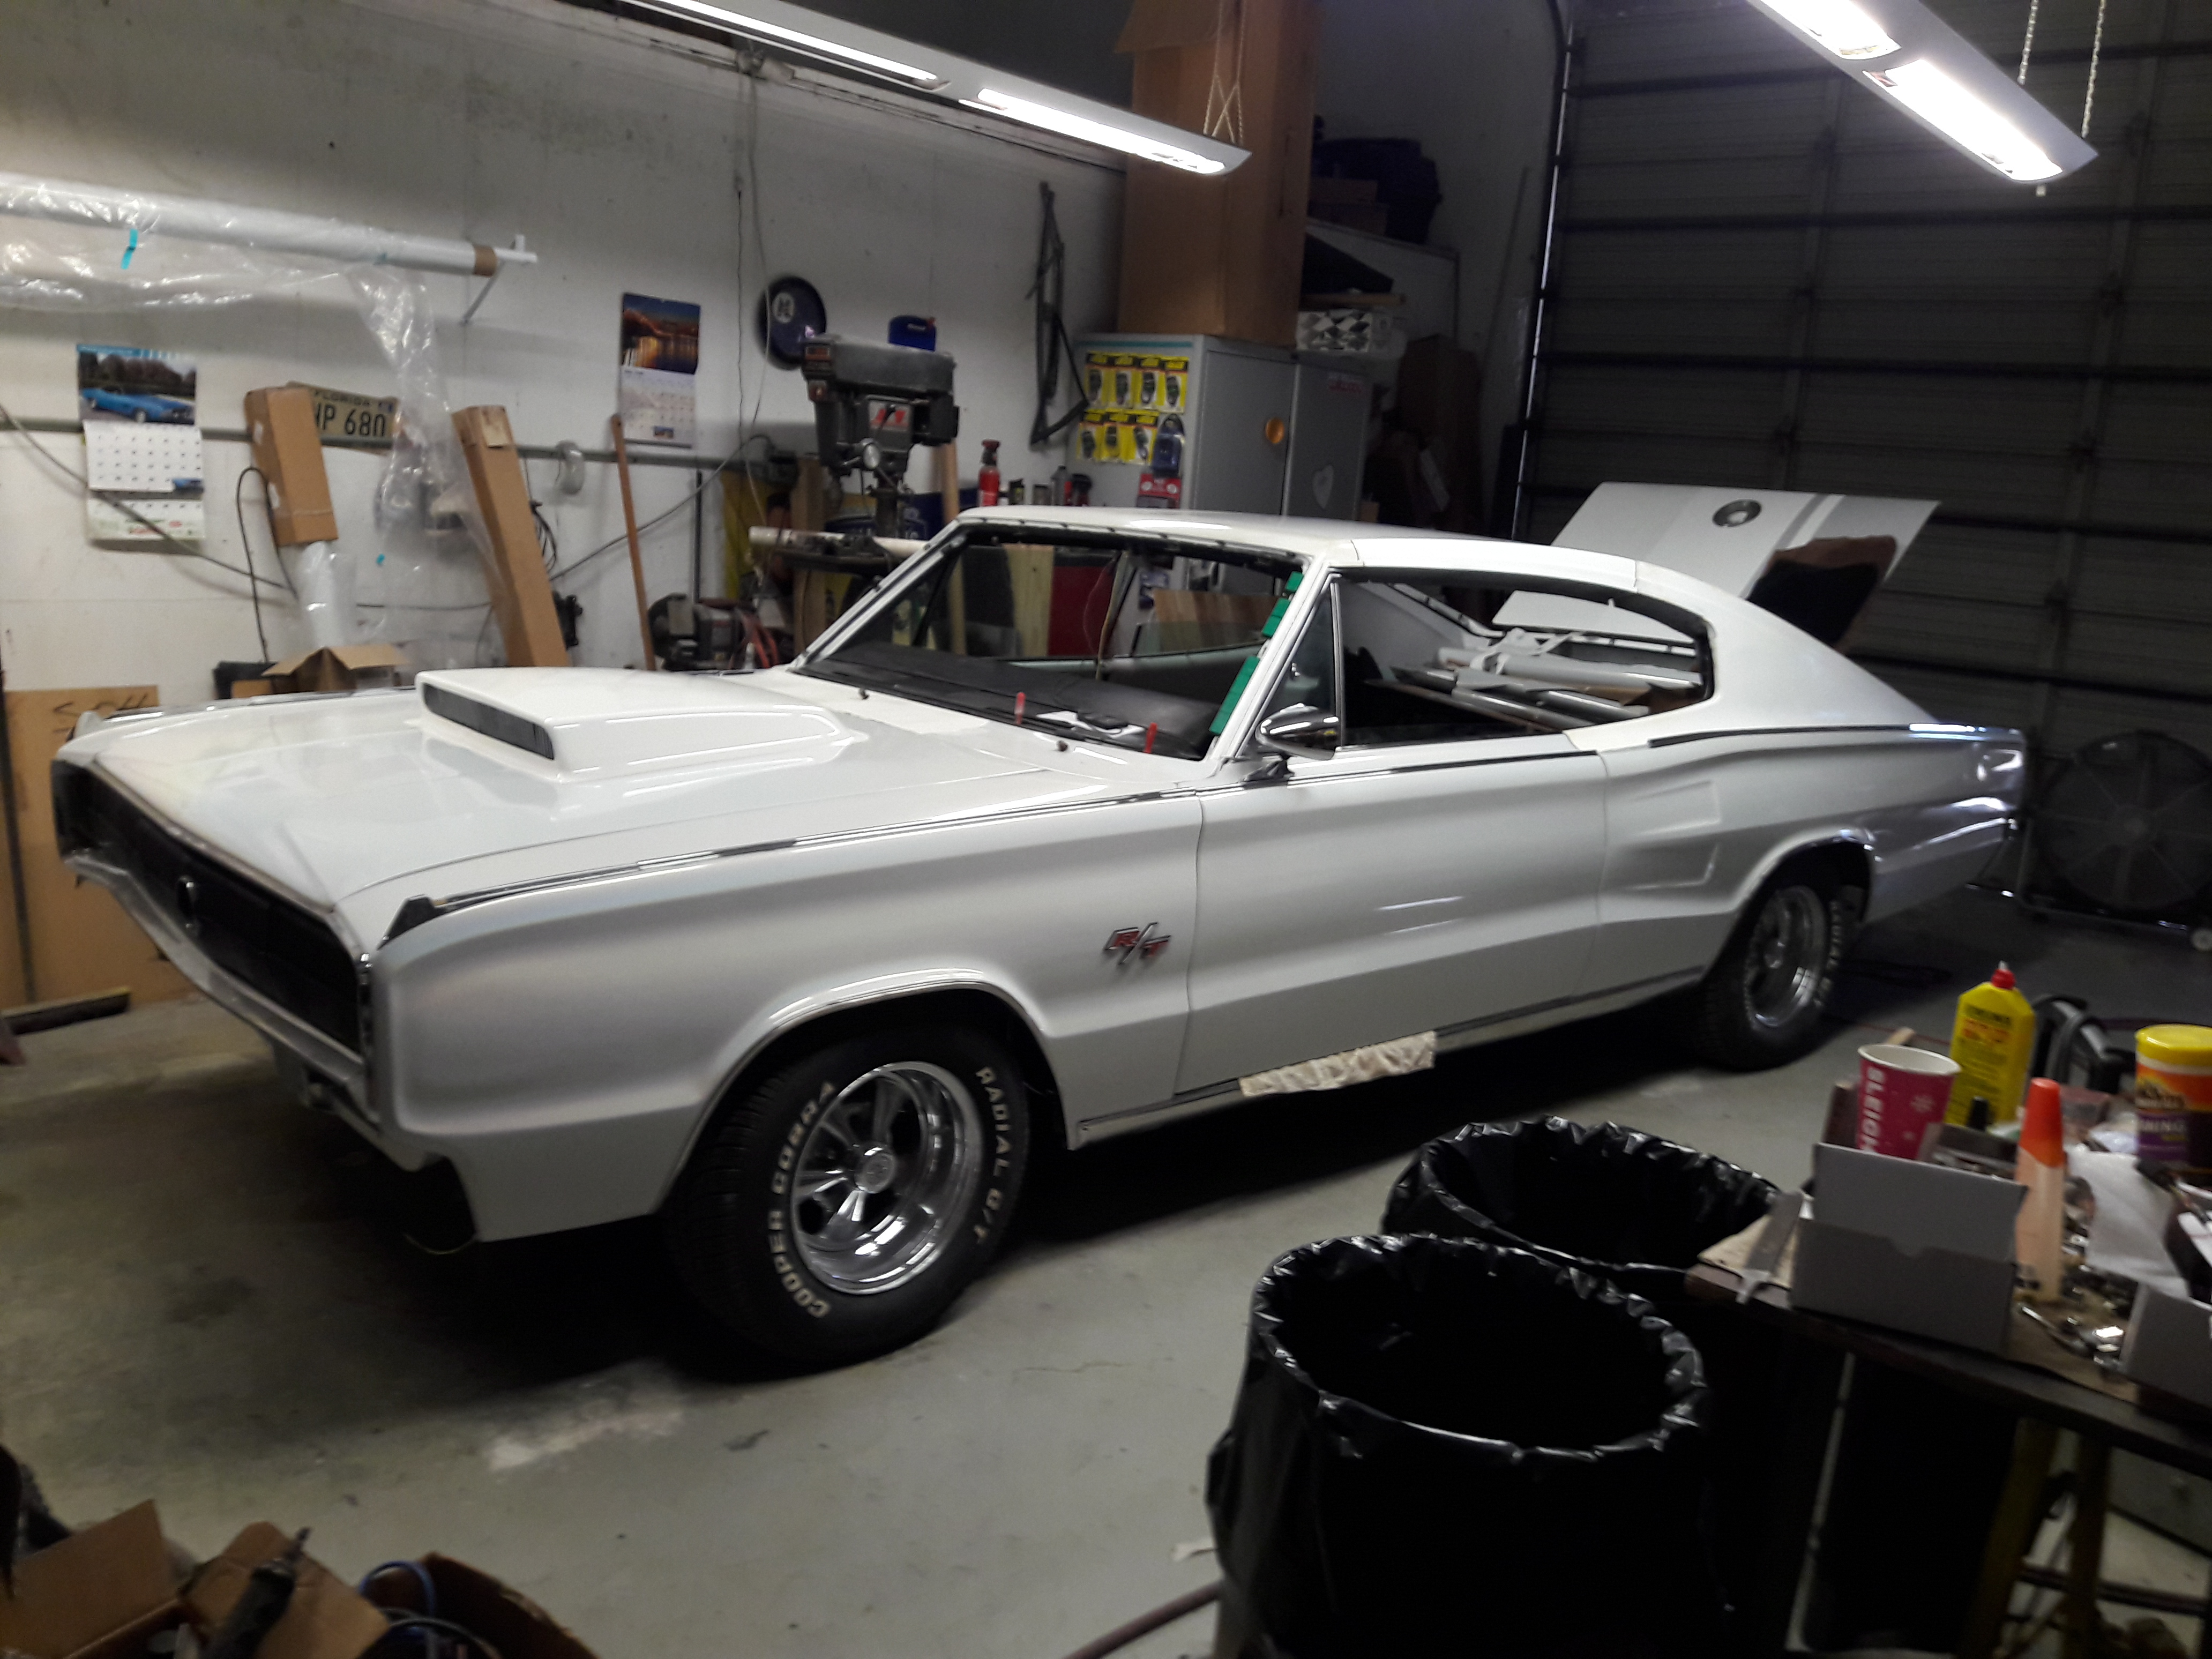
The car was completed and went to its 1rst car show on April 24th 2022 @ Quiet Waters Park.

Sub Projects
Many mini-projects were created in the process of this build. From creating steel lined fiberglass hoods to making custom overhead consoles to designing and fabricating T Tops, it has been 1 adventure after an other to "get er done"!

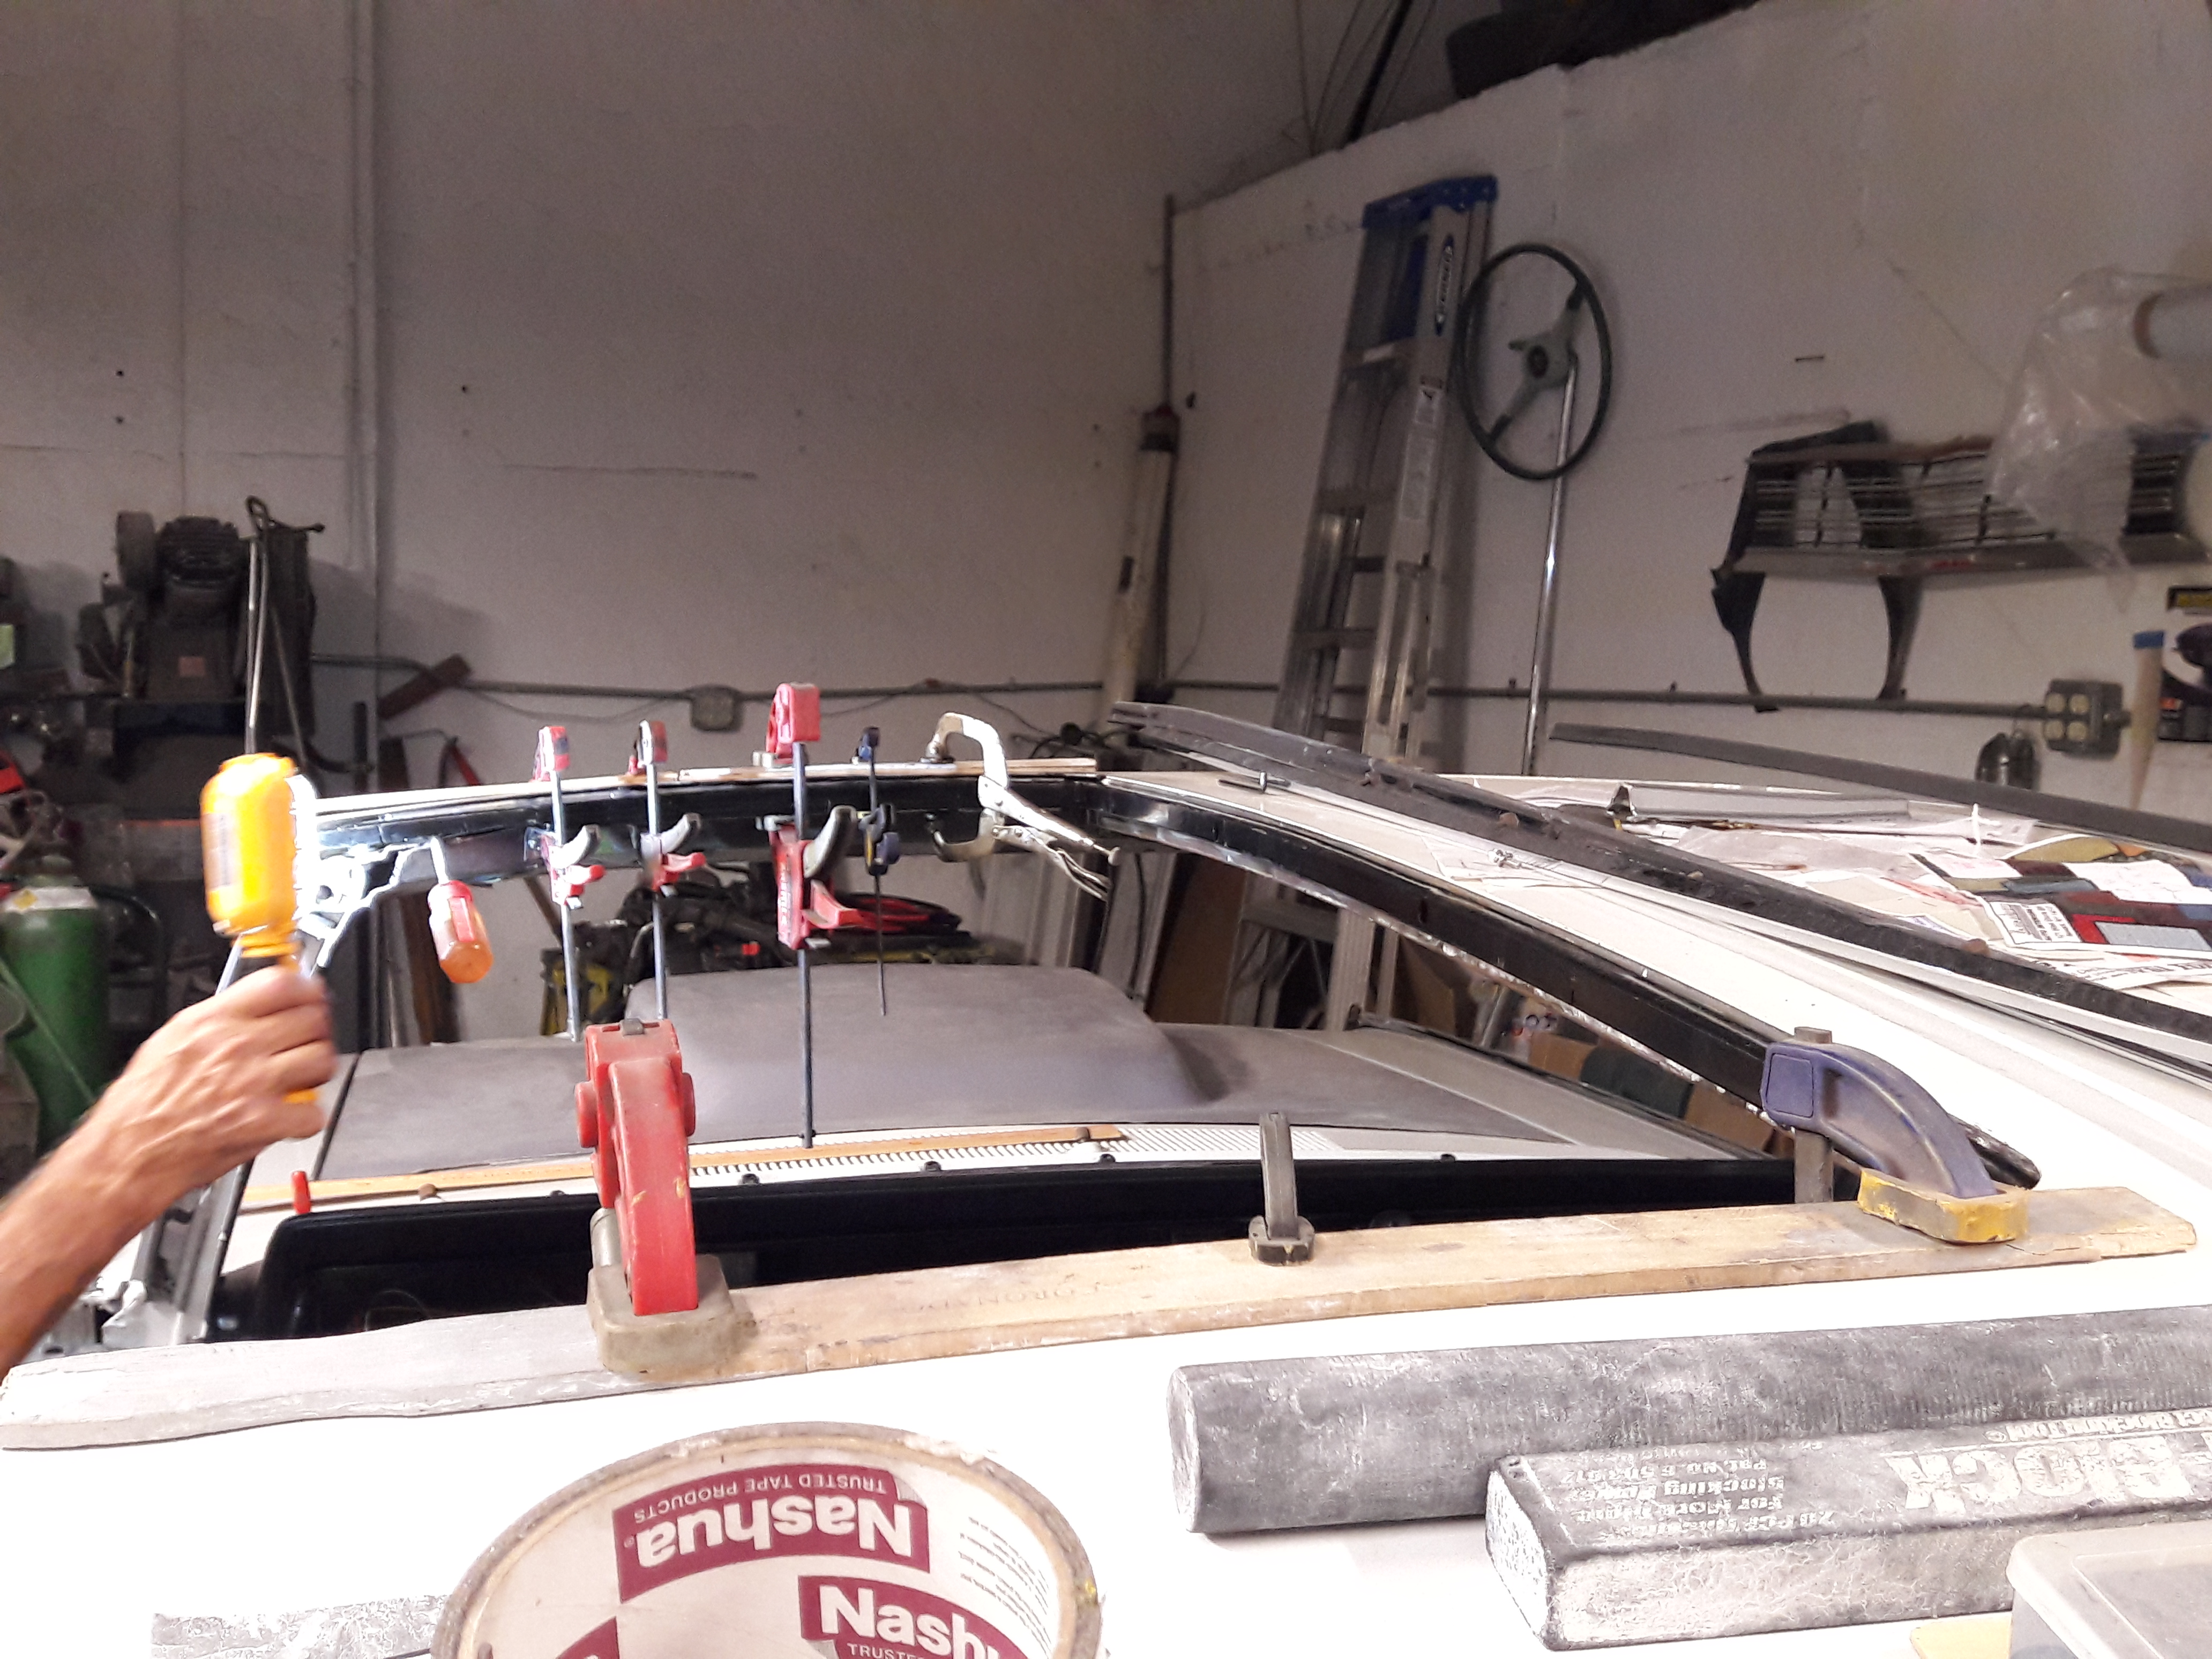
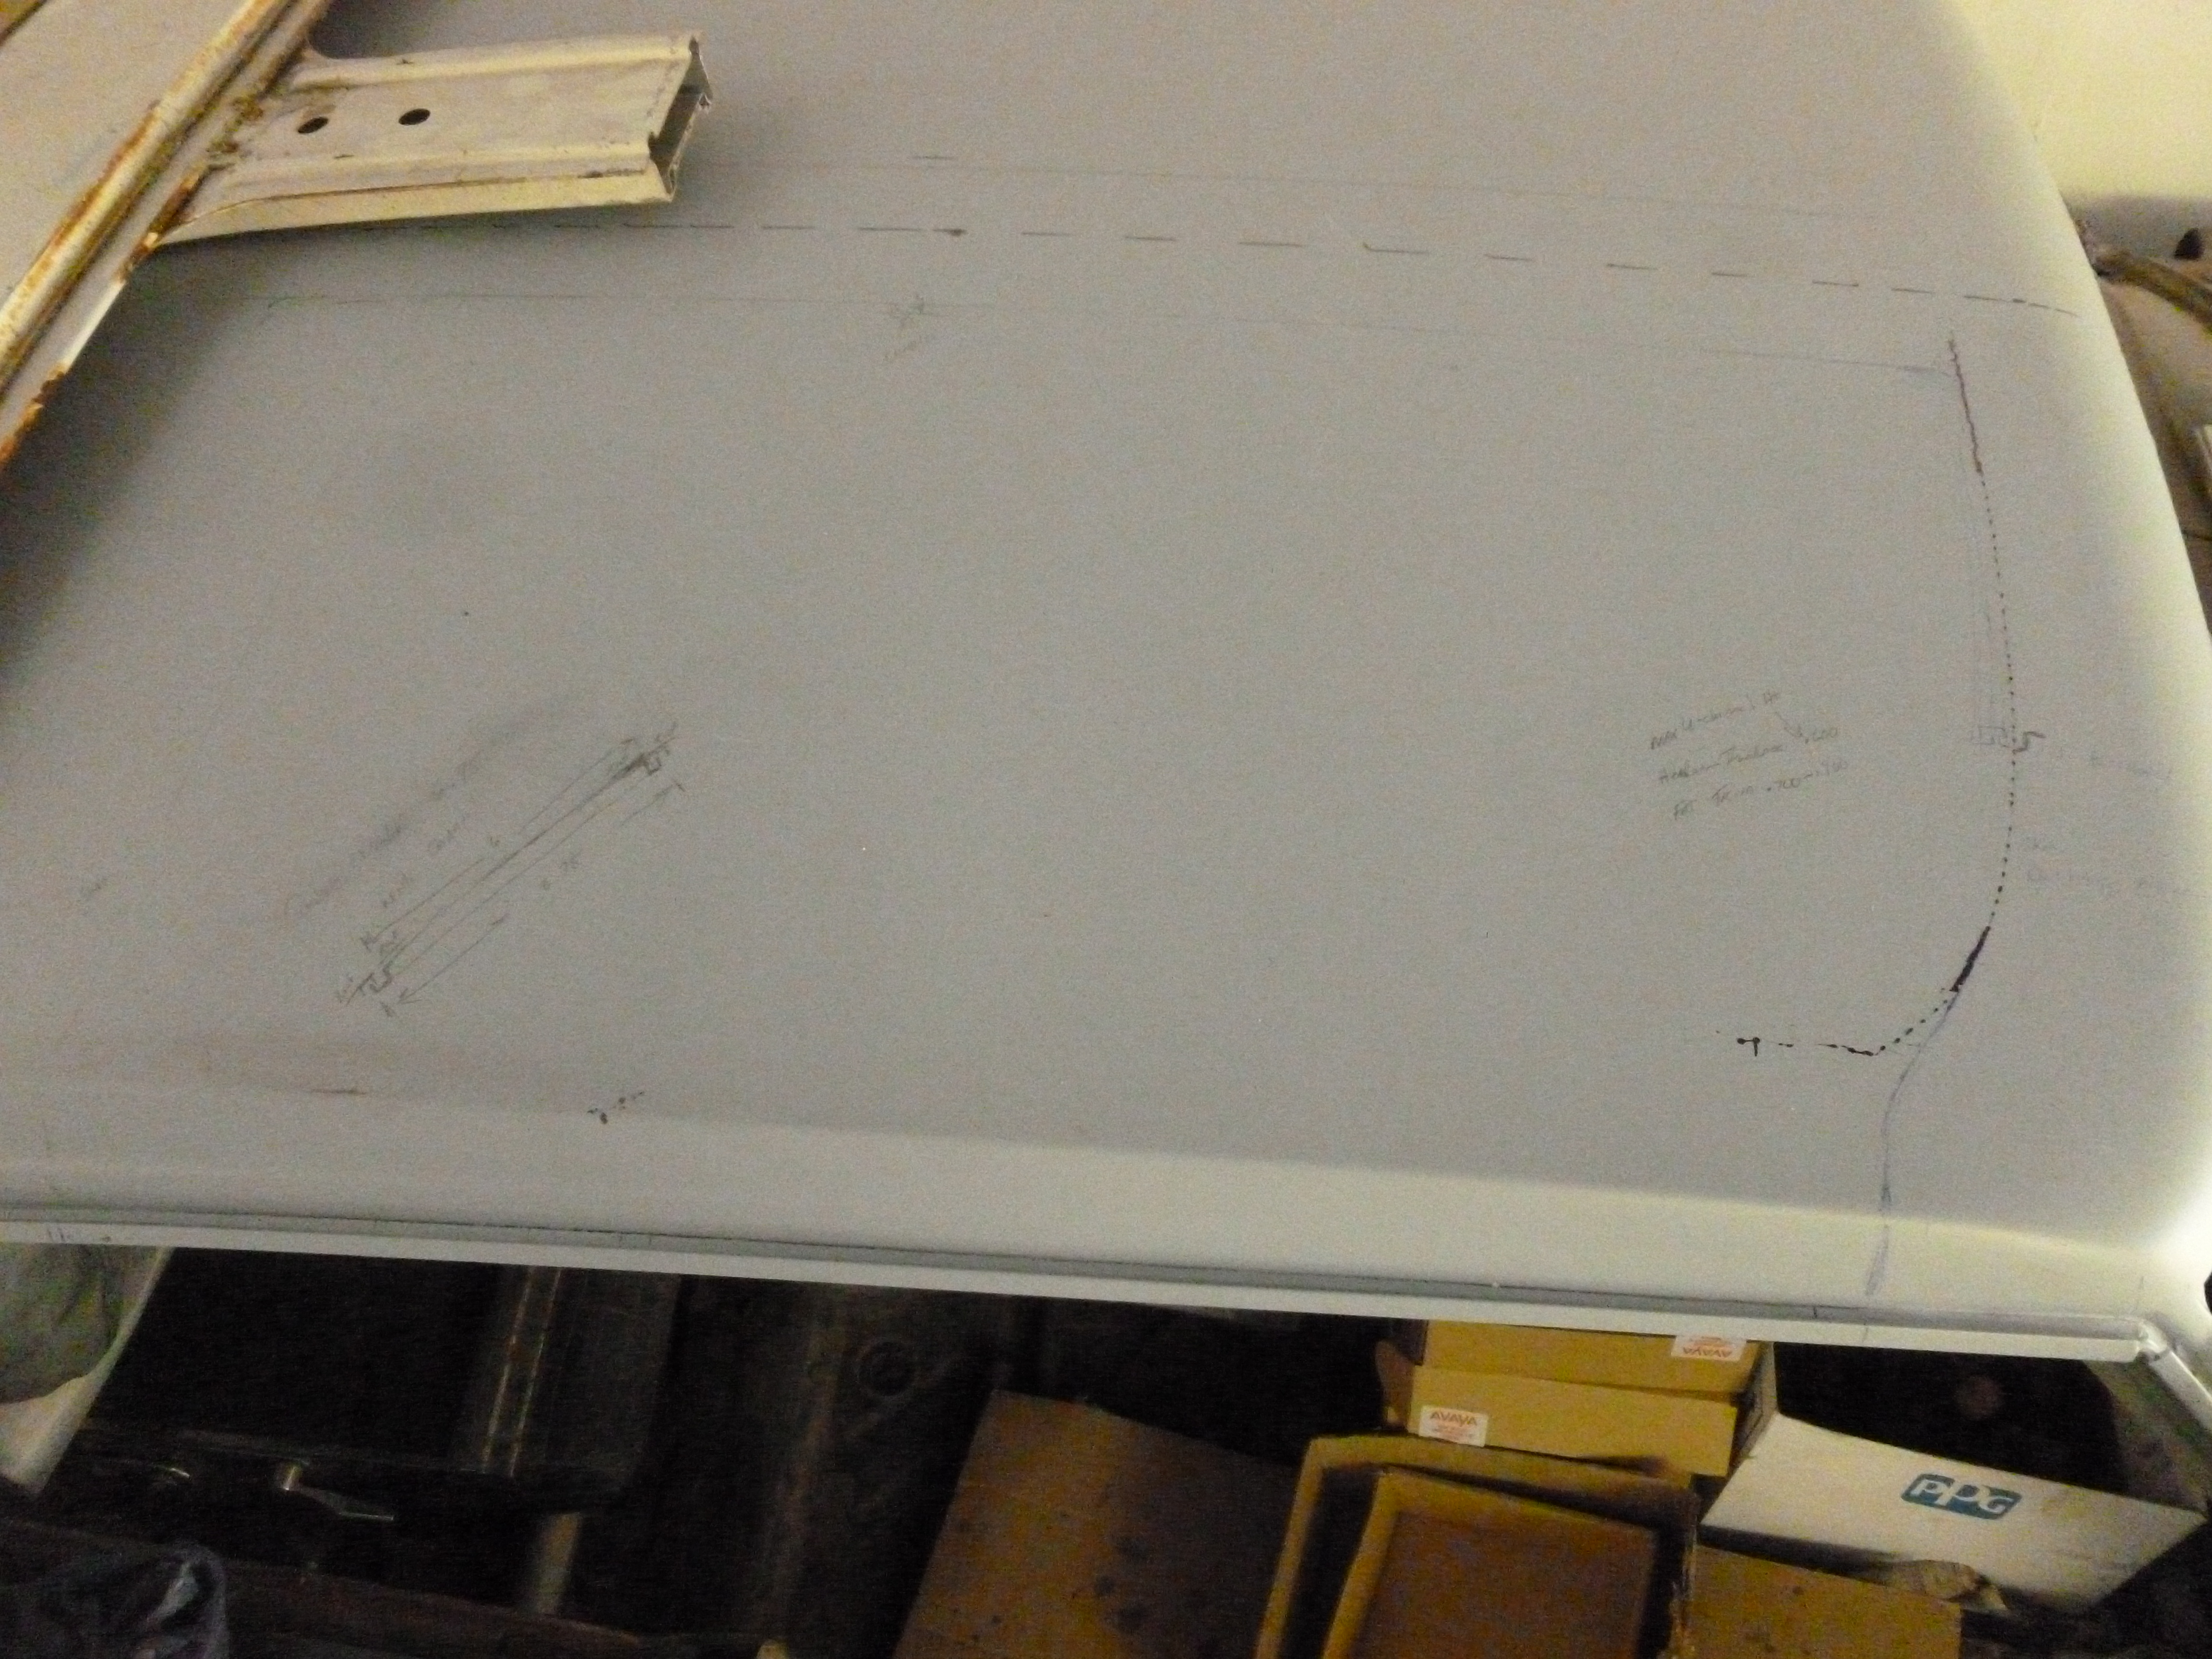
T Top Project
The process of designing and creating T Tops.

Sky Console Project
I cut 3" out of the center of an overhead console and put it back together

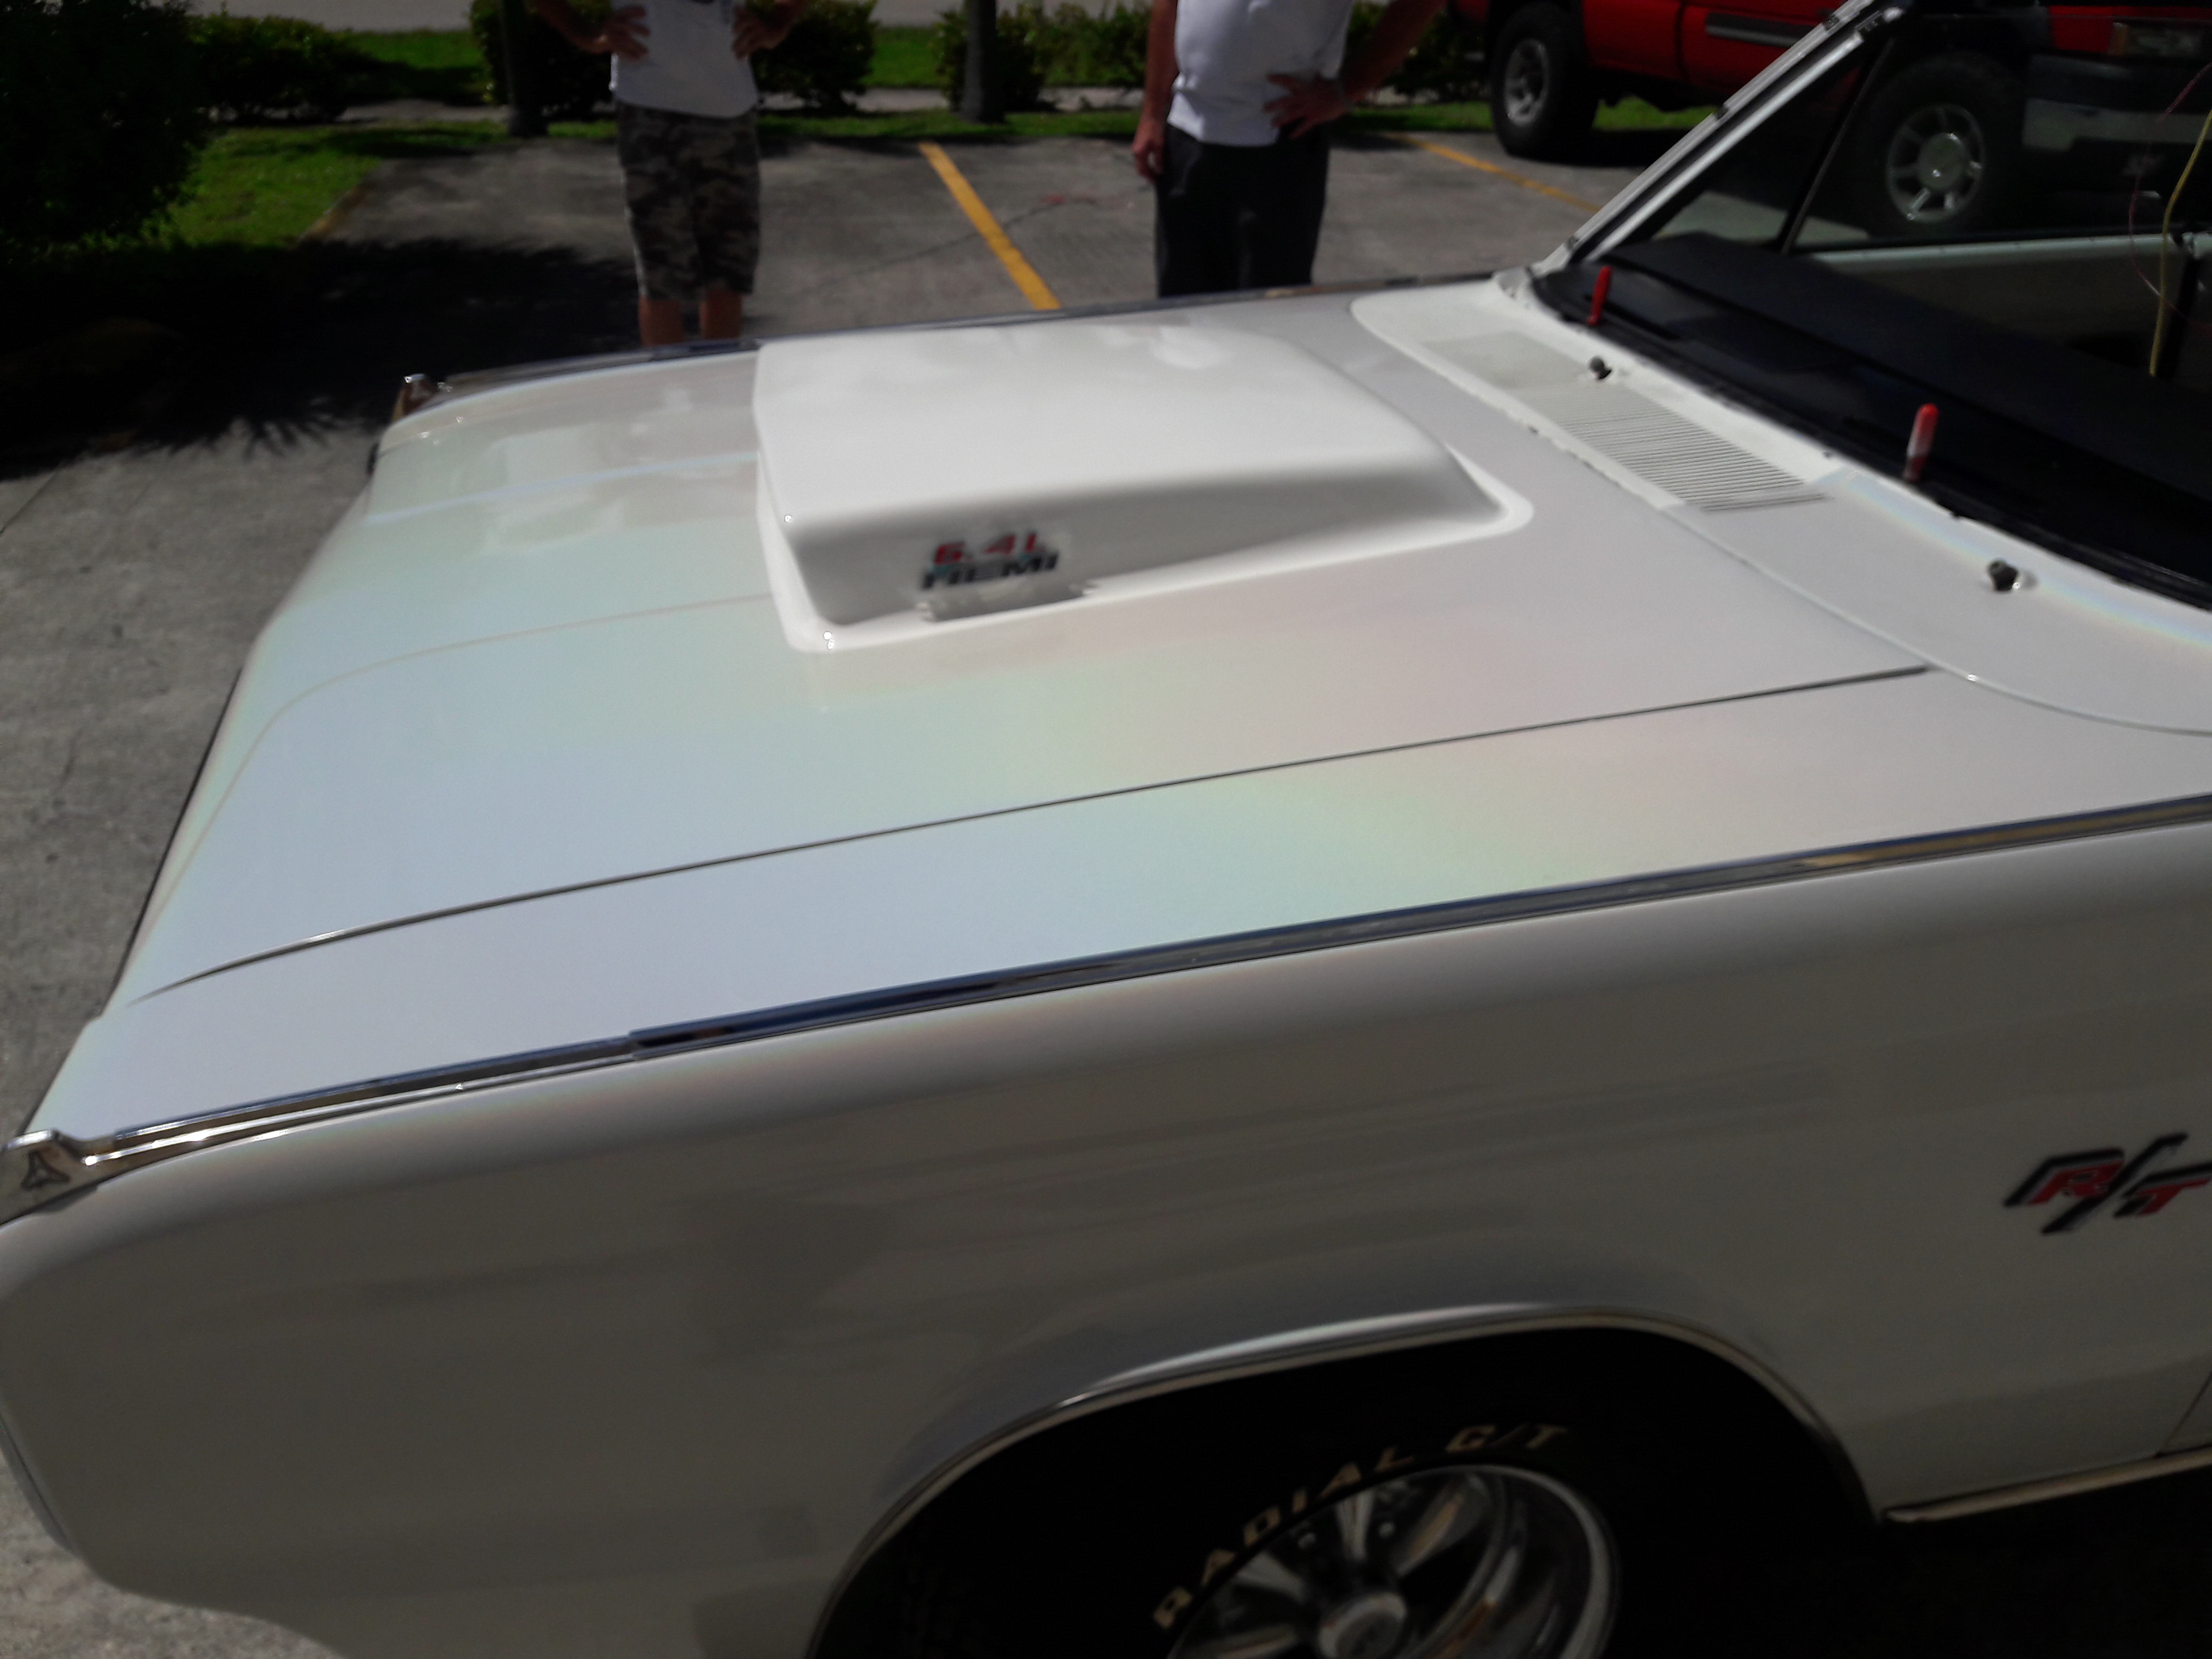
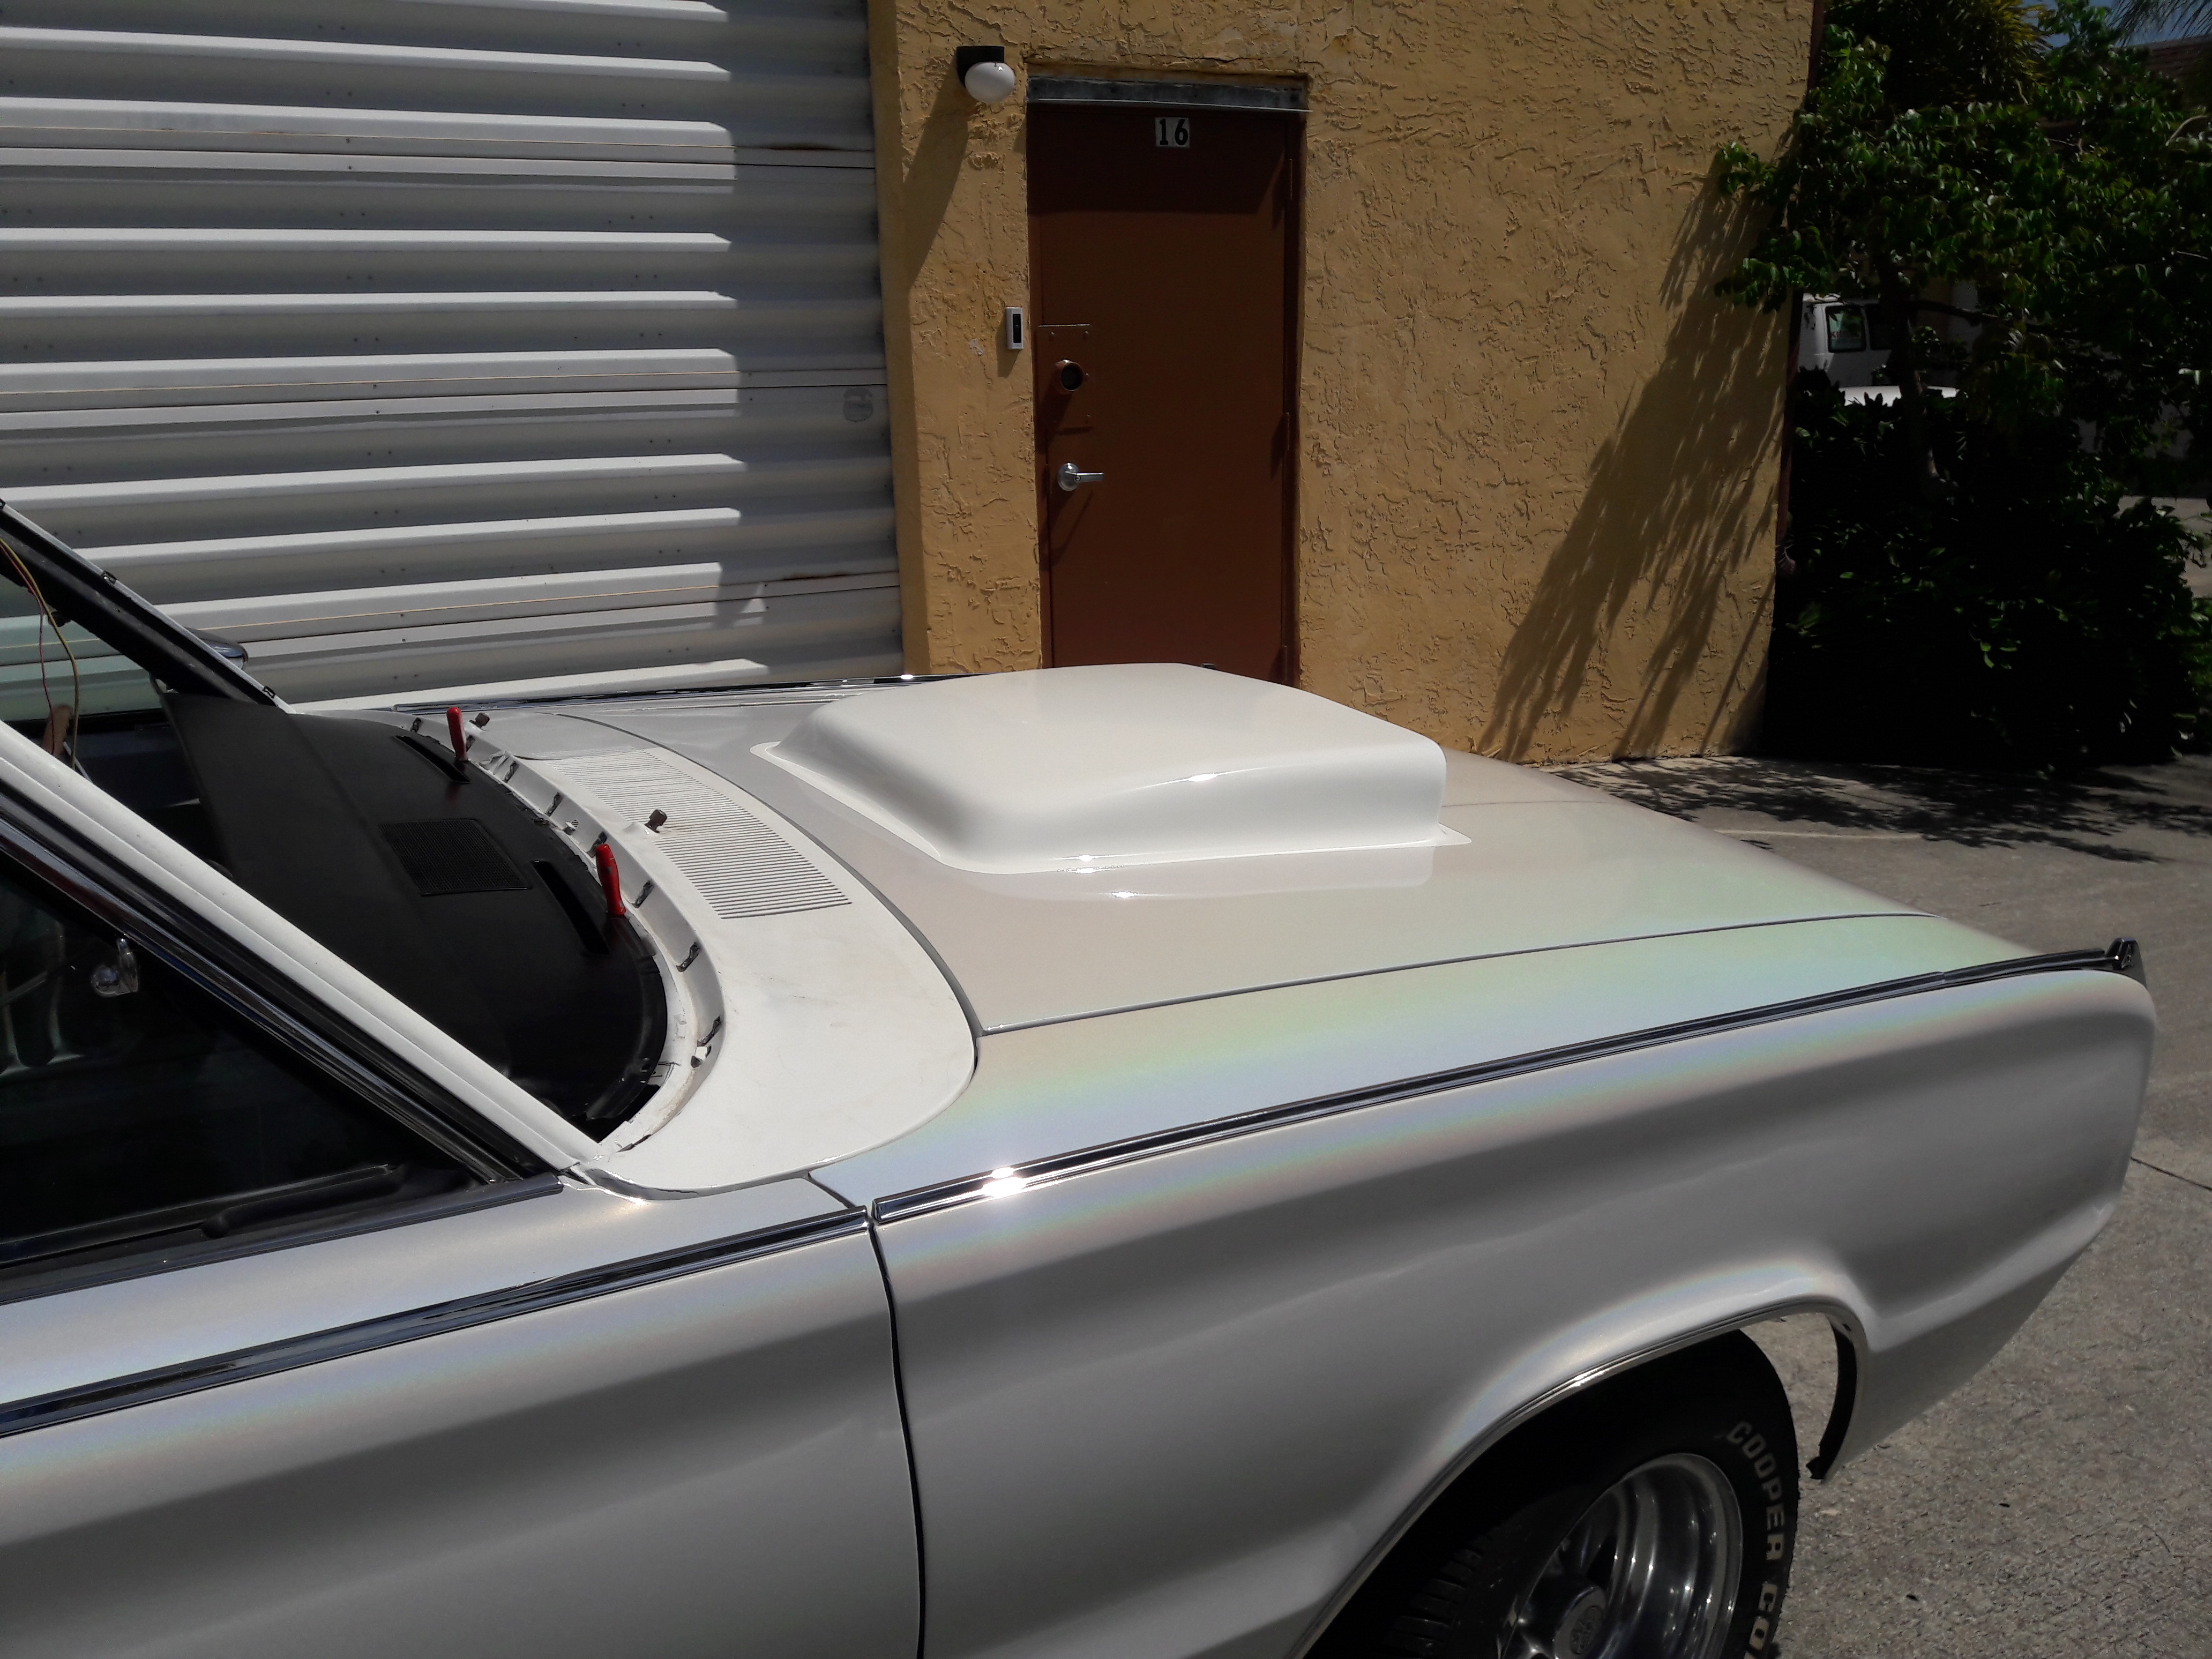
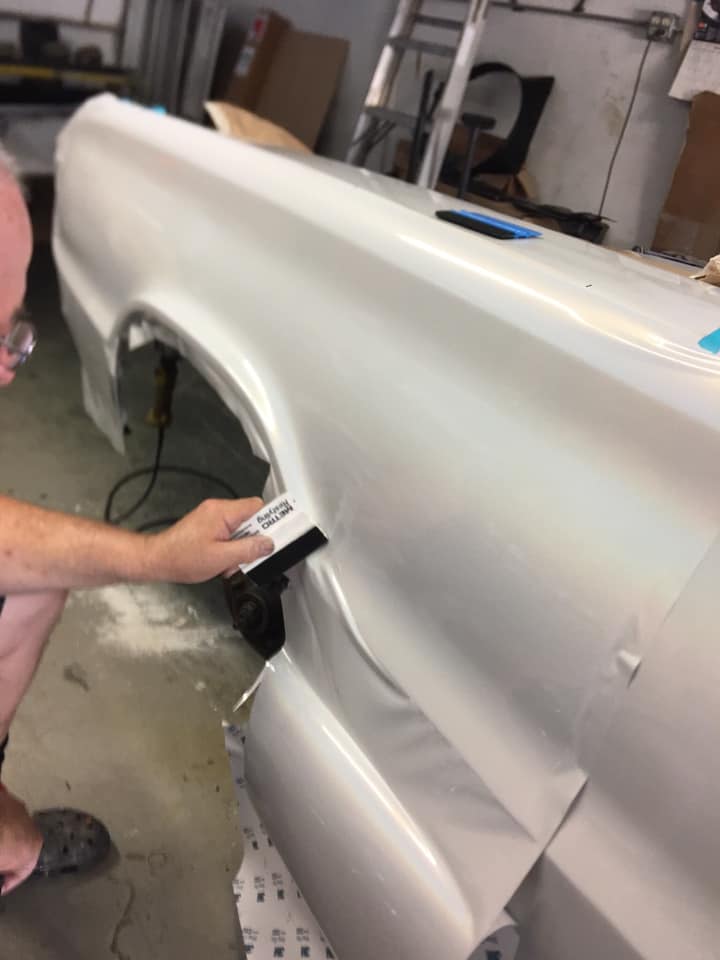
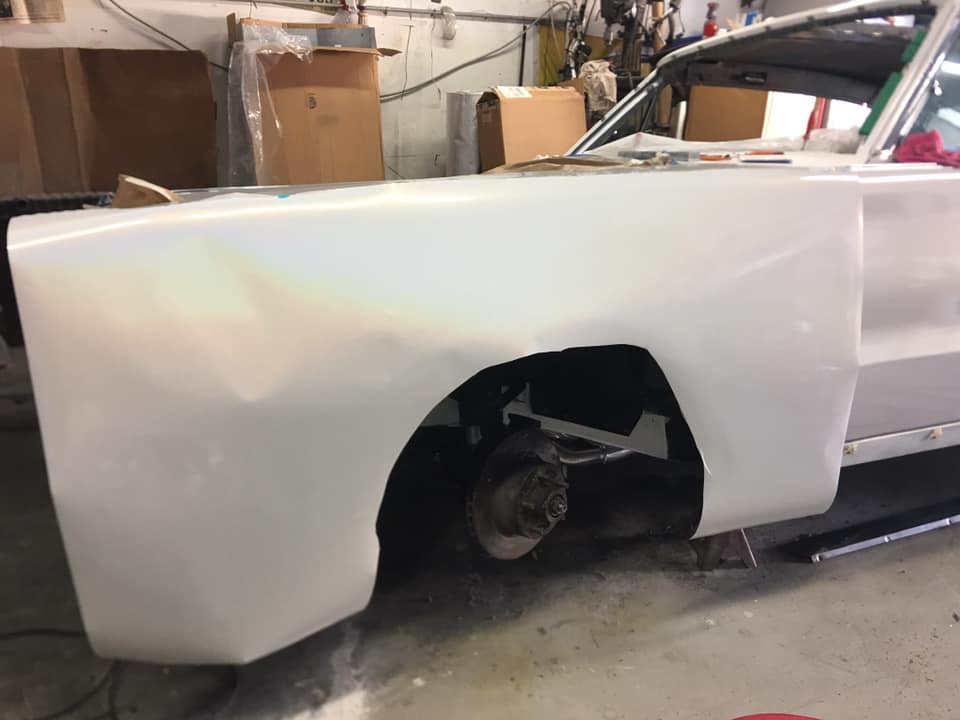
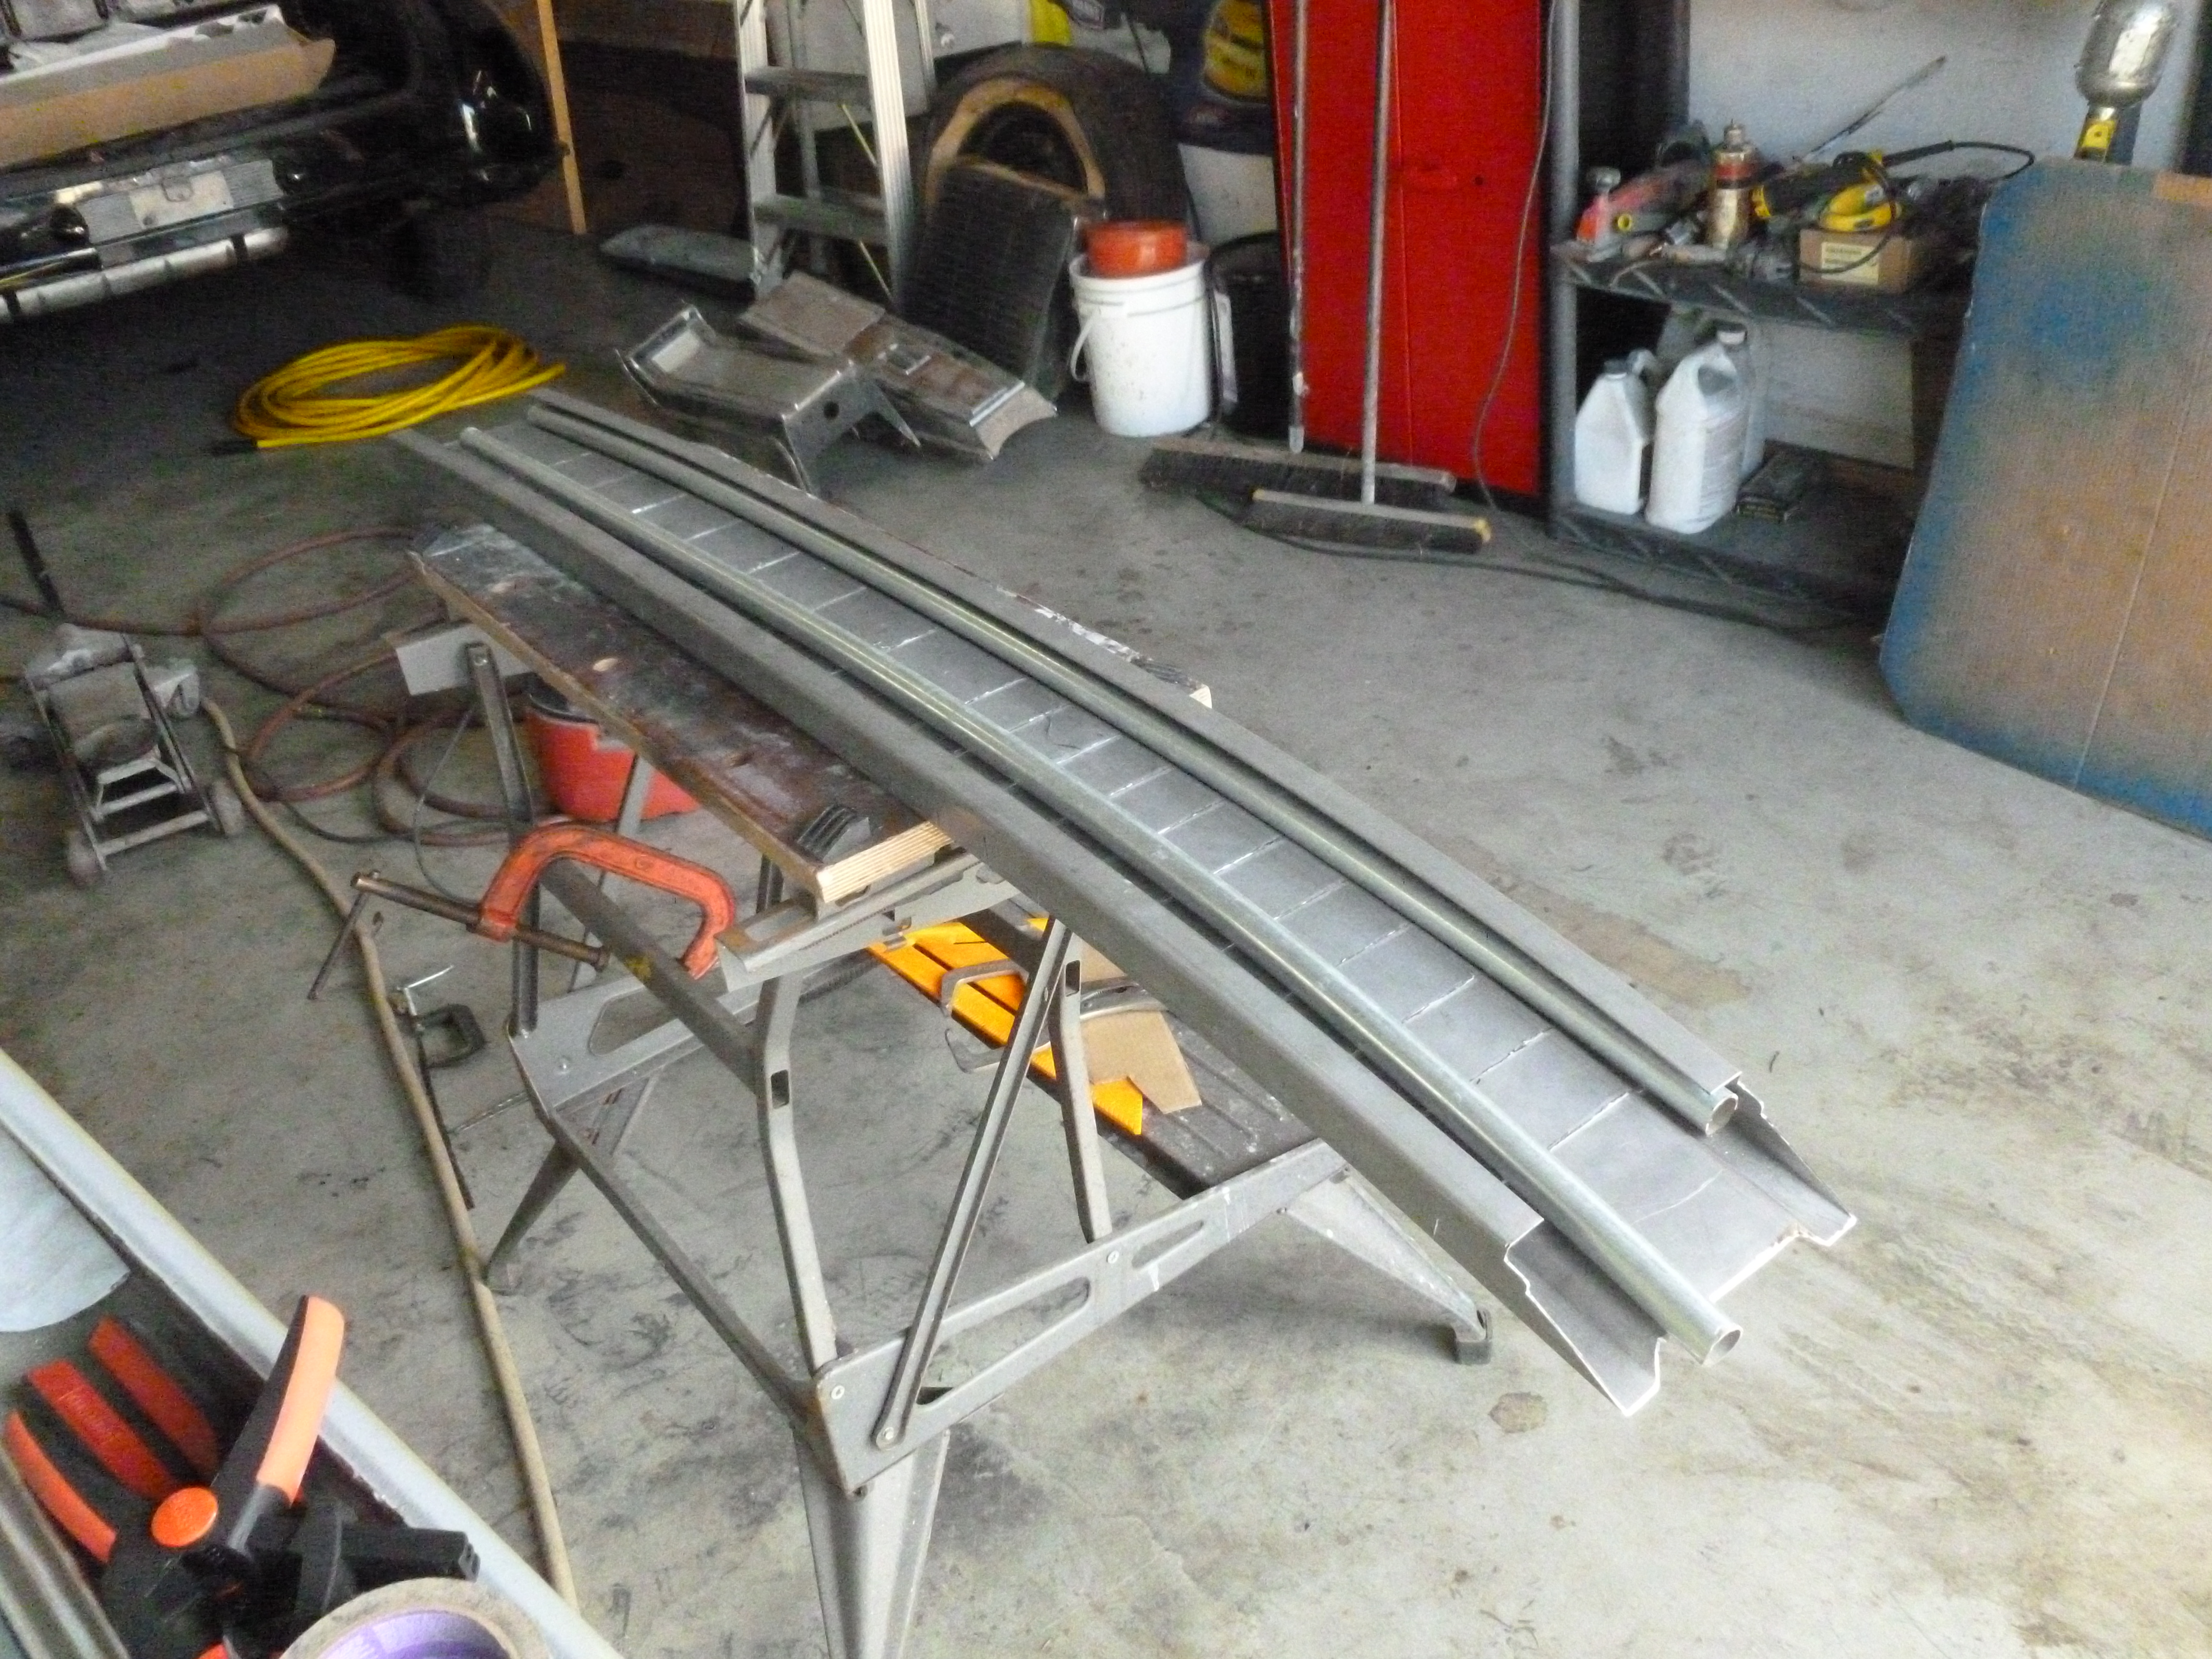
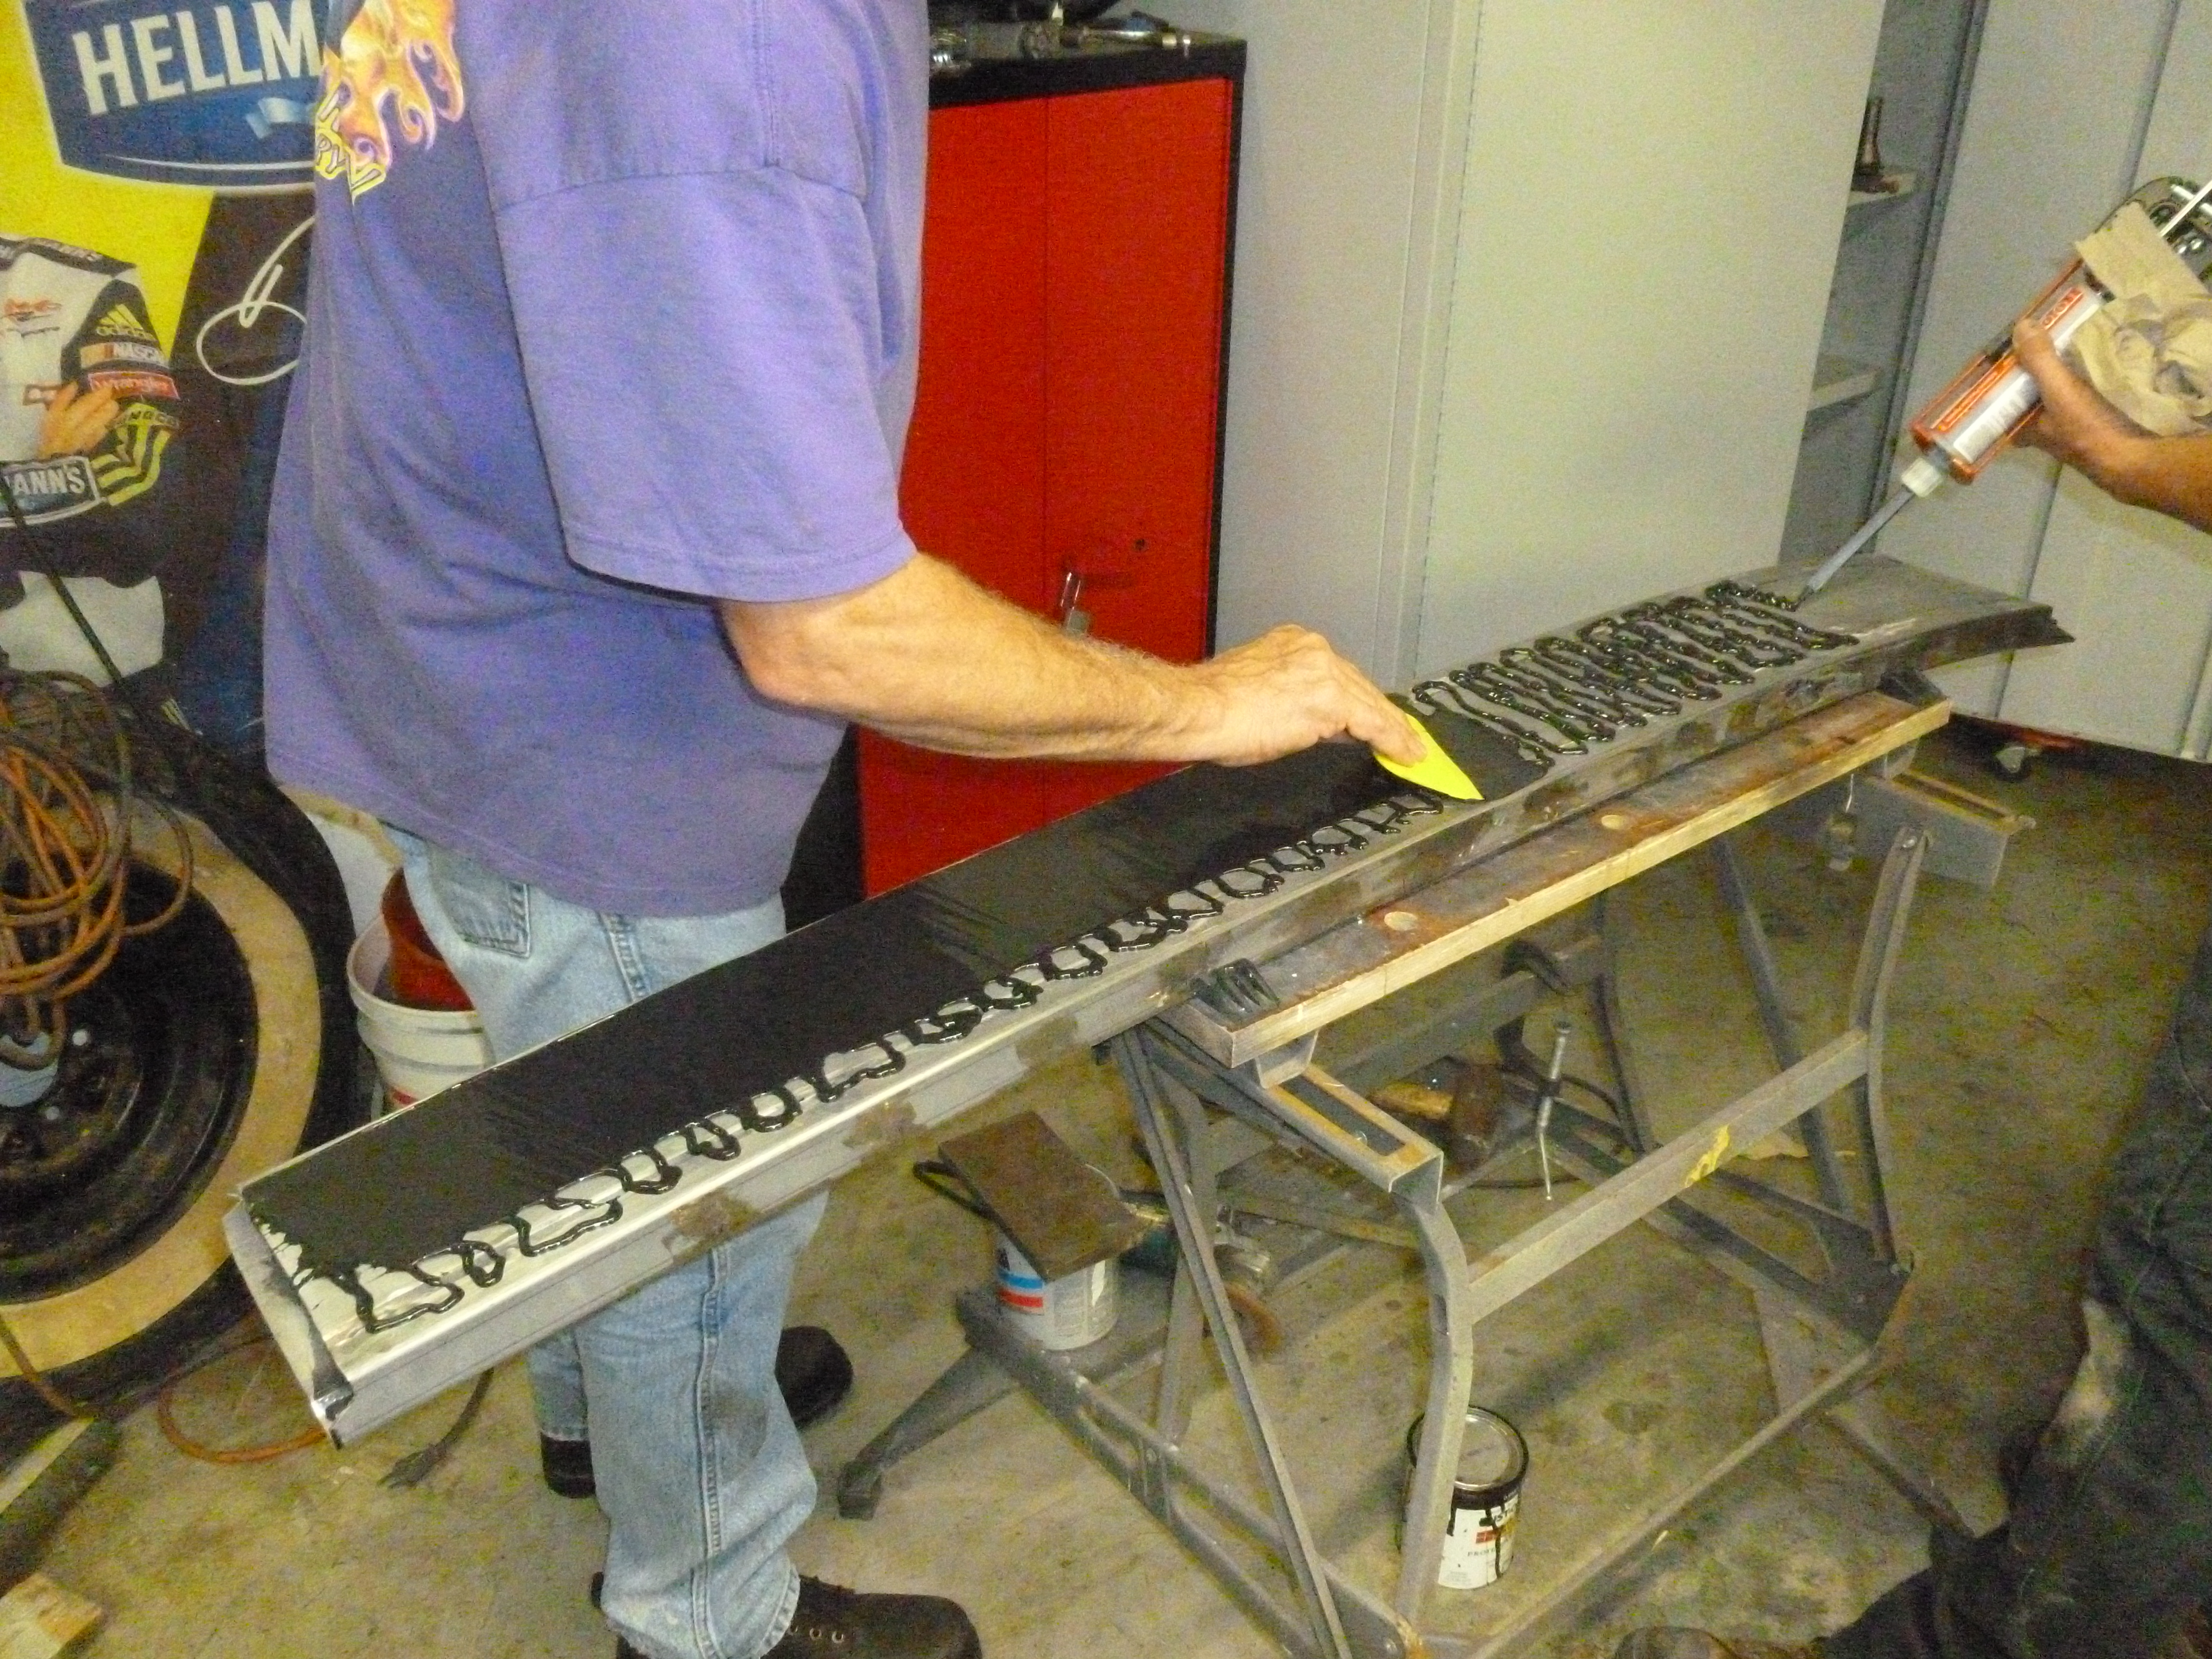
Hood Fabrication Project
I removed the outside skin from a steel hood and inserted underneath a fiberglass hood.

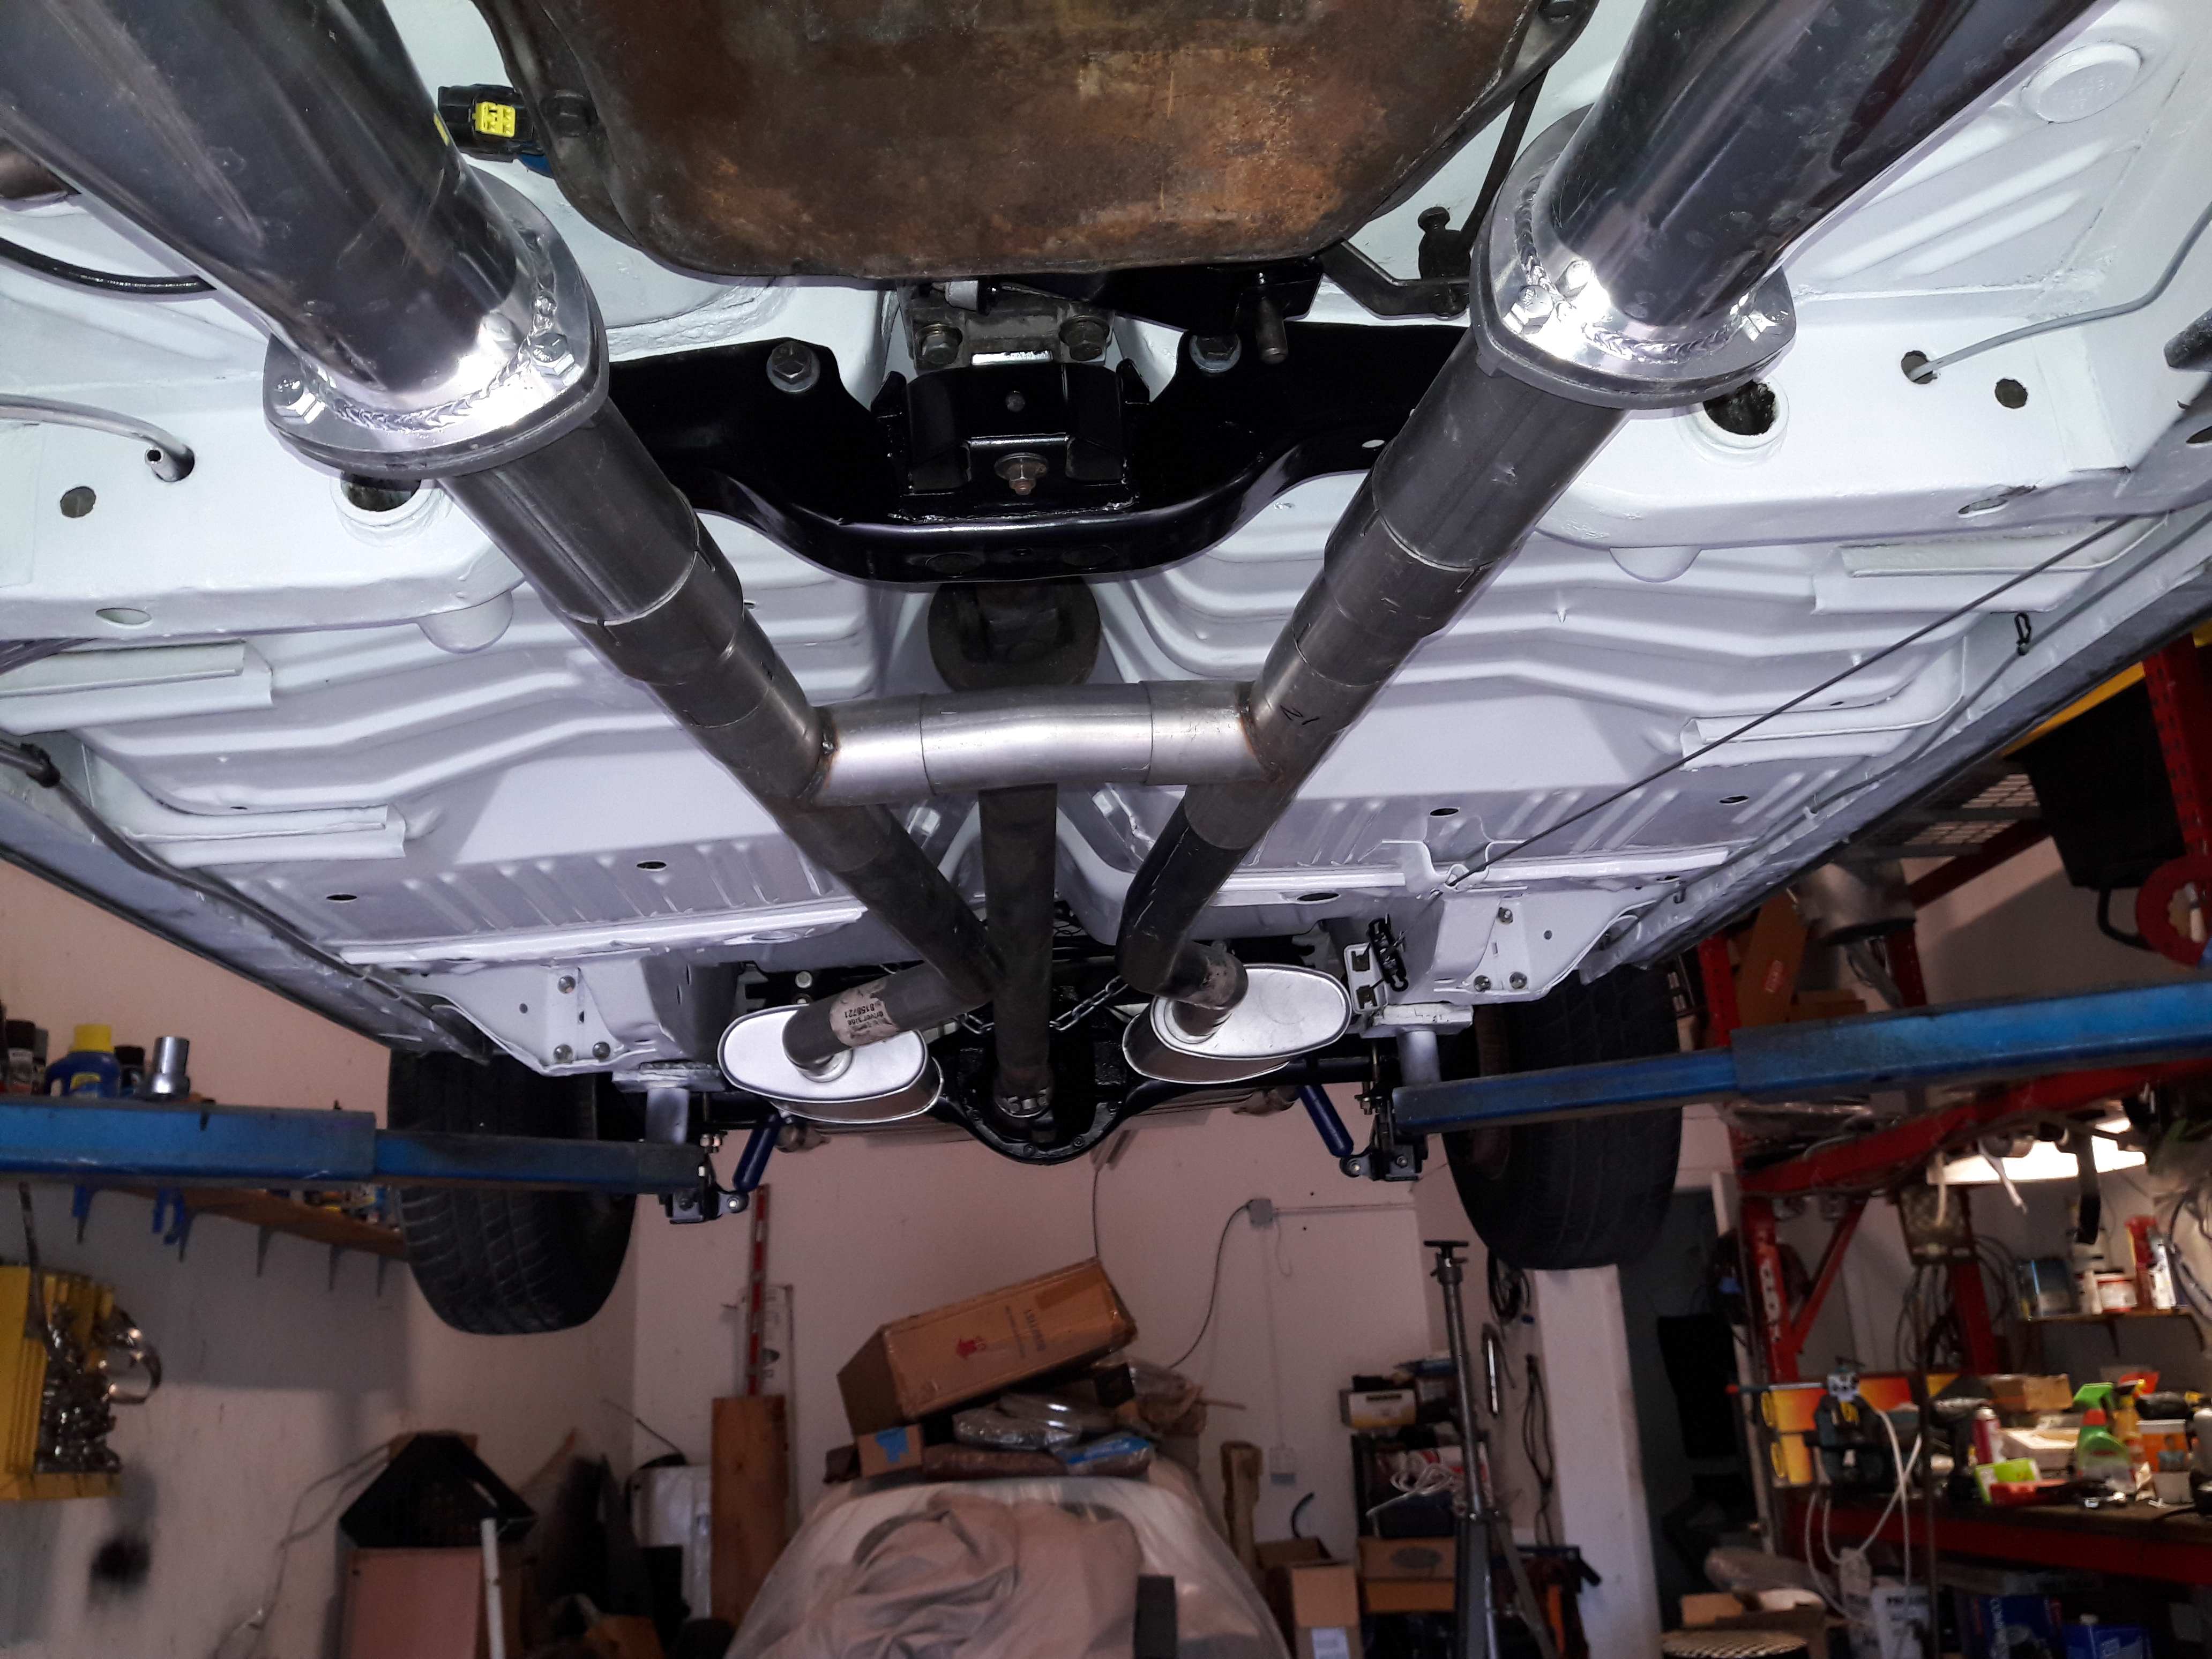
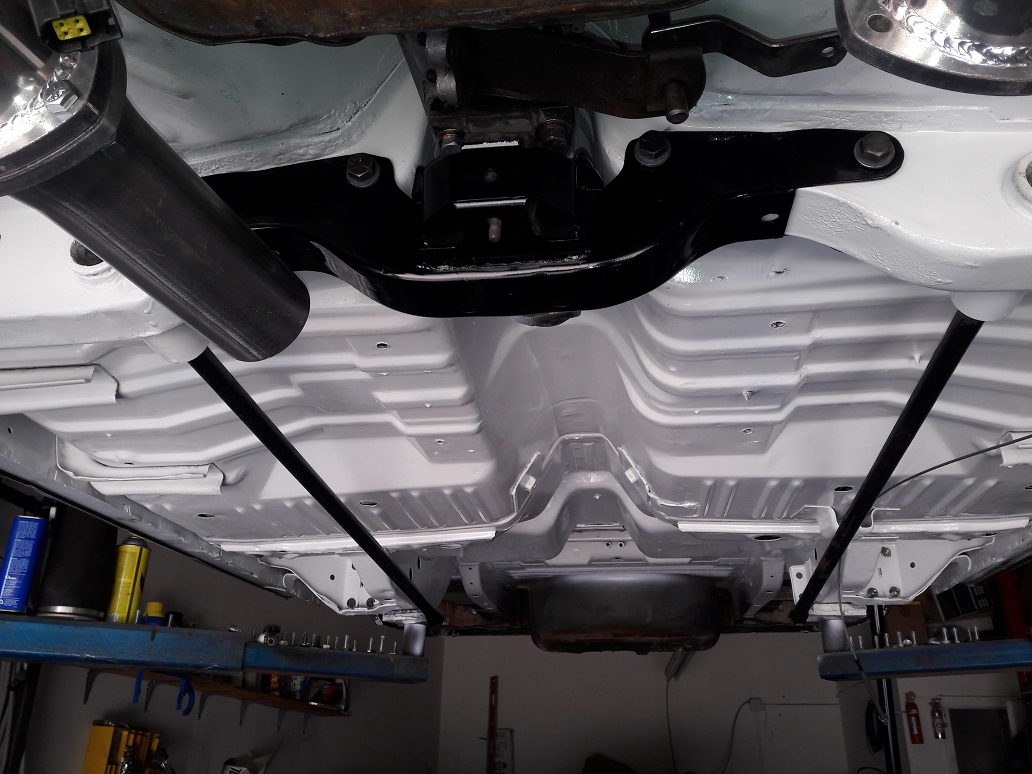
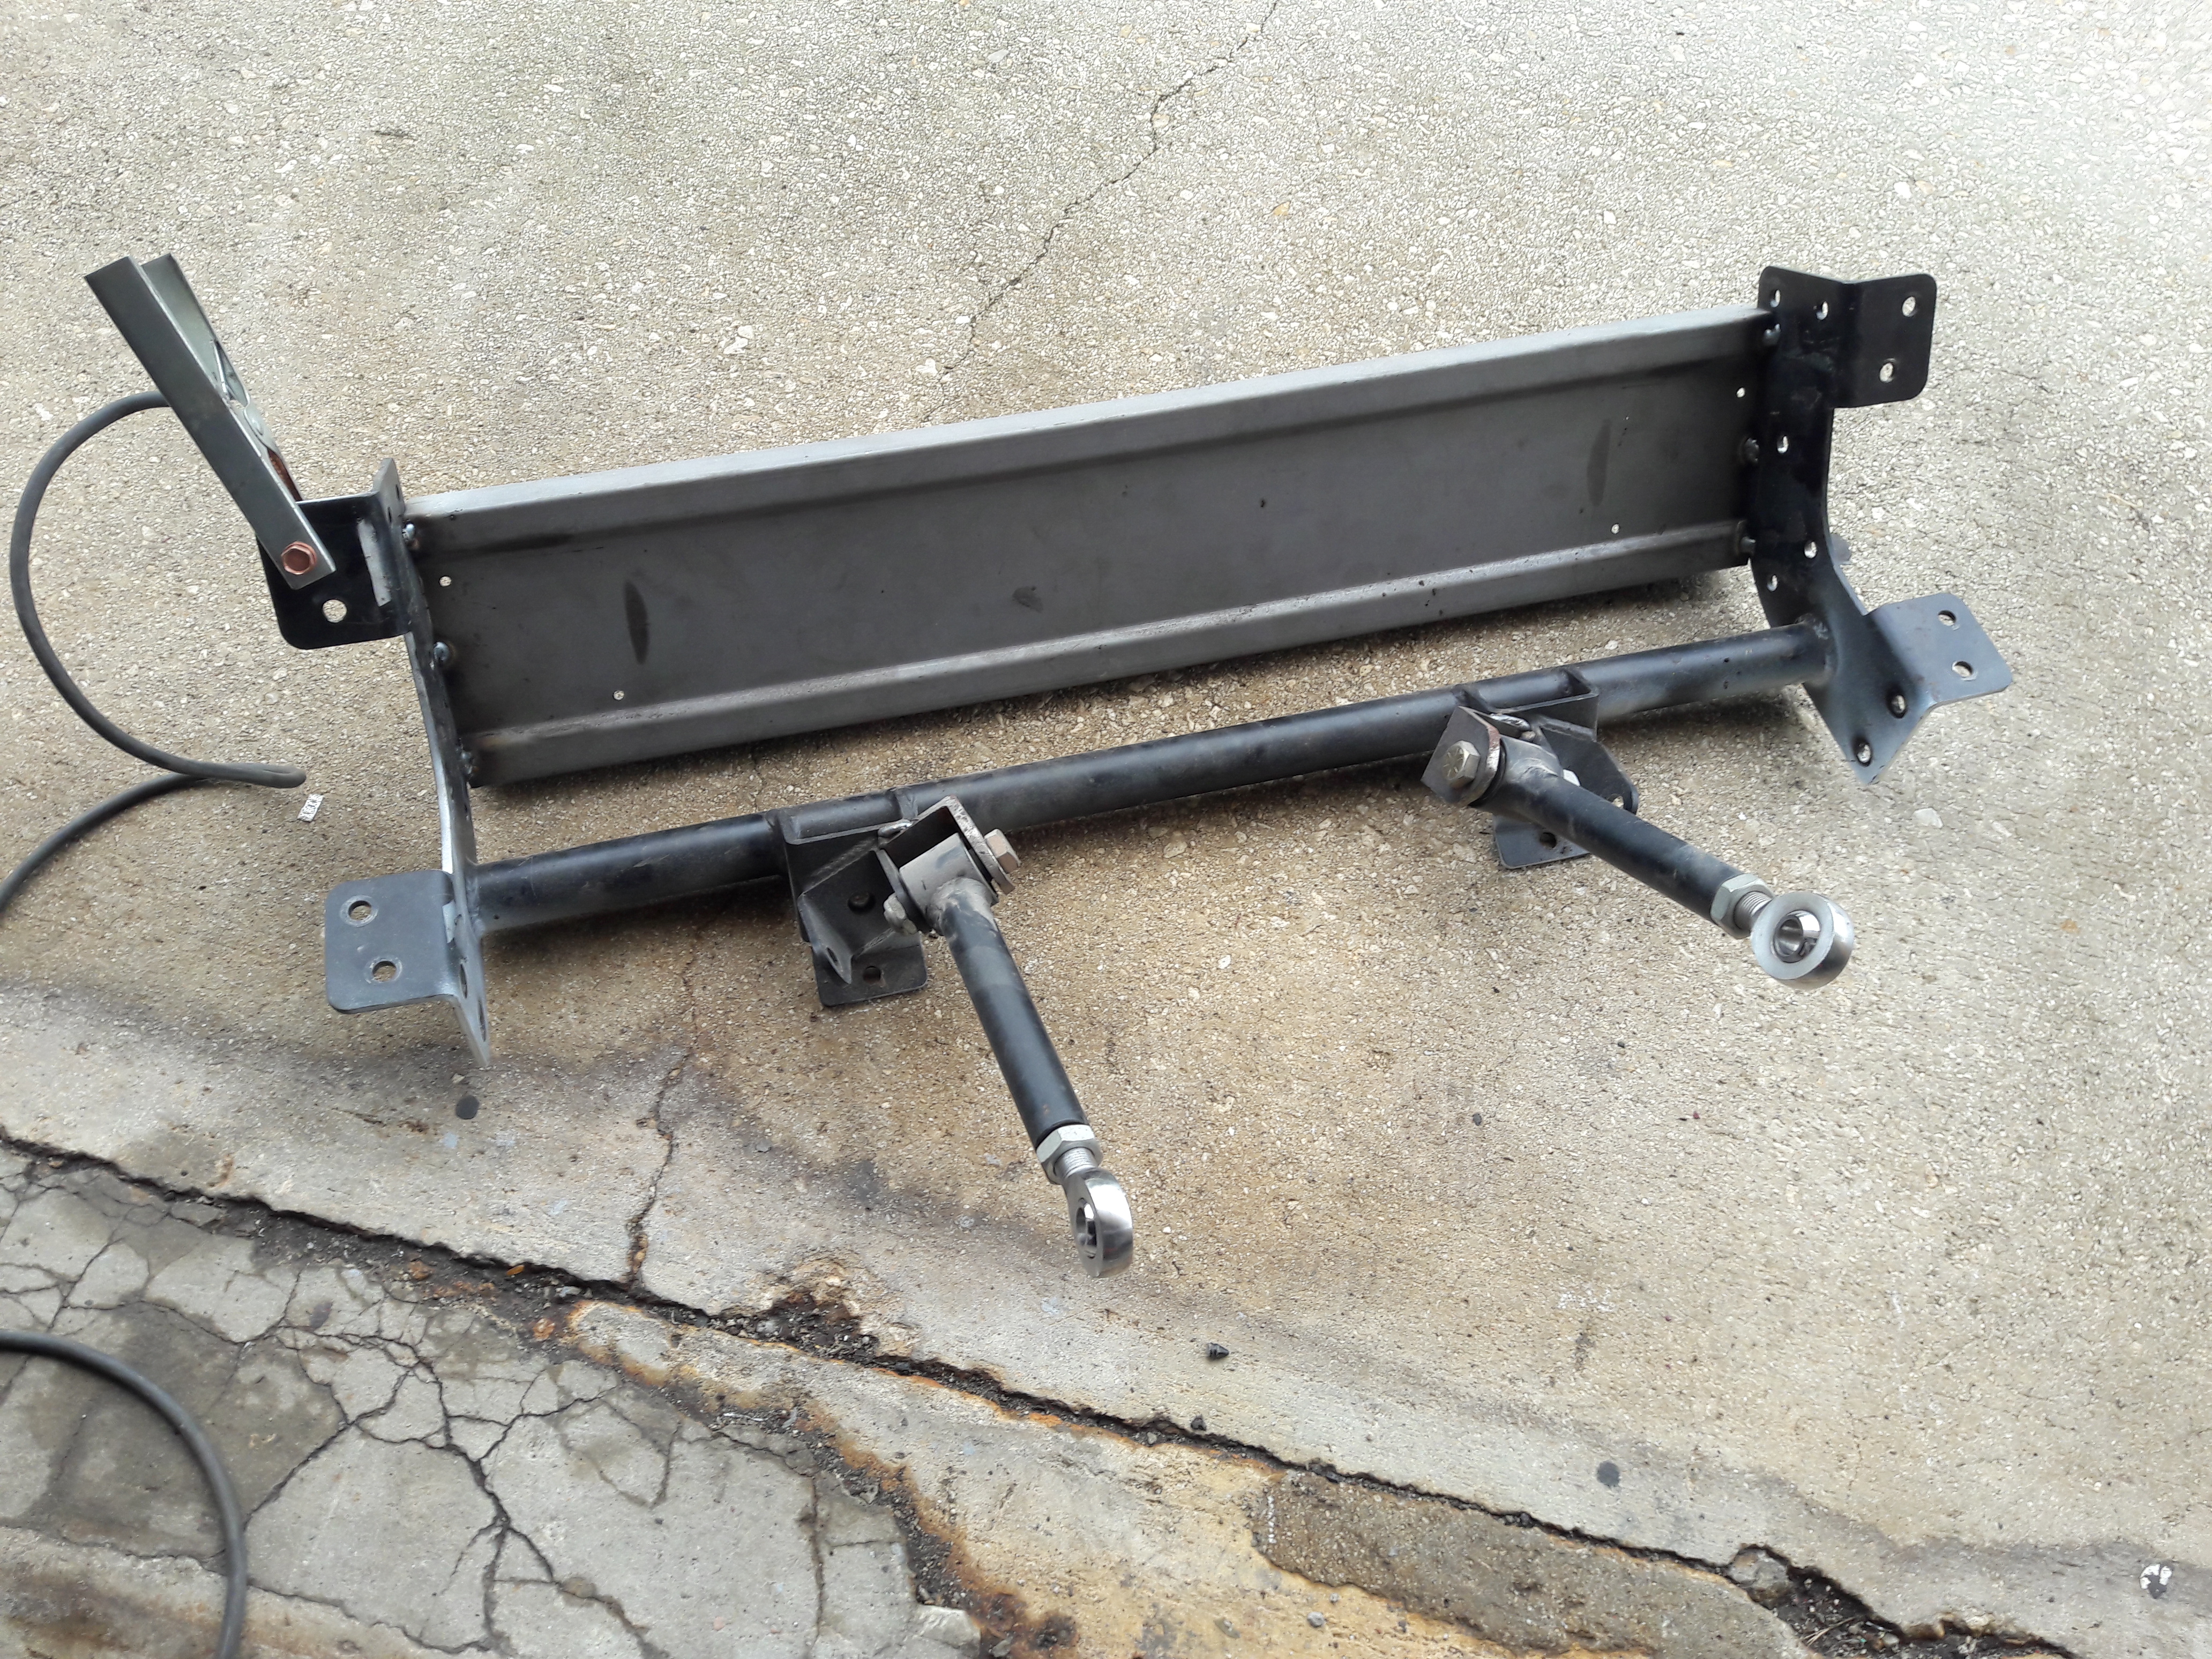
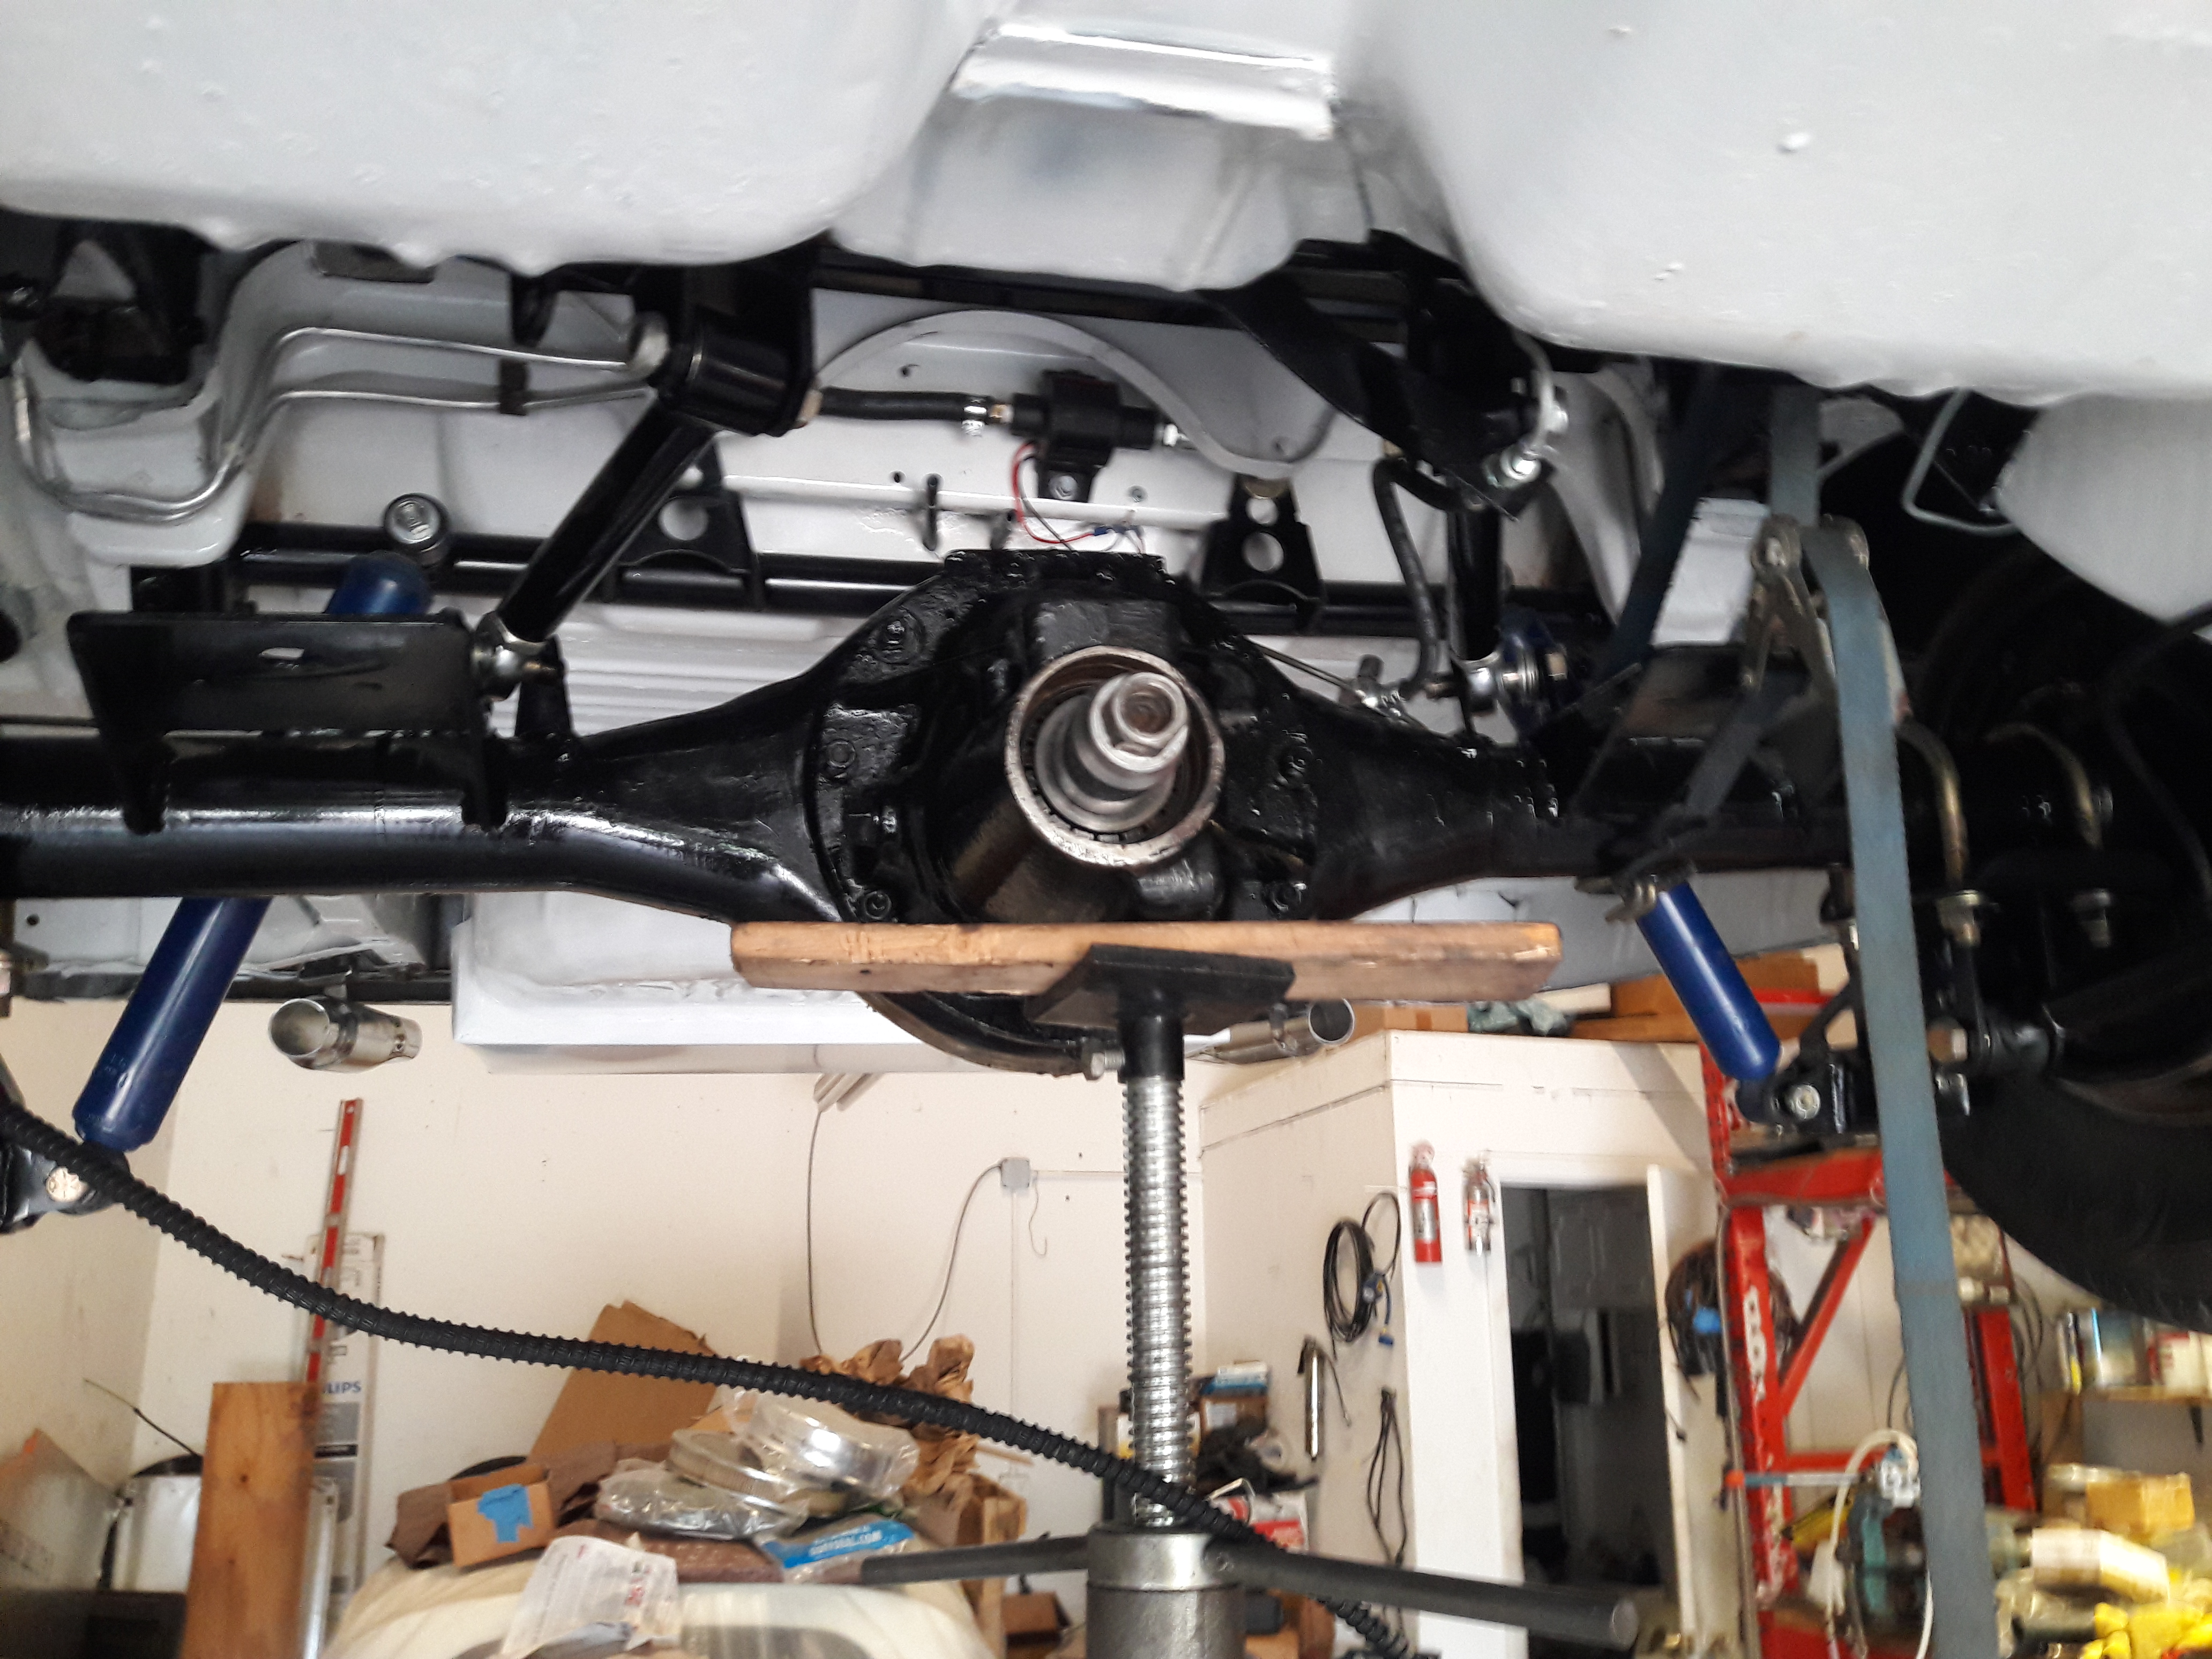
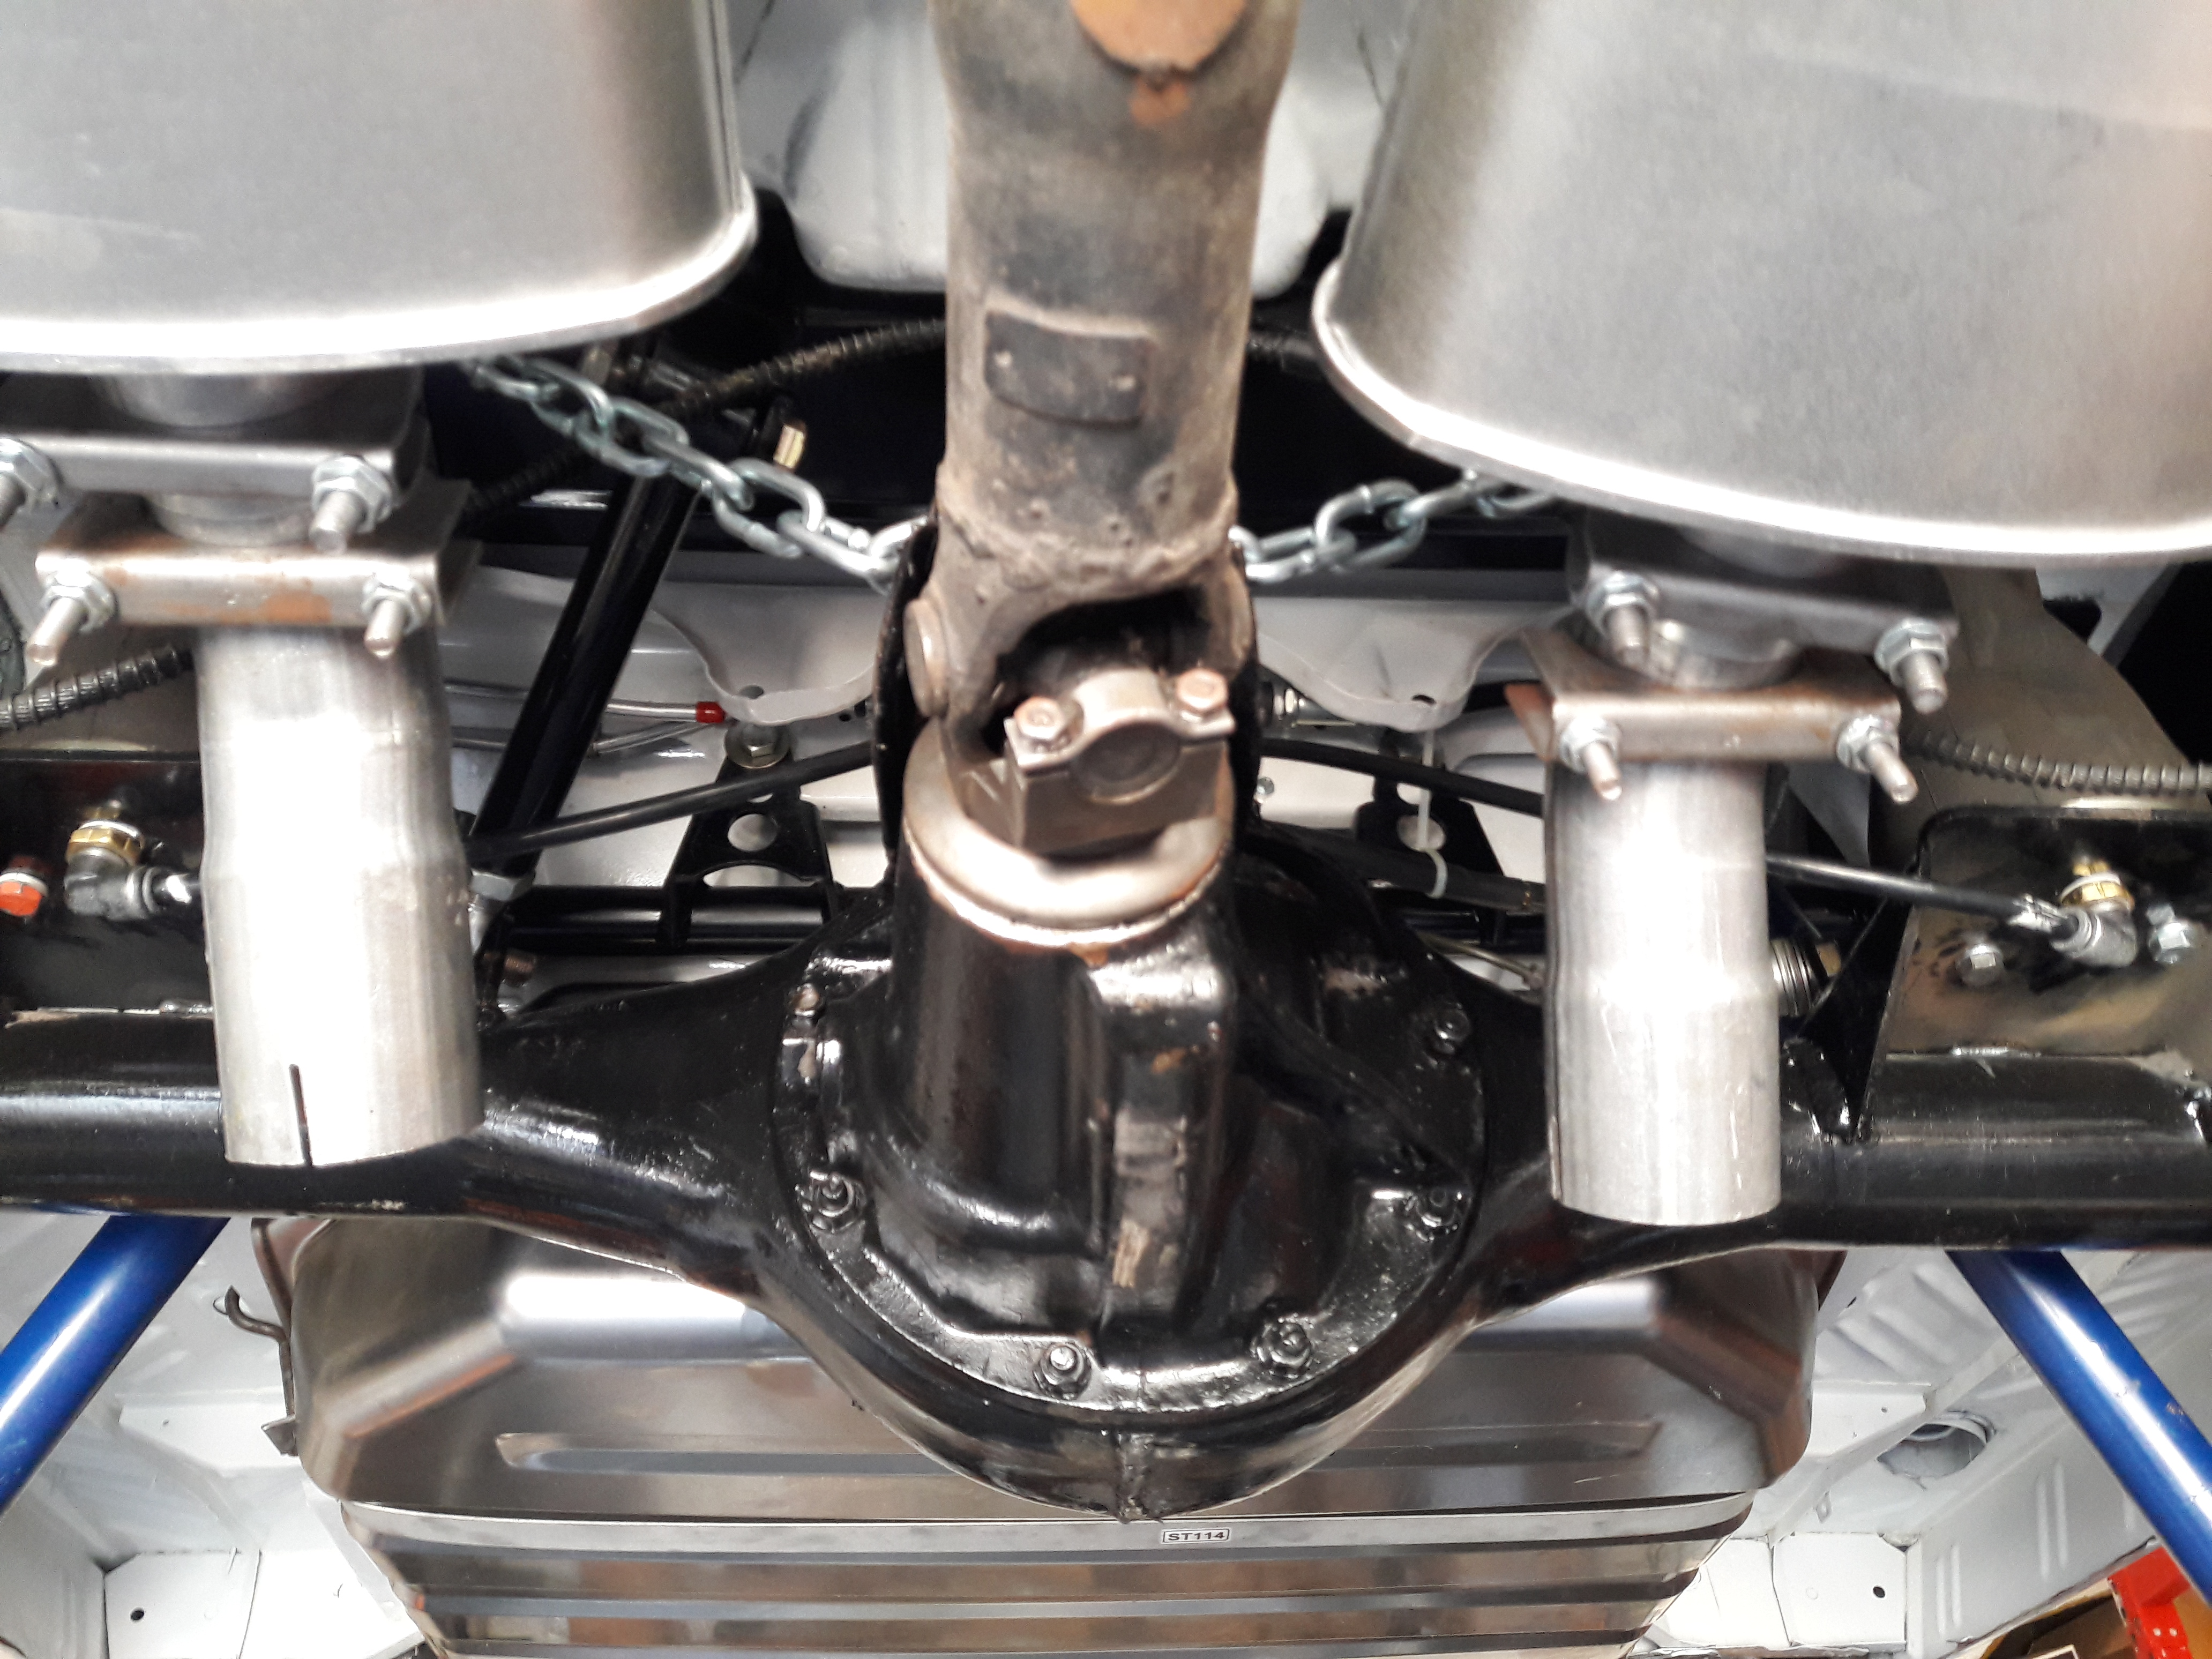
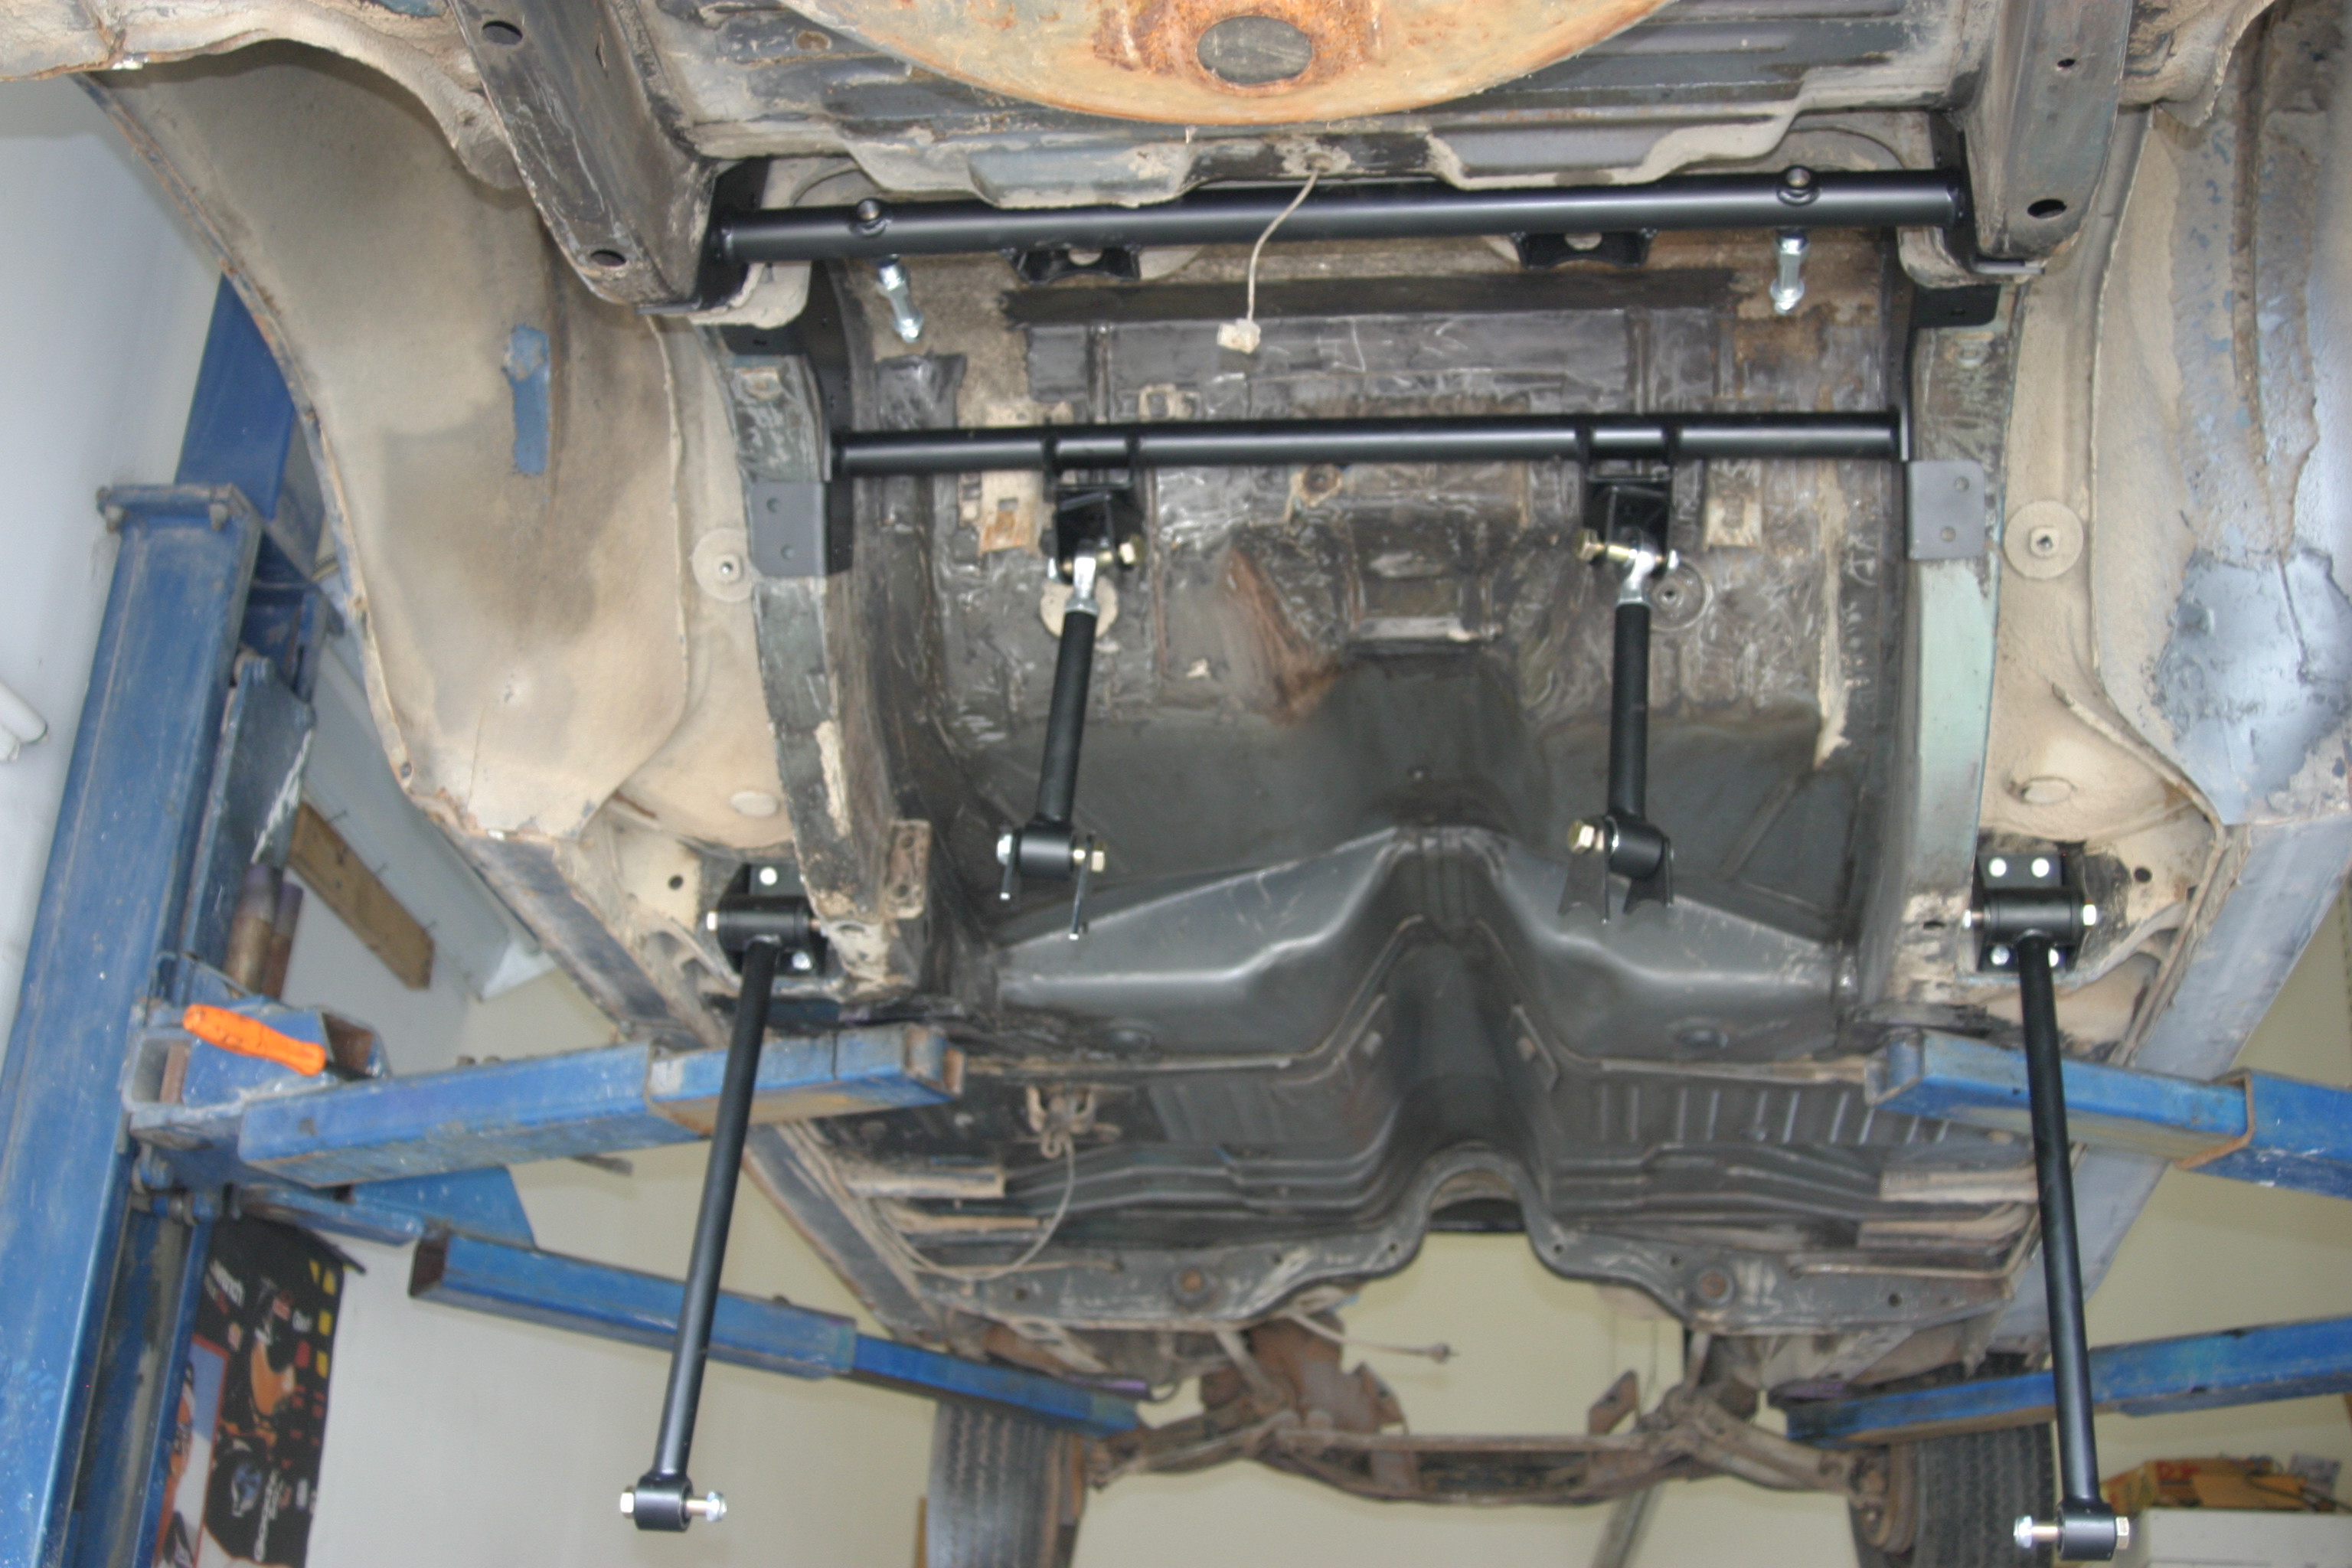
4 Link Installation Project
Installing a 4 link so I can use airbag suspension.

Front Suspension Project (Shockwave Installation)
Front Suspension modifications needed done to use larger air bag to lift more wieght easliy.

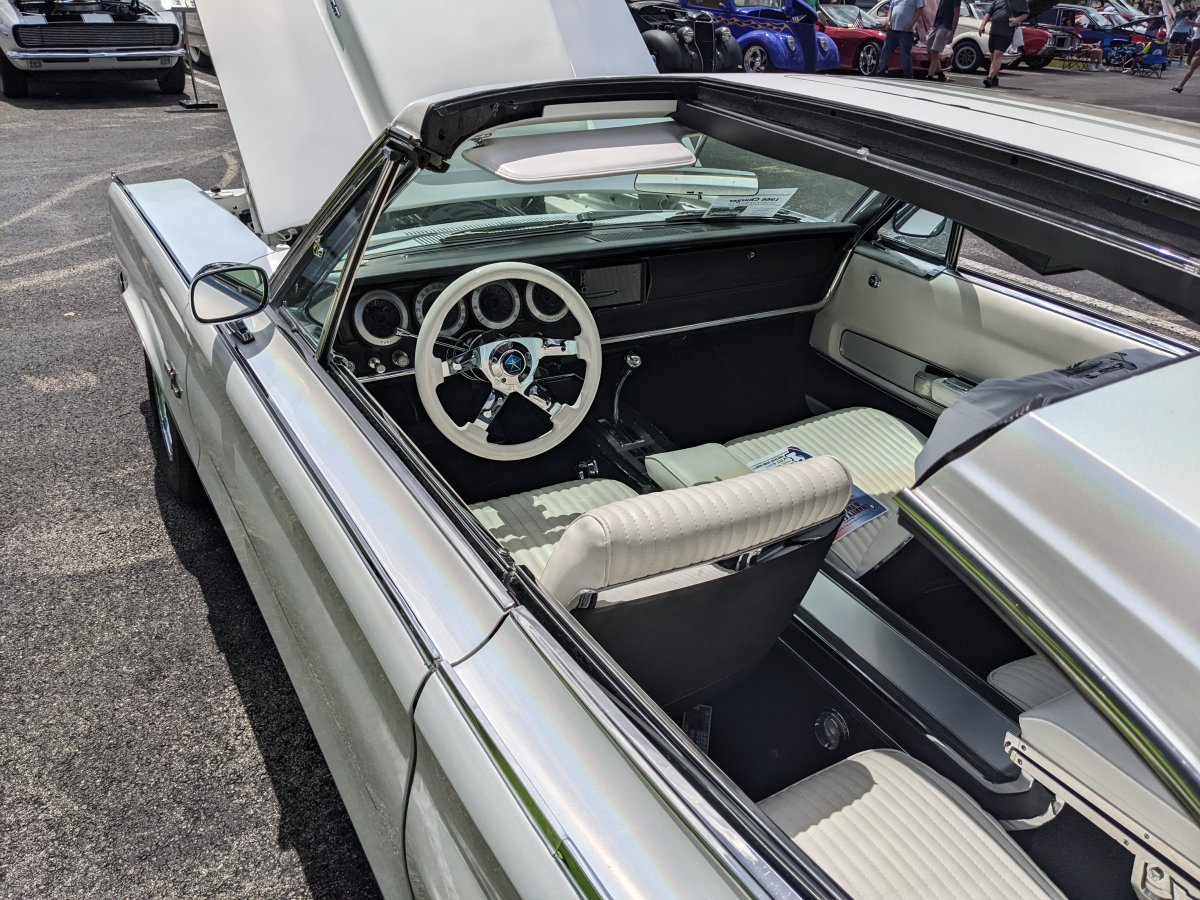
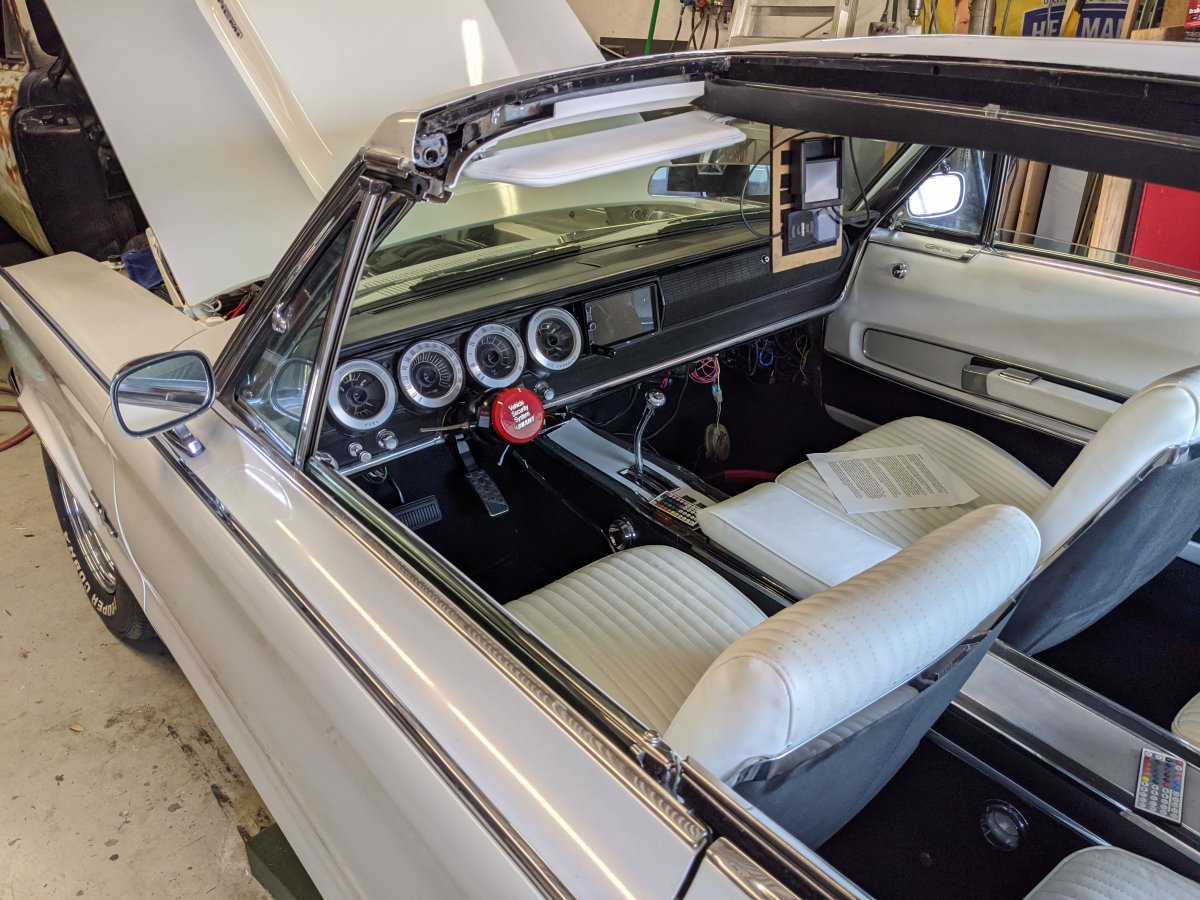
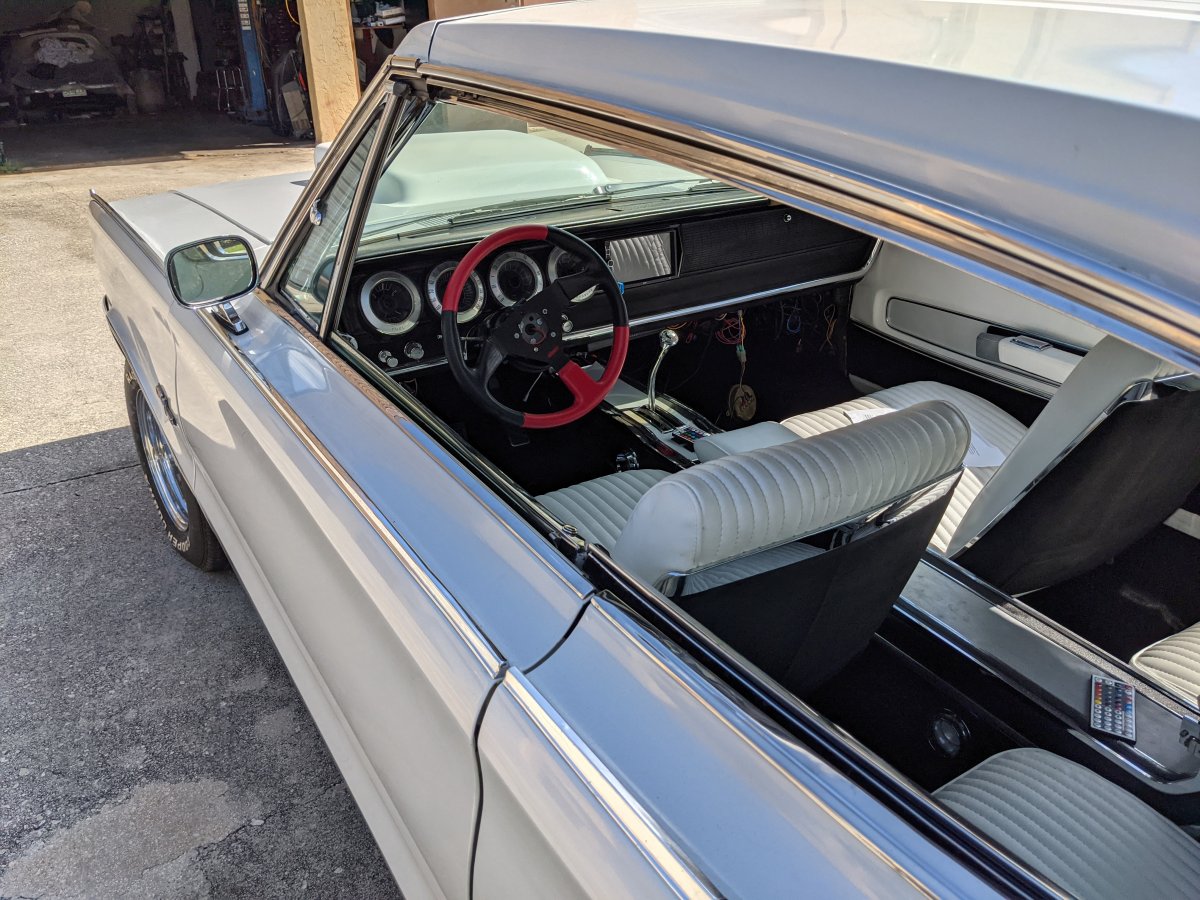
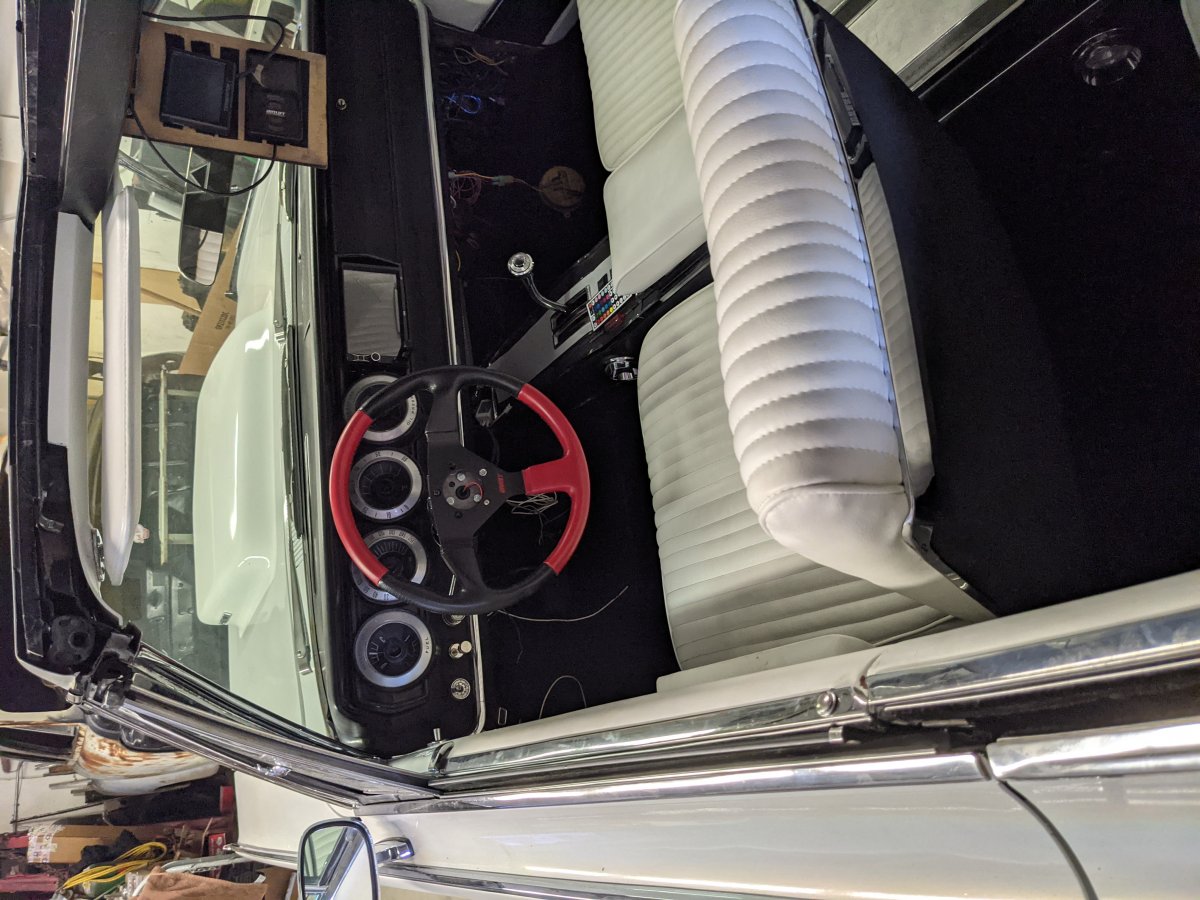
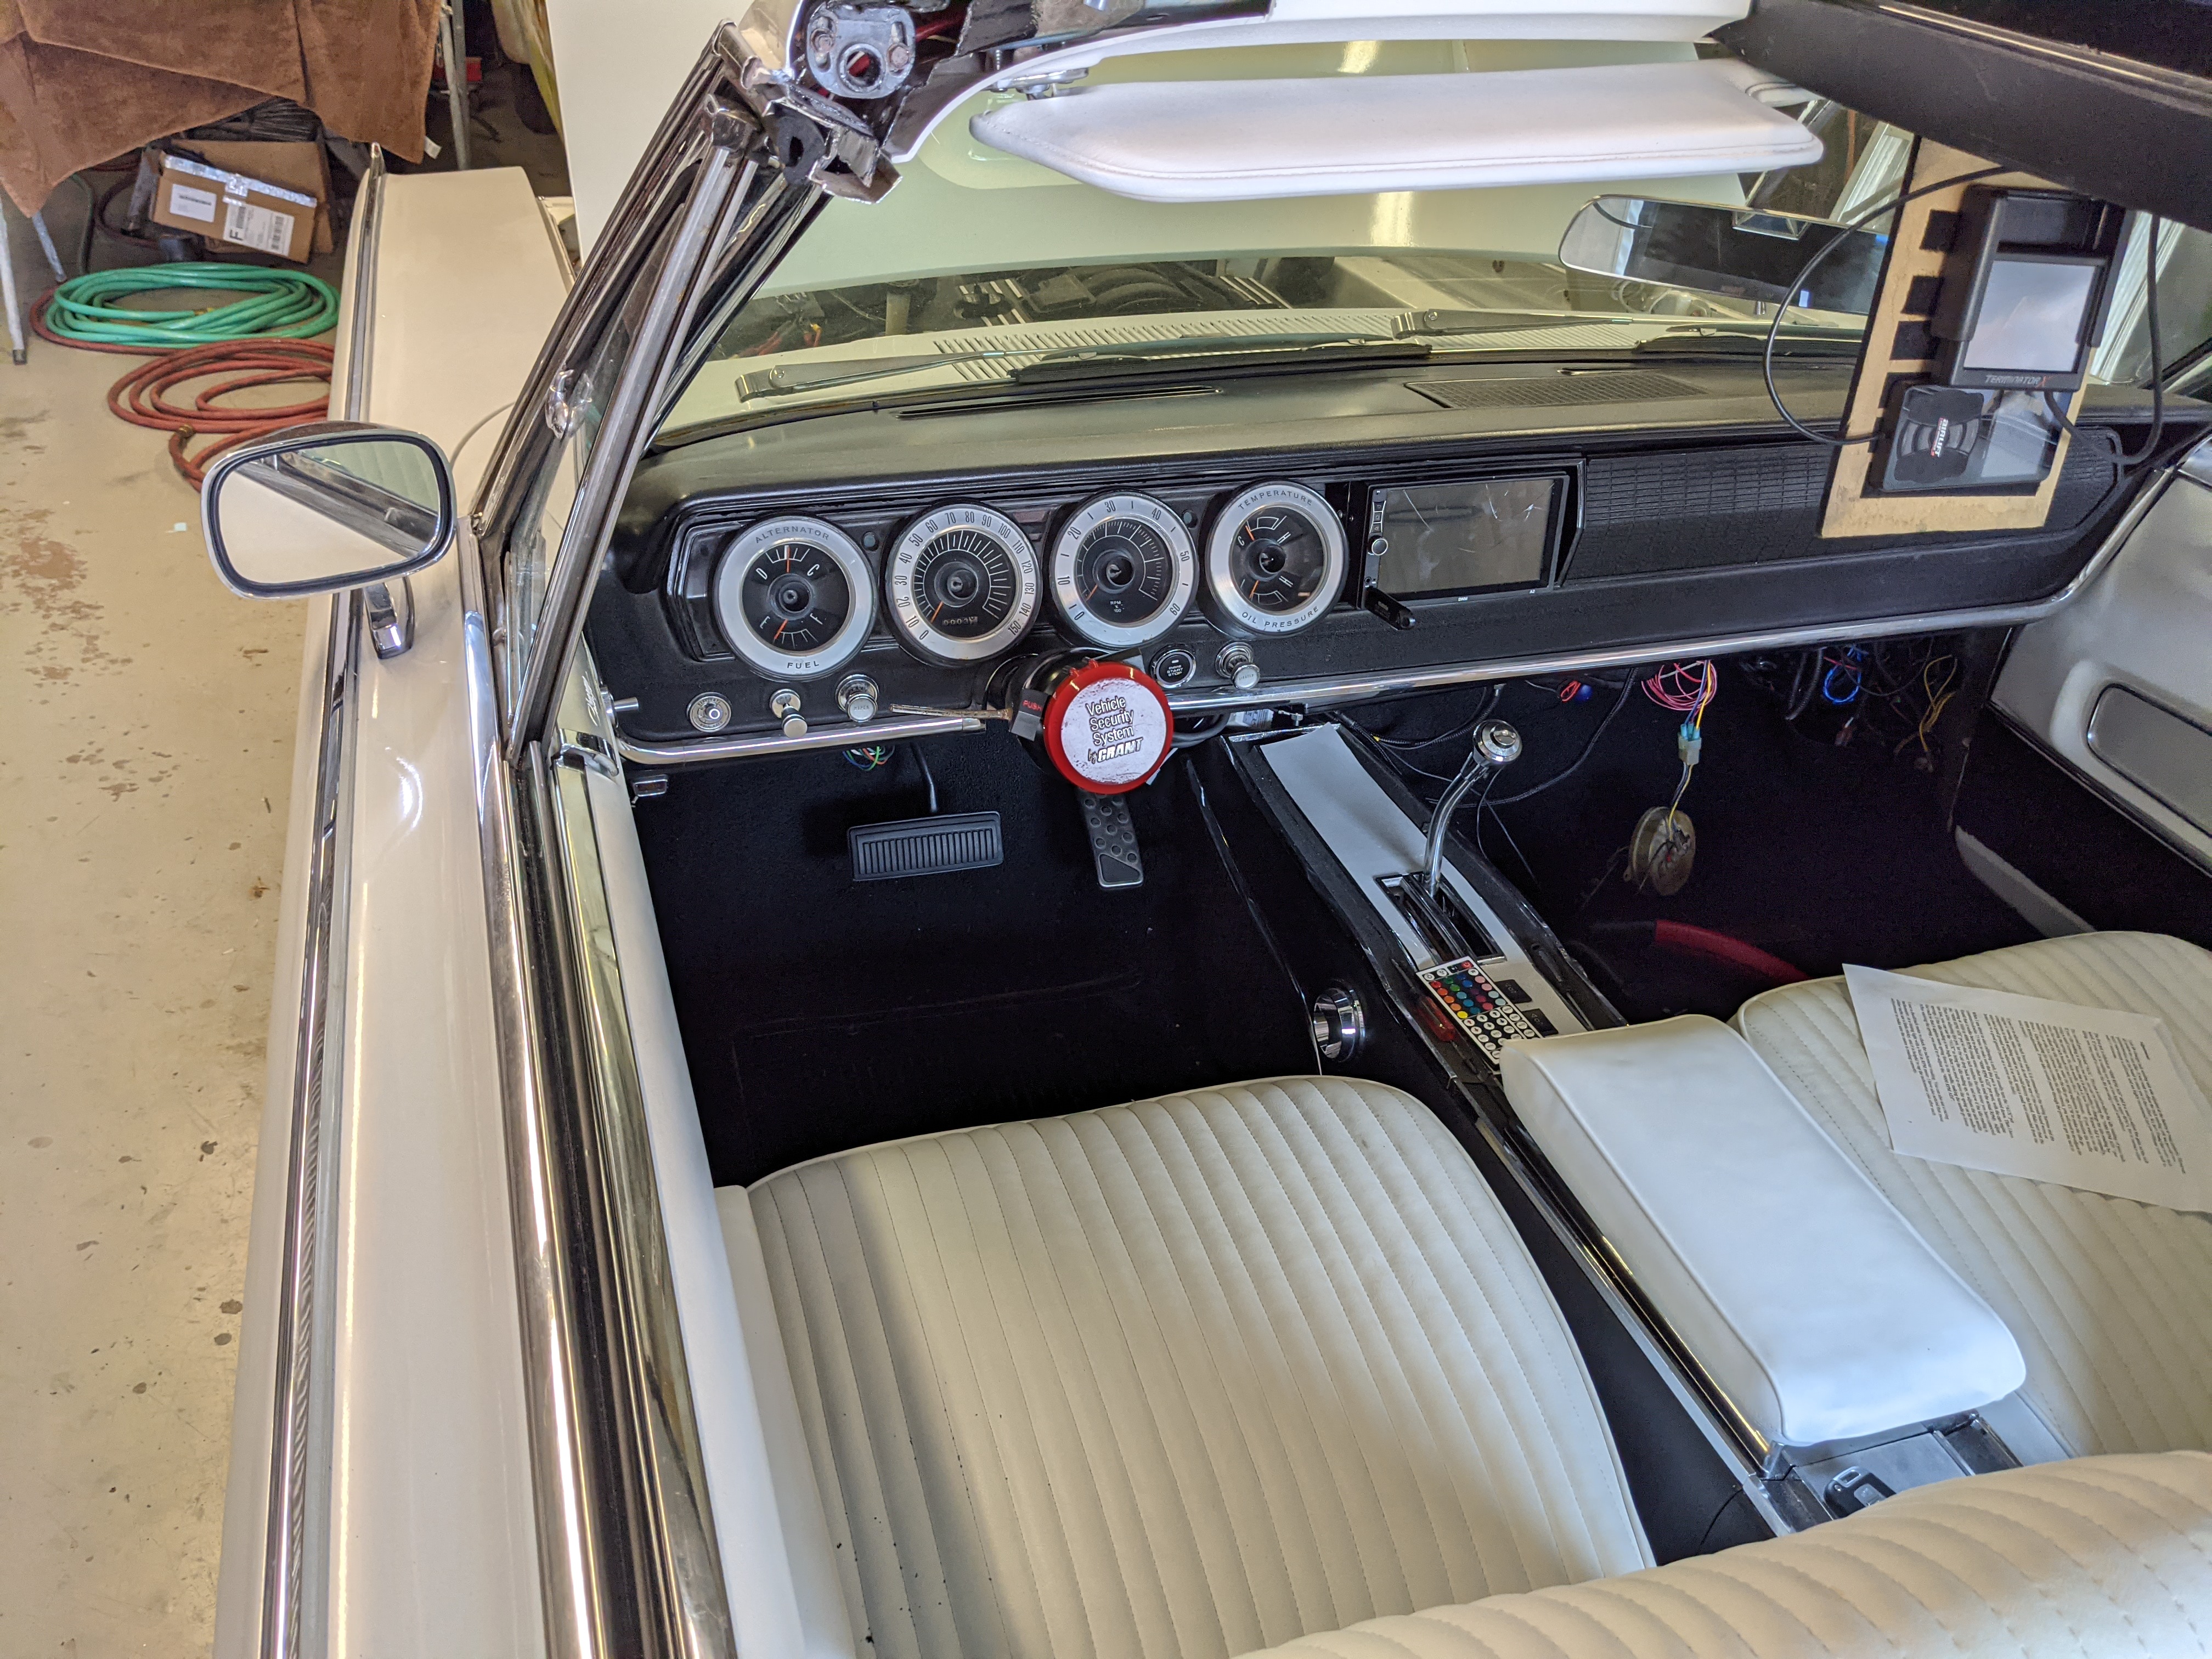
Gauge Restoration Project
Repairing Electro Luminescent gauges and facia

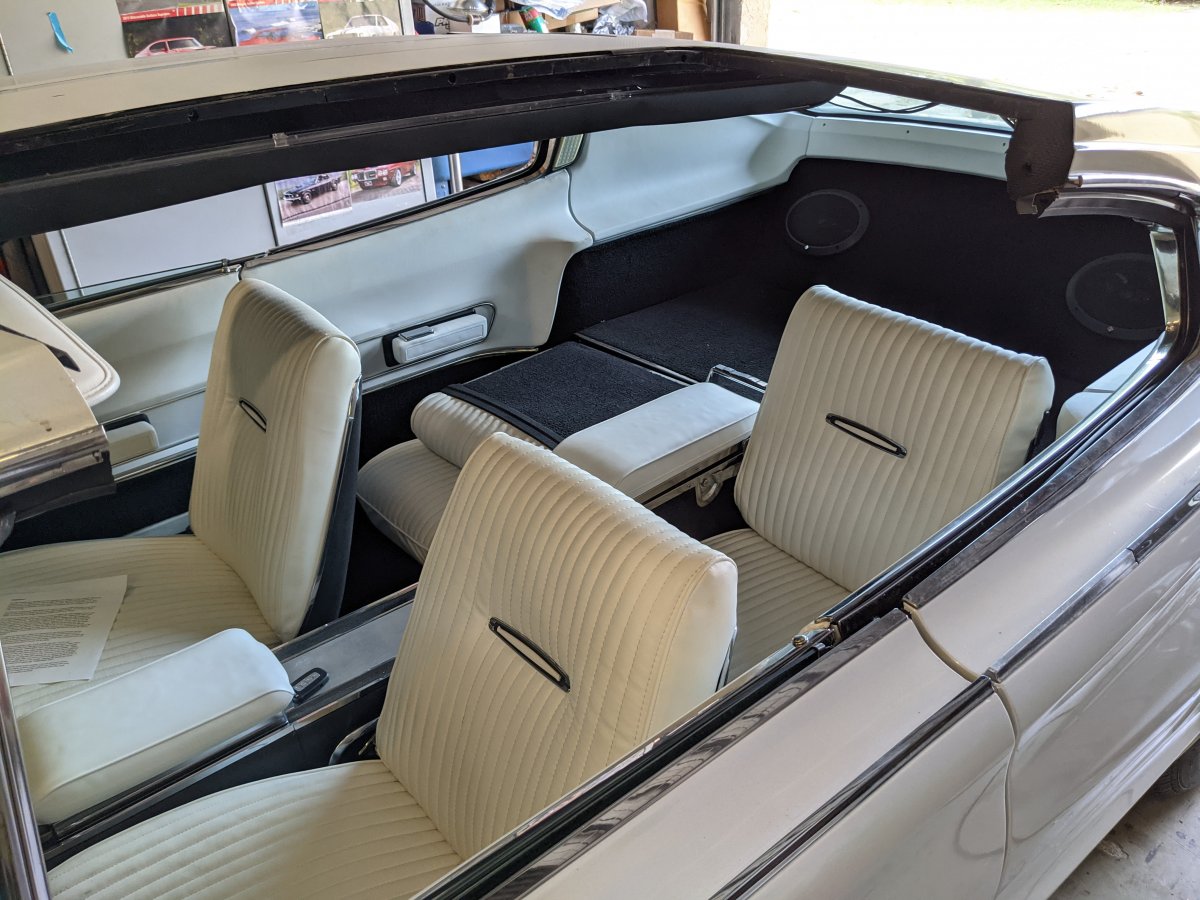
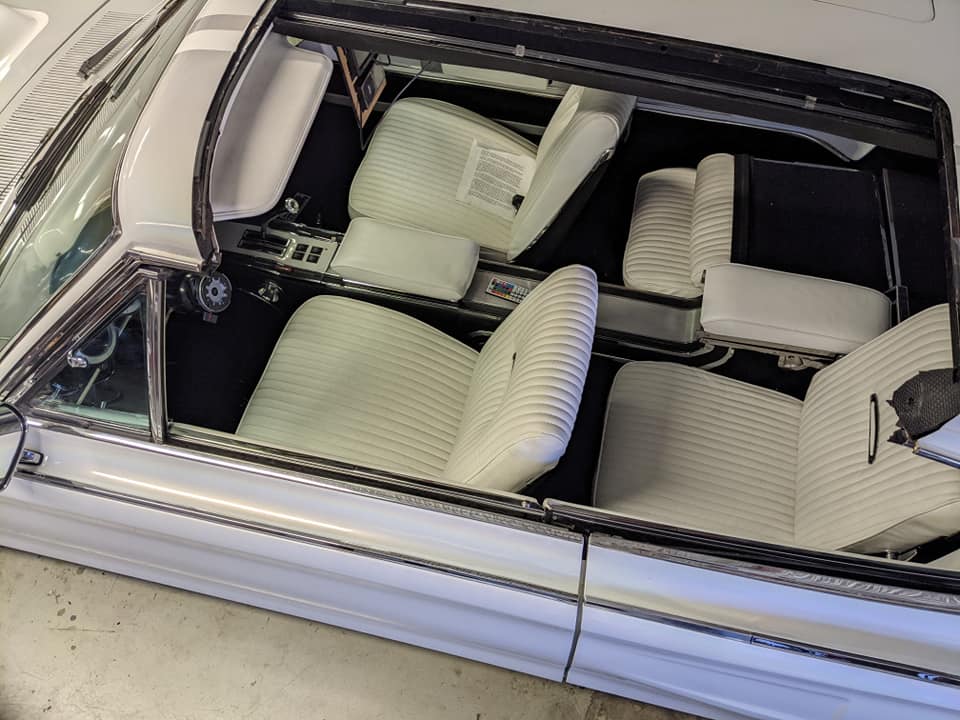
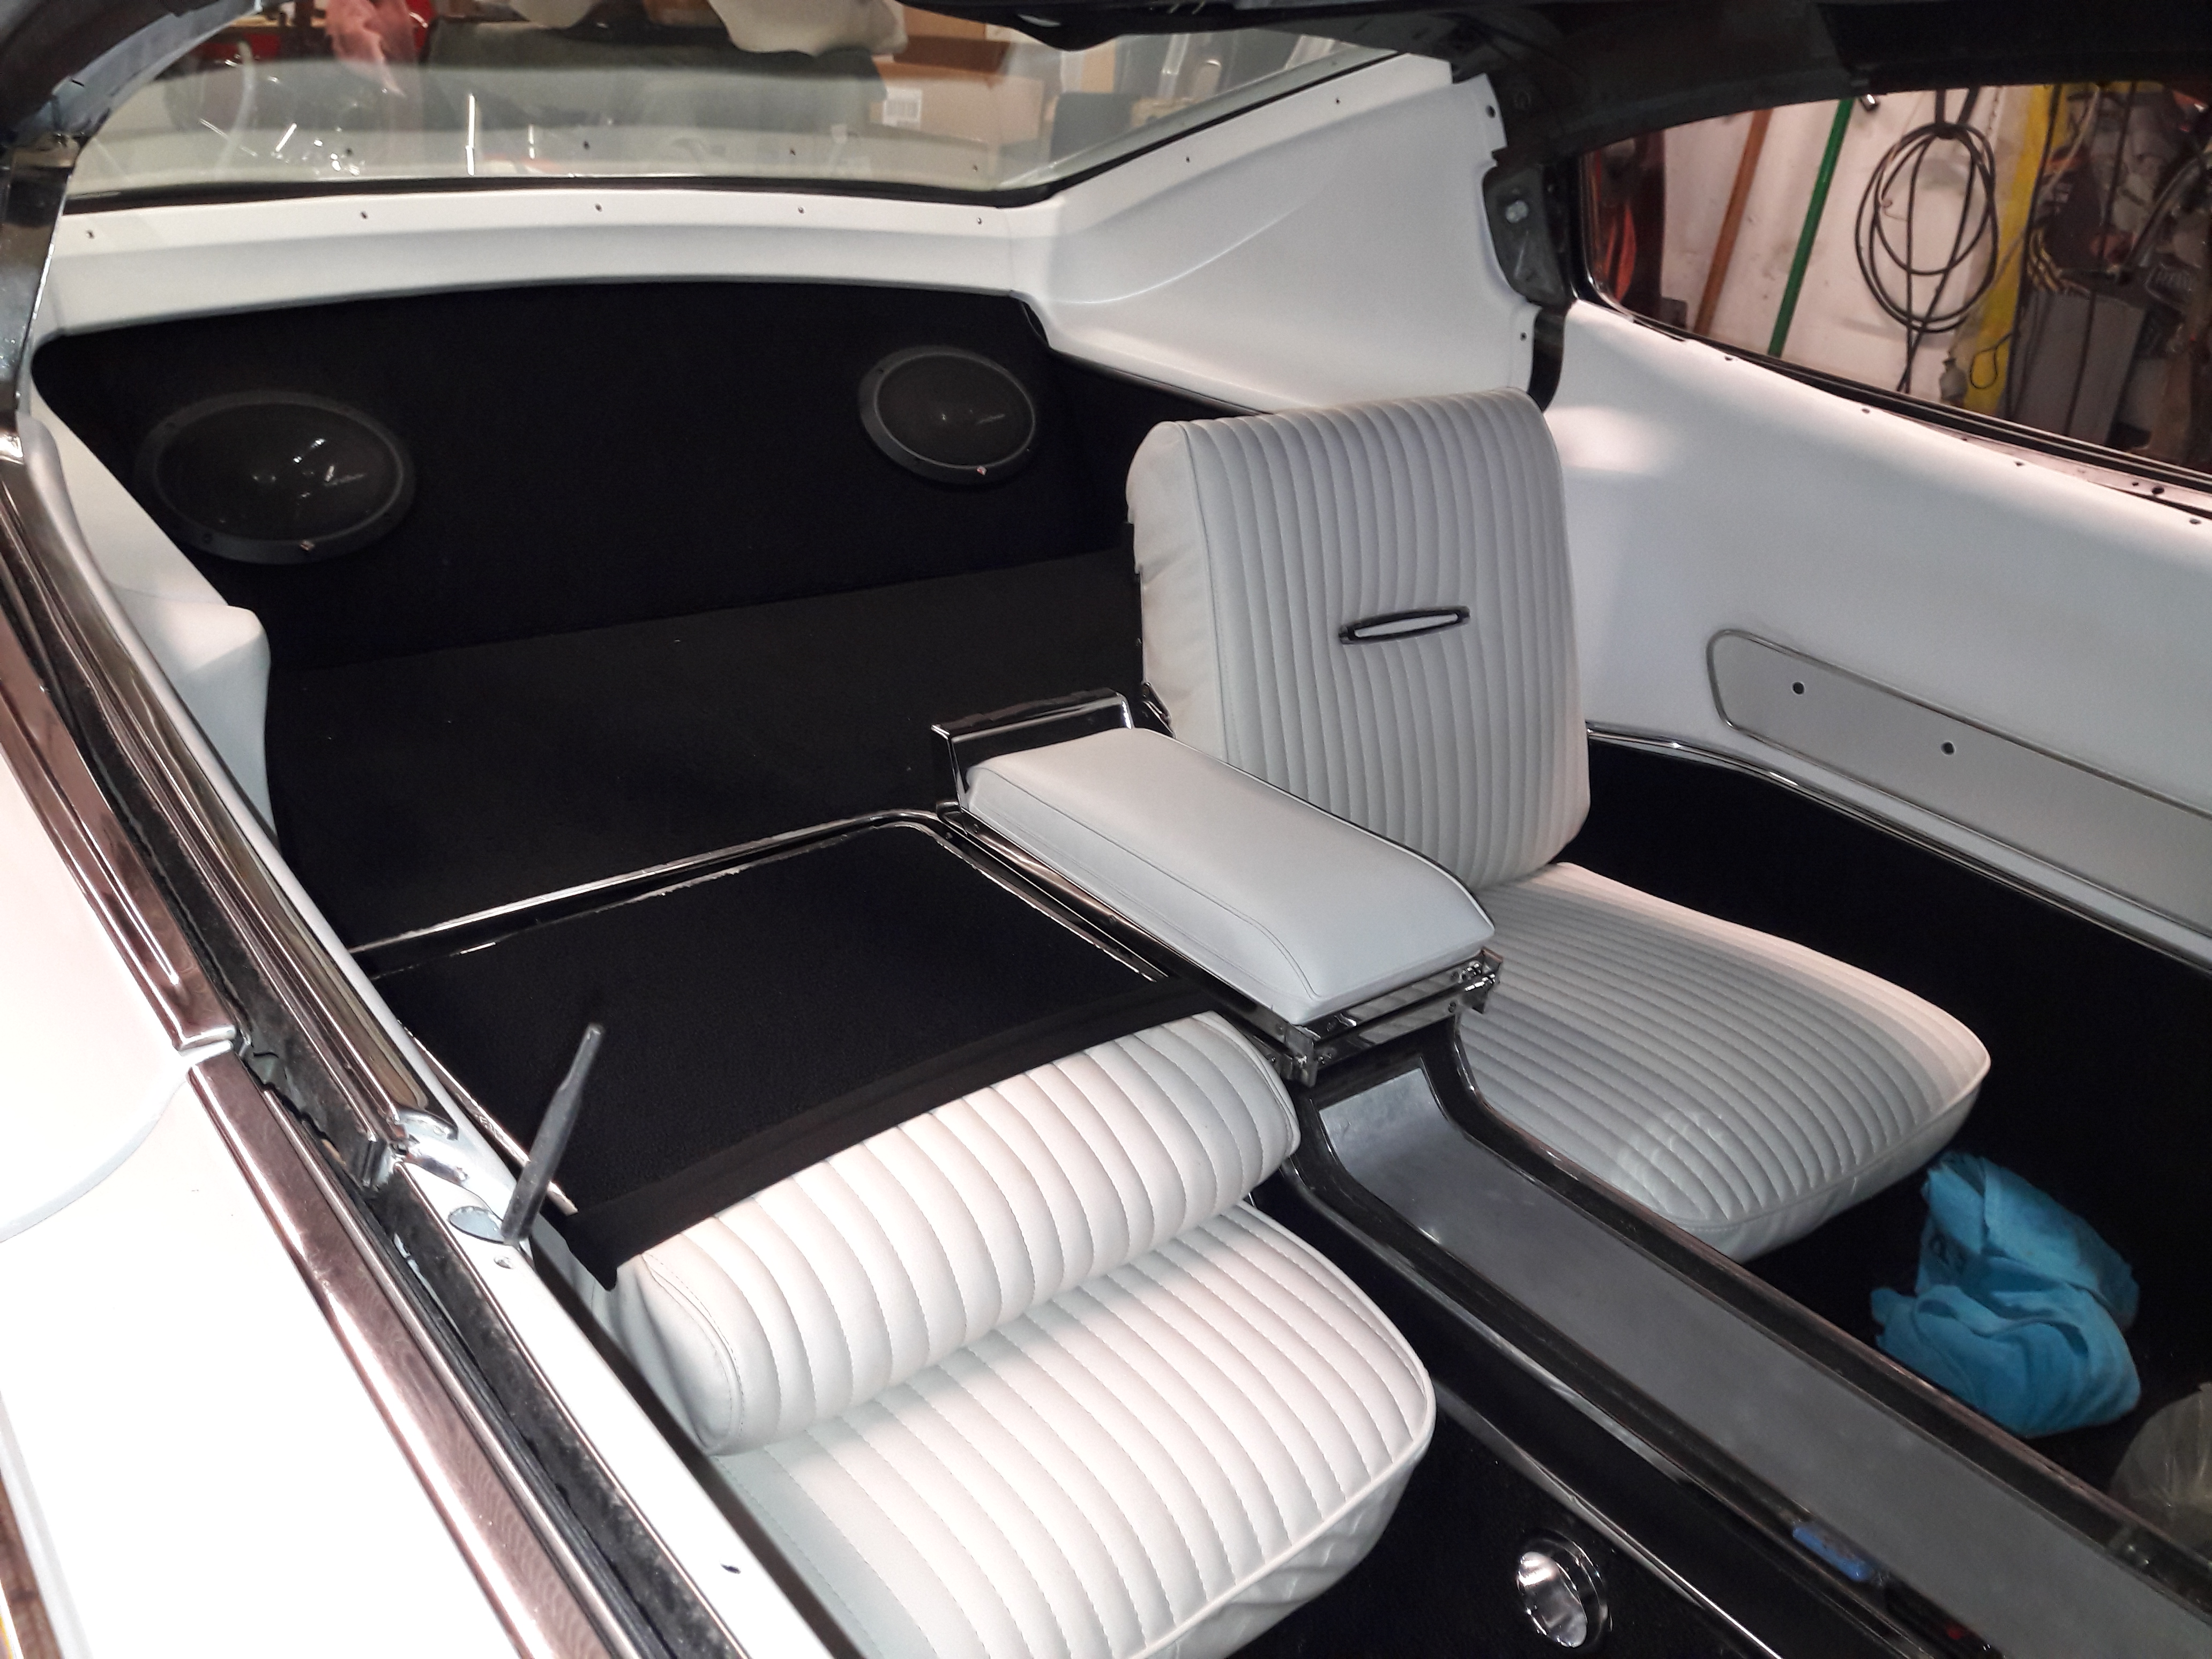
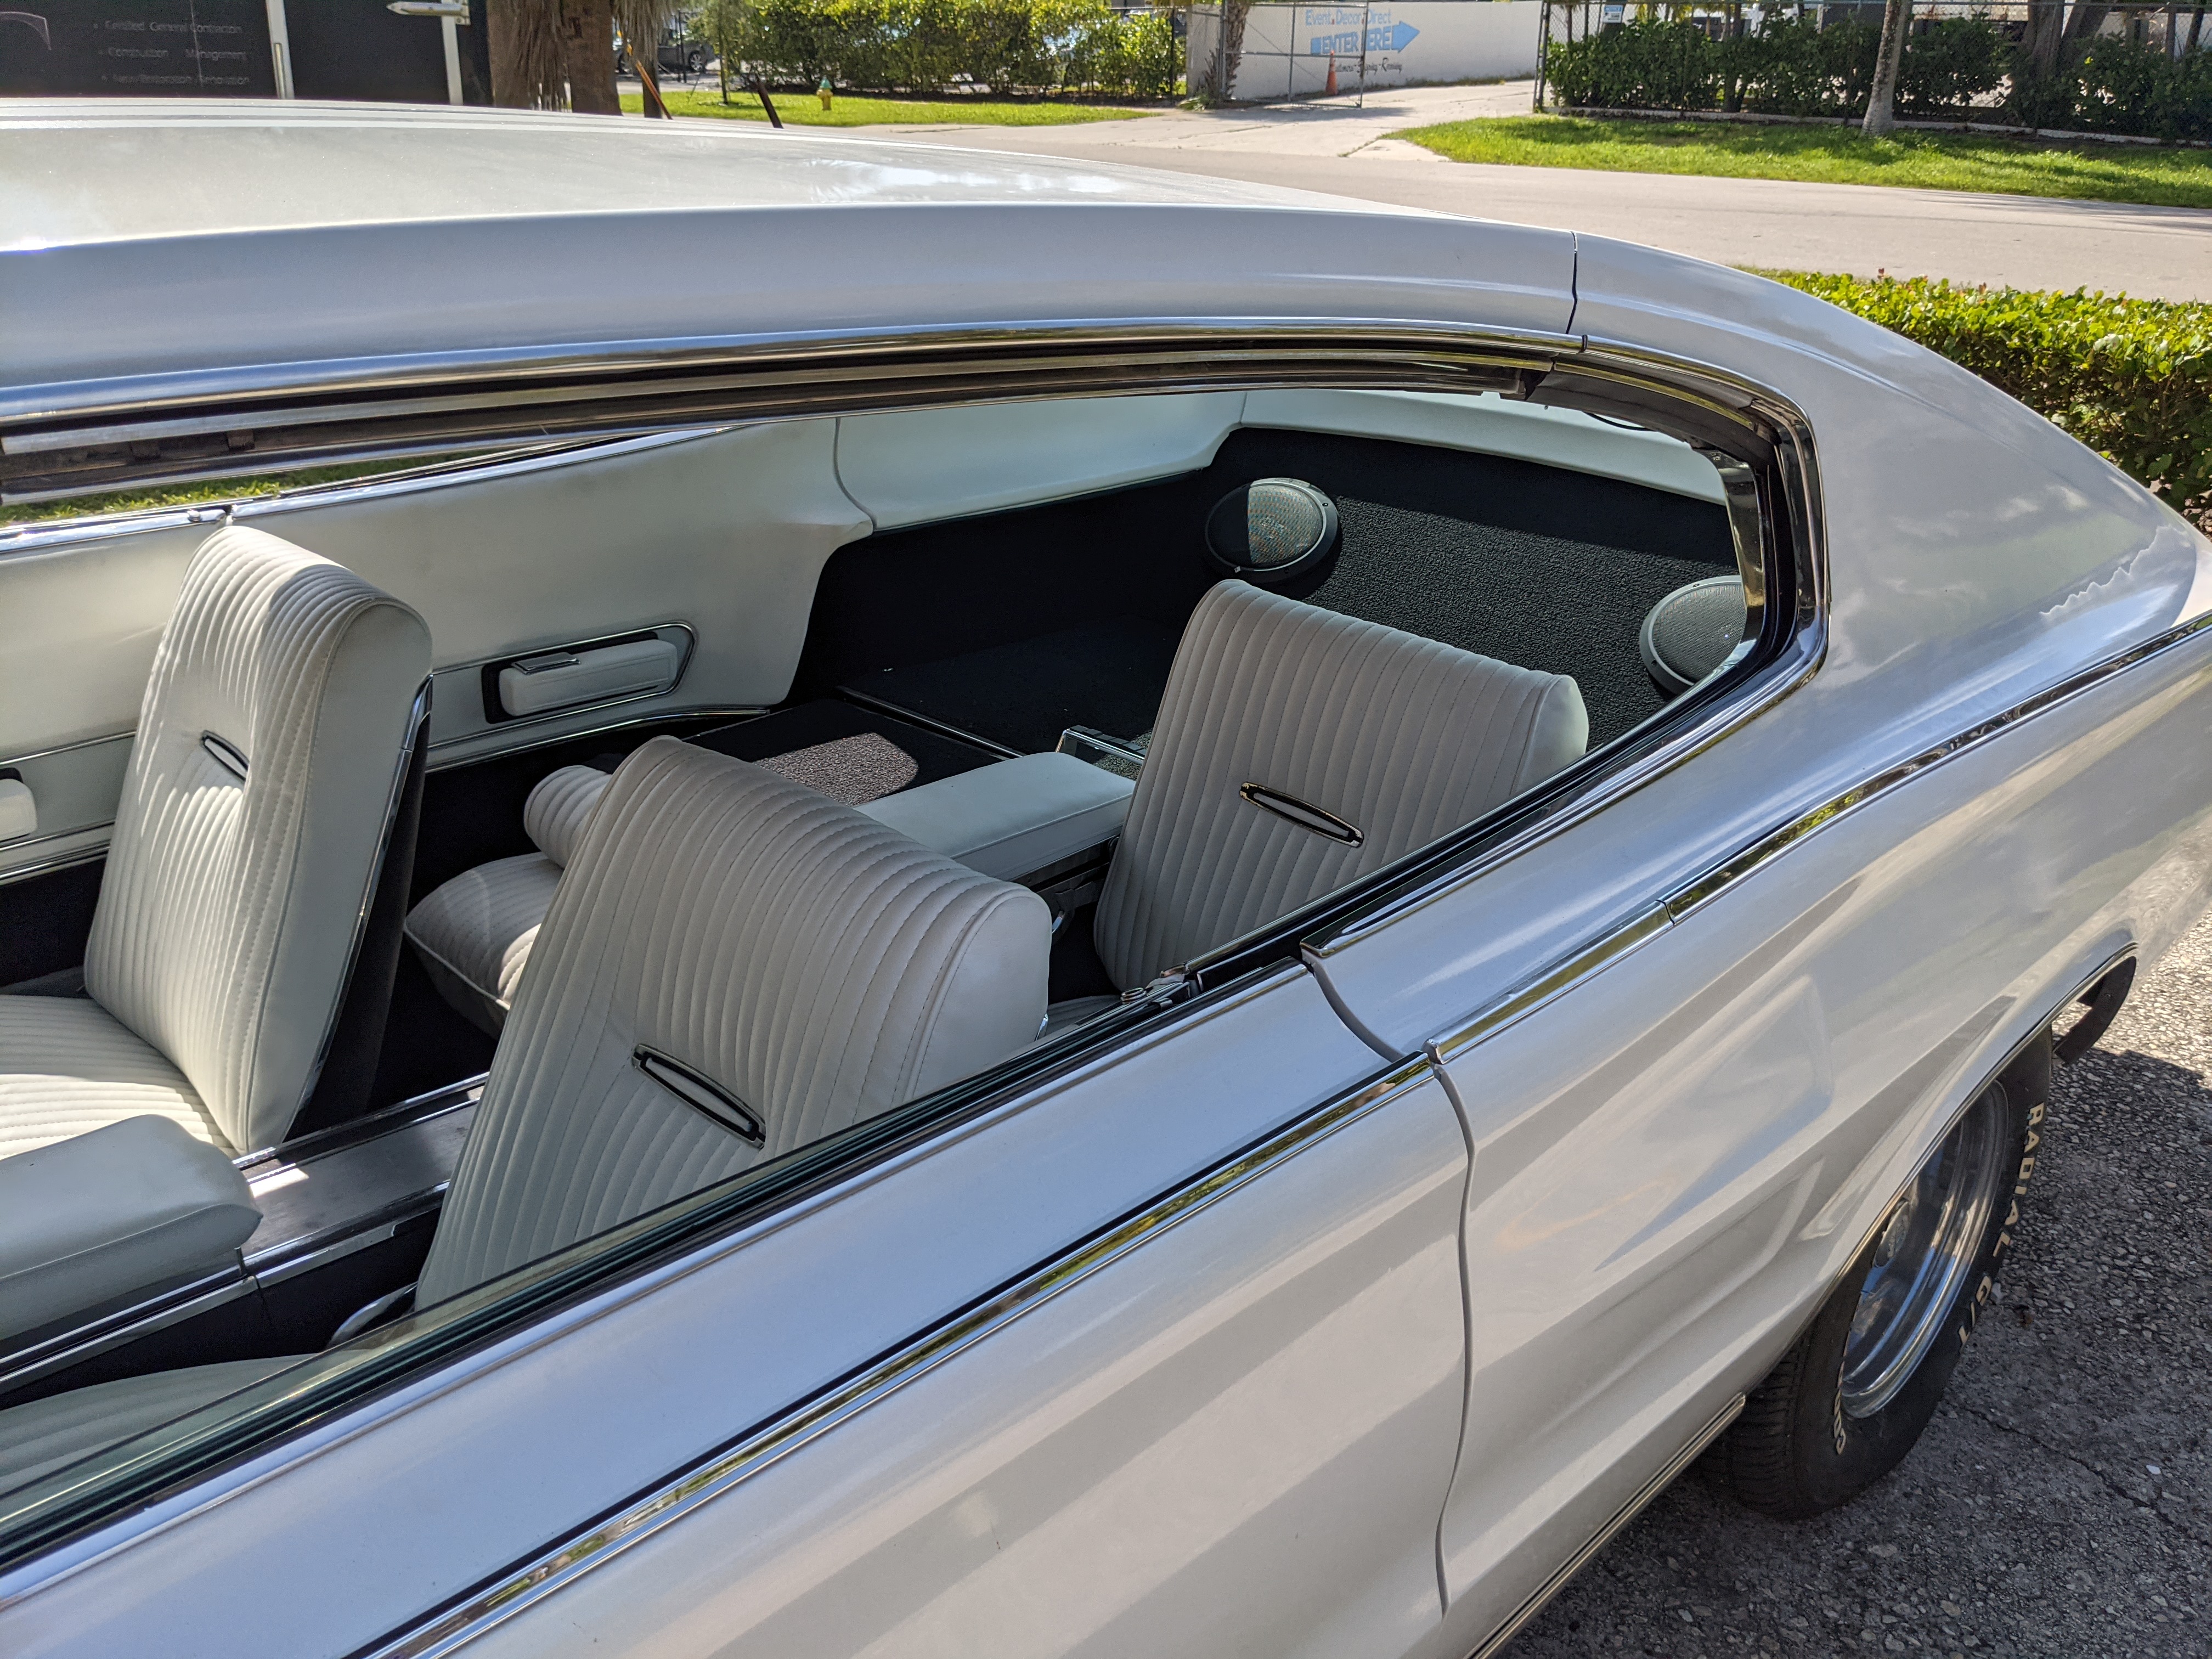
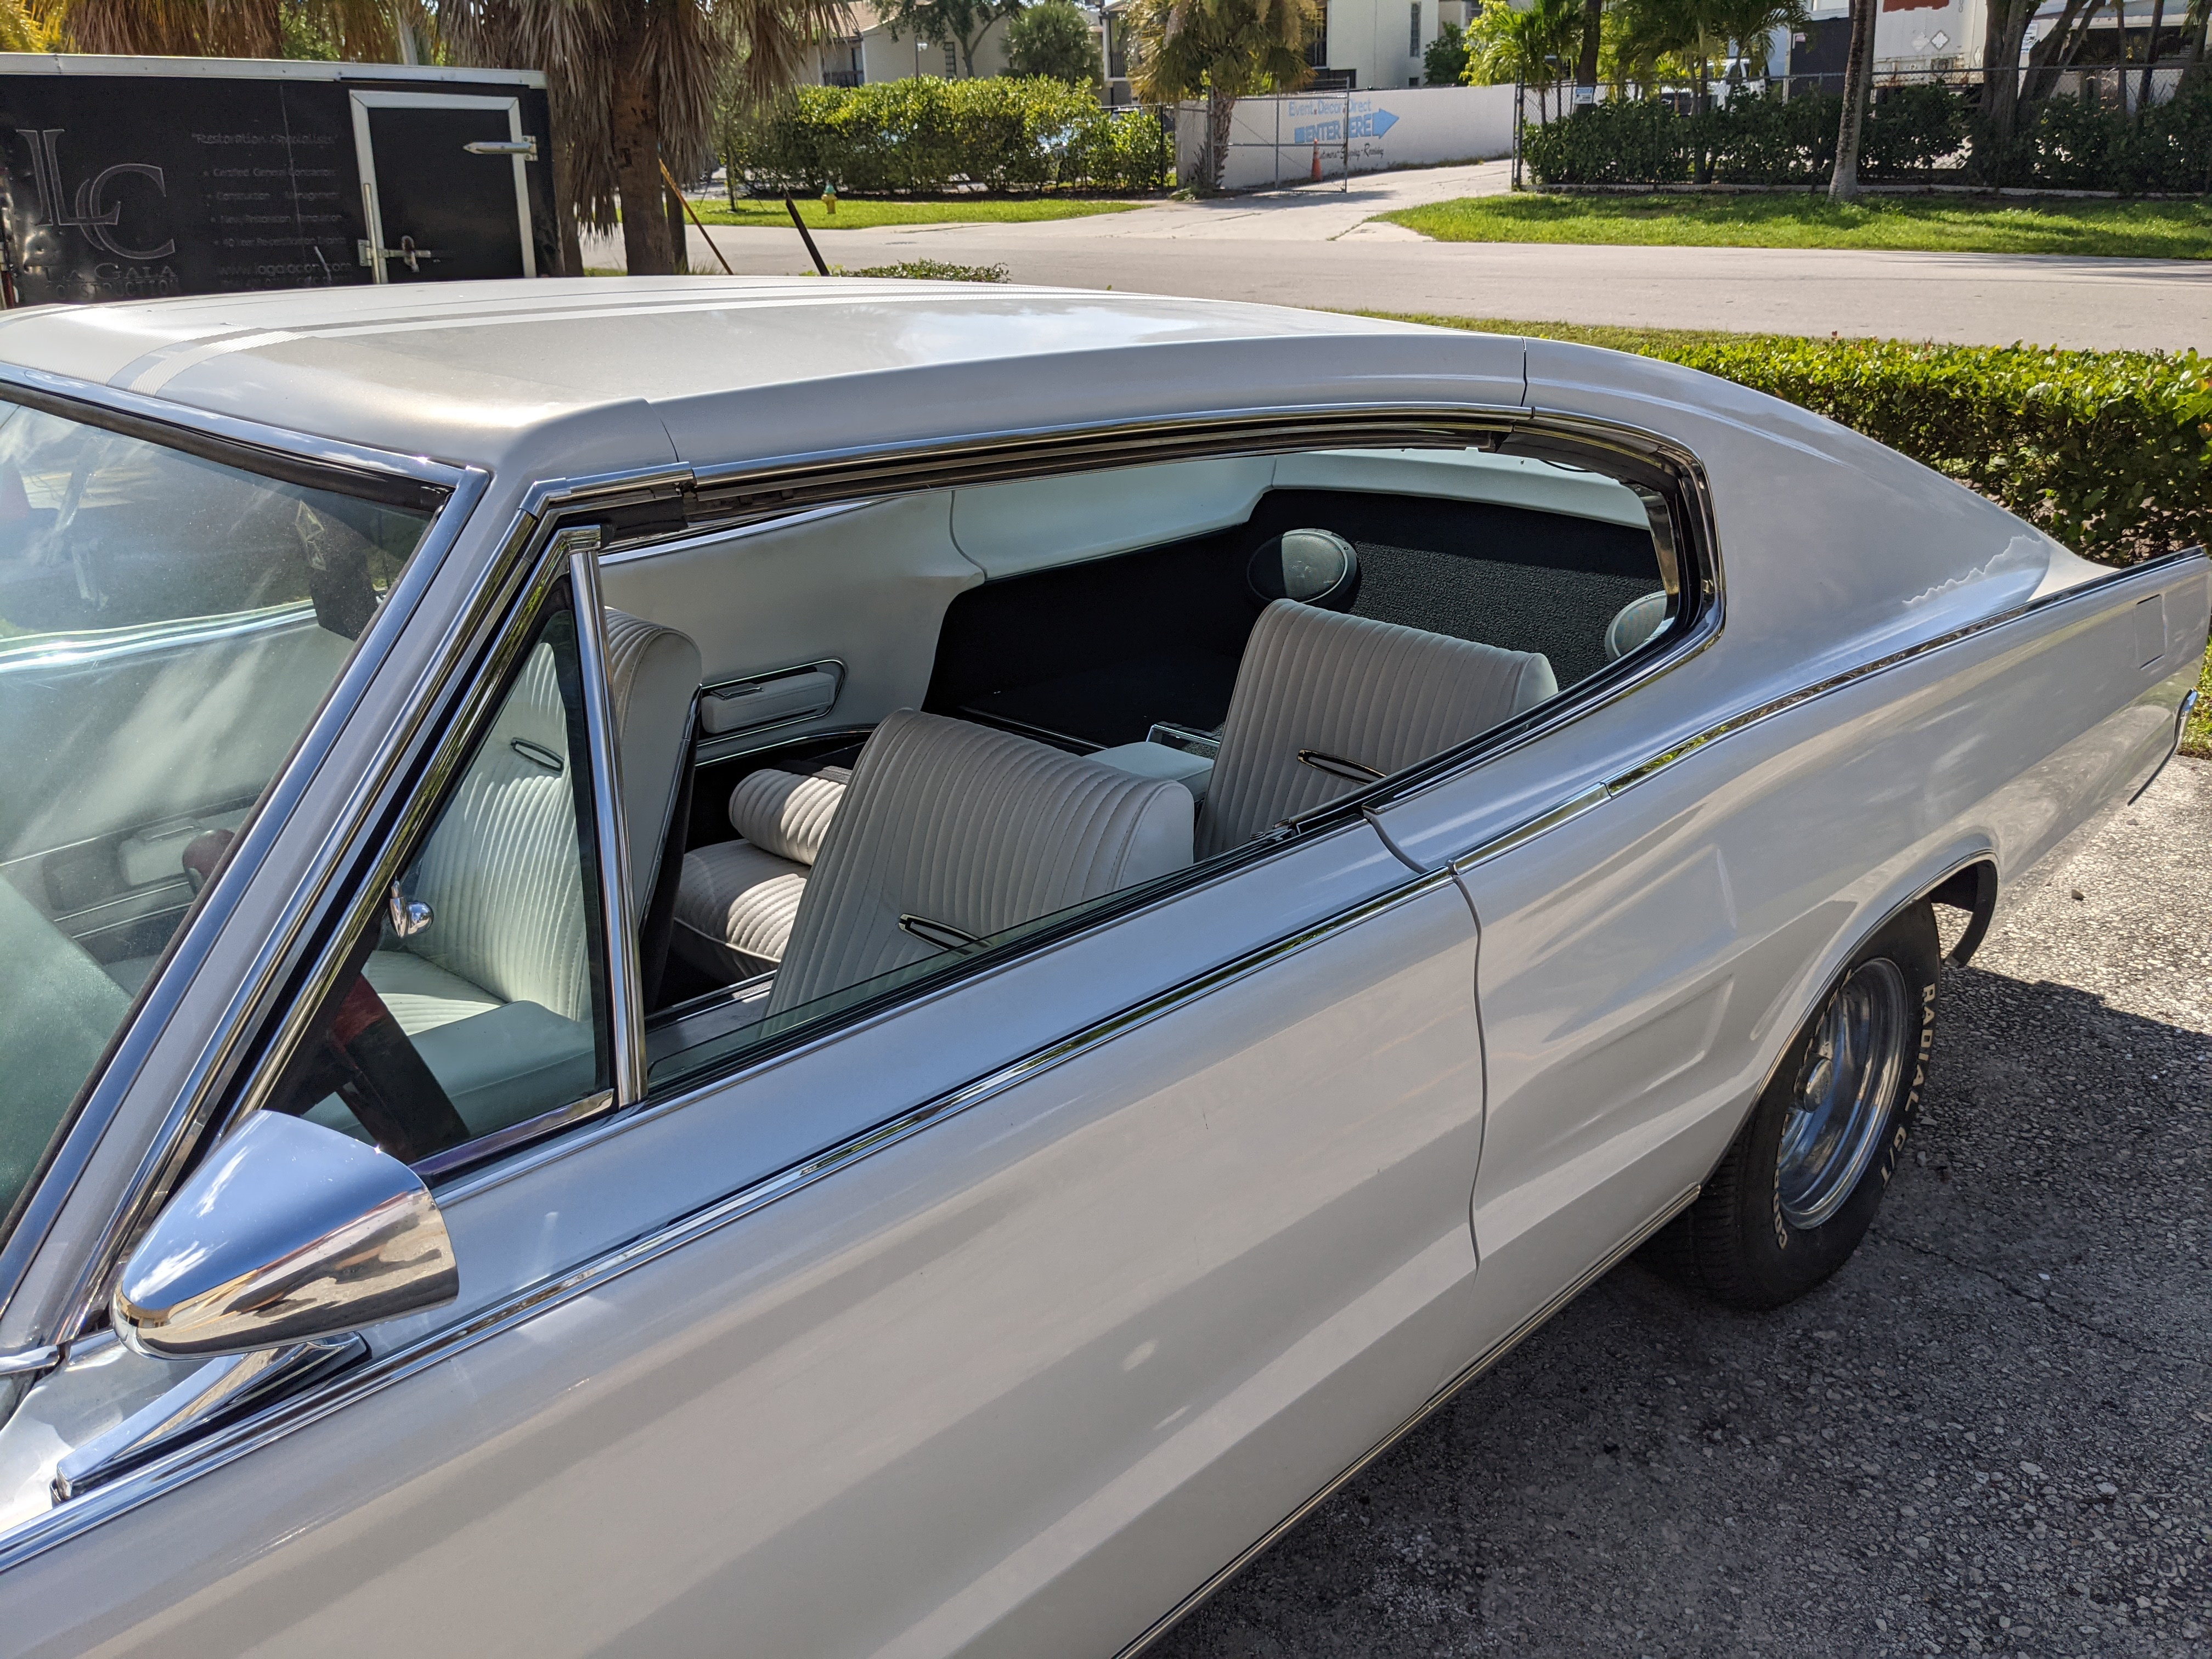
Seat Upholstery Project
Replacing seat upholstery

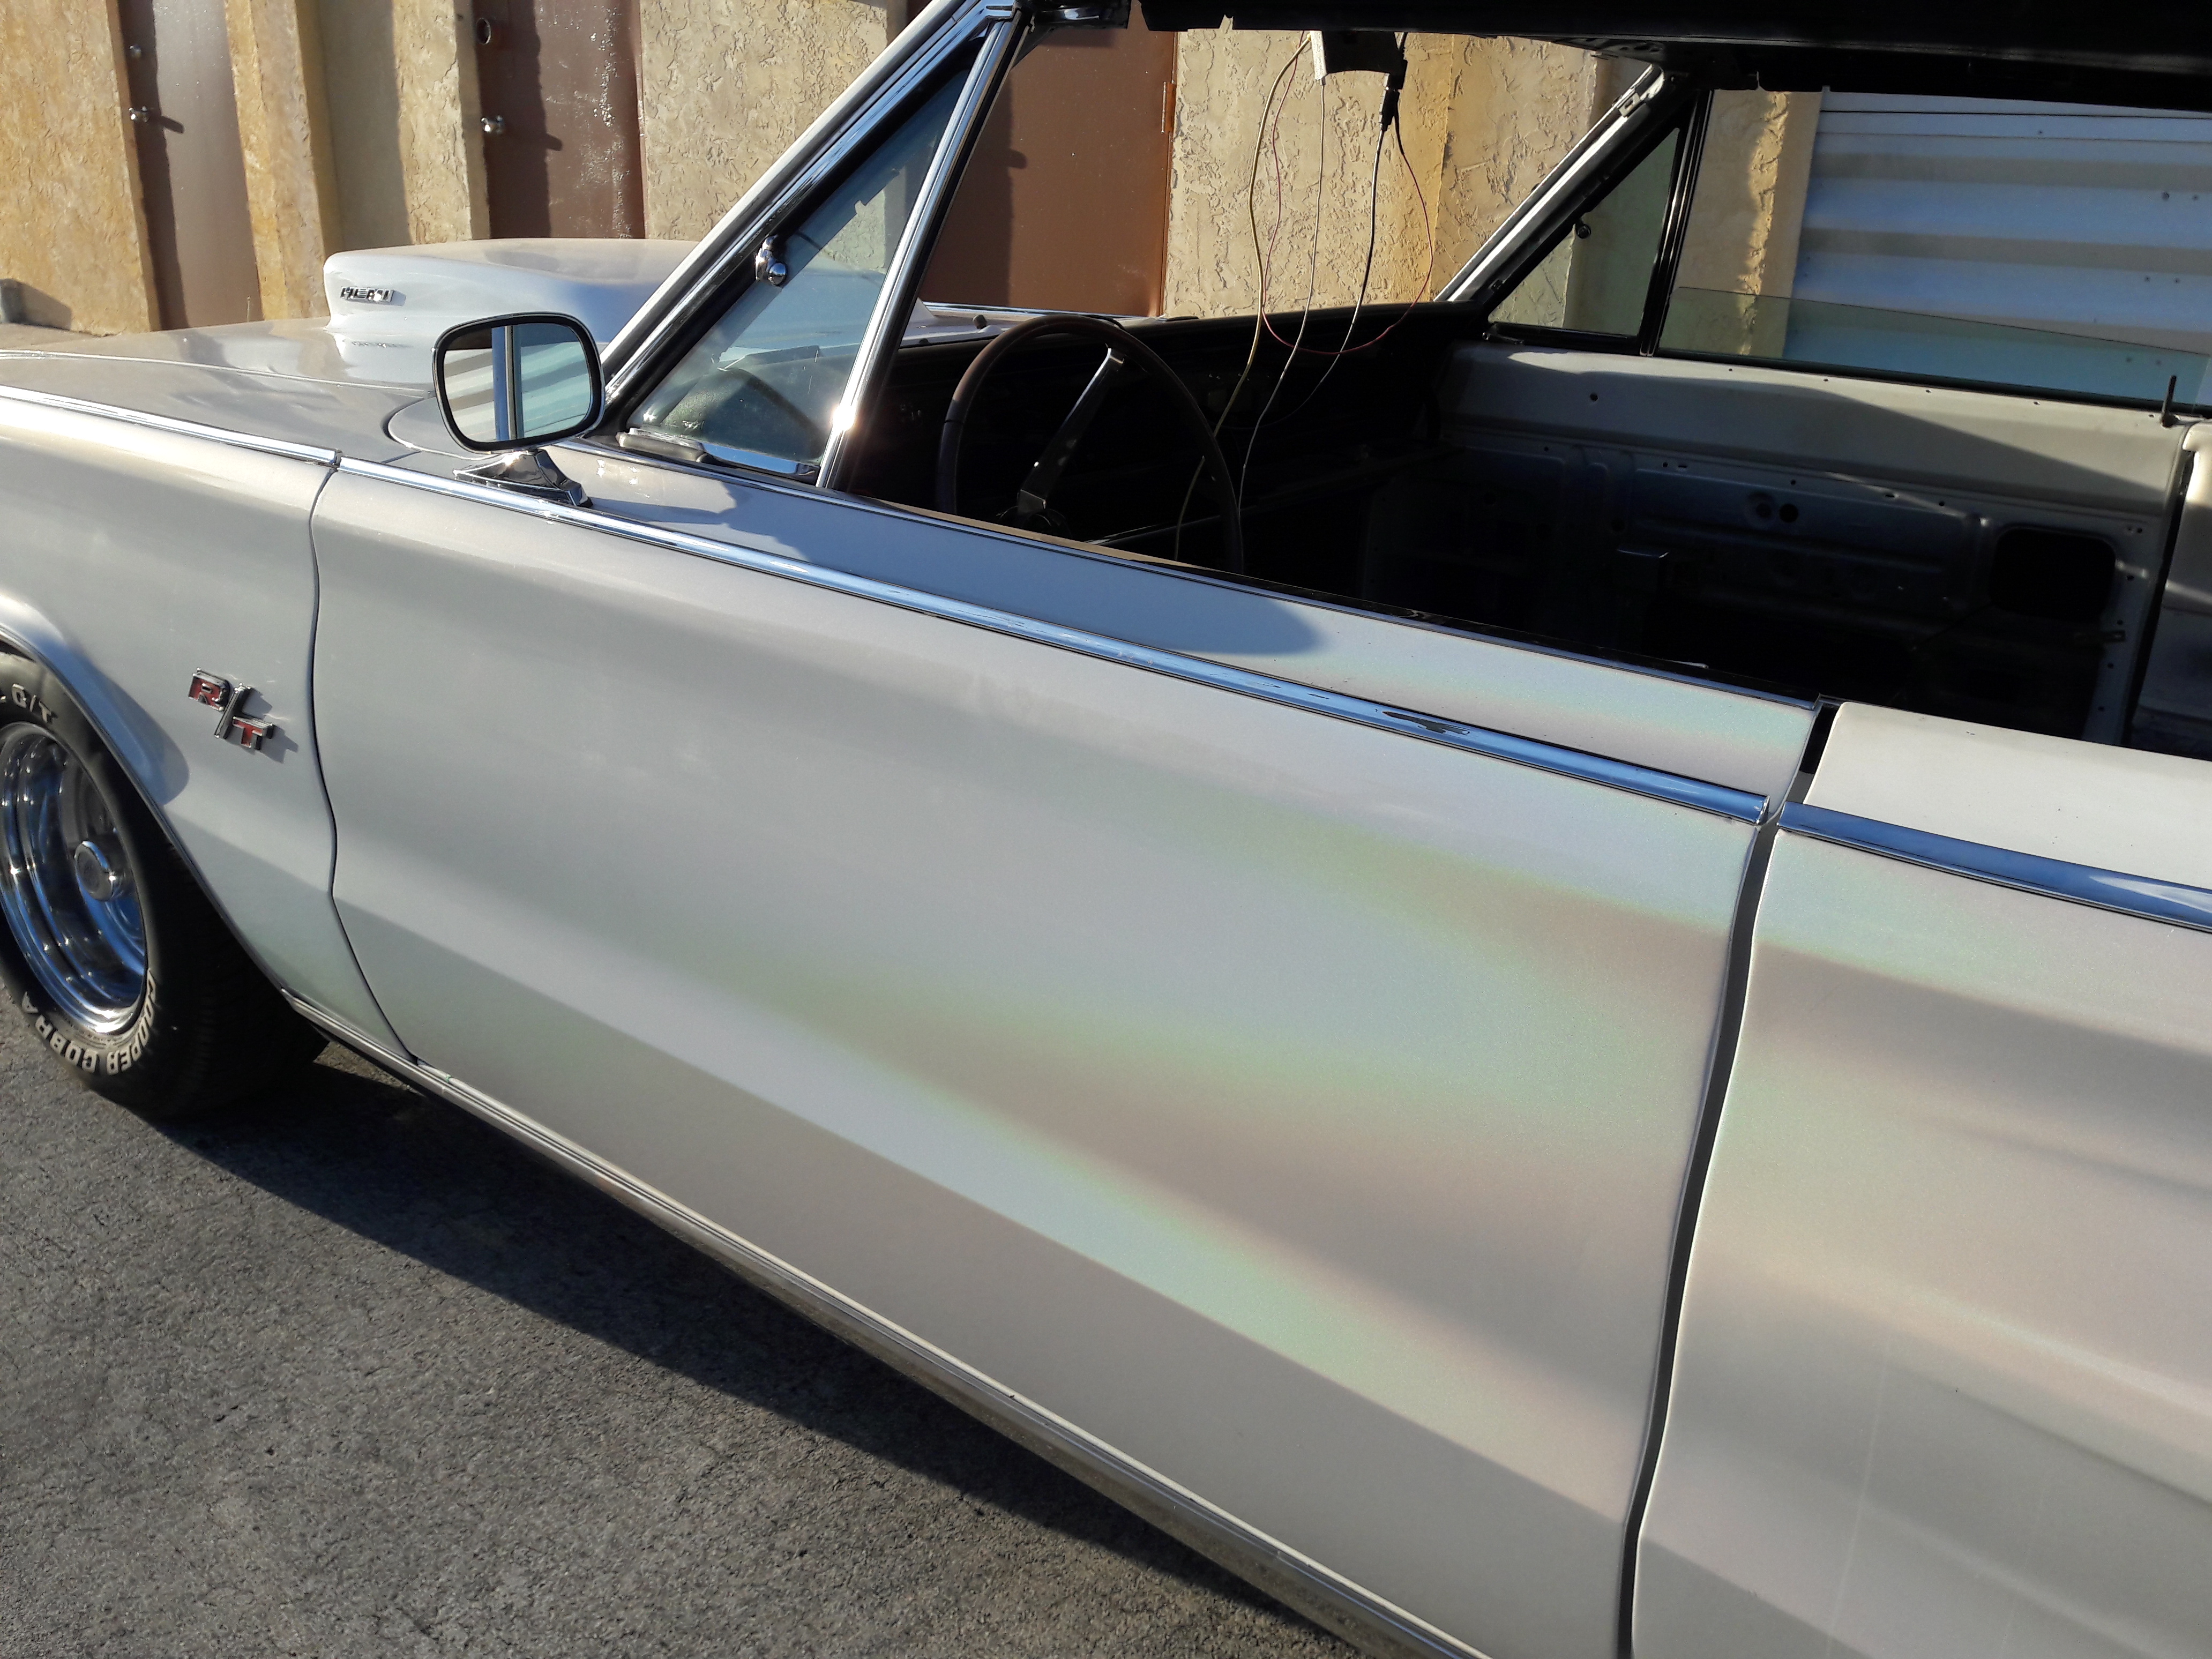
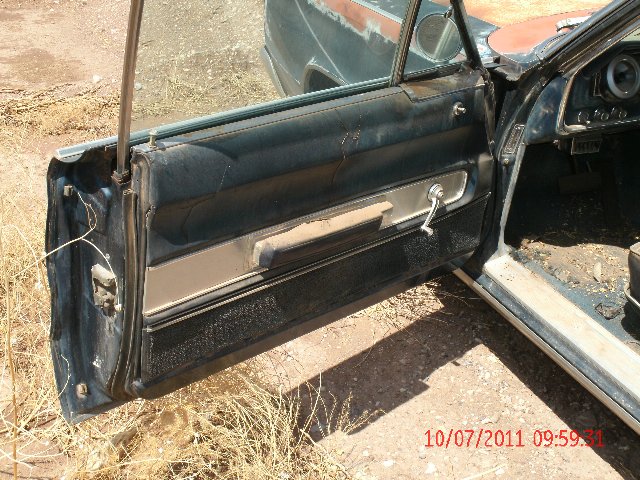
Door panel modifications
Reapiring and modifying door panels.

Rear Seats UpConsole Down

Right Seat Down Console Up

Rear Seats Up Console Up

Rear Seats Down Console Down
Rick's Charger Recent updates 04/29/20
test fit left side roof panel. Grille install. Hood work and install. Electrical work on power windows.
05/03/20 - finished headlight motor circuit wiring & testing
05/10/20 - resolve power window operation issues
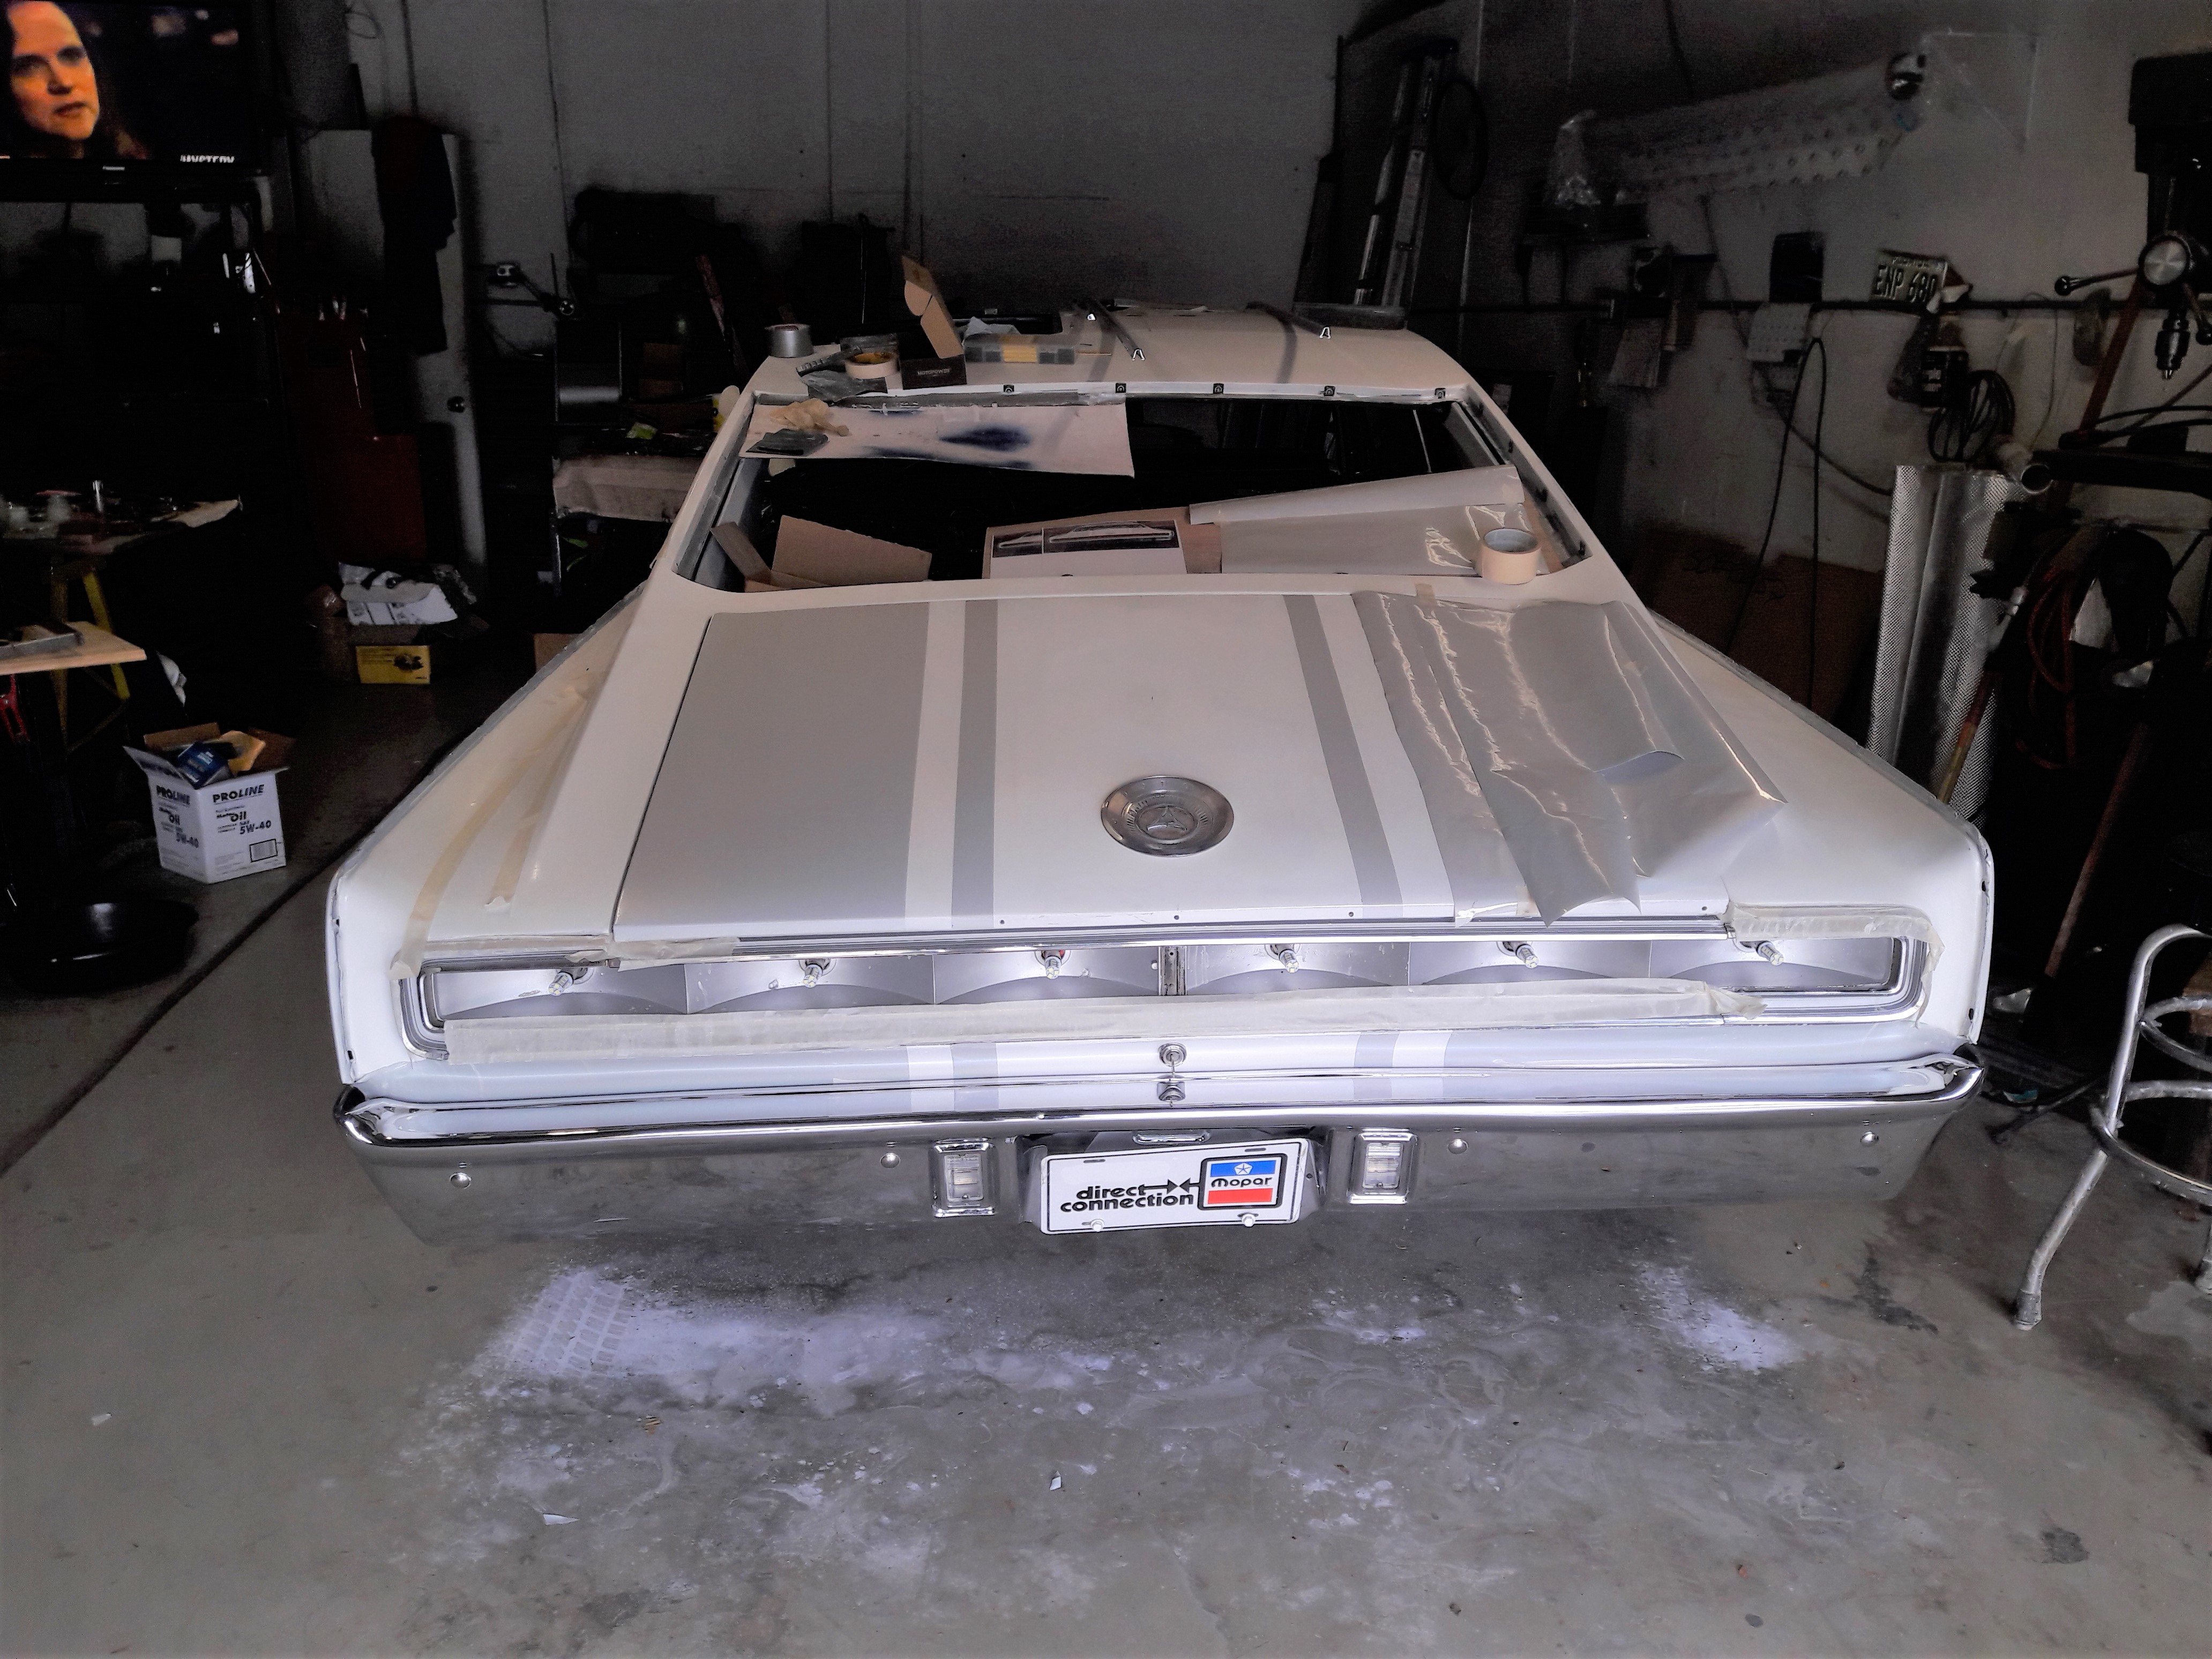
06/01/20 - Install trunk stripe, Install left roof section support, Test dash display unit, Hood work
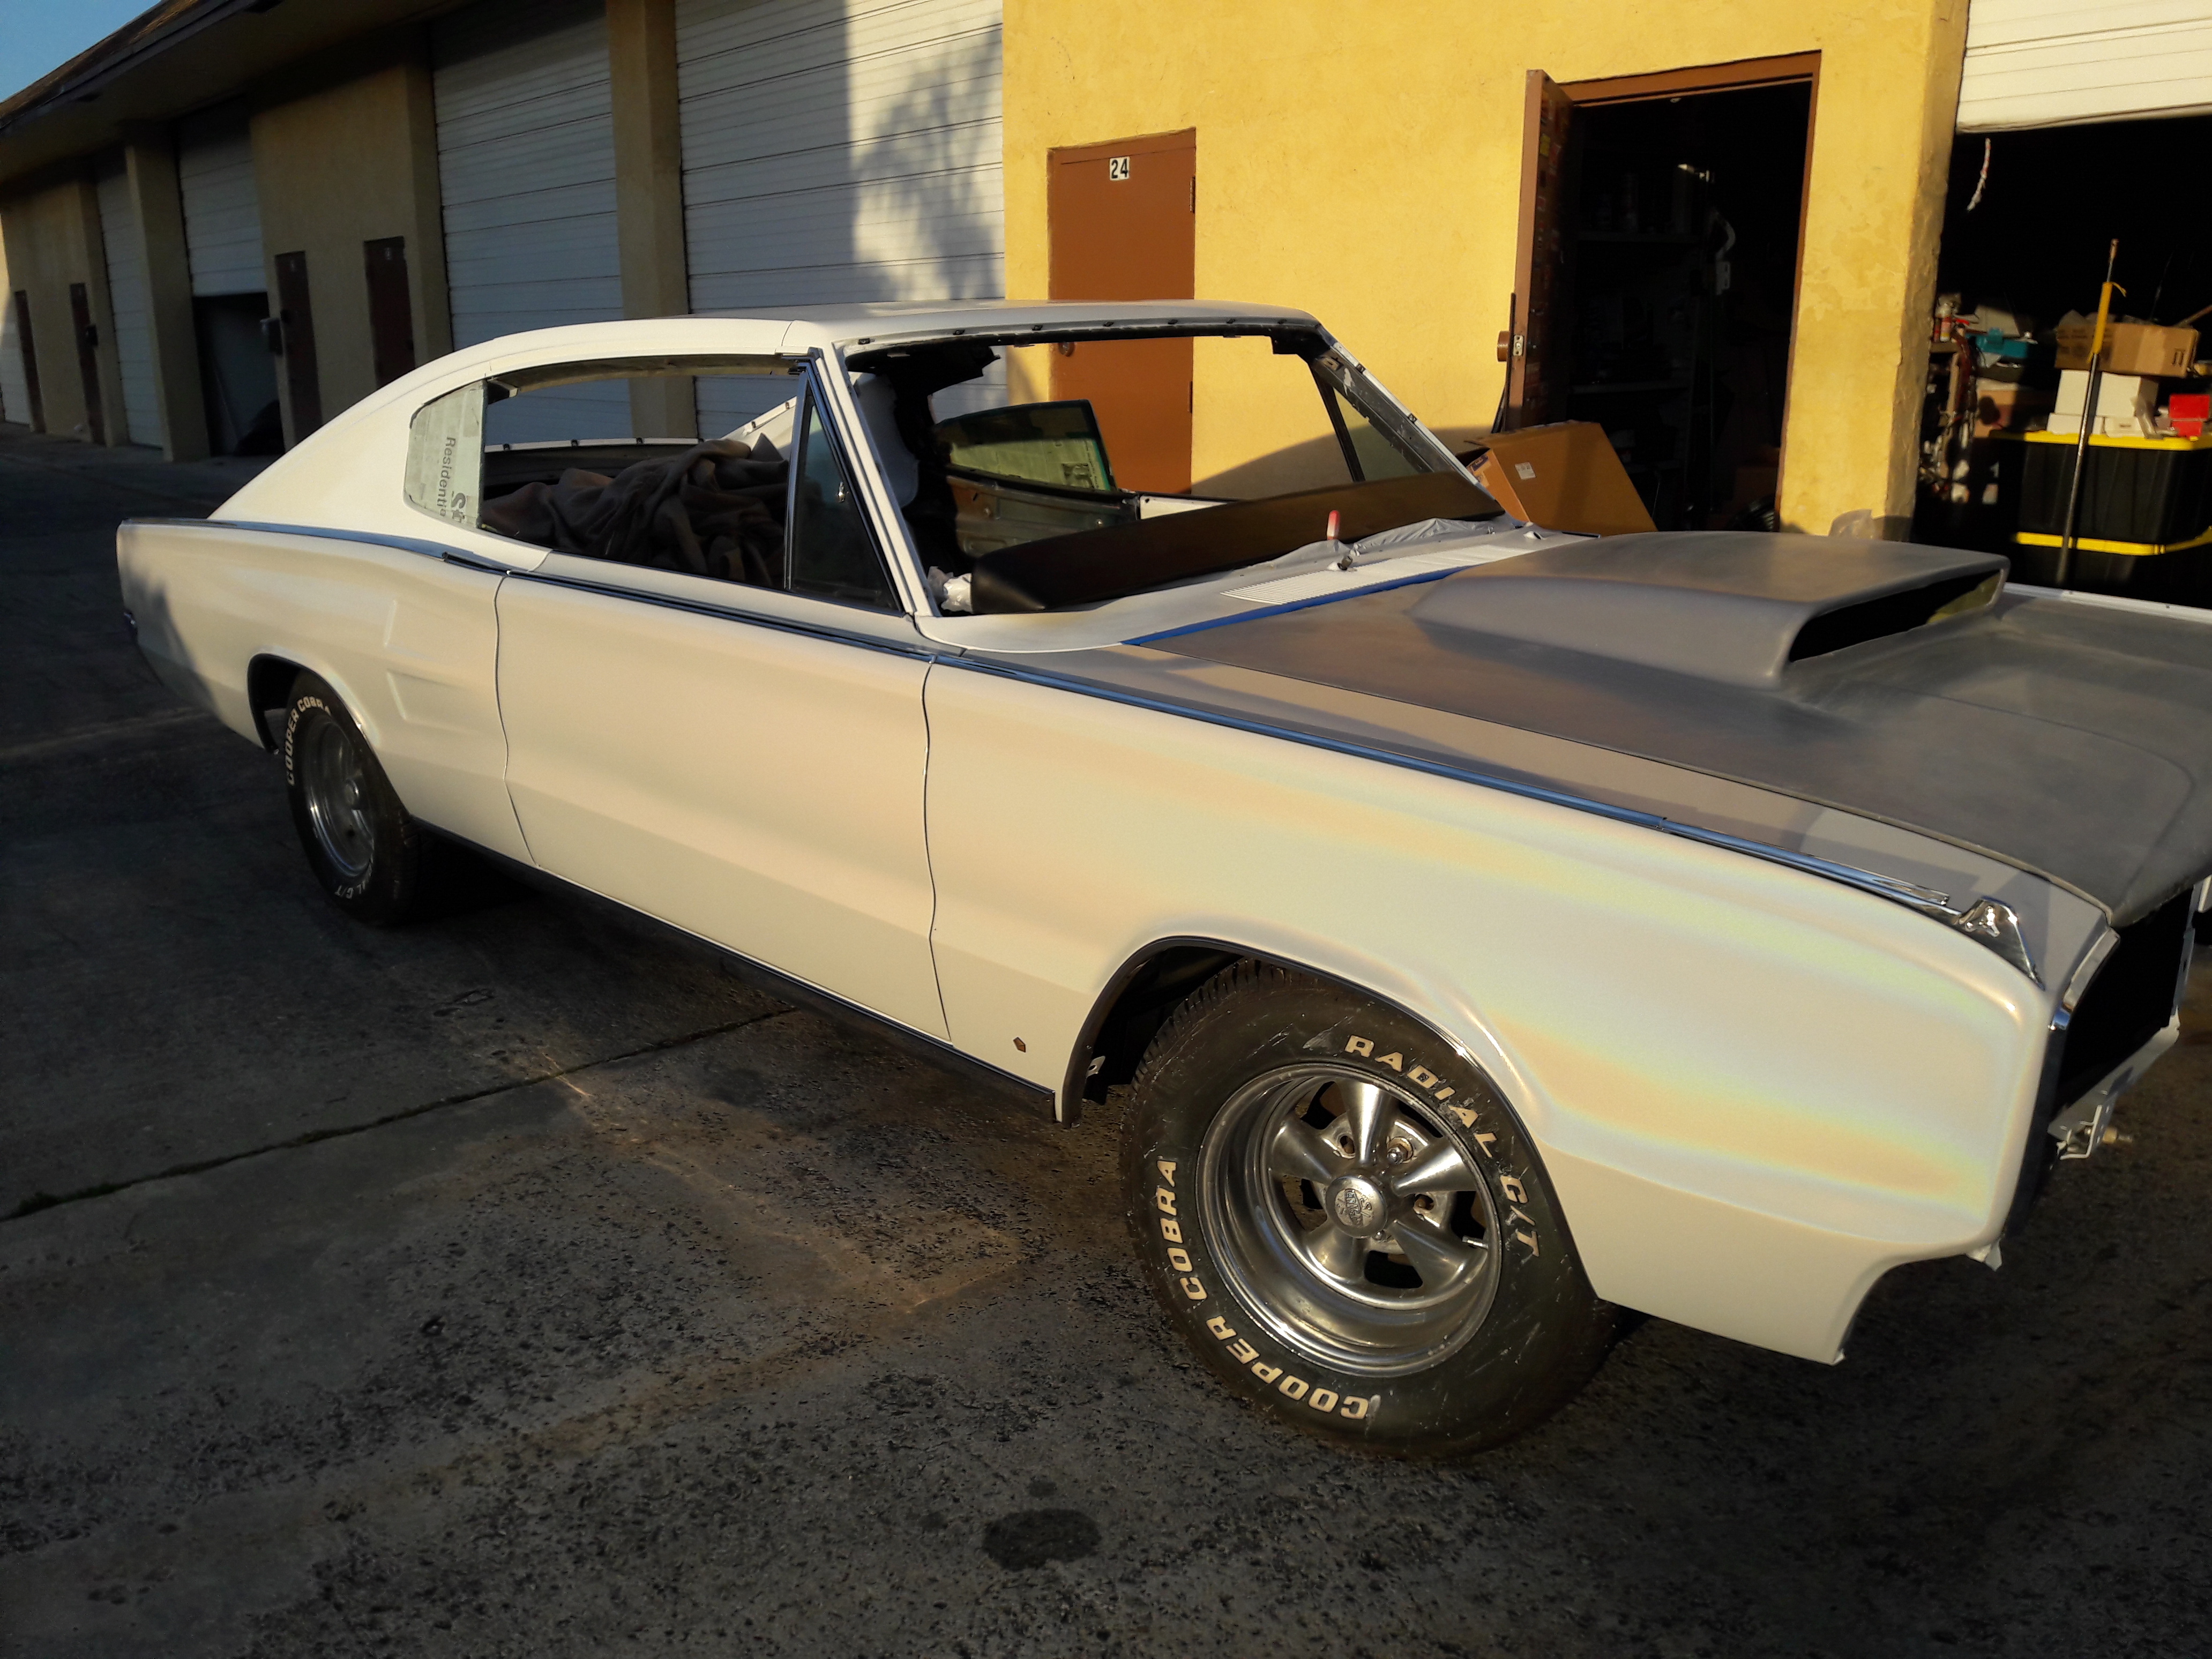
06/20/20 - 66 Charger project Hood scoop and edge repairs before wrap is installed
08/10/20 _finished the hood & installed
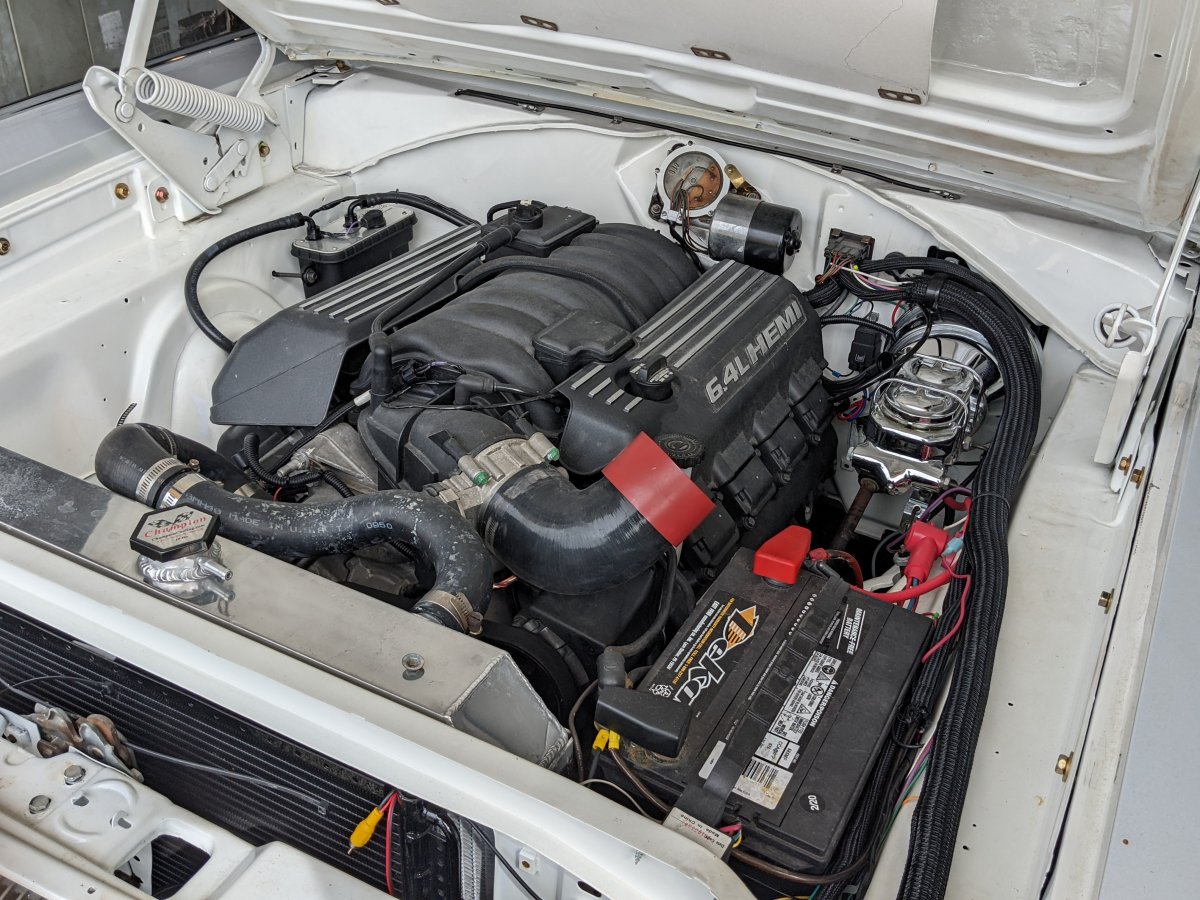
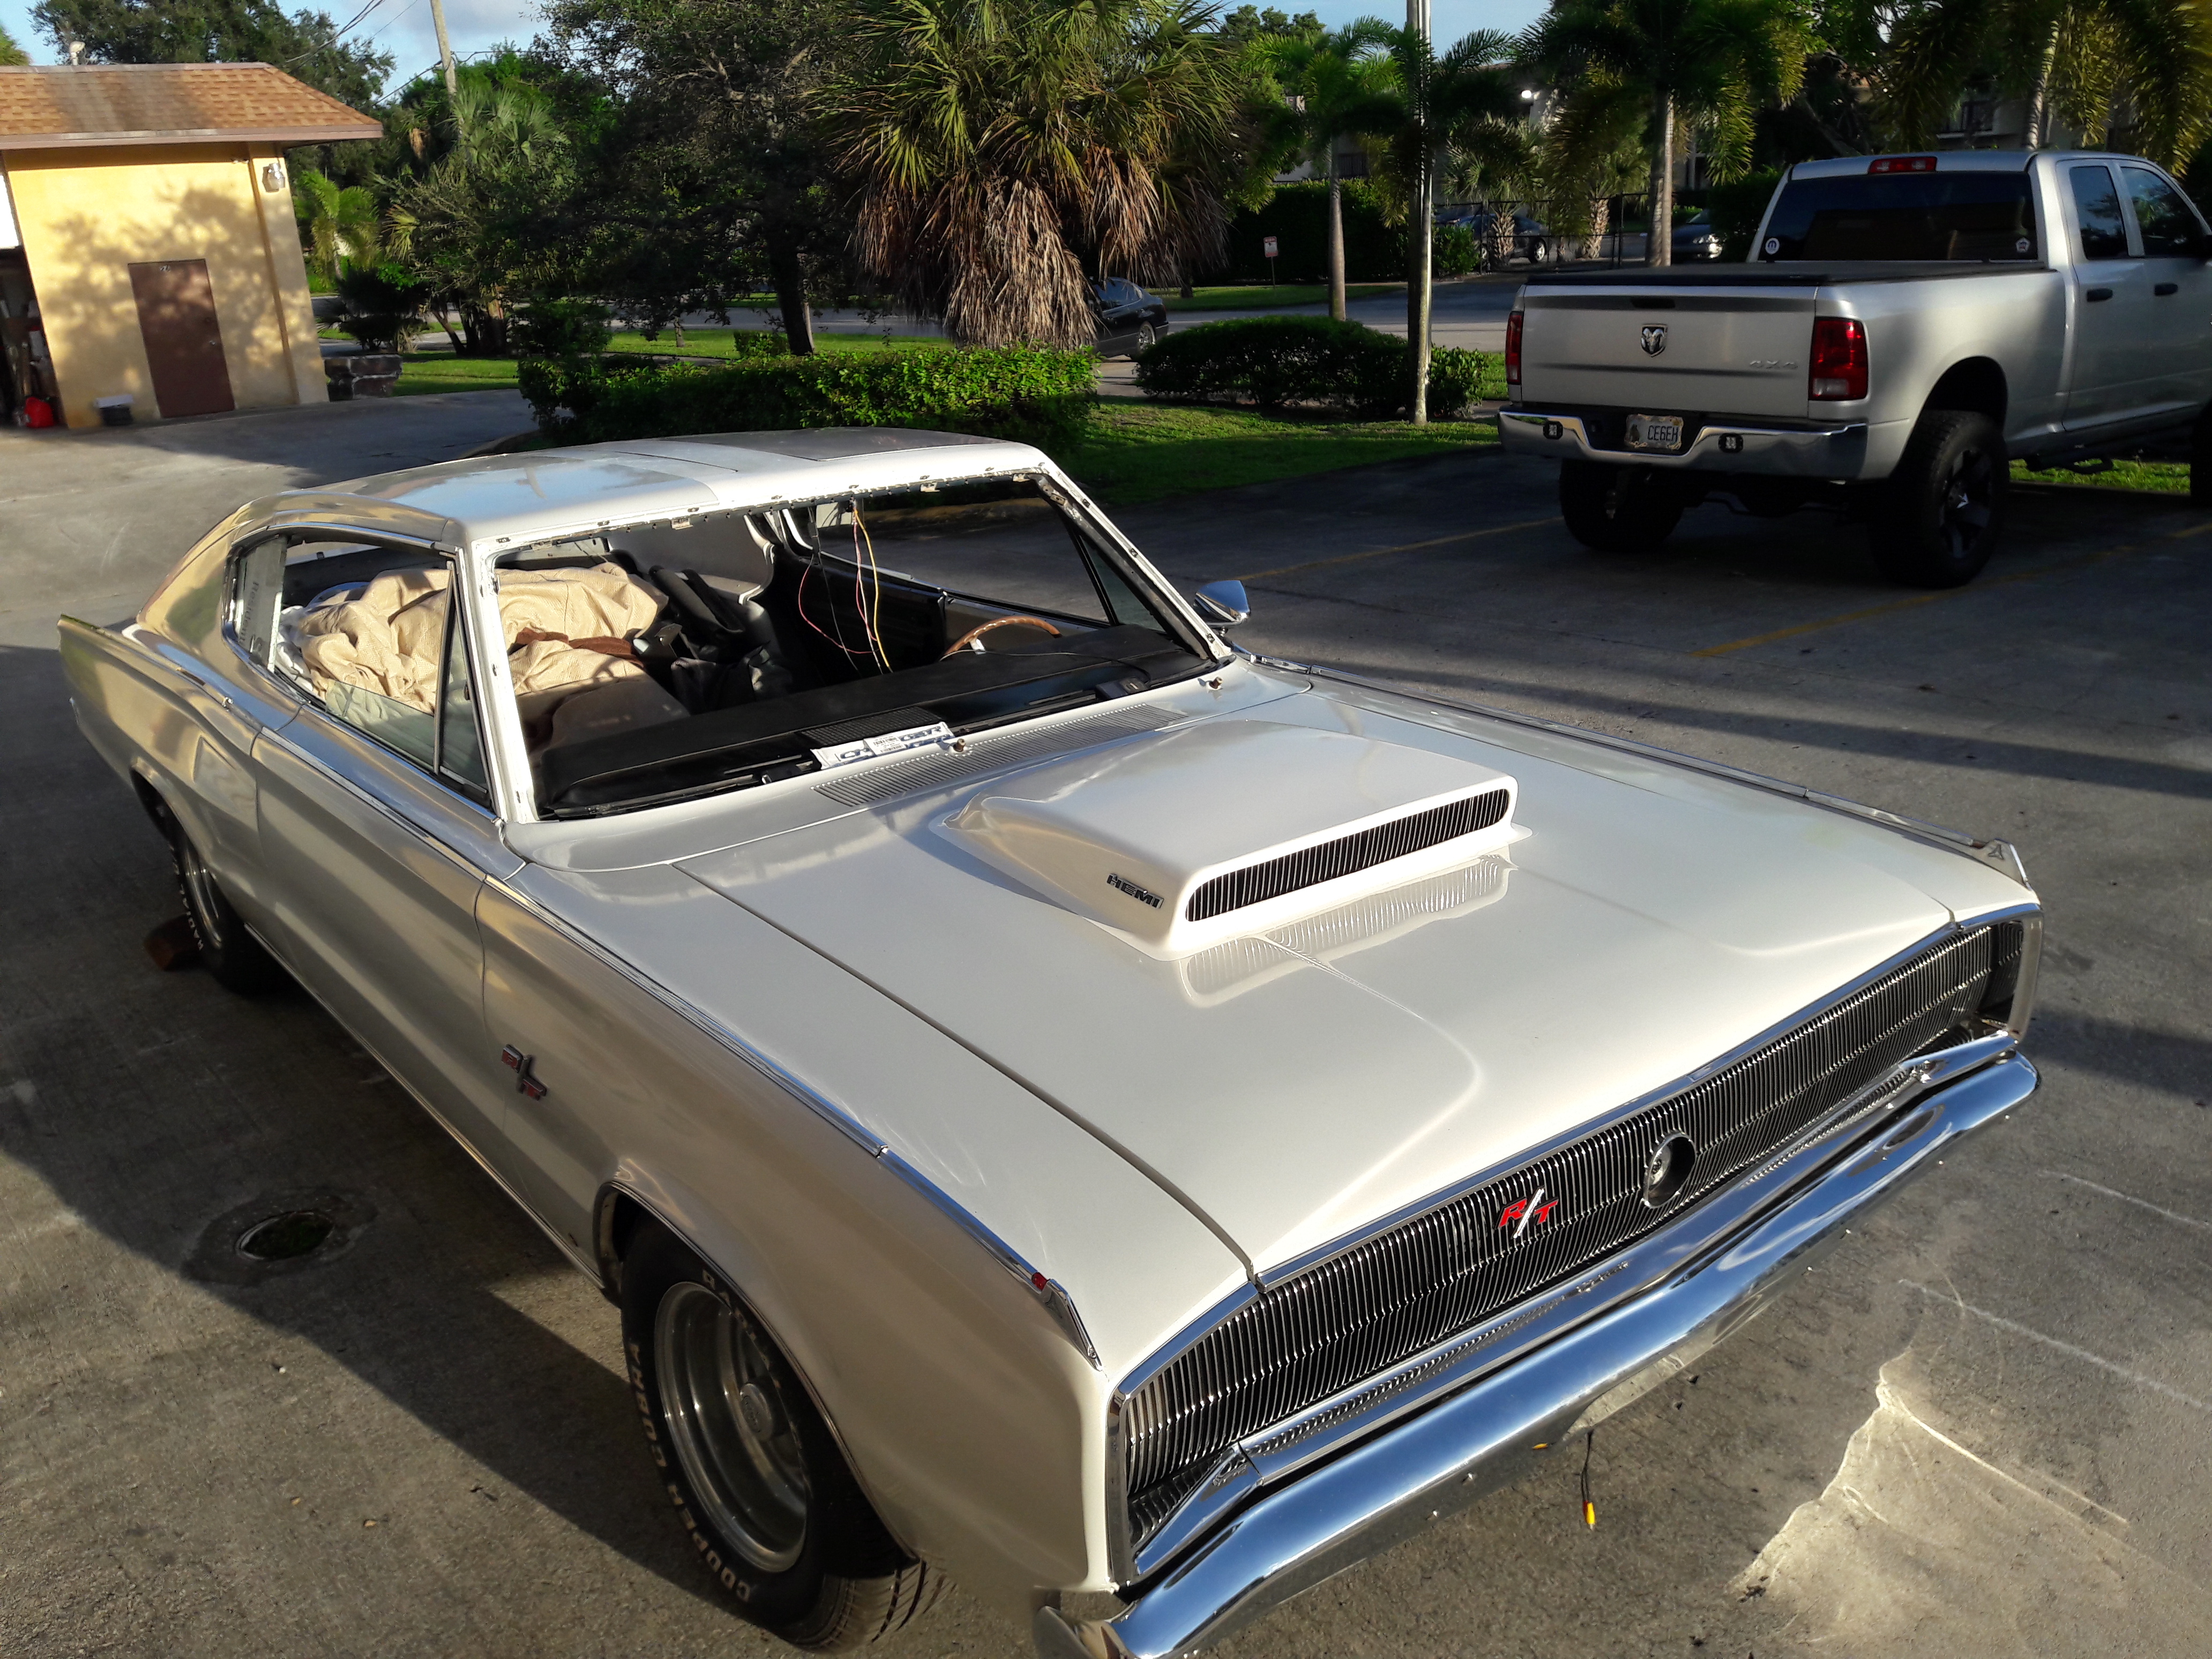
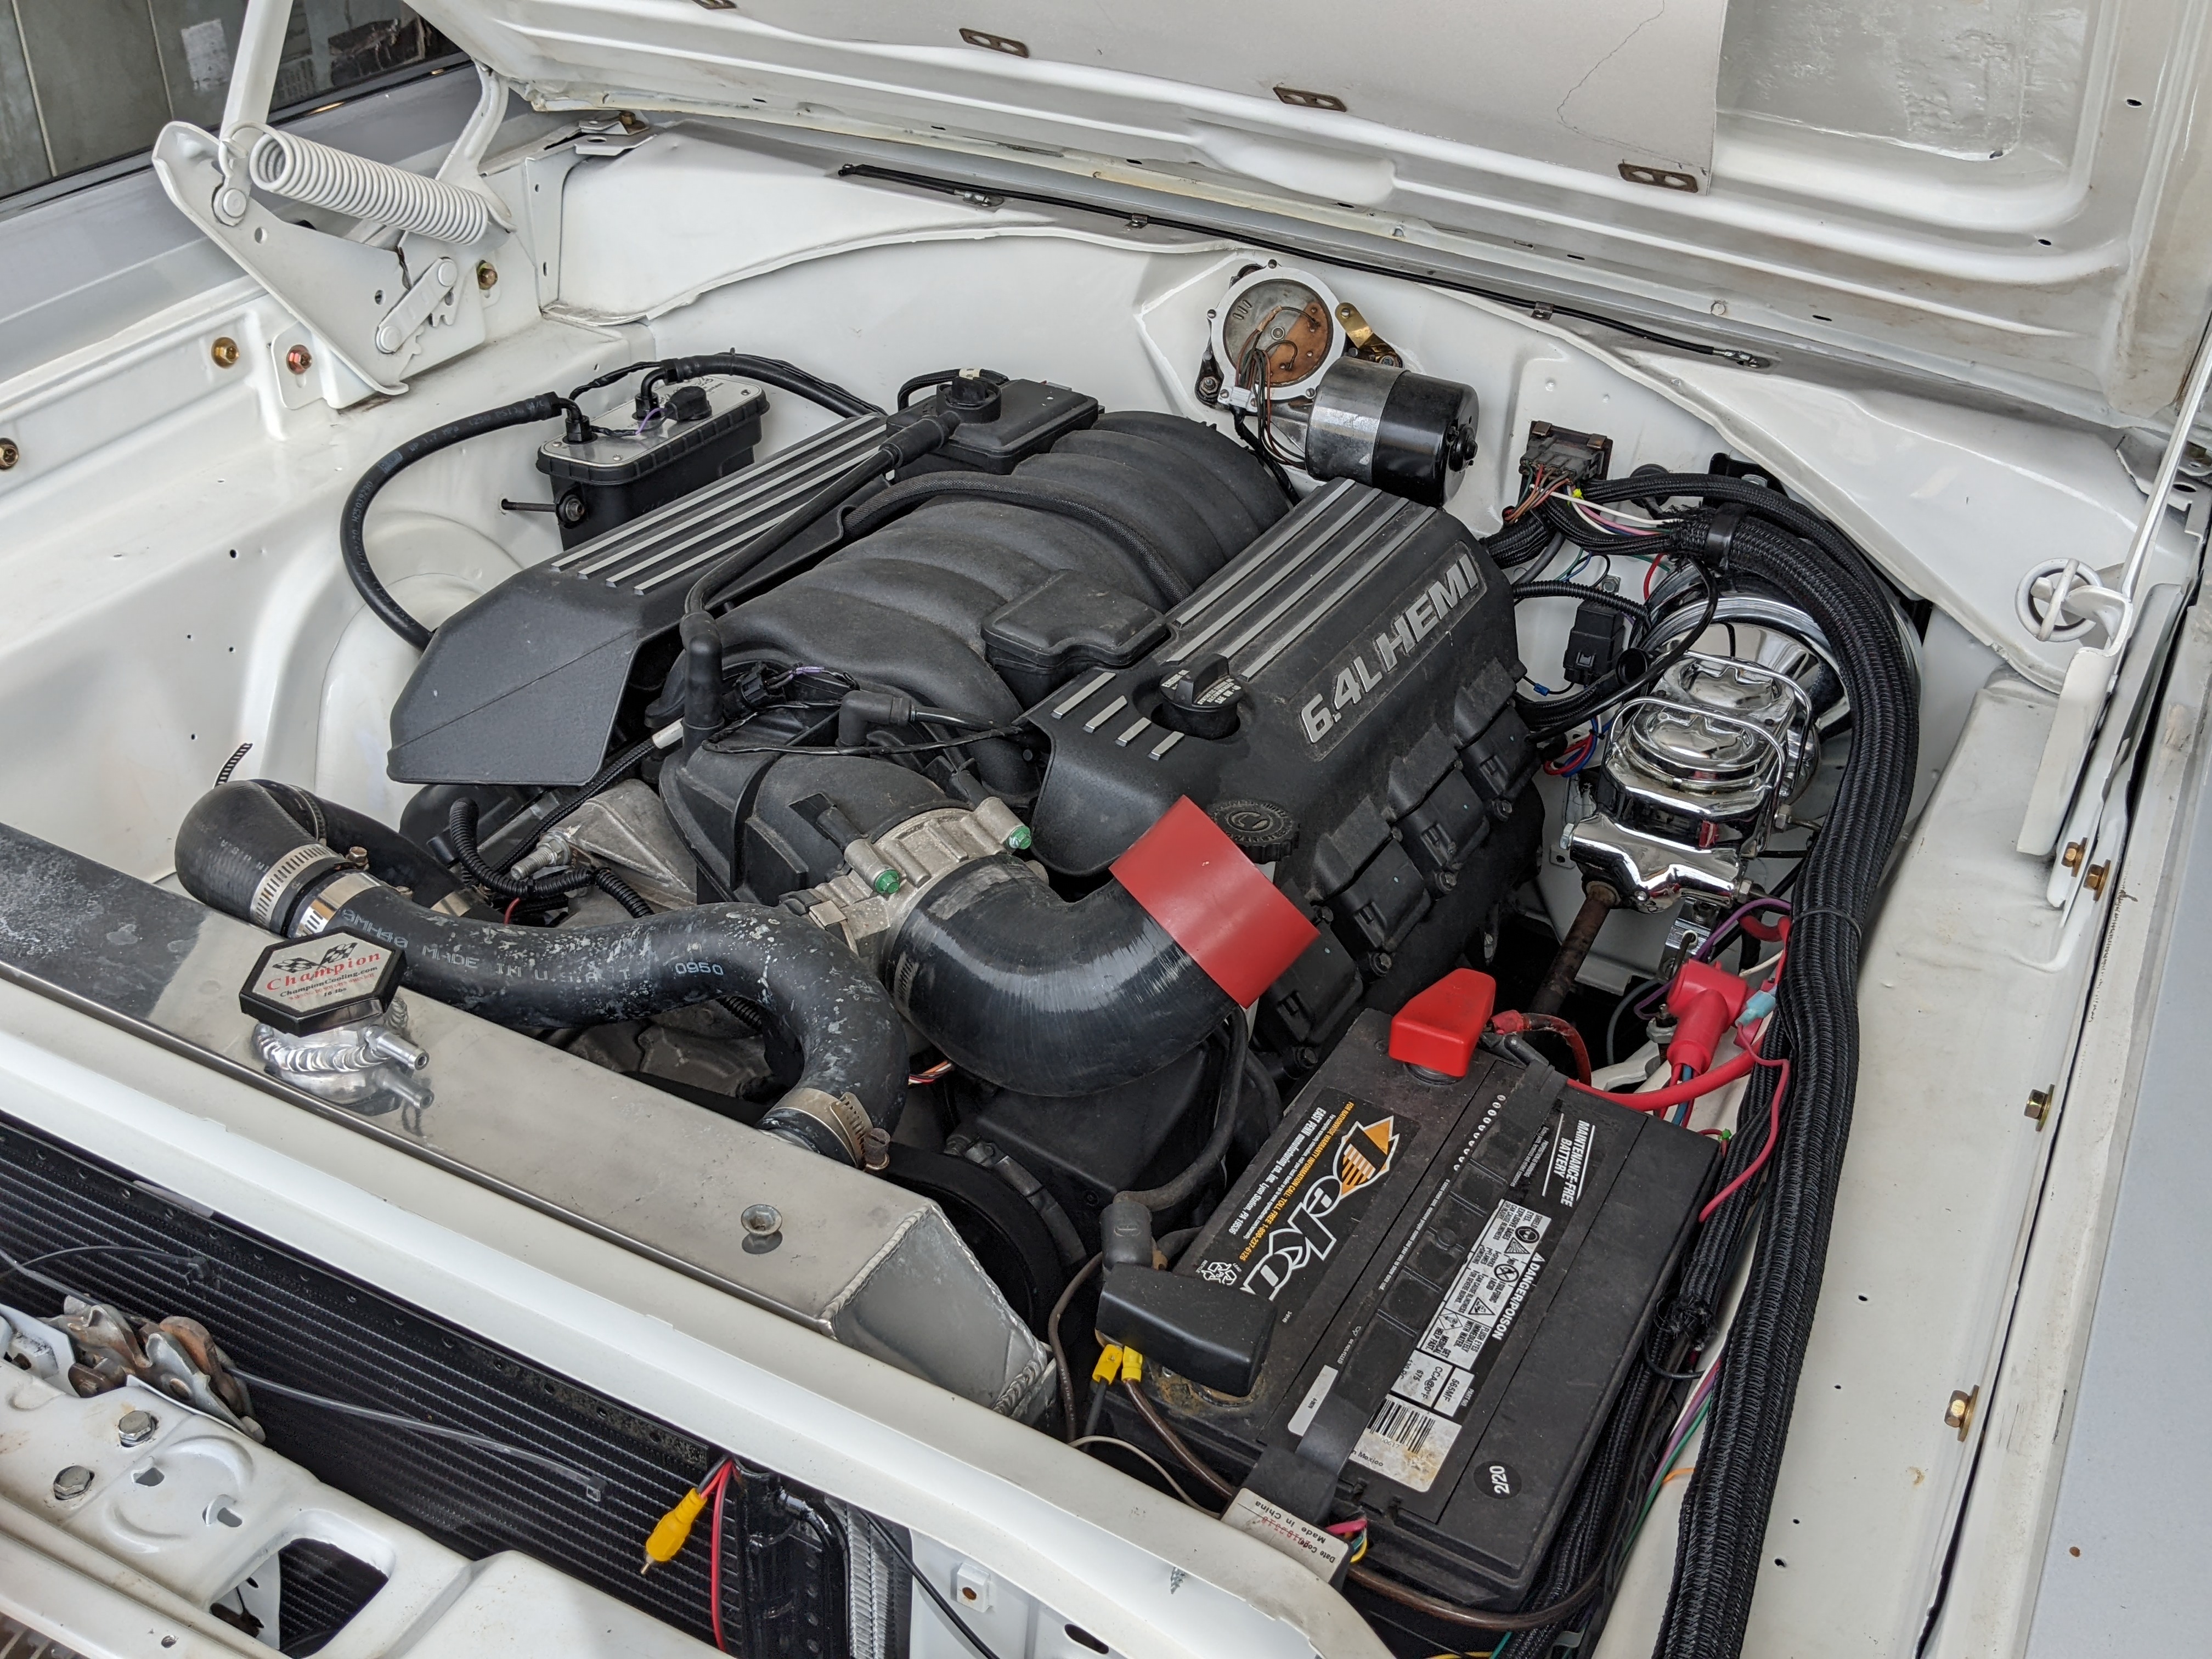
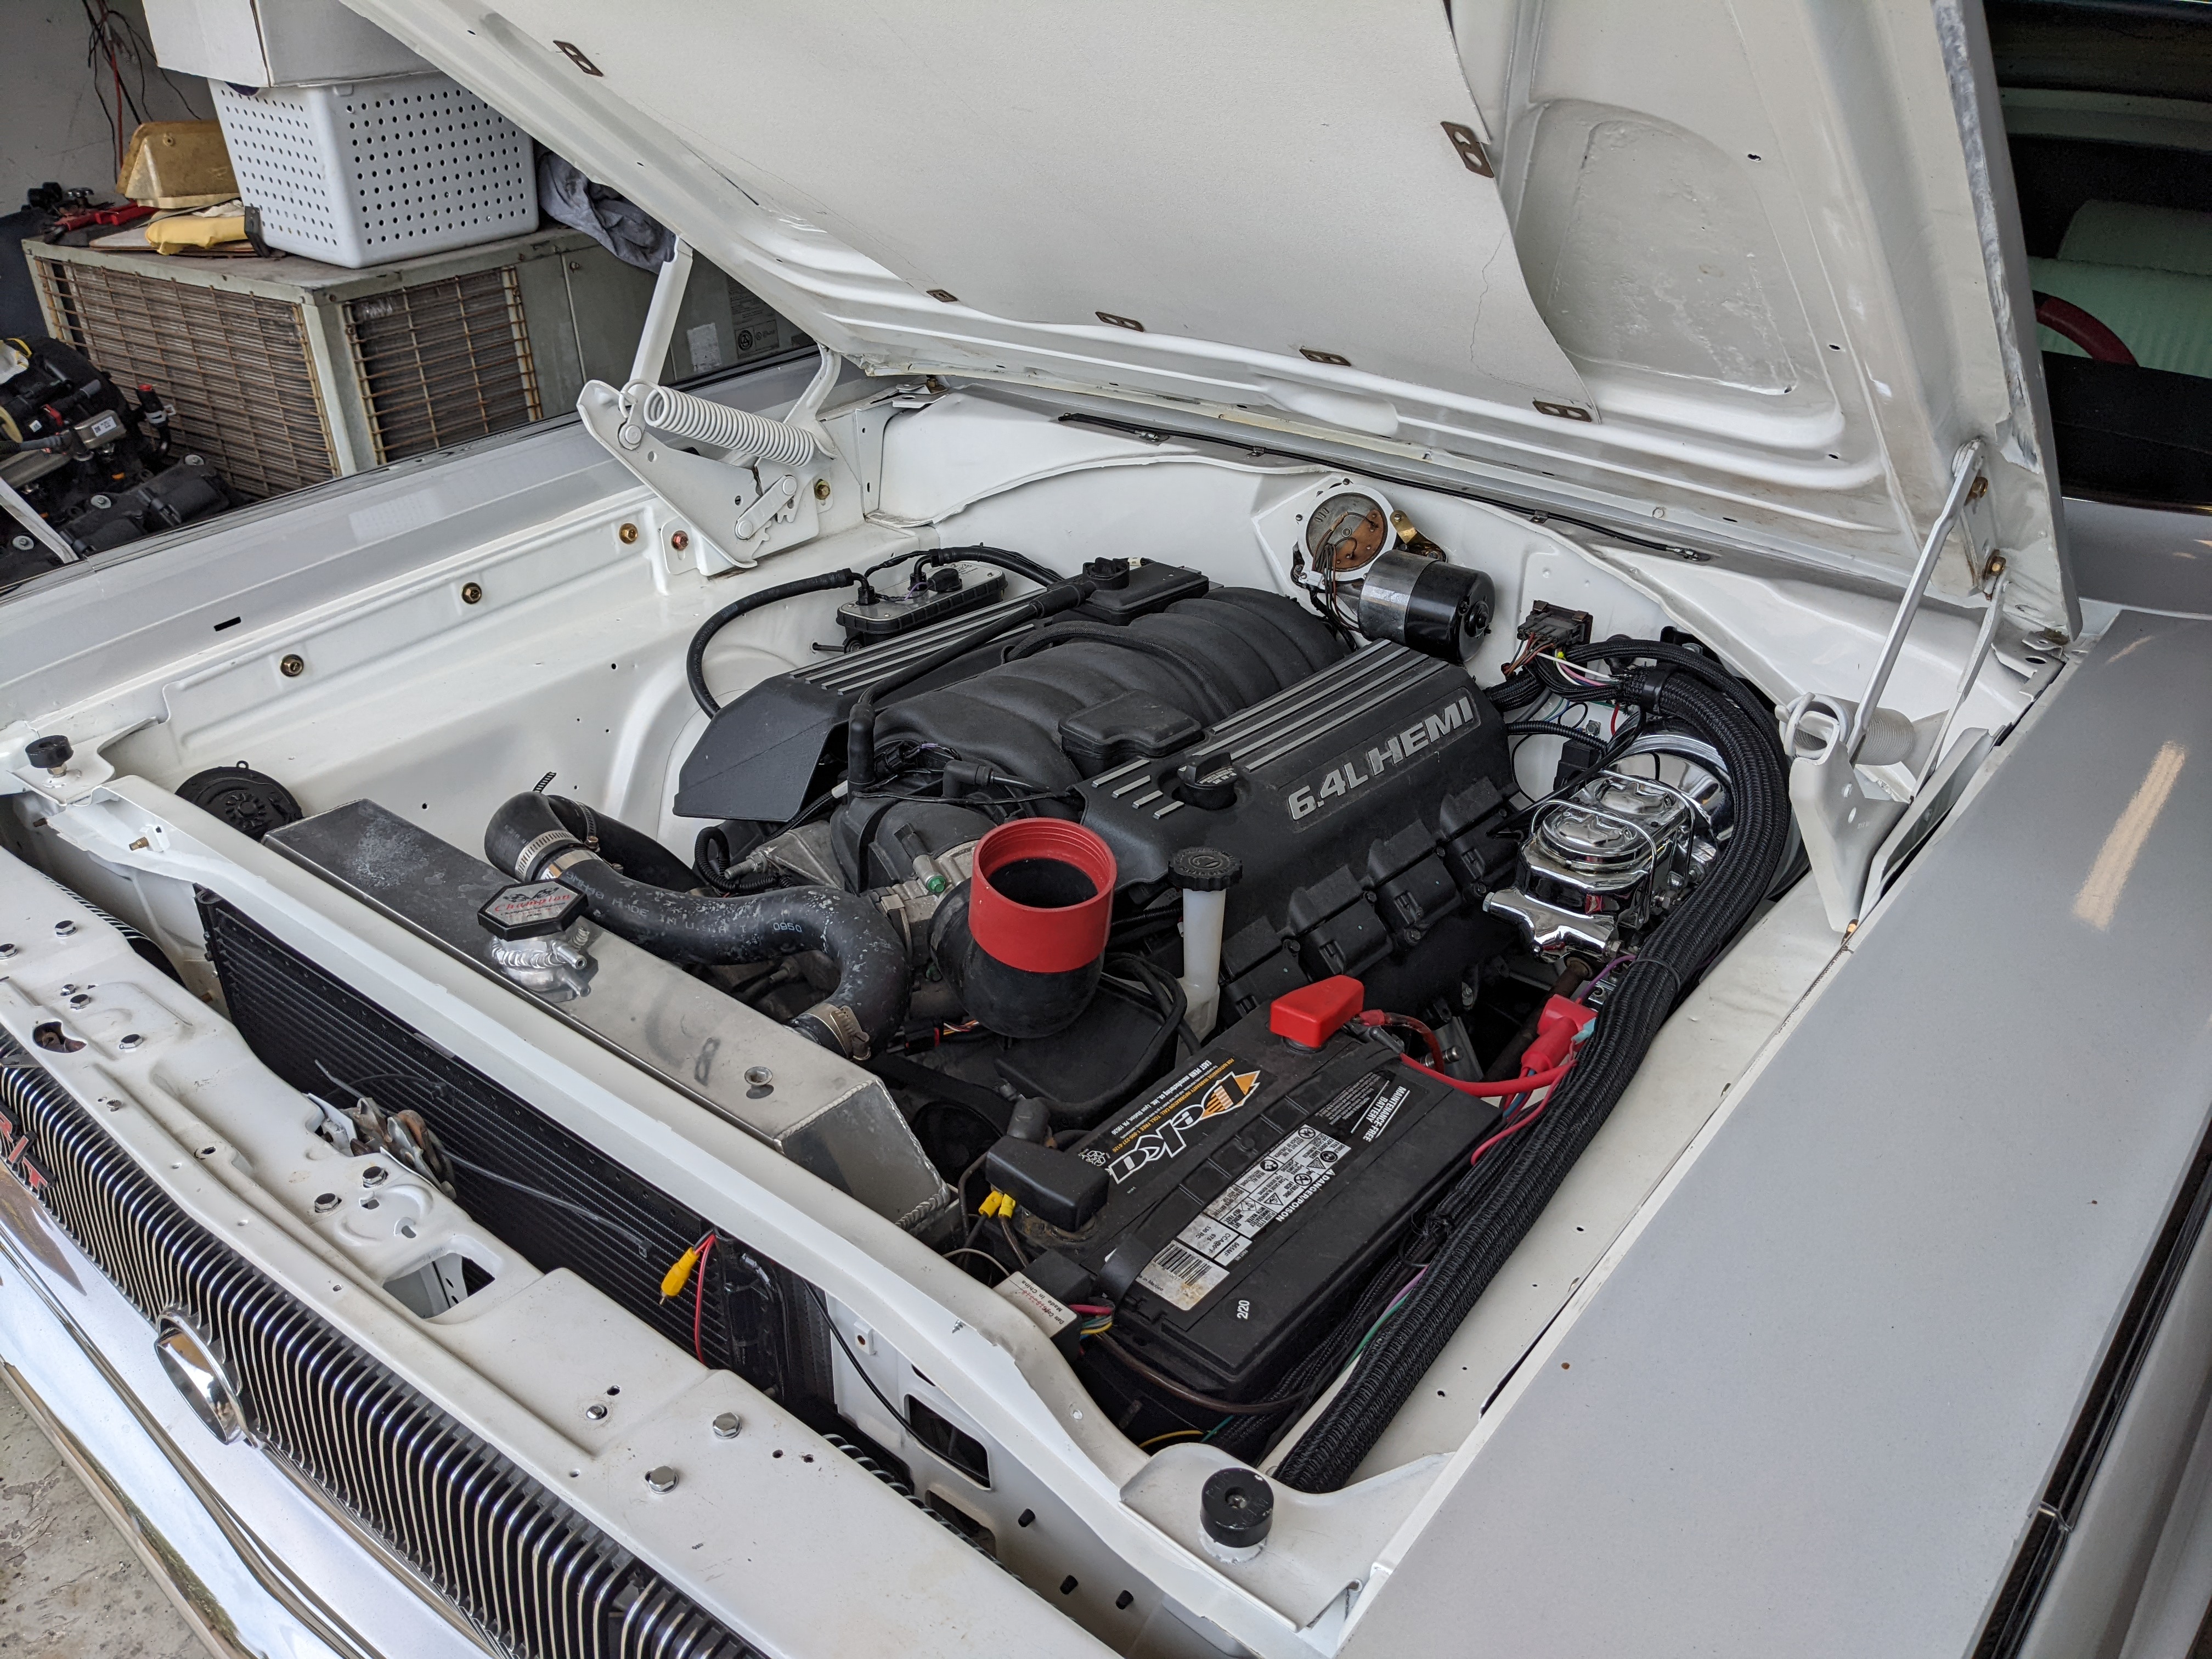
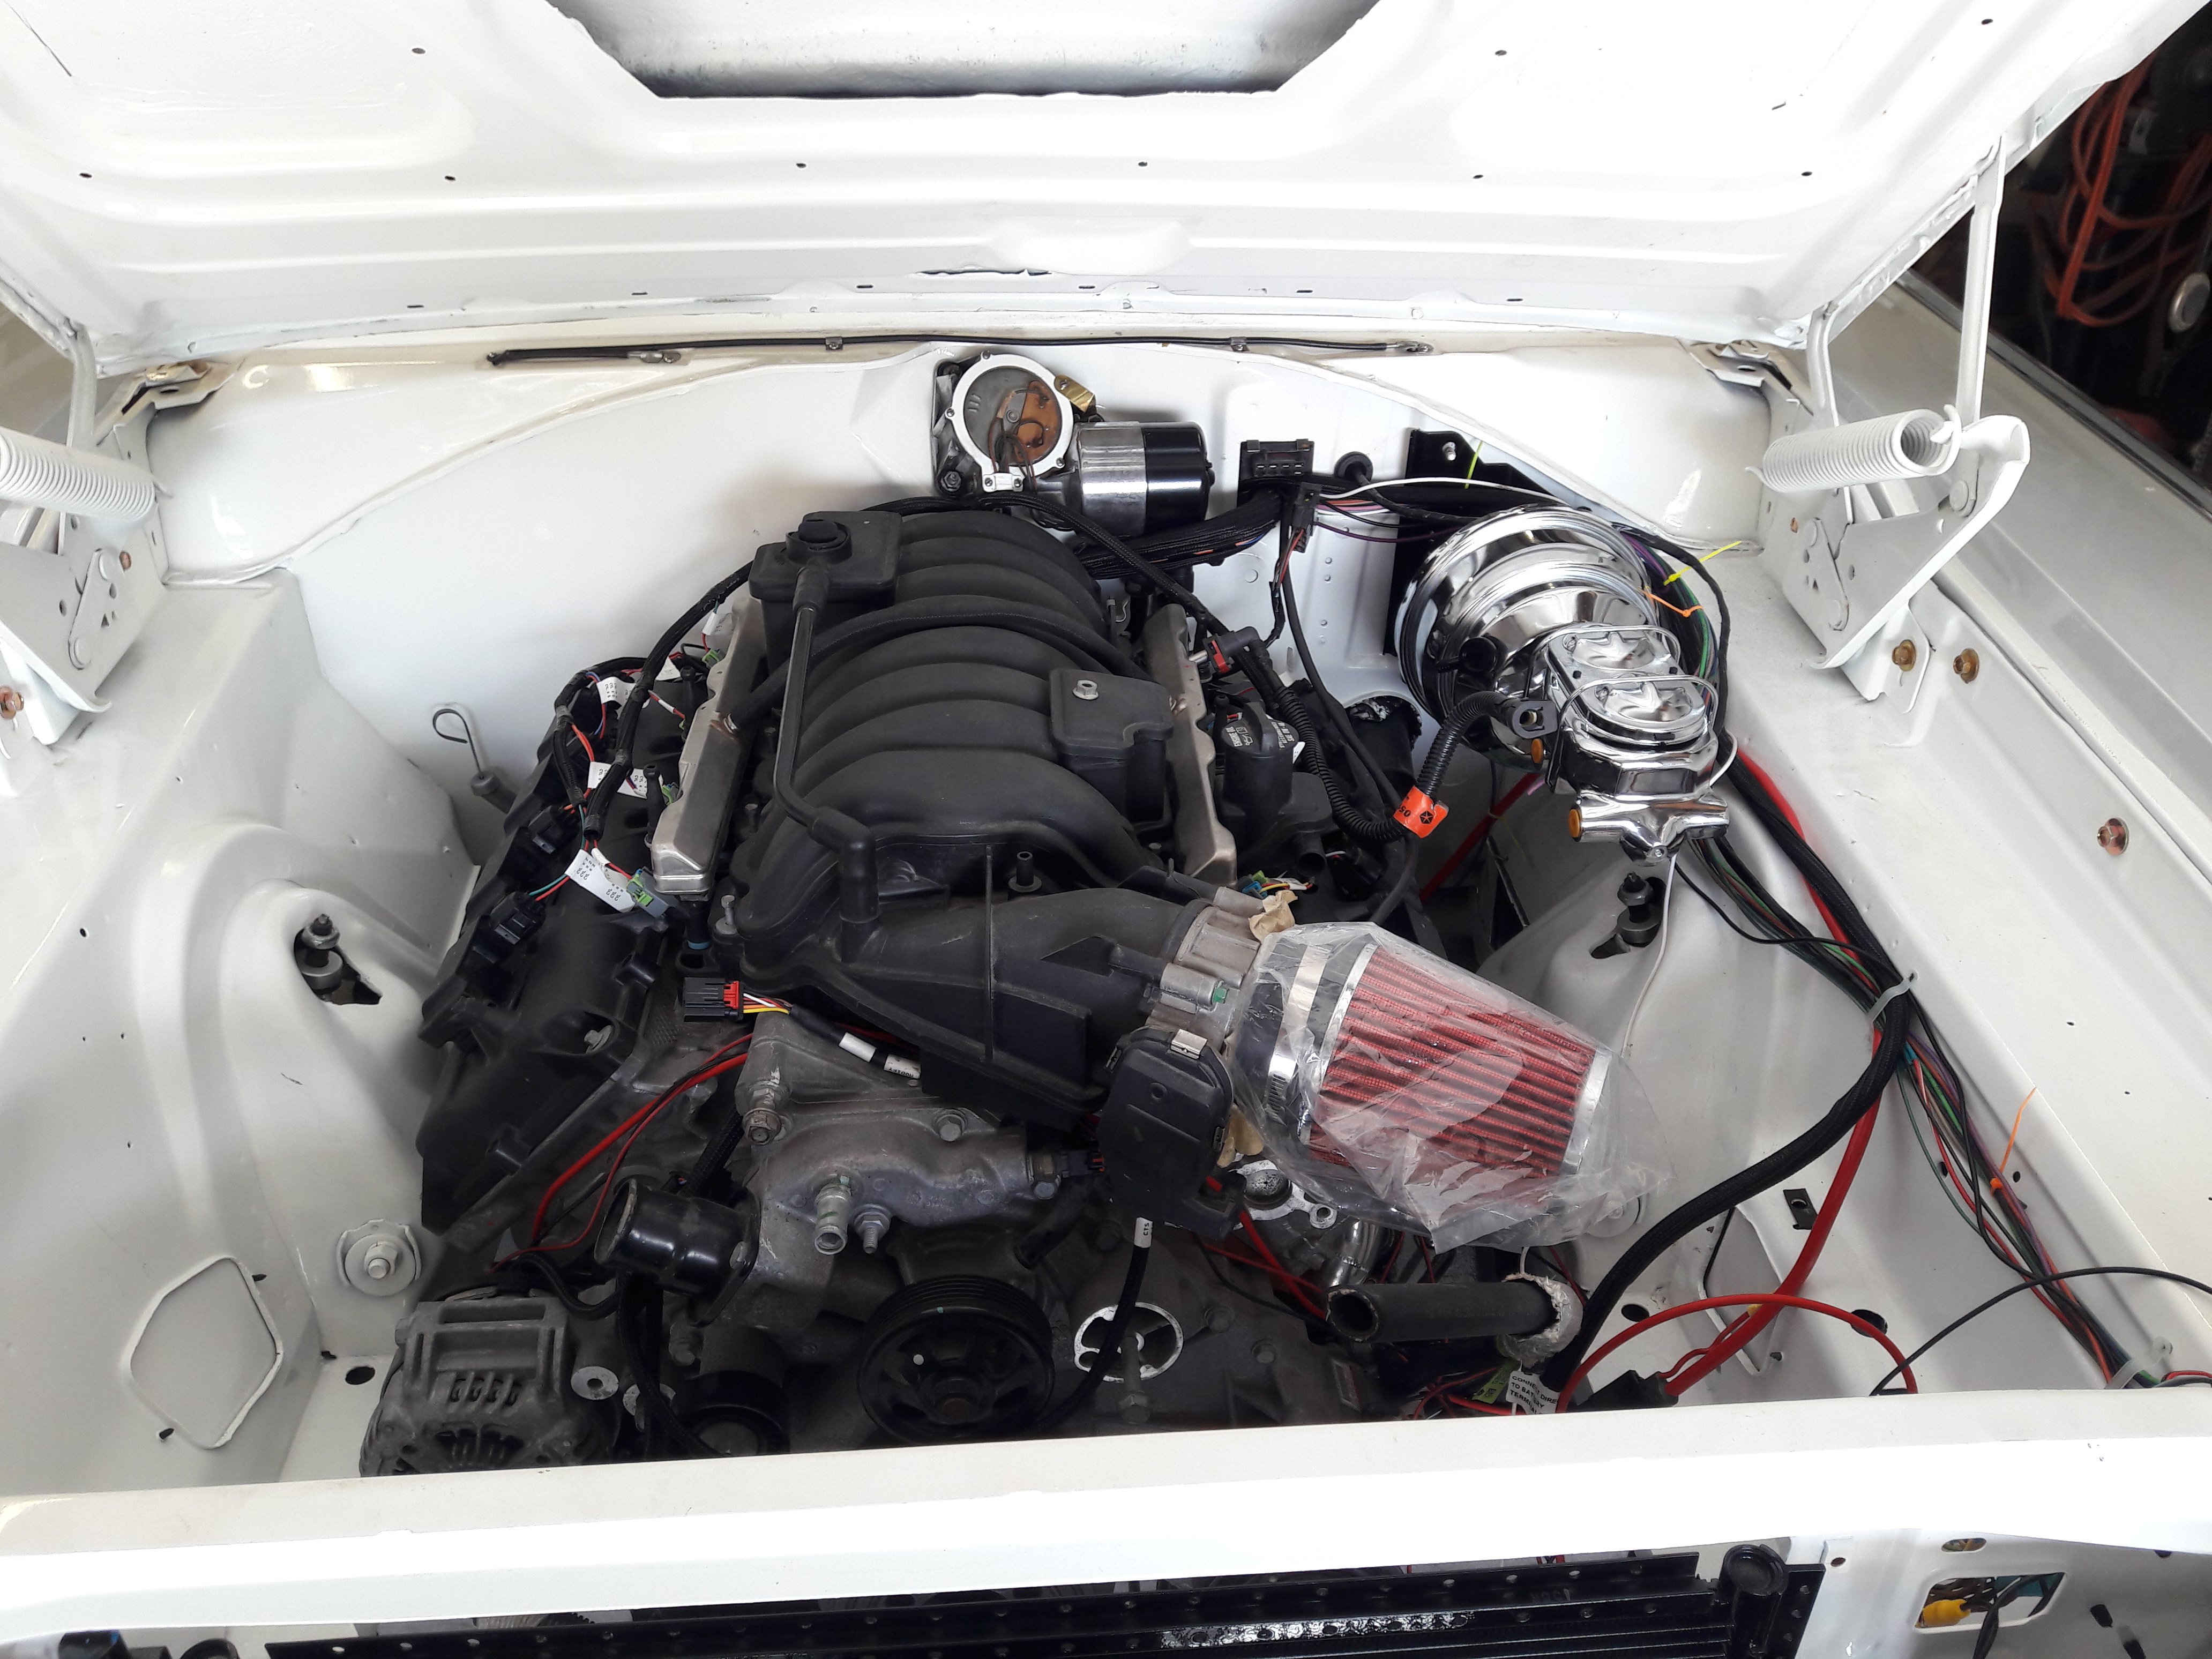
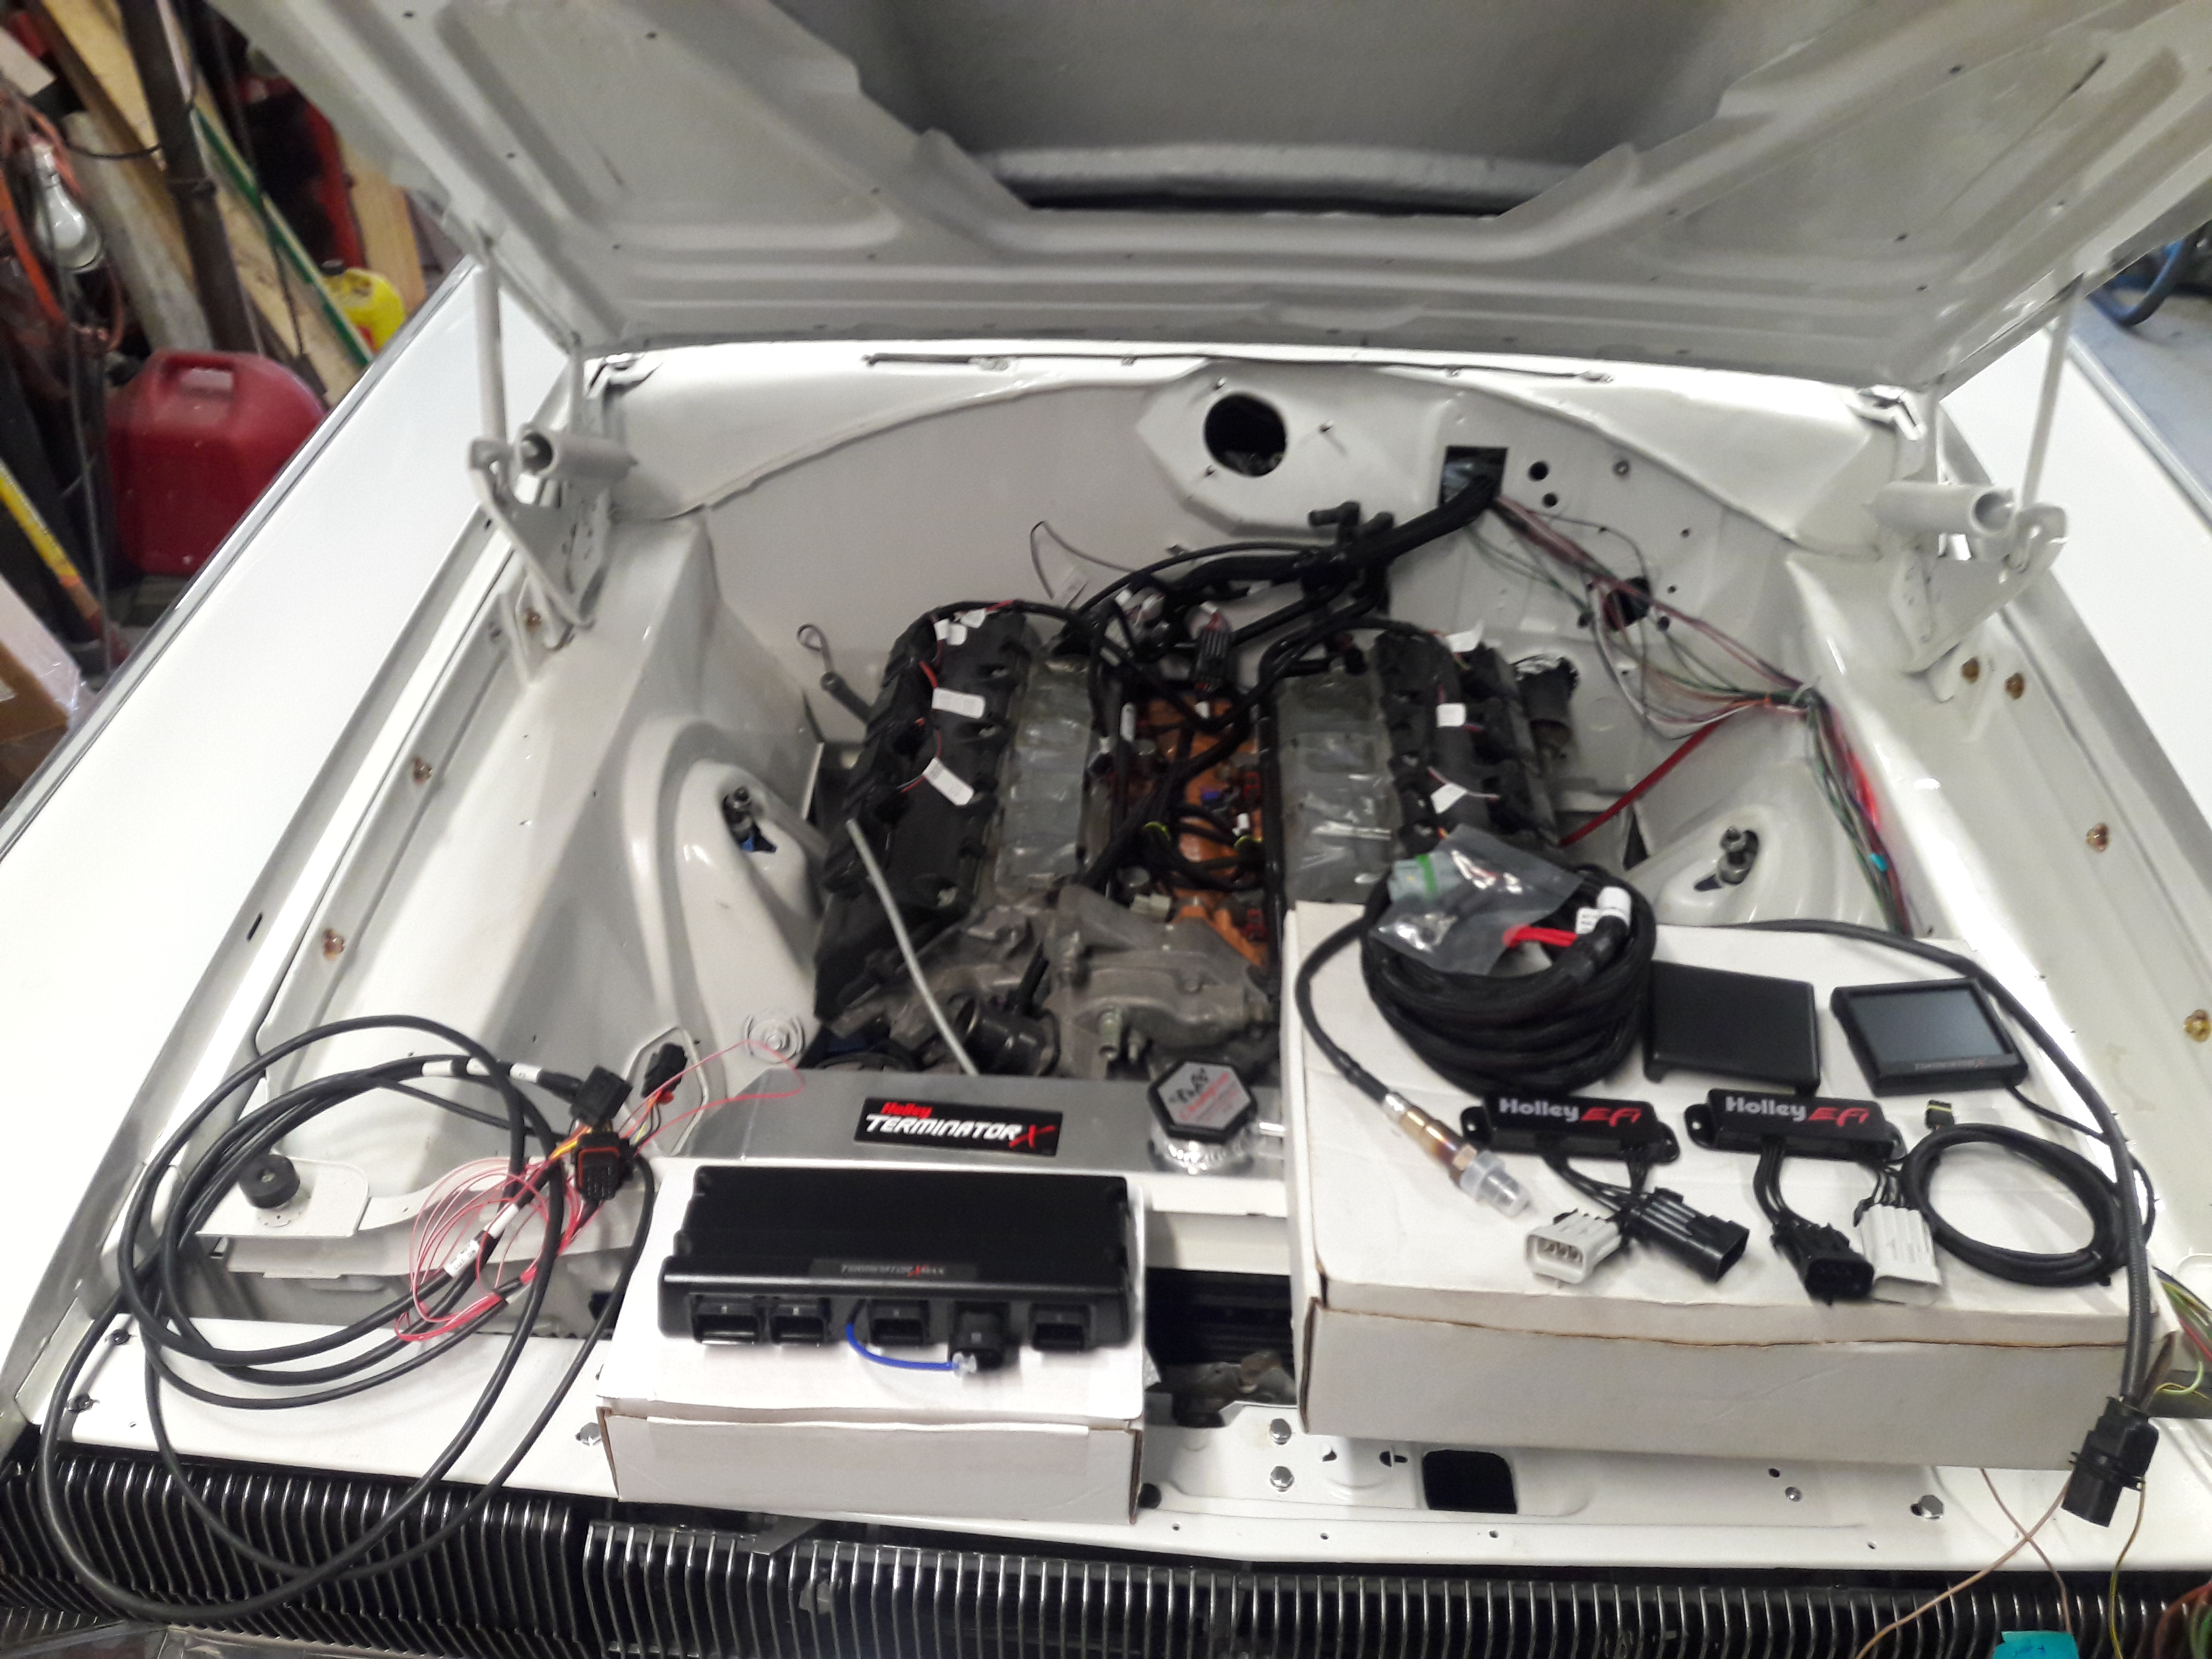
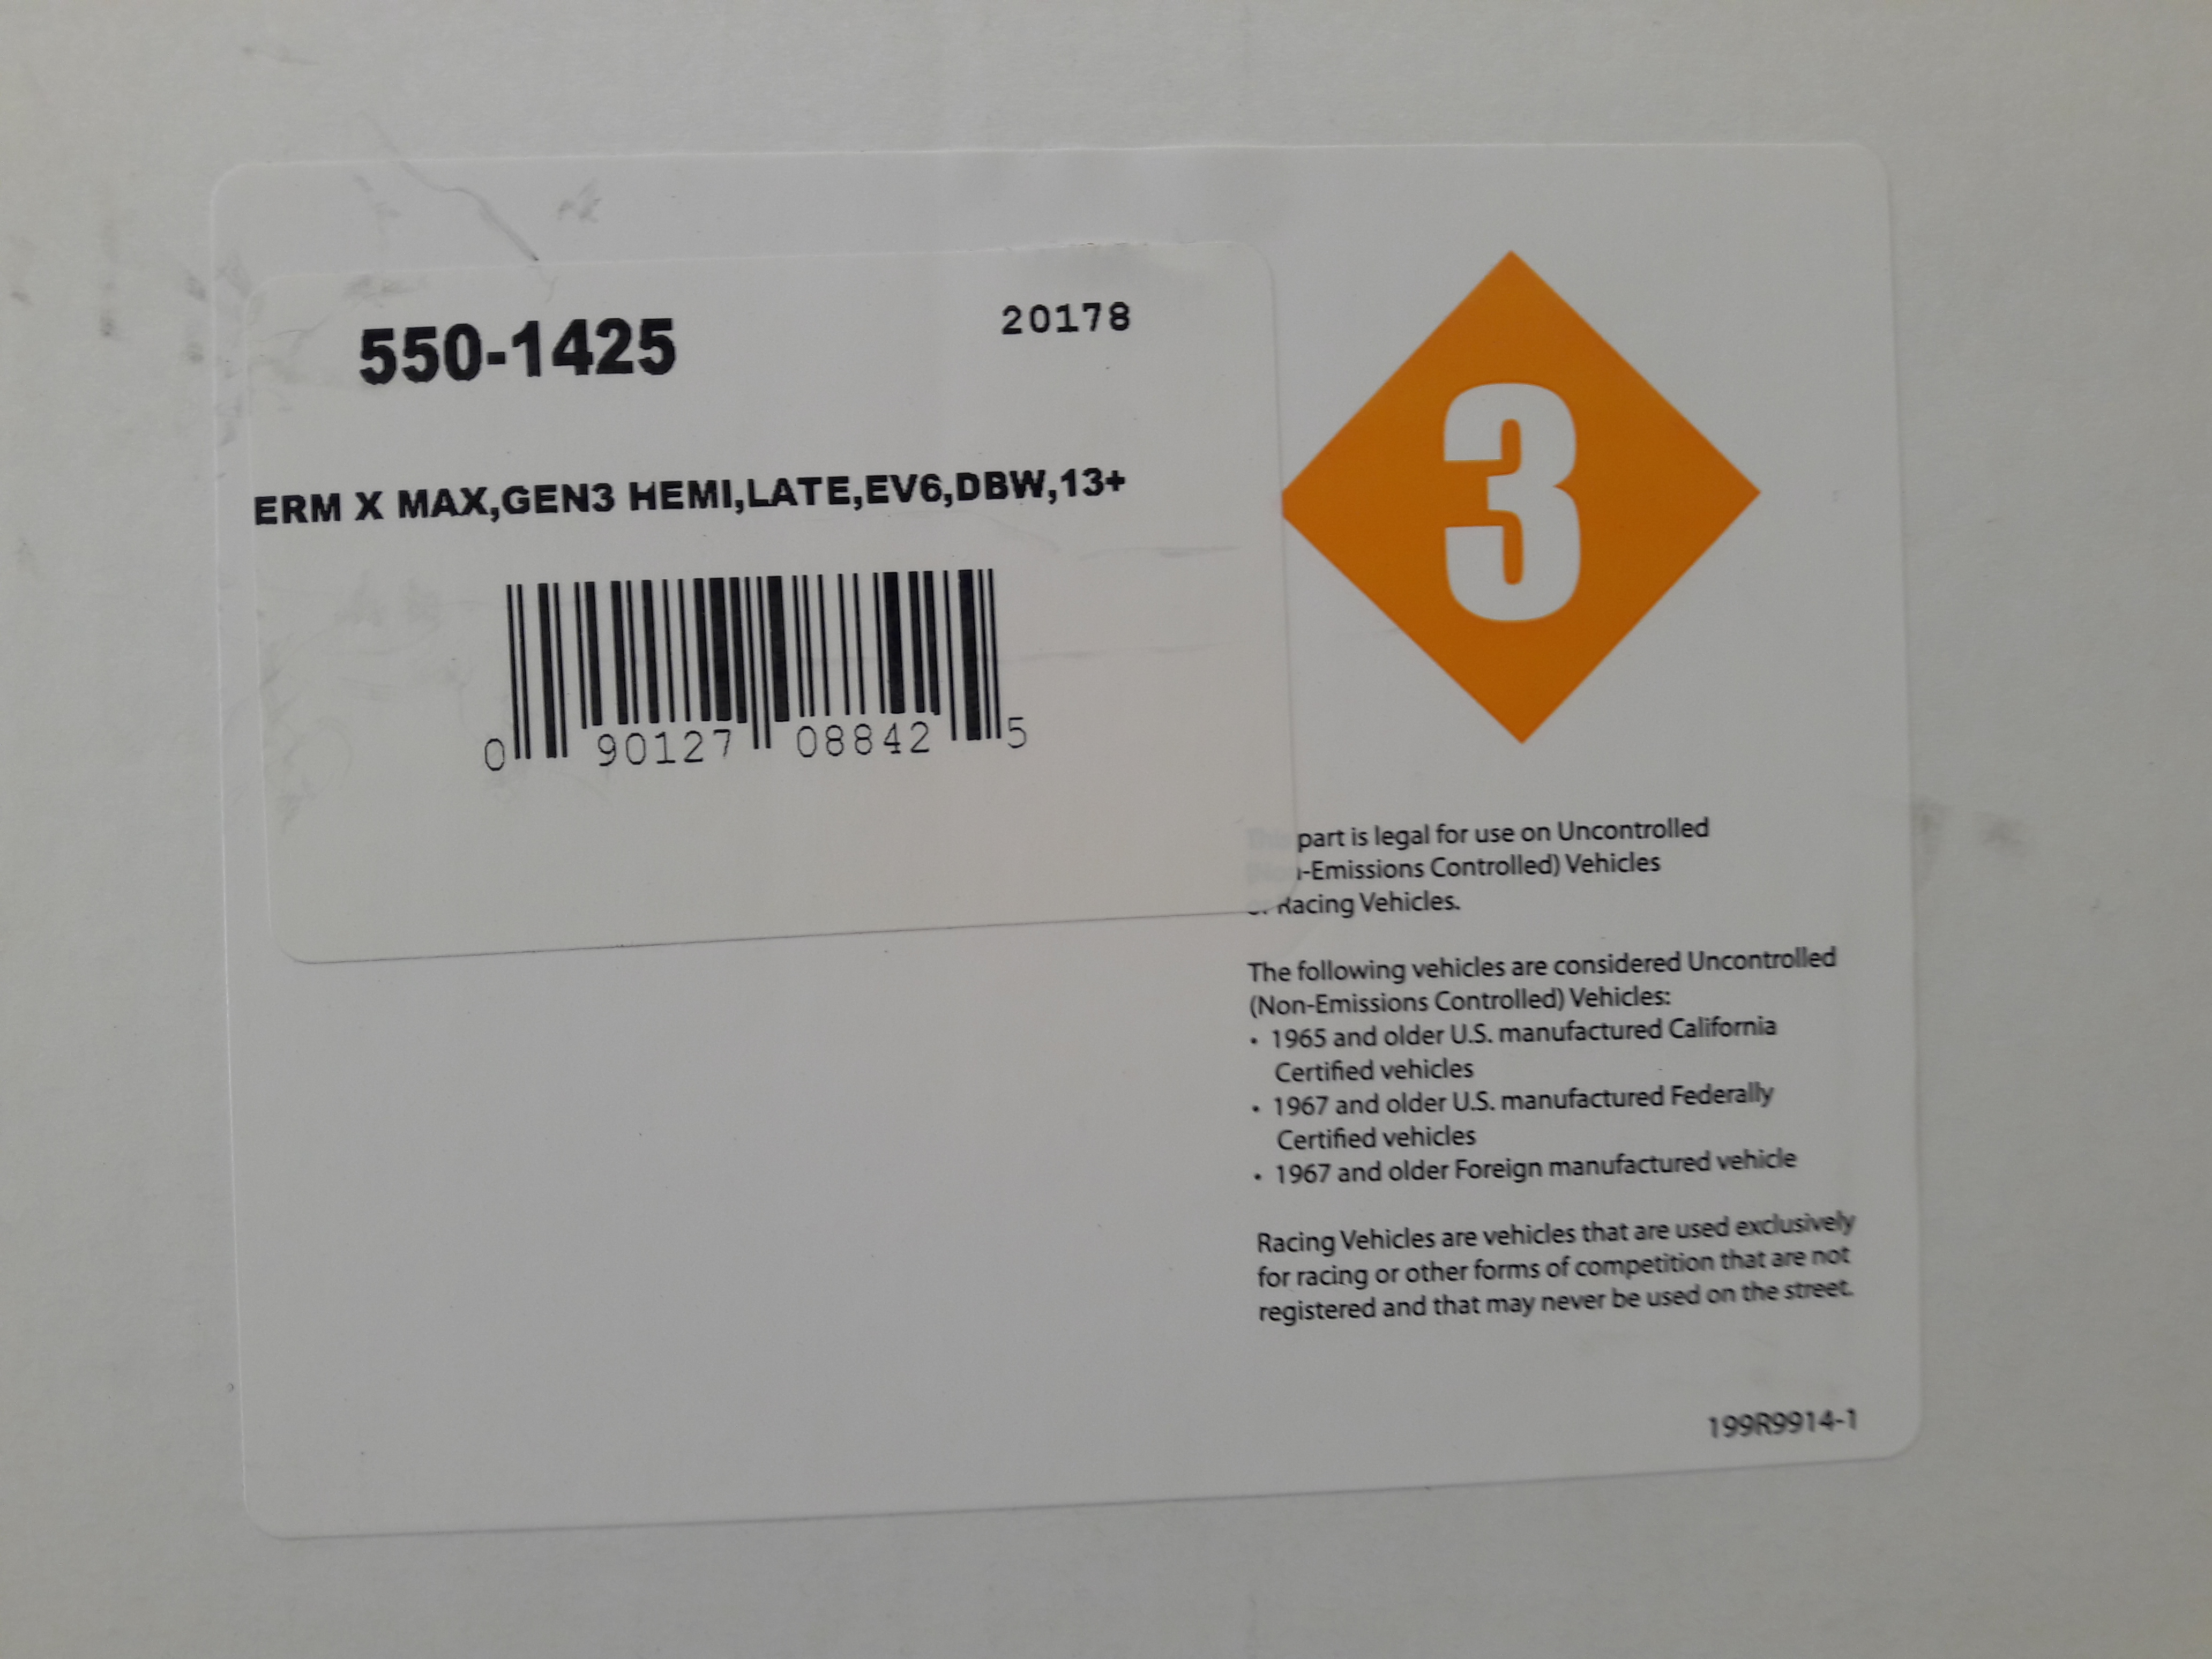
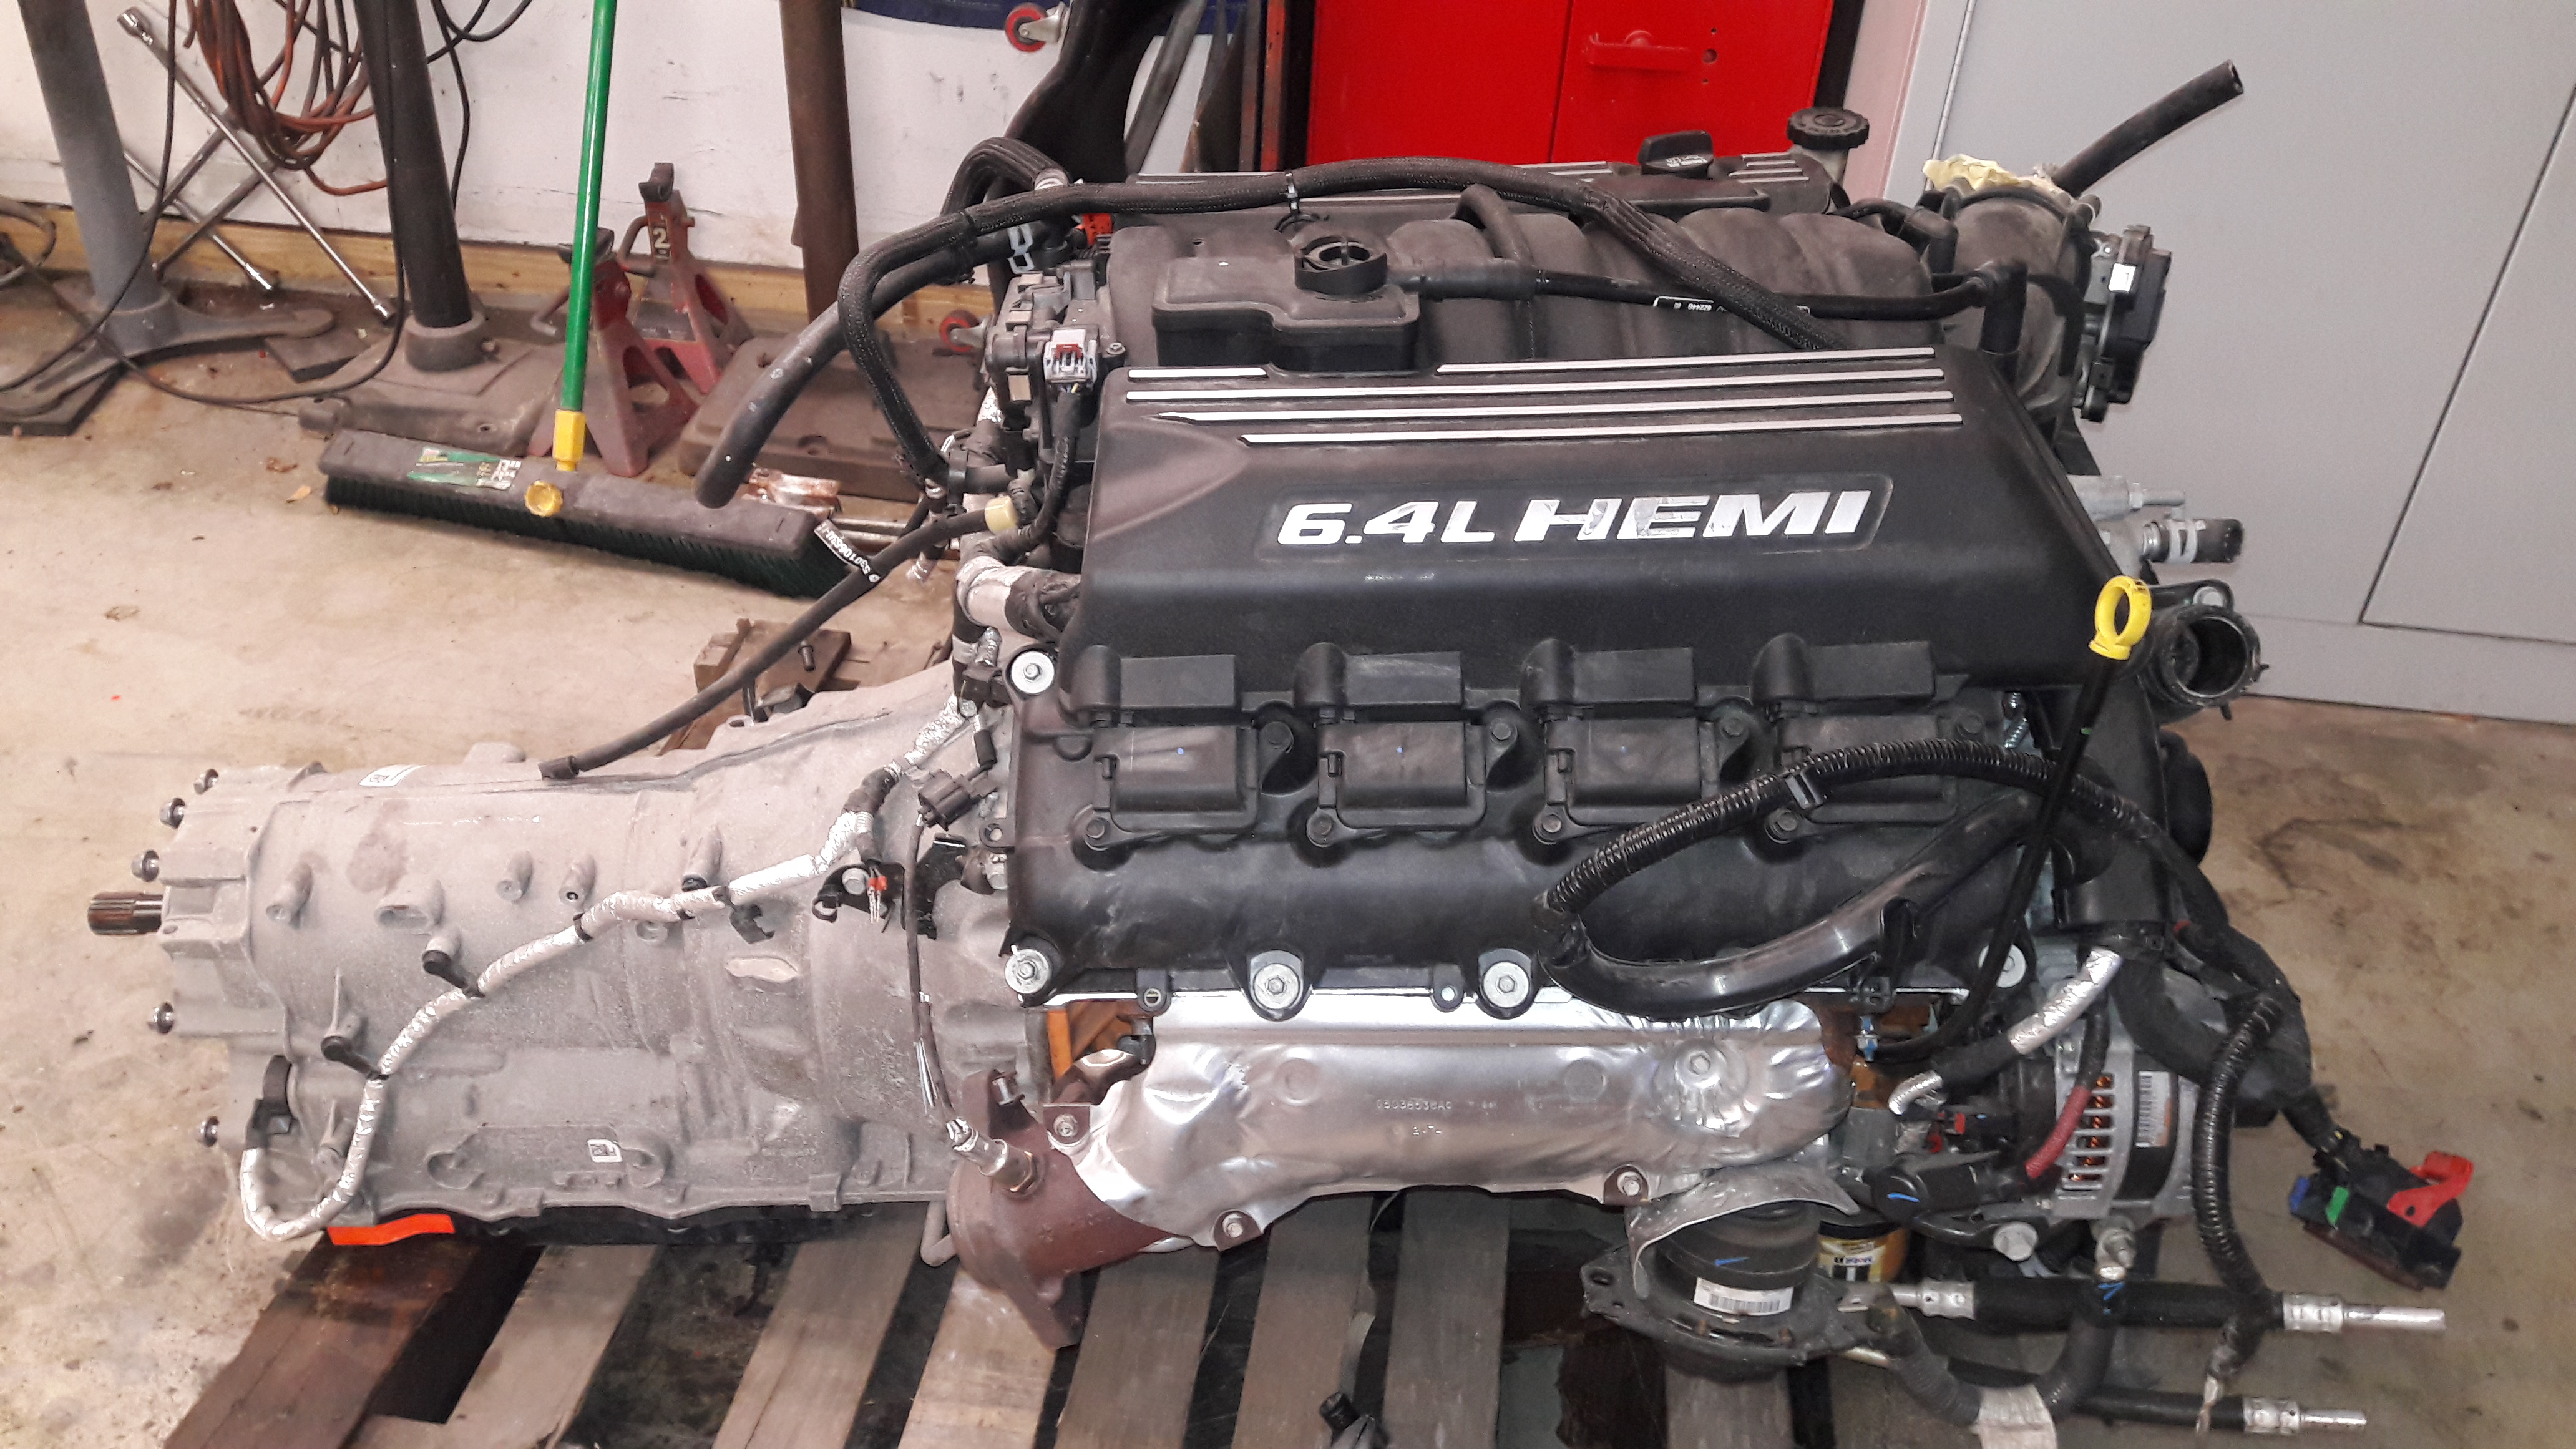
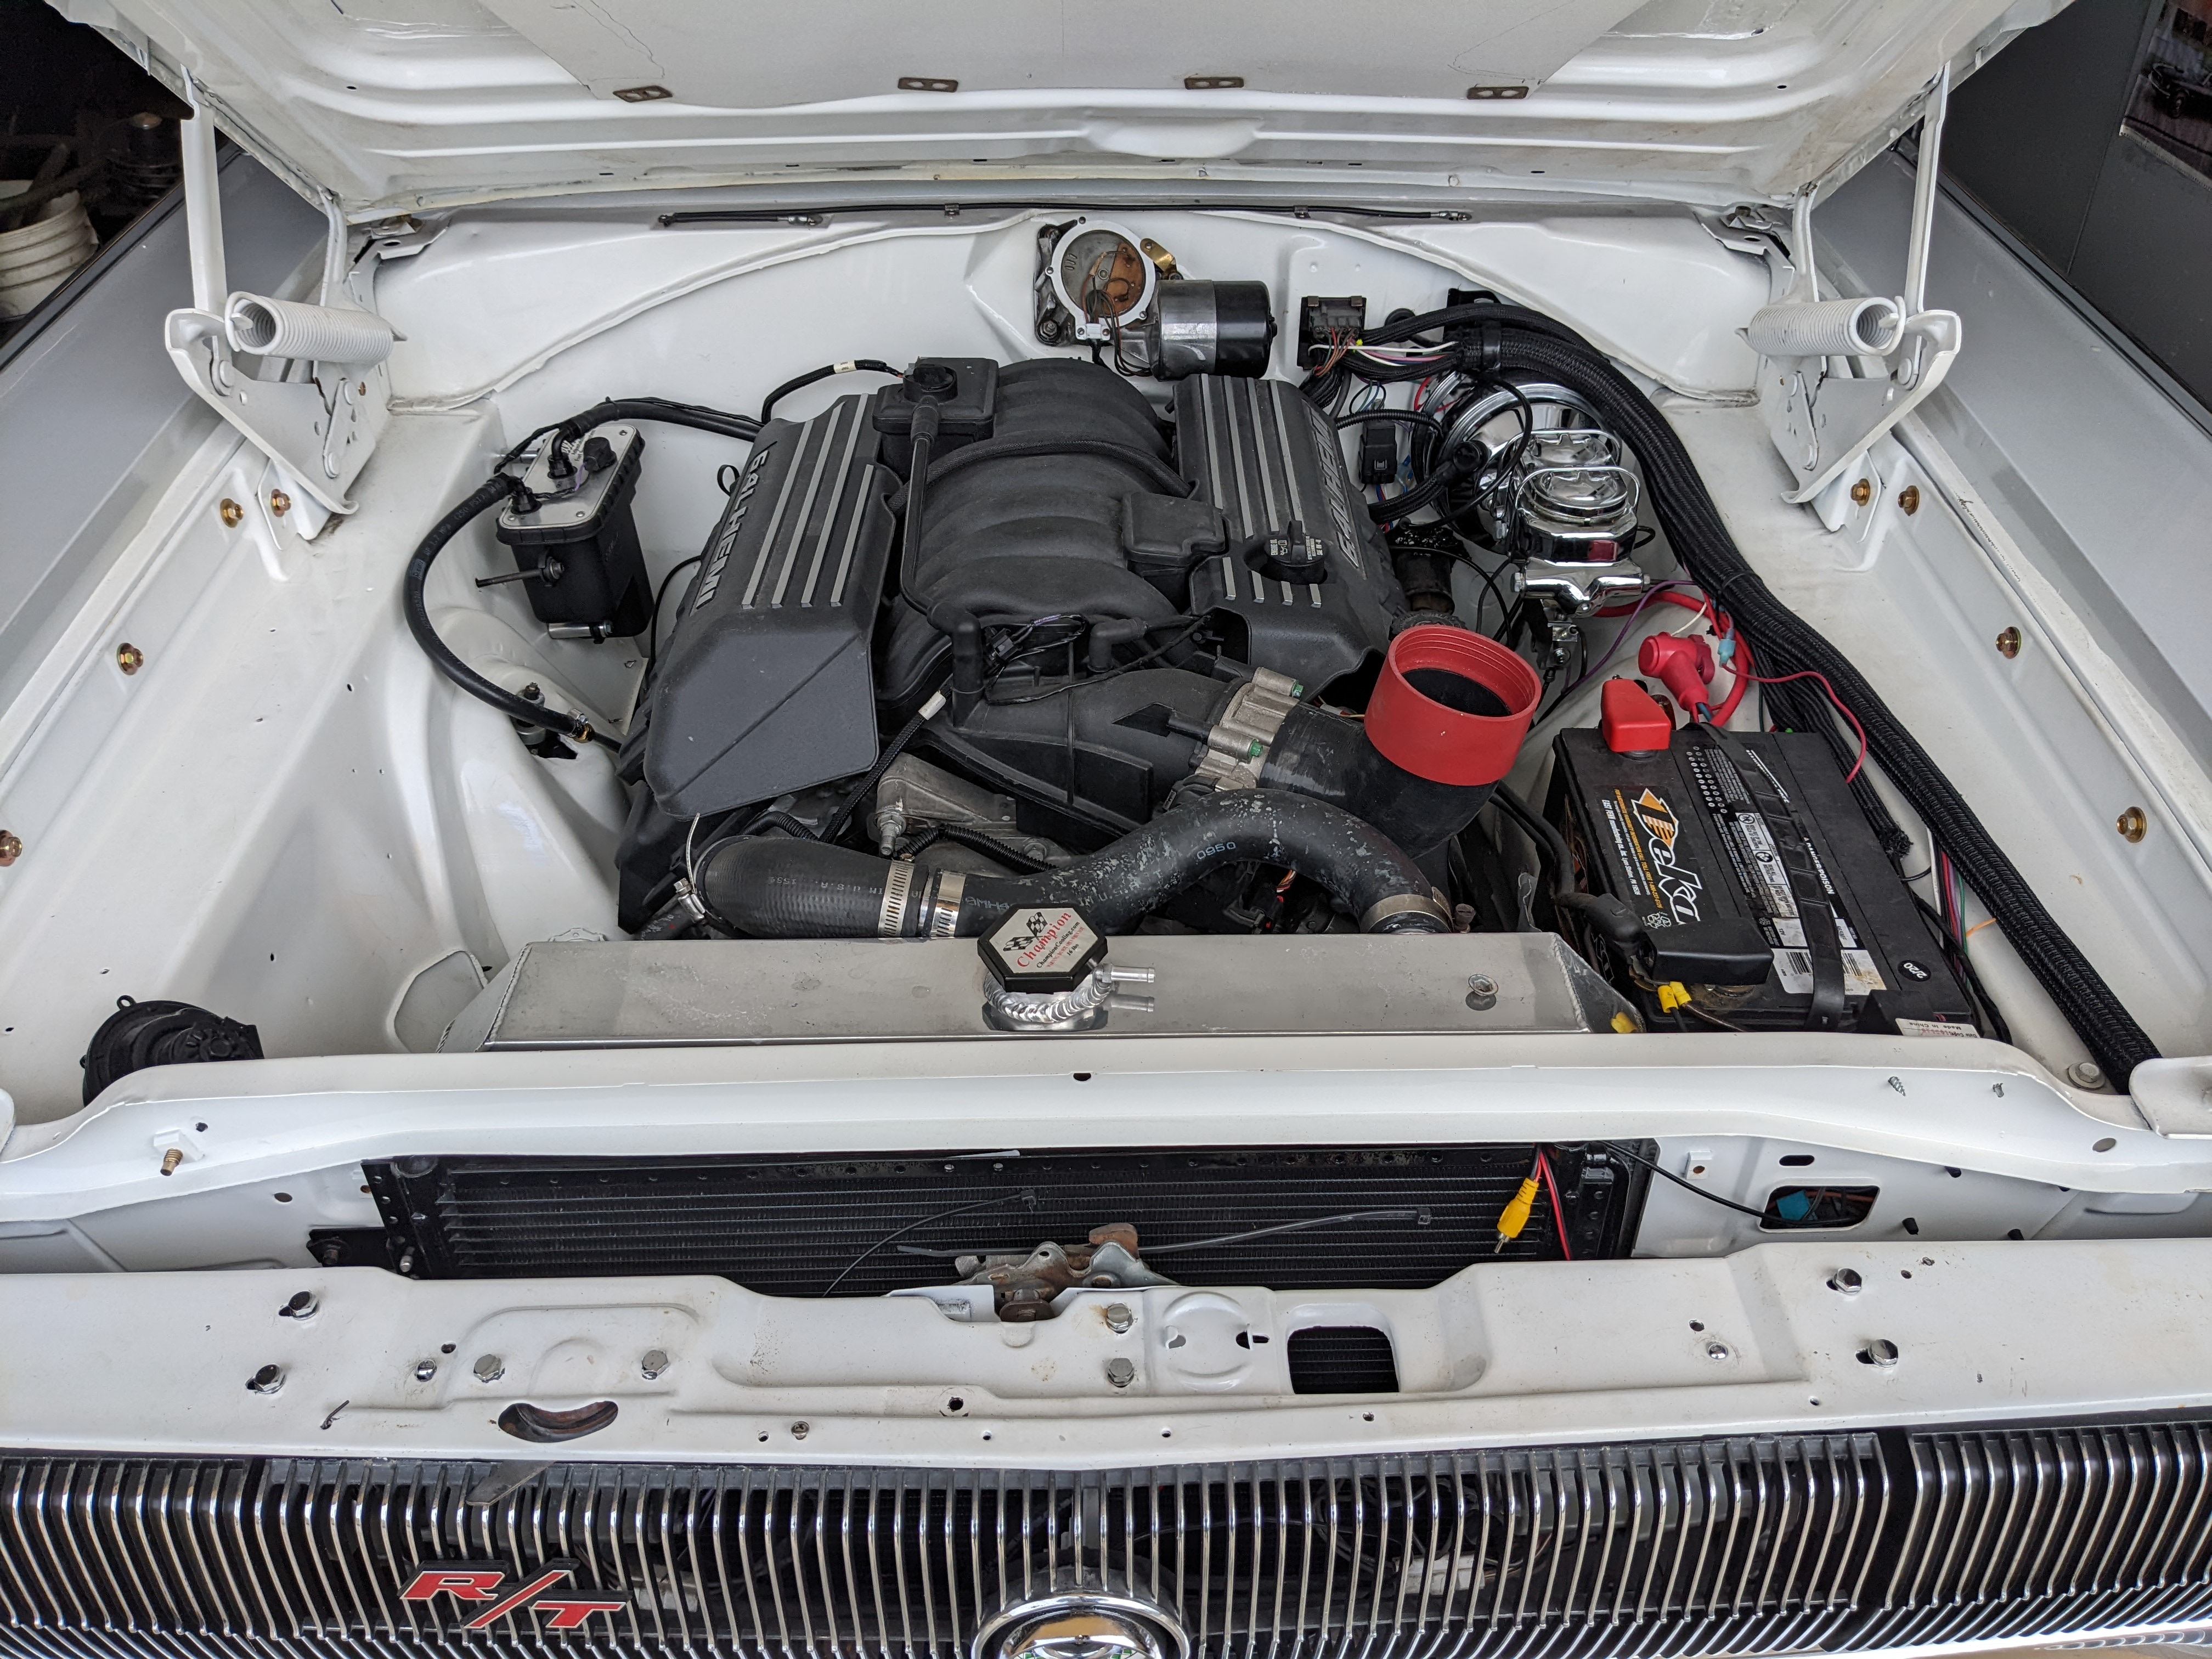
08/17/20 - started mockup of new Terminator X engine management system
08/23/20 - Install Terminator X ECU, Wet sand roof panels for wrap
08/29/20 - installed Front Camera in the grill & working on the 29 Truck
09/01/20 - Mockup the new Booster and Master Cylinder Assembly
09/04/20 - Install wrap on right upper quarter panel & roof fitment
10/15/20 - Car Moved to Lift, Rear End removed, Bottom reconditioned & prepped for assembly.
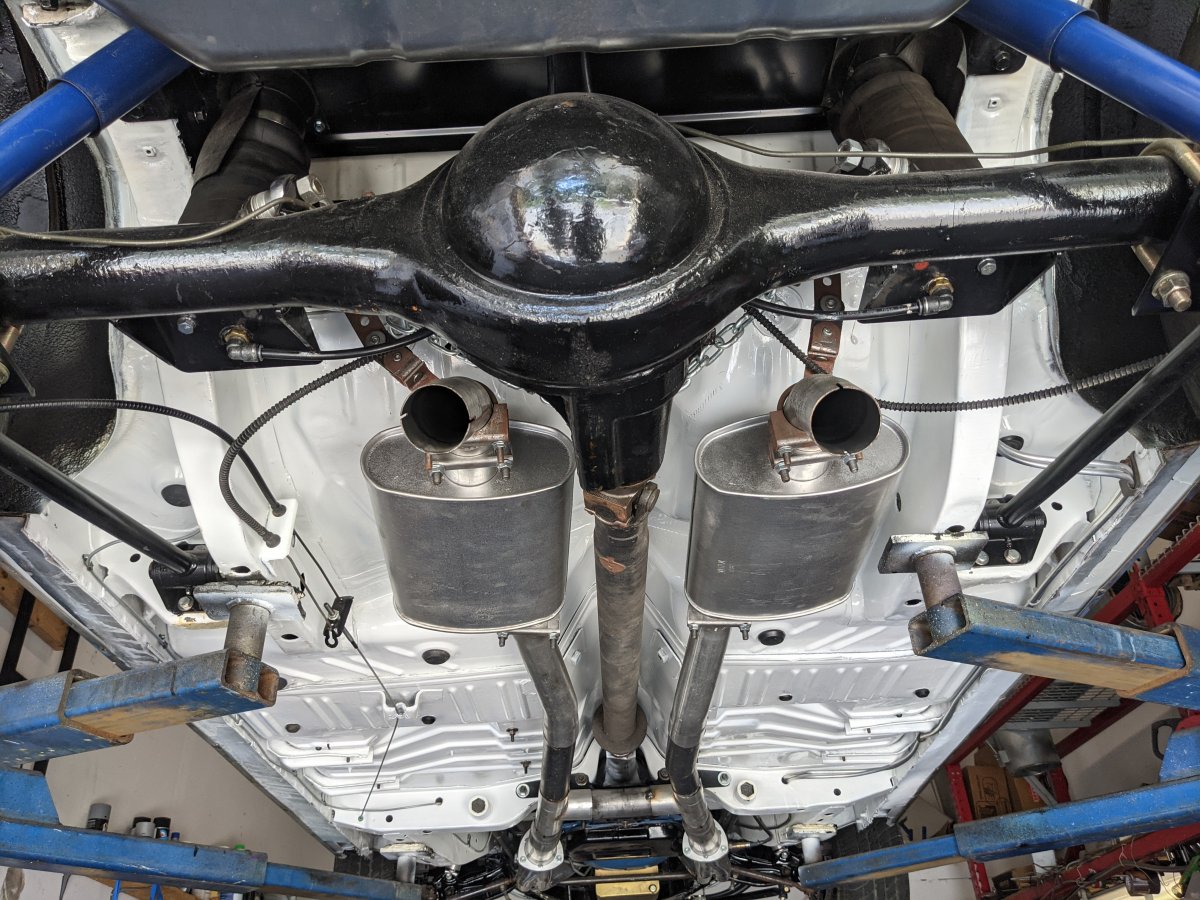
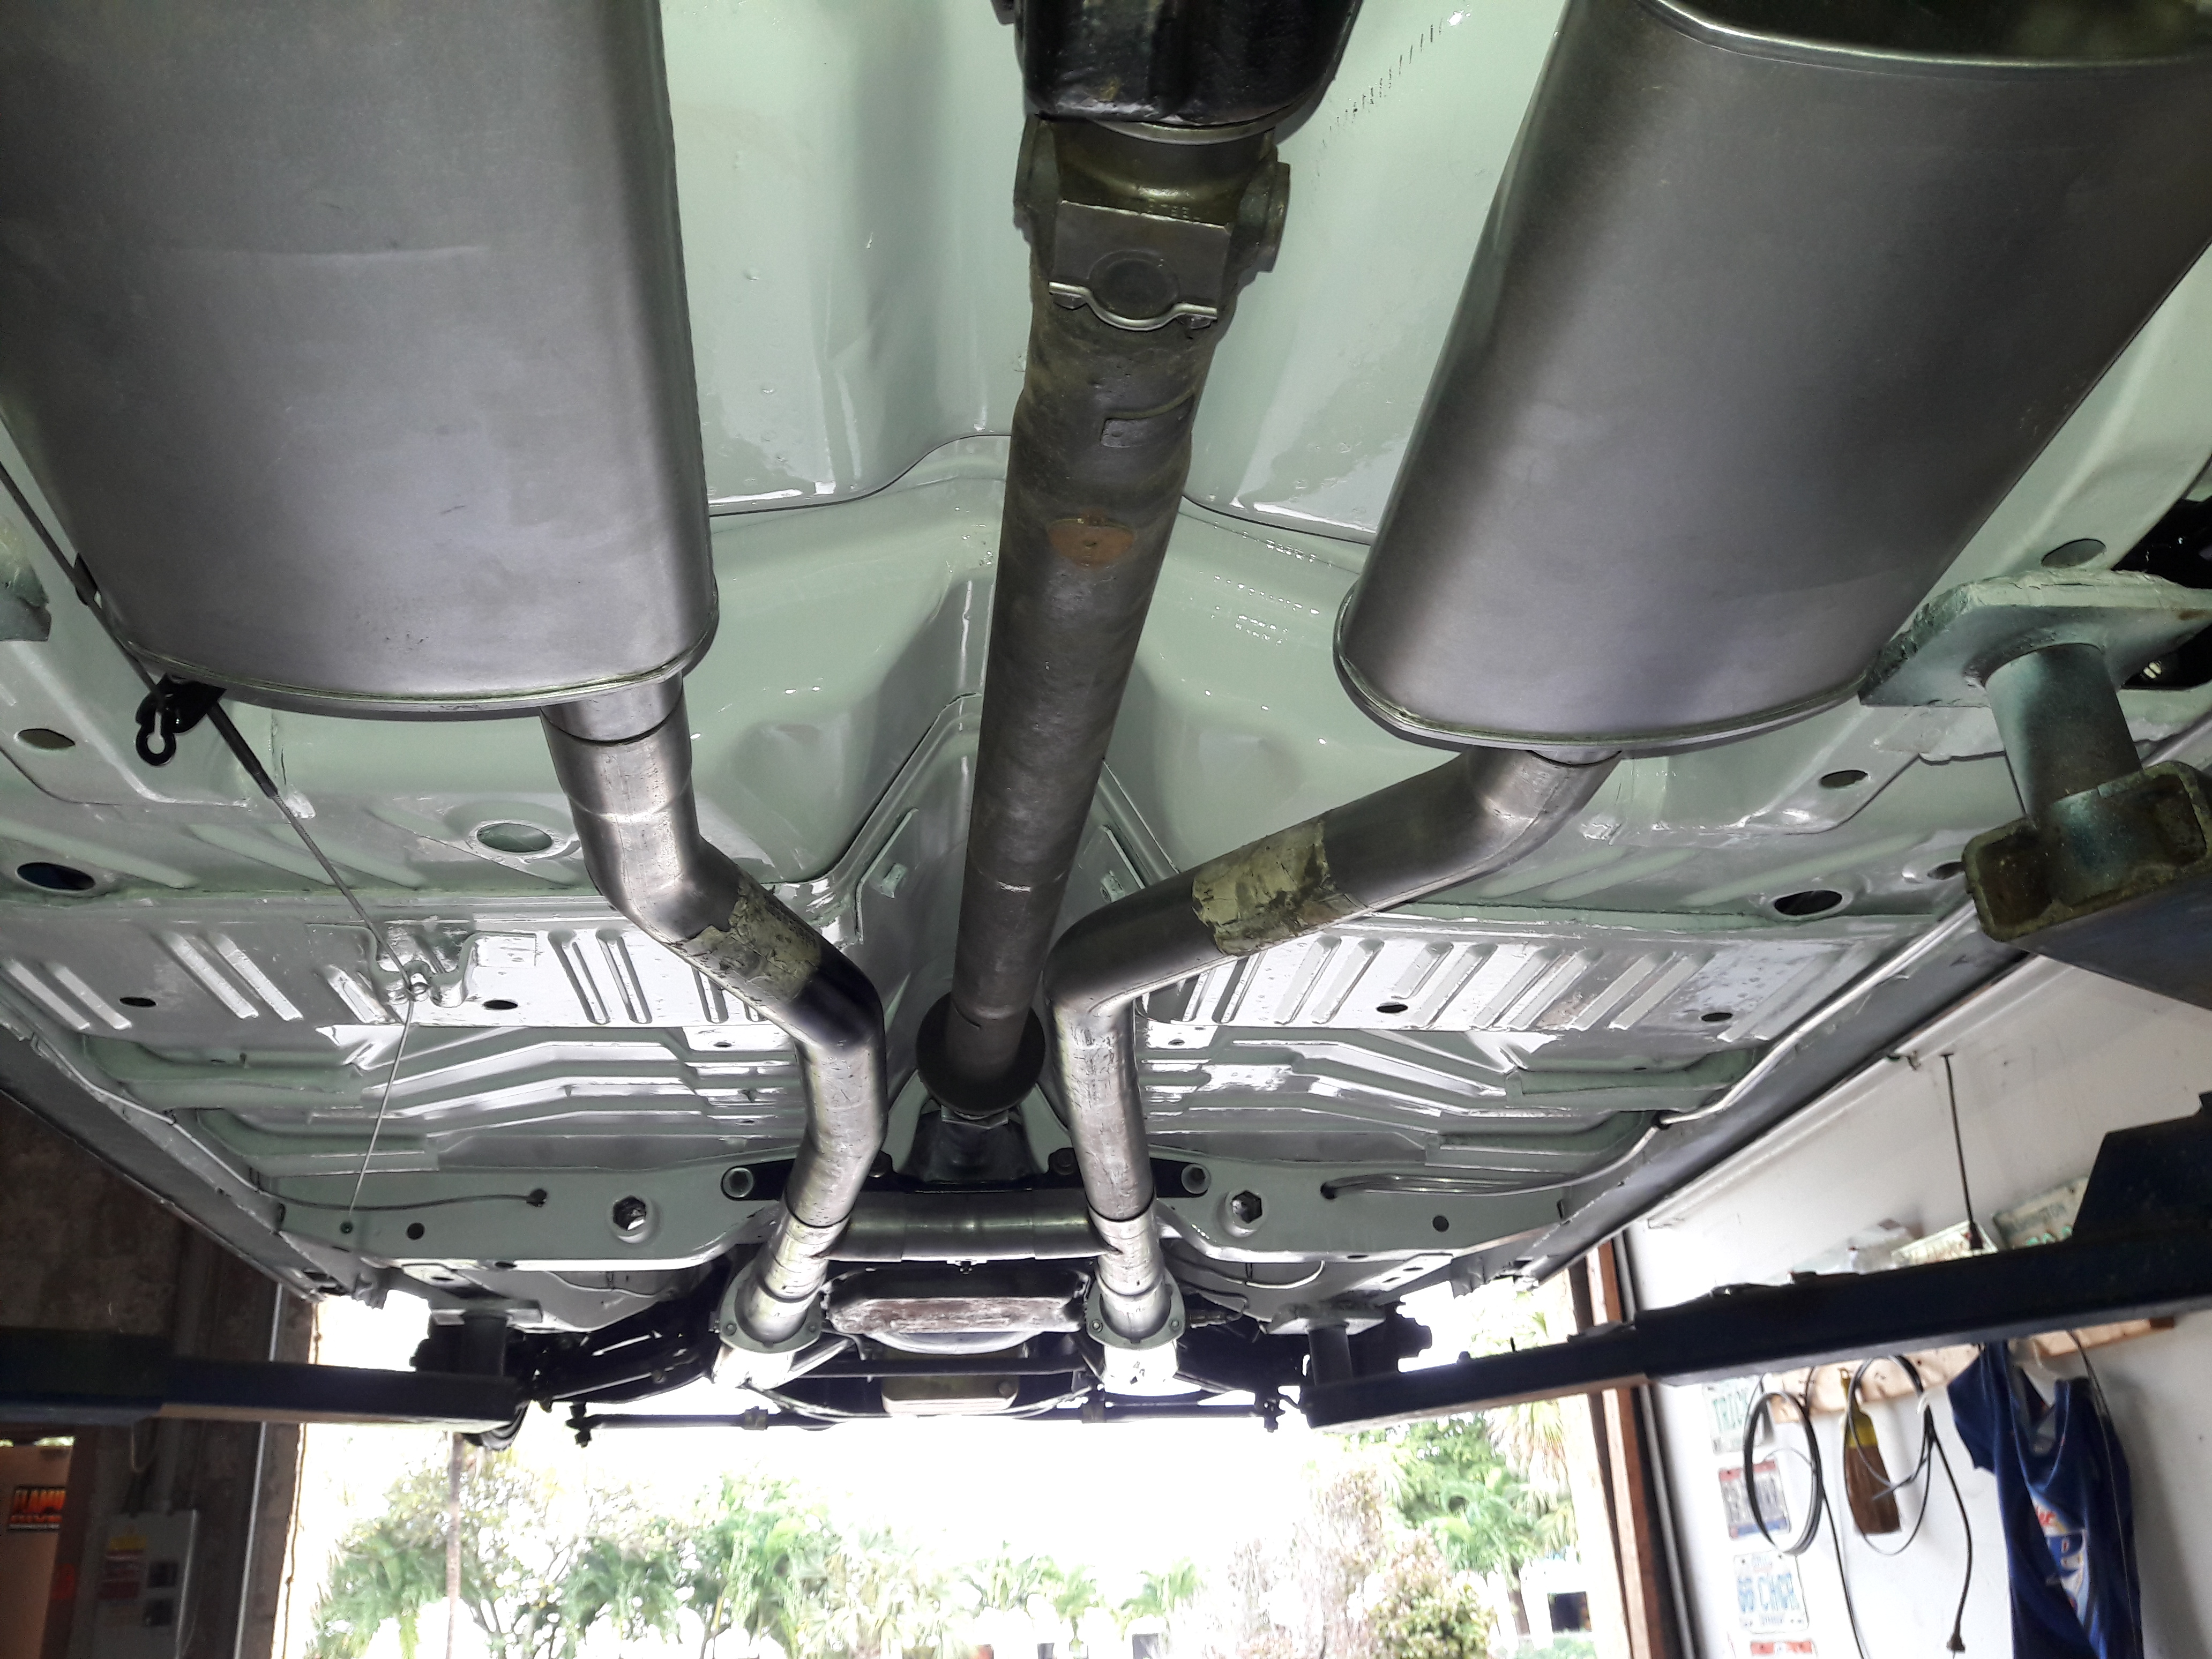
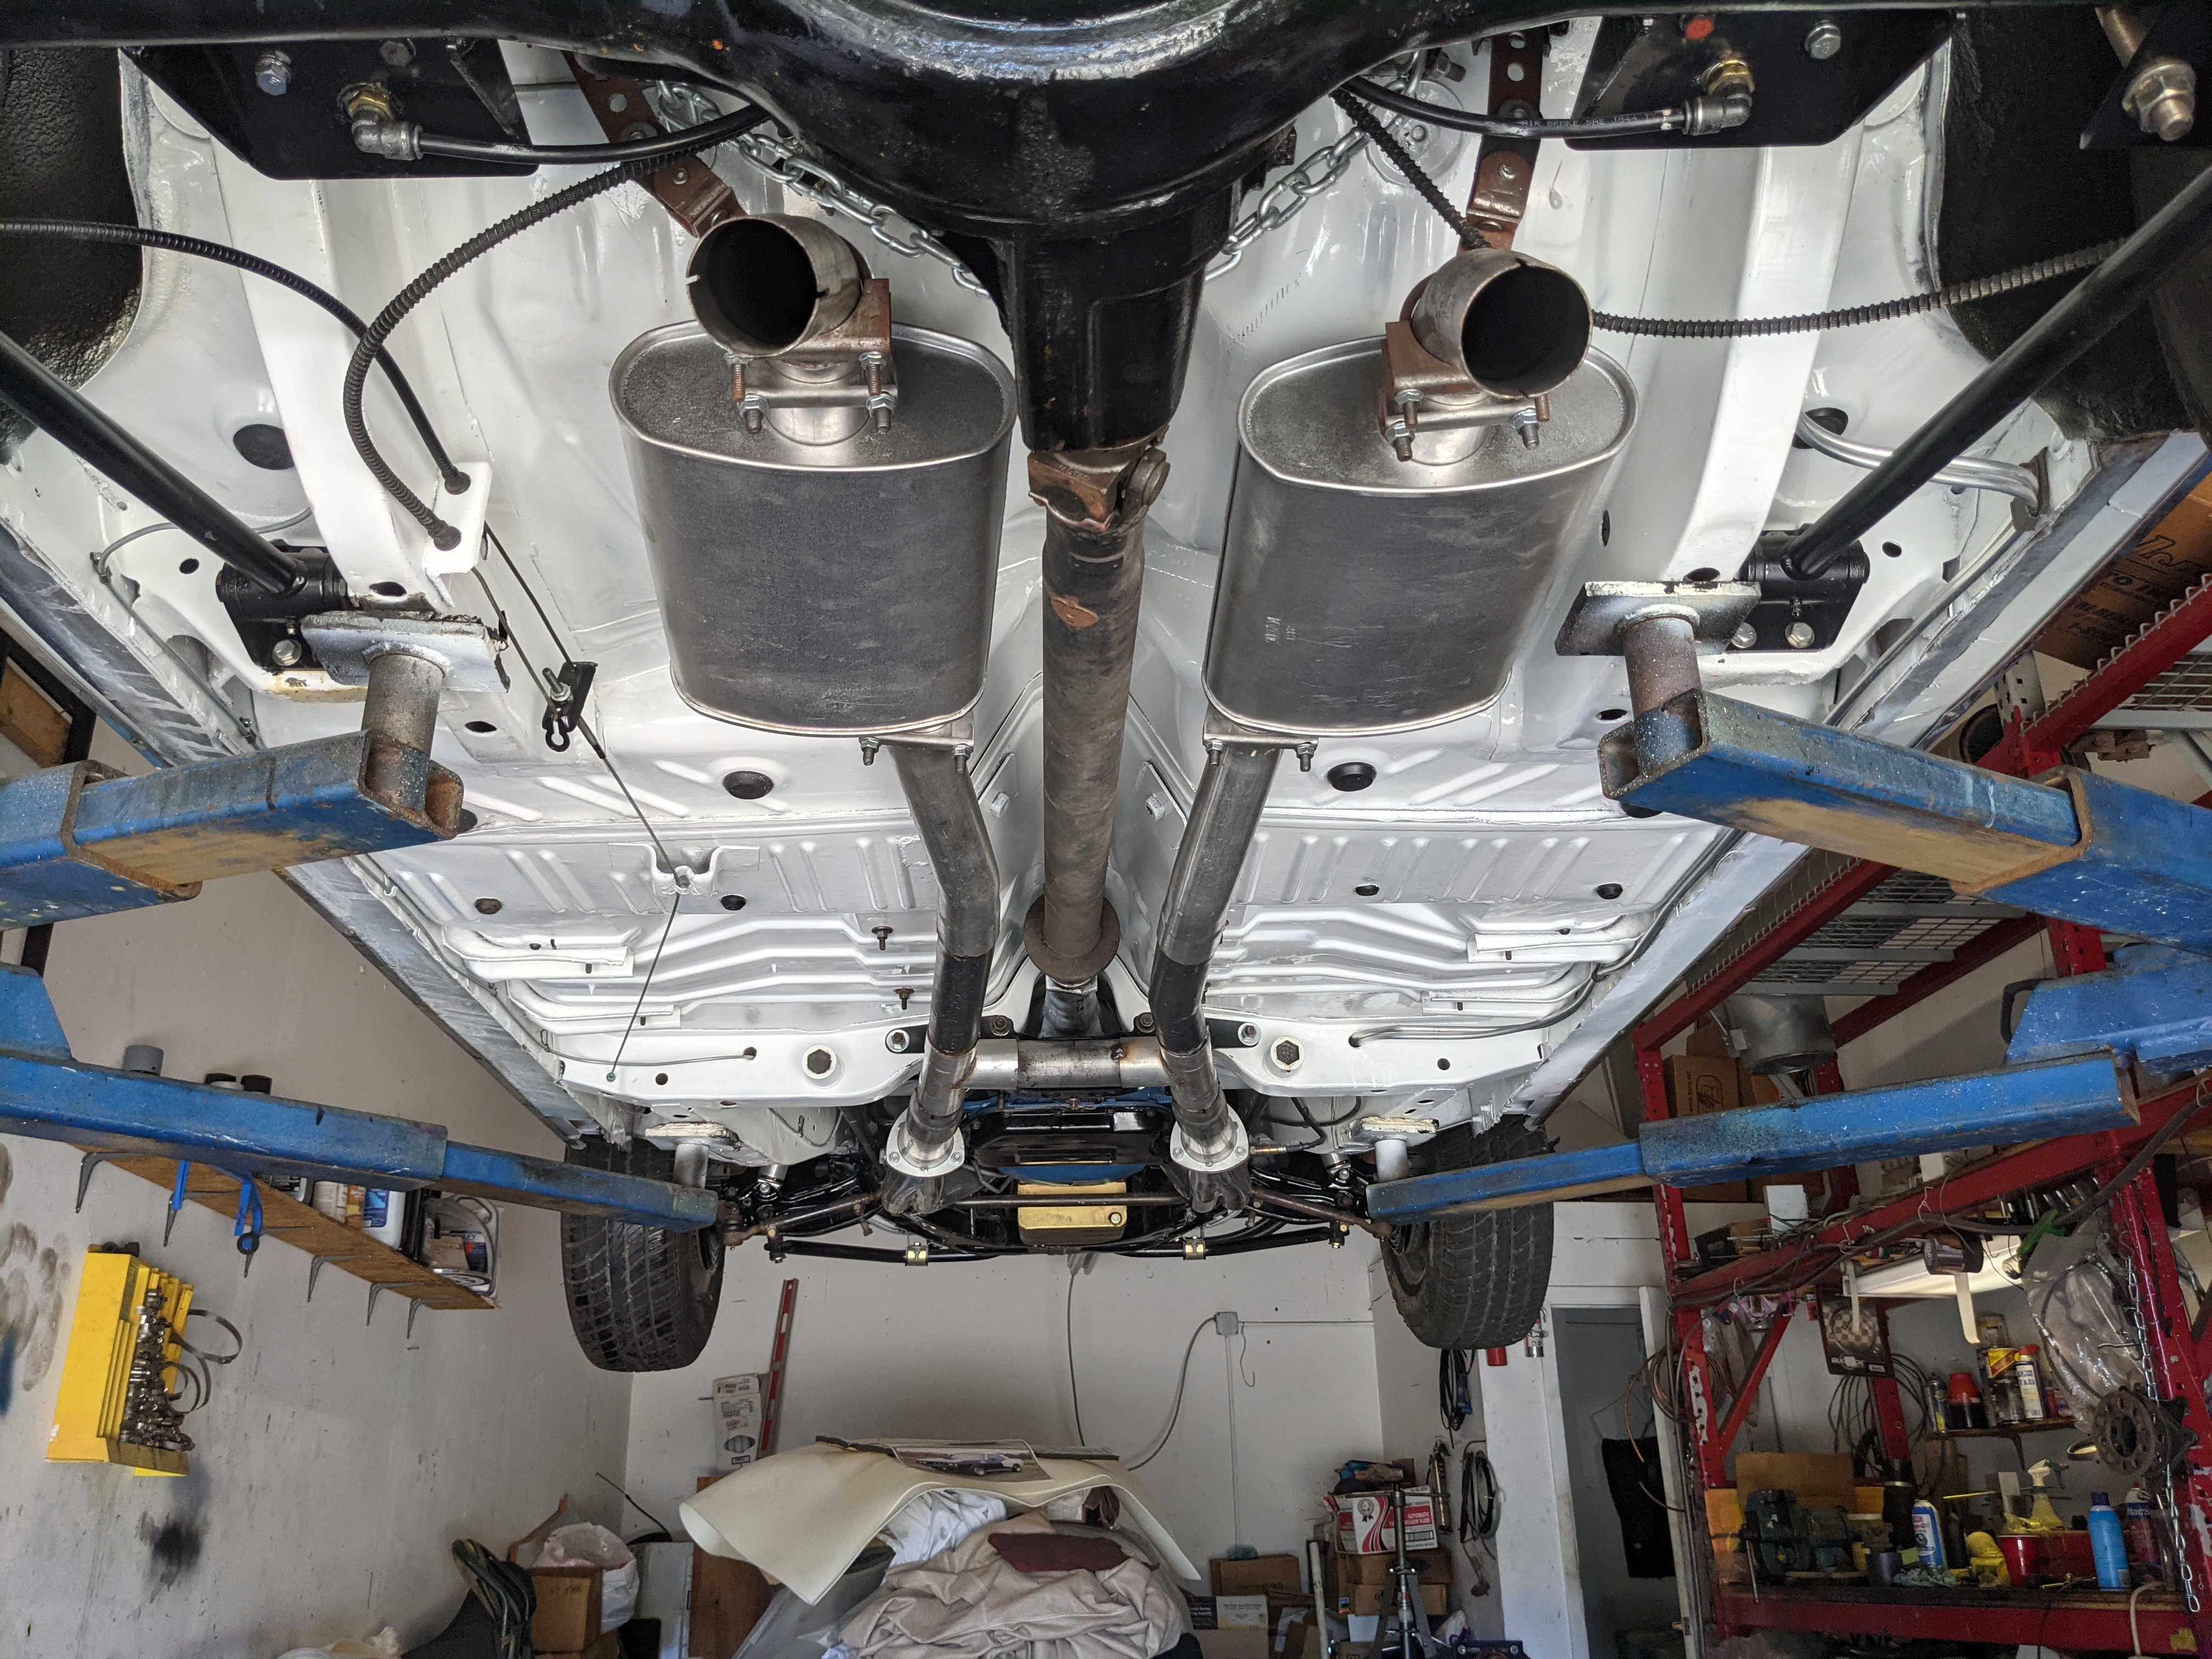
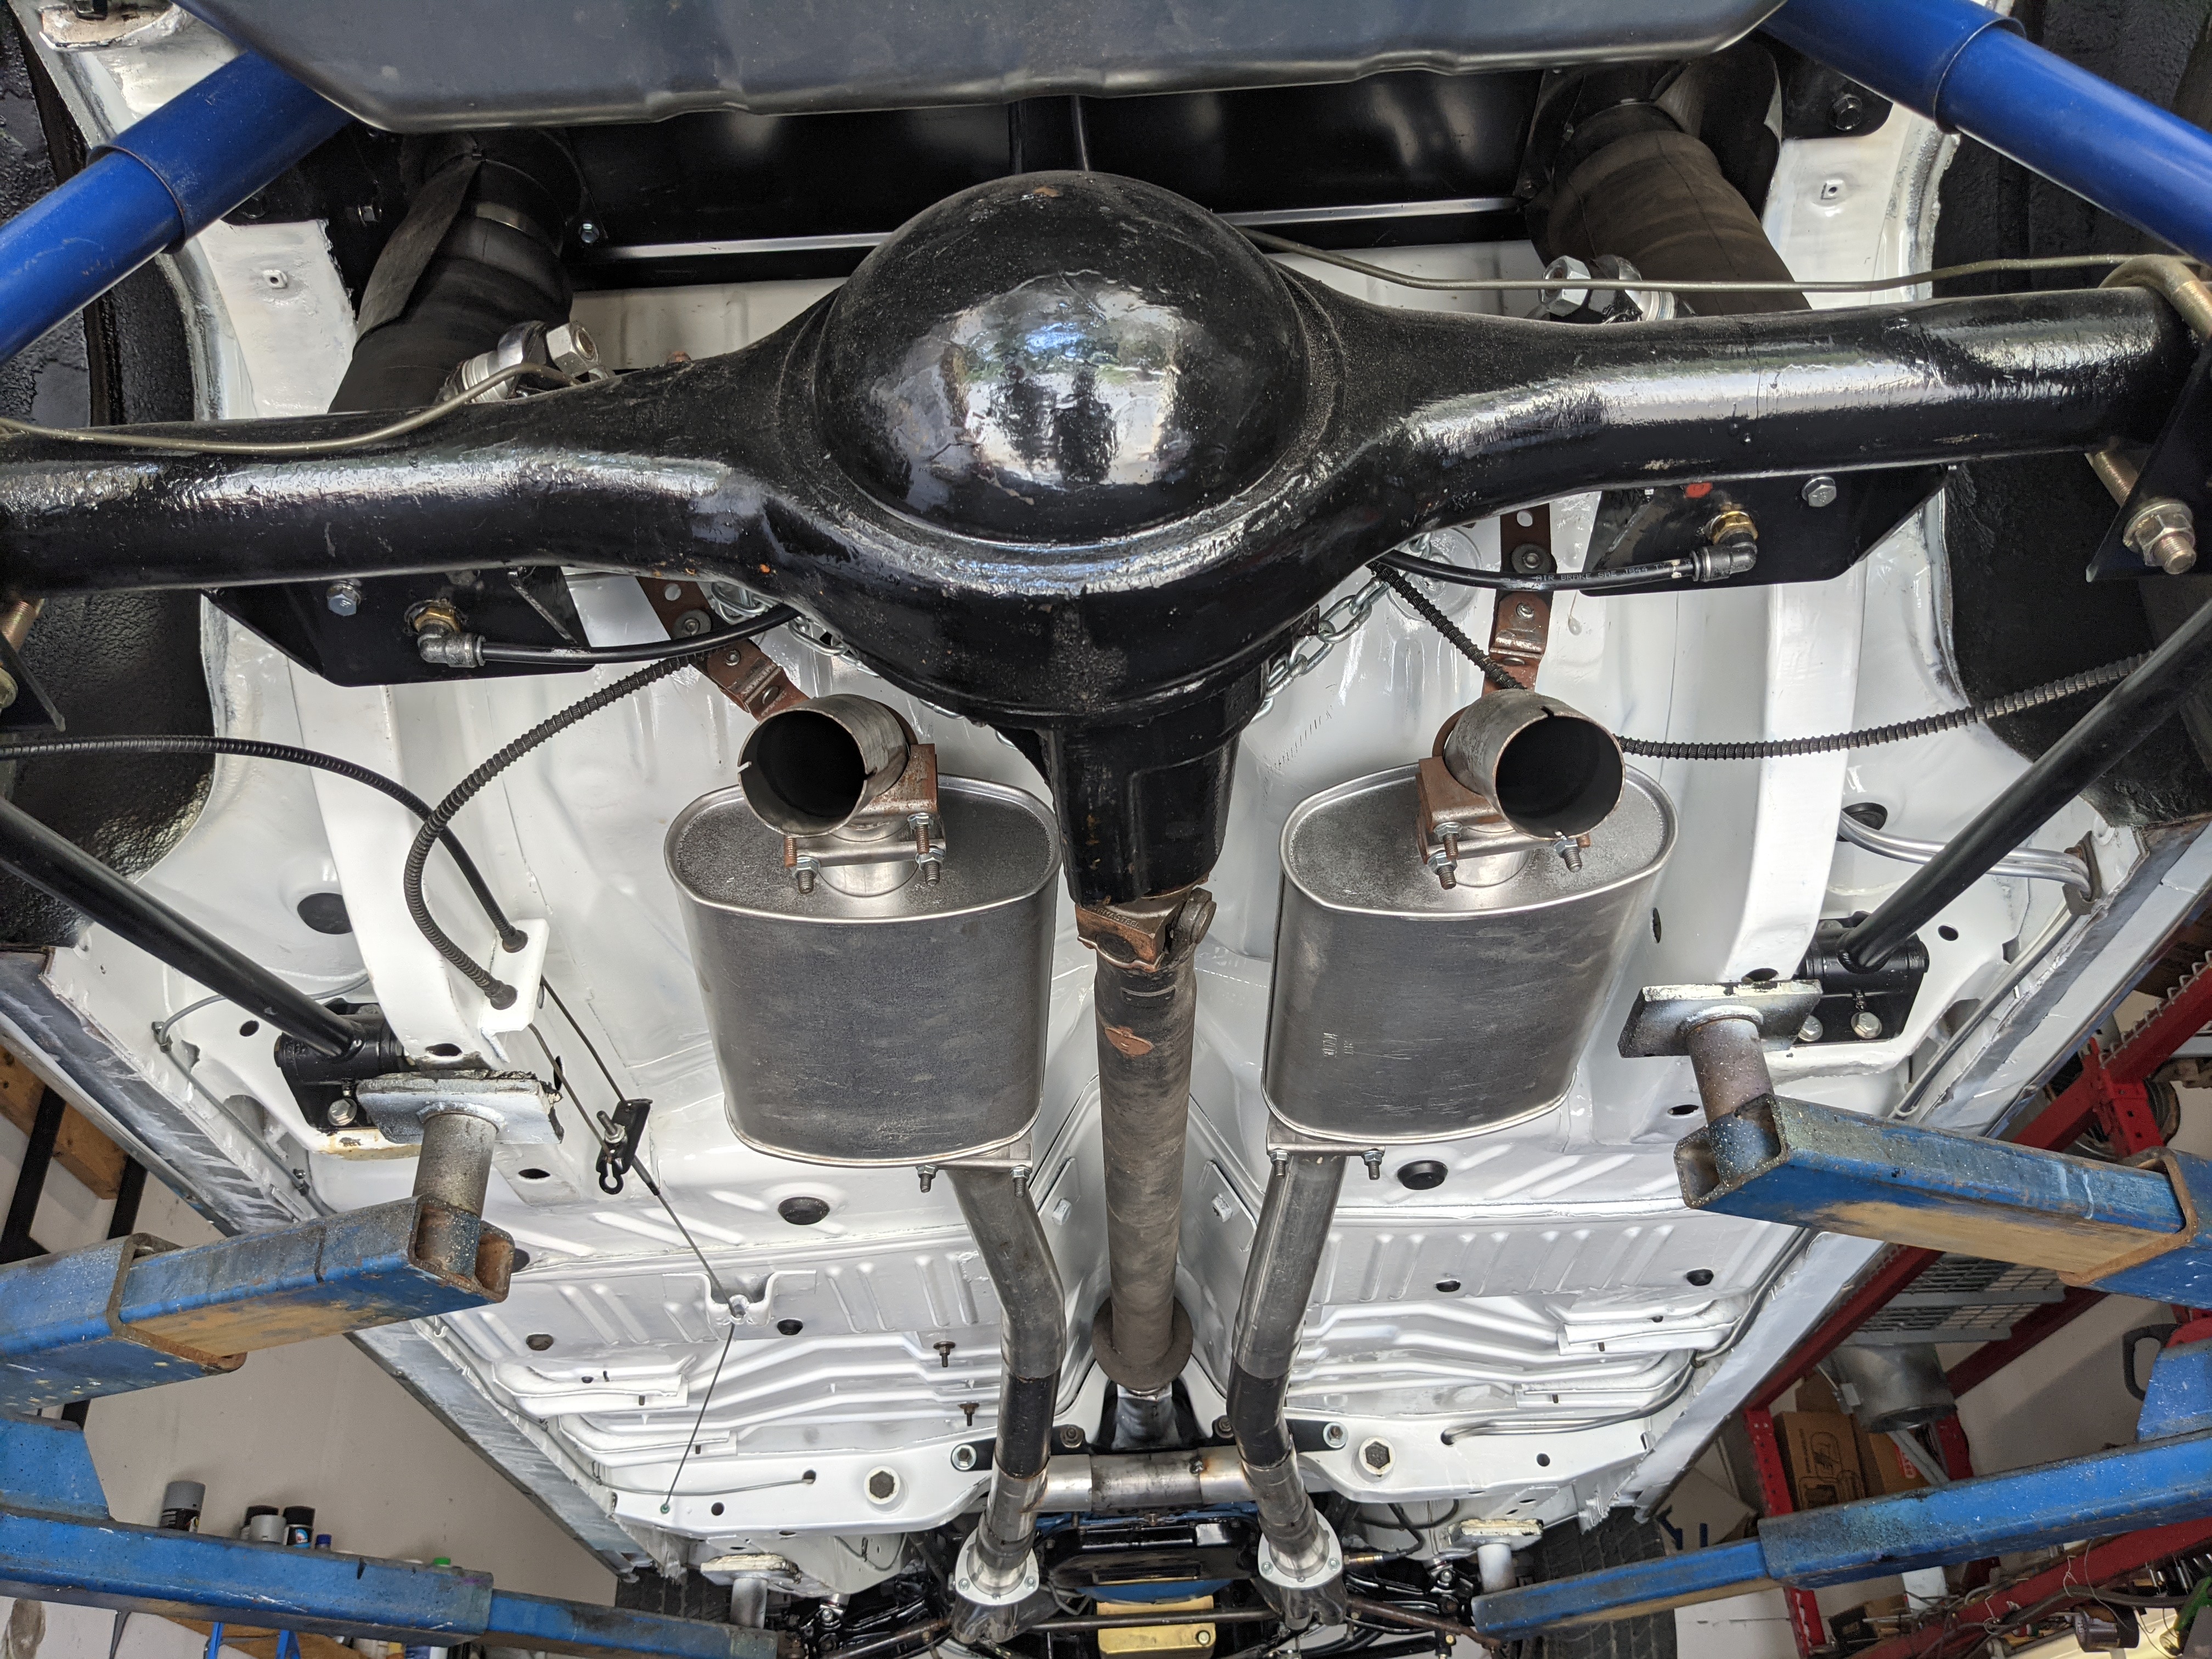
10/30/20 - Installed Fuel tank, Install fuel lines, Install brake lines, Fabricate & Install A/C hoses under car, Install rear end, Install auxilary fuel pump, Install sway bar, Install transmission linkage, Fabricate & install exhaust system, Install brake booster linkage, Bleed brakes, add oil & trans fluid, check for leaks. MOVE CAR TO DETAIL SHOP.
11/01/20 1rst Engine cranking. Engine fires then quits.
11/04/20 Troubleshoot engine starting. Add relay to fuel sump and replace crank & cam sensors.
11/11/20 Download new tune & start engine.
11/14/20 Drive car to mechanical shop & repair brake line leak.
11/20/20 Finish amp & Audio installation
11/26/20 Prove that you can move music with frequency response
11/27/20 Begin the sky console fabrication
01/10/20 Finish wrap installation
01/30/21 Windshield prep & install
02/10/21 Begin gauge restoration process
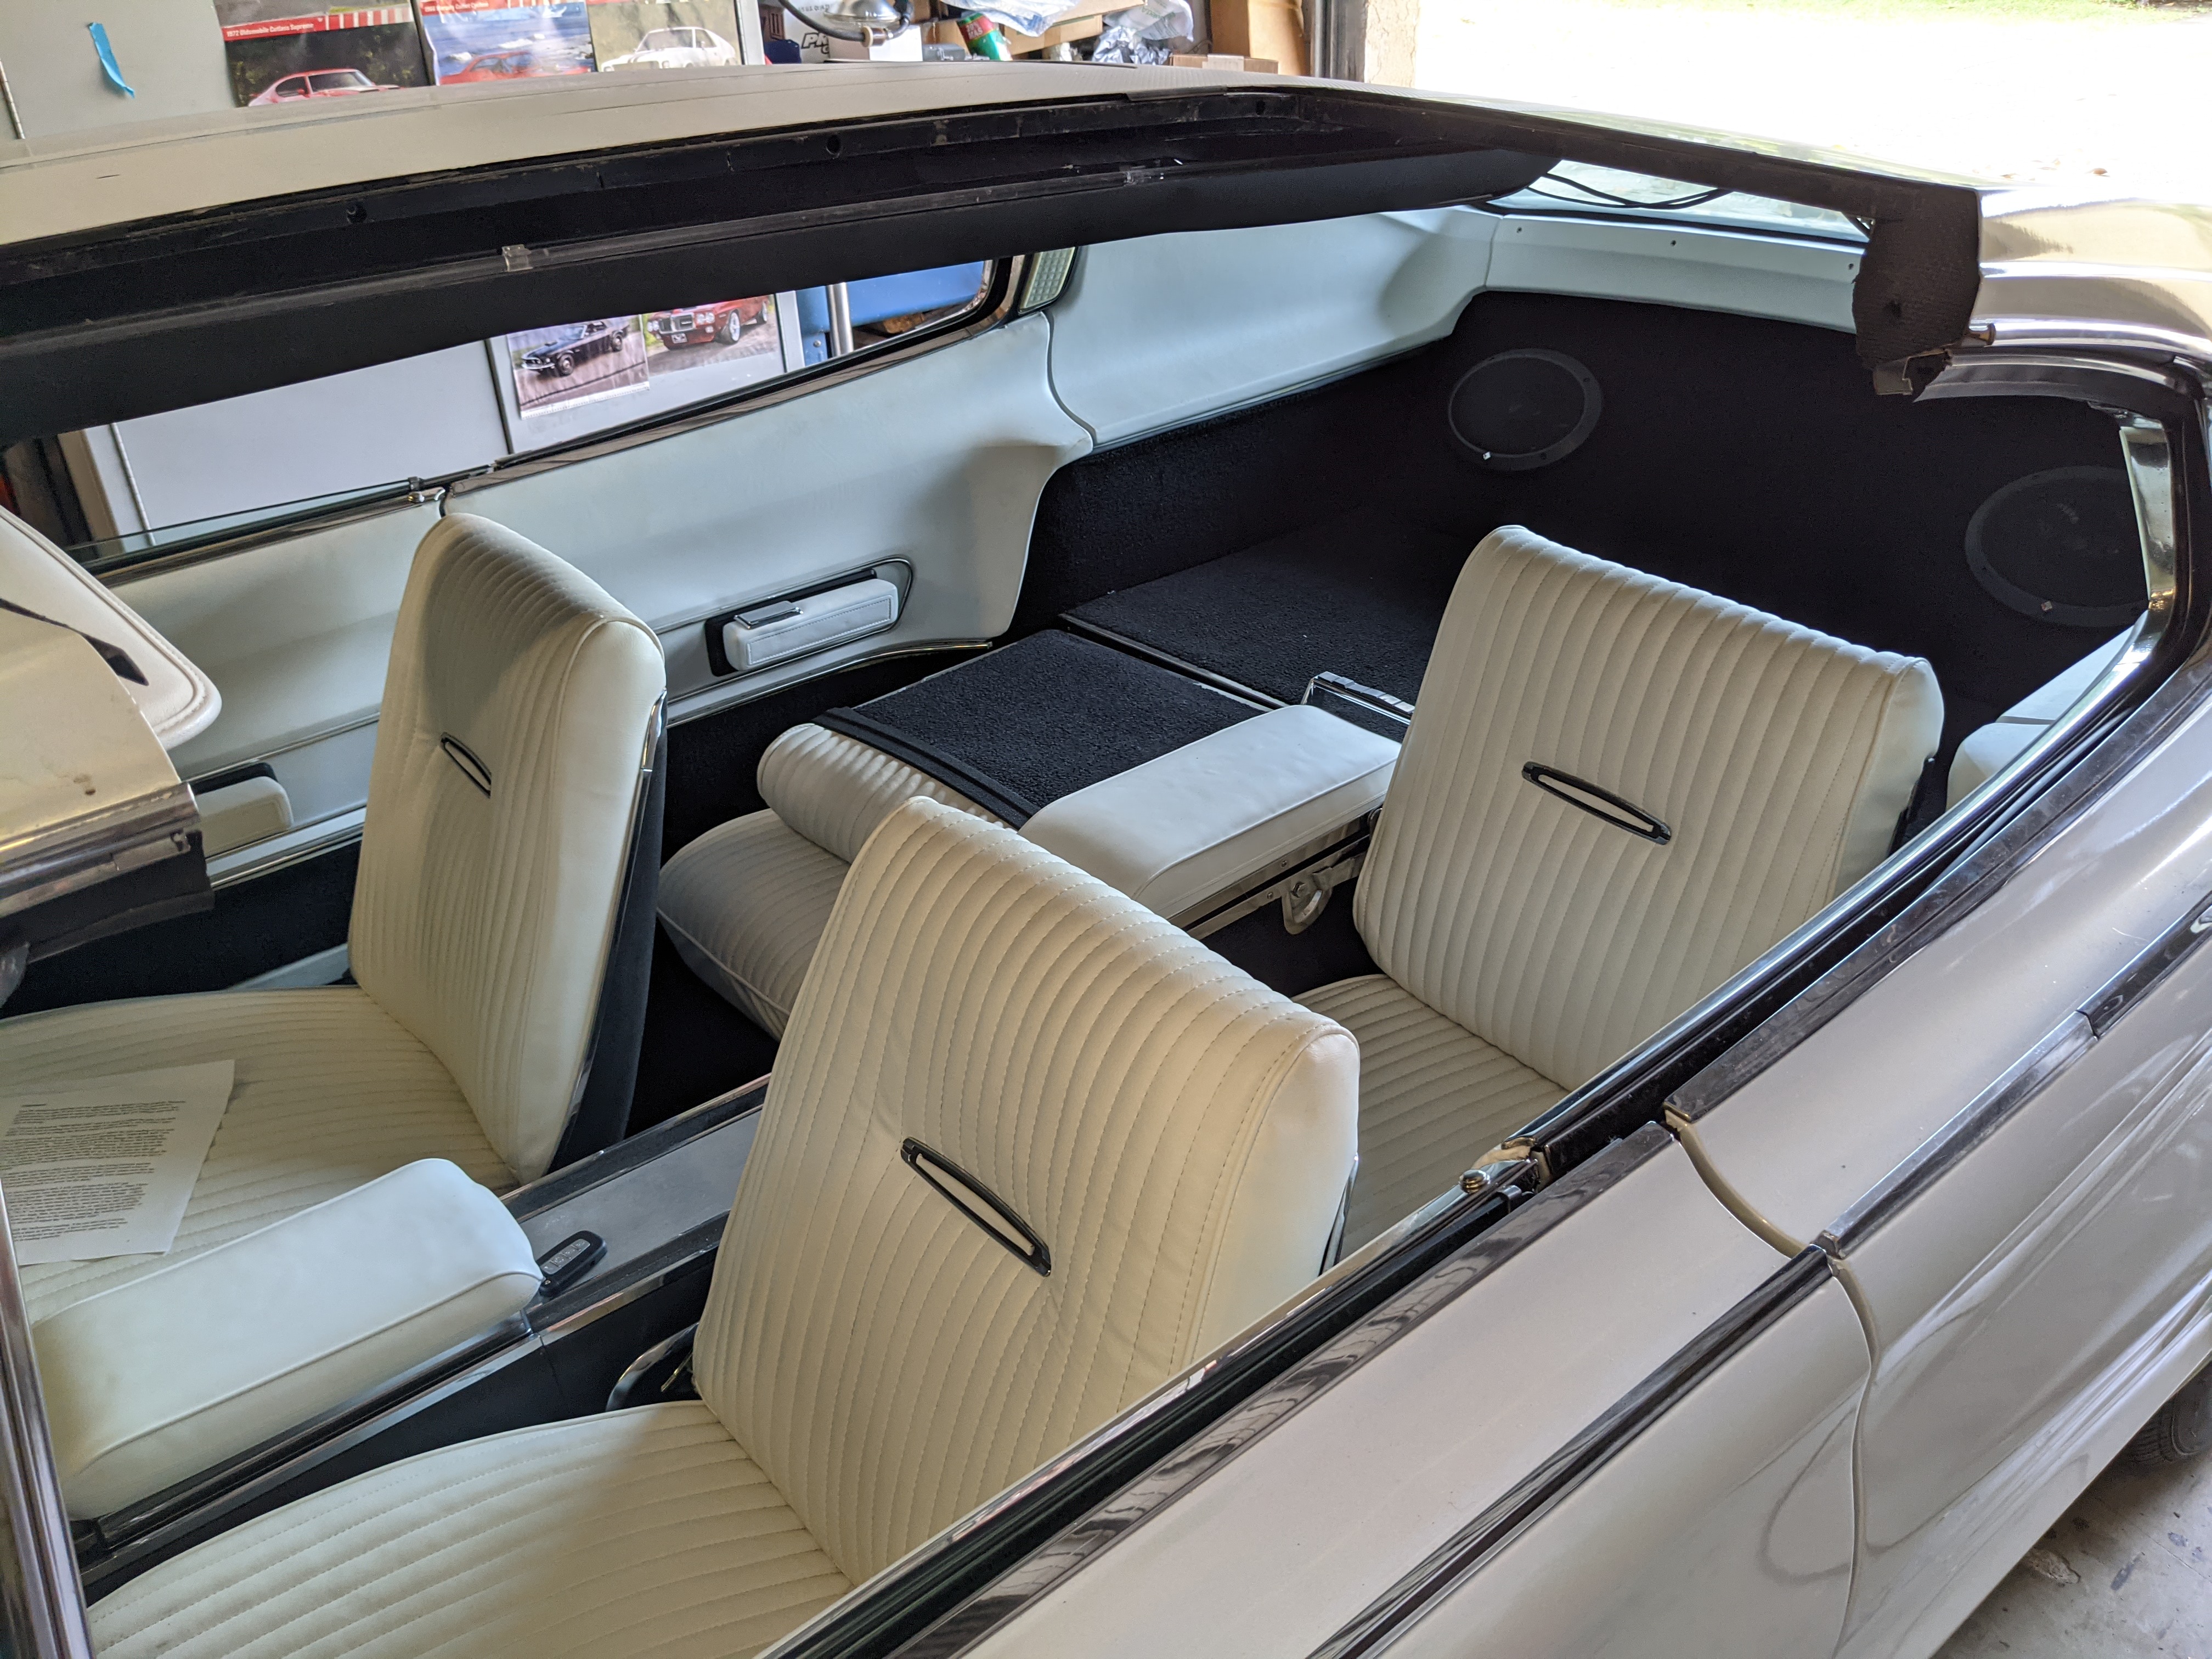
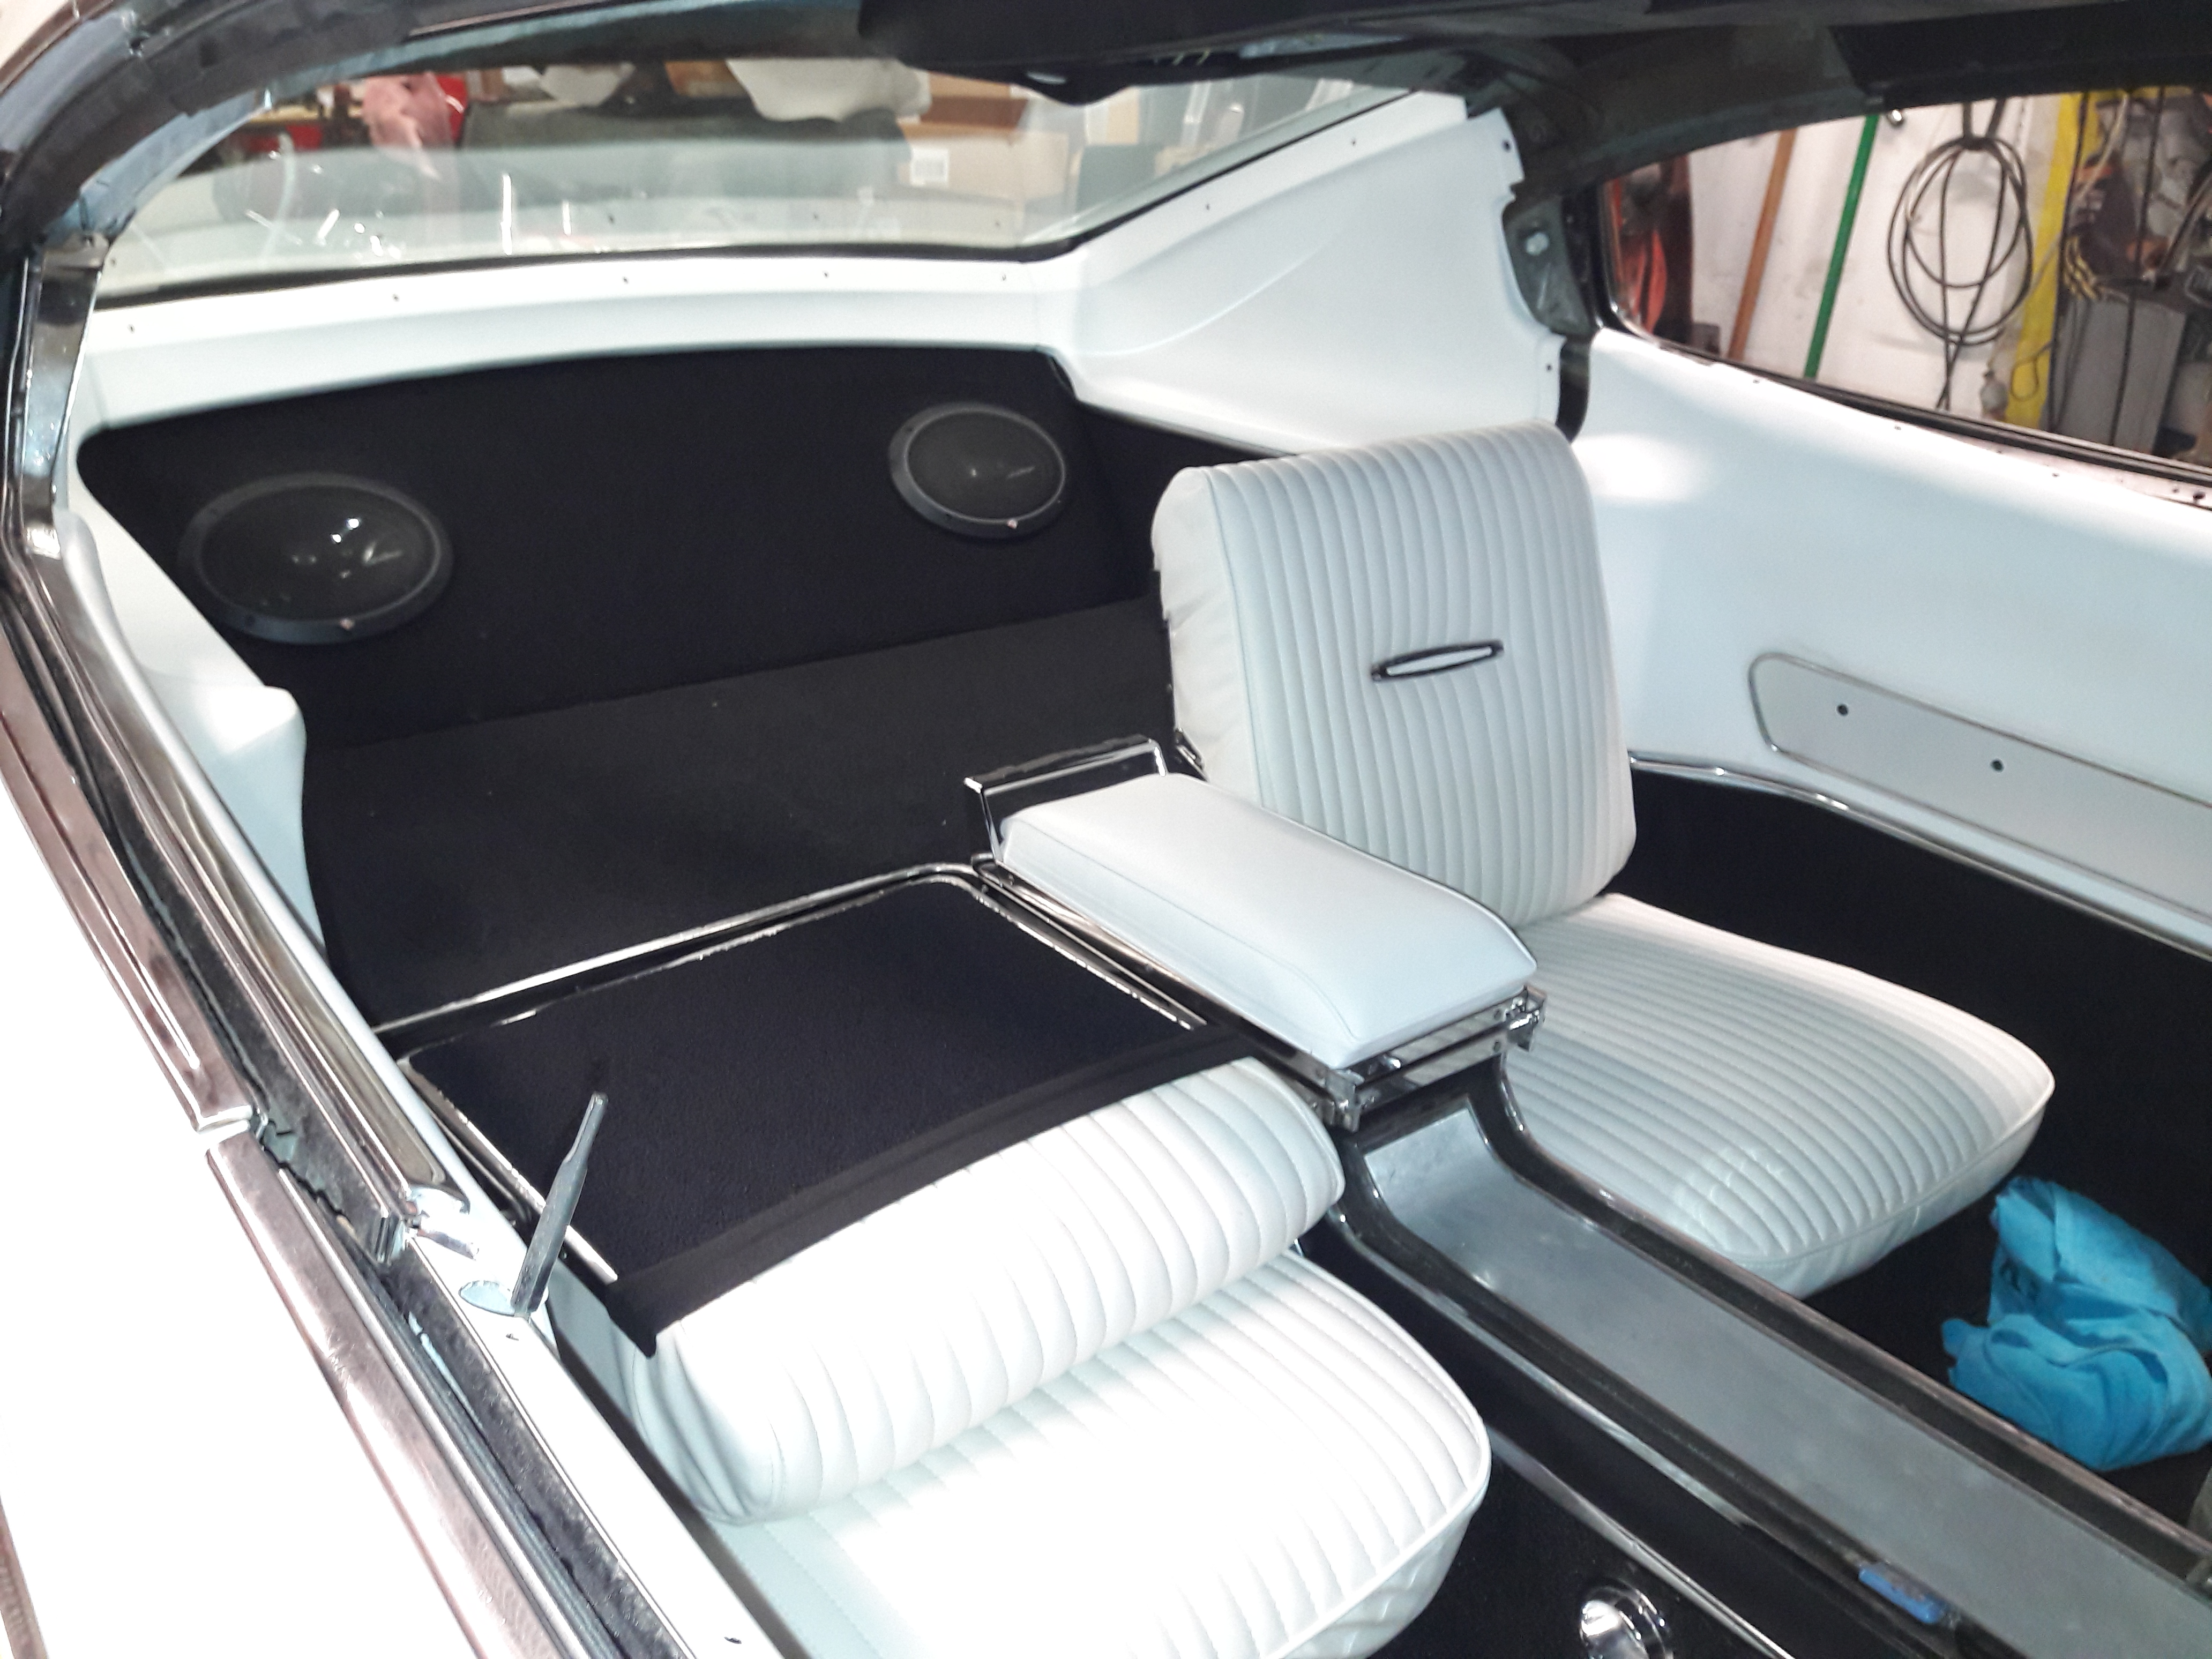
03/15/21 Applying Dye to Interior panels
03/15/21 Recover rear seats and install
04/13/21 New carpet install, design & install courtesy lighting on panels, Finish right side & door panels
06/04/21 Re-install ECU and testing
06/15/21 Connect gauges and test.
07/01/21 Install new 1-wire alternator
04/24/22 1rst Car Show
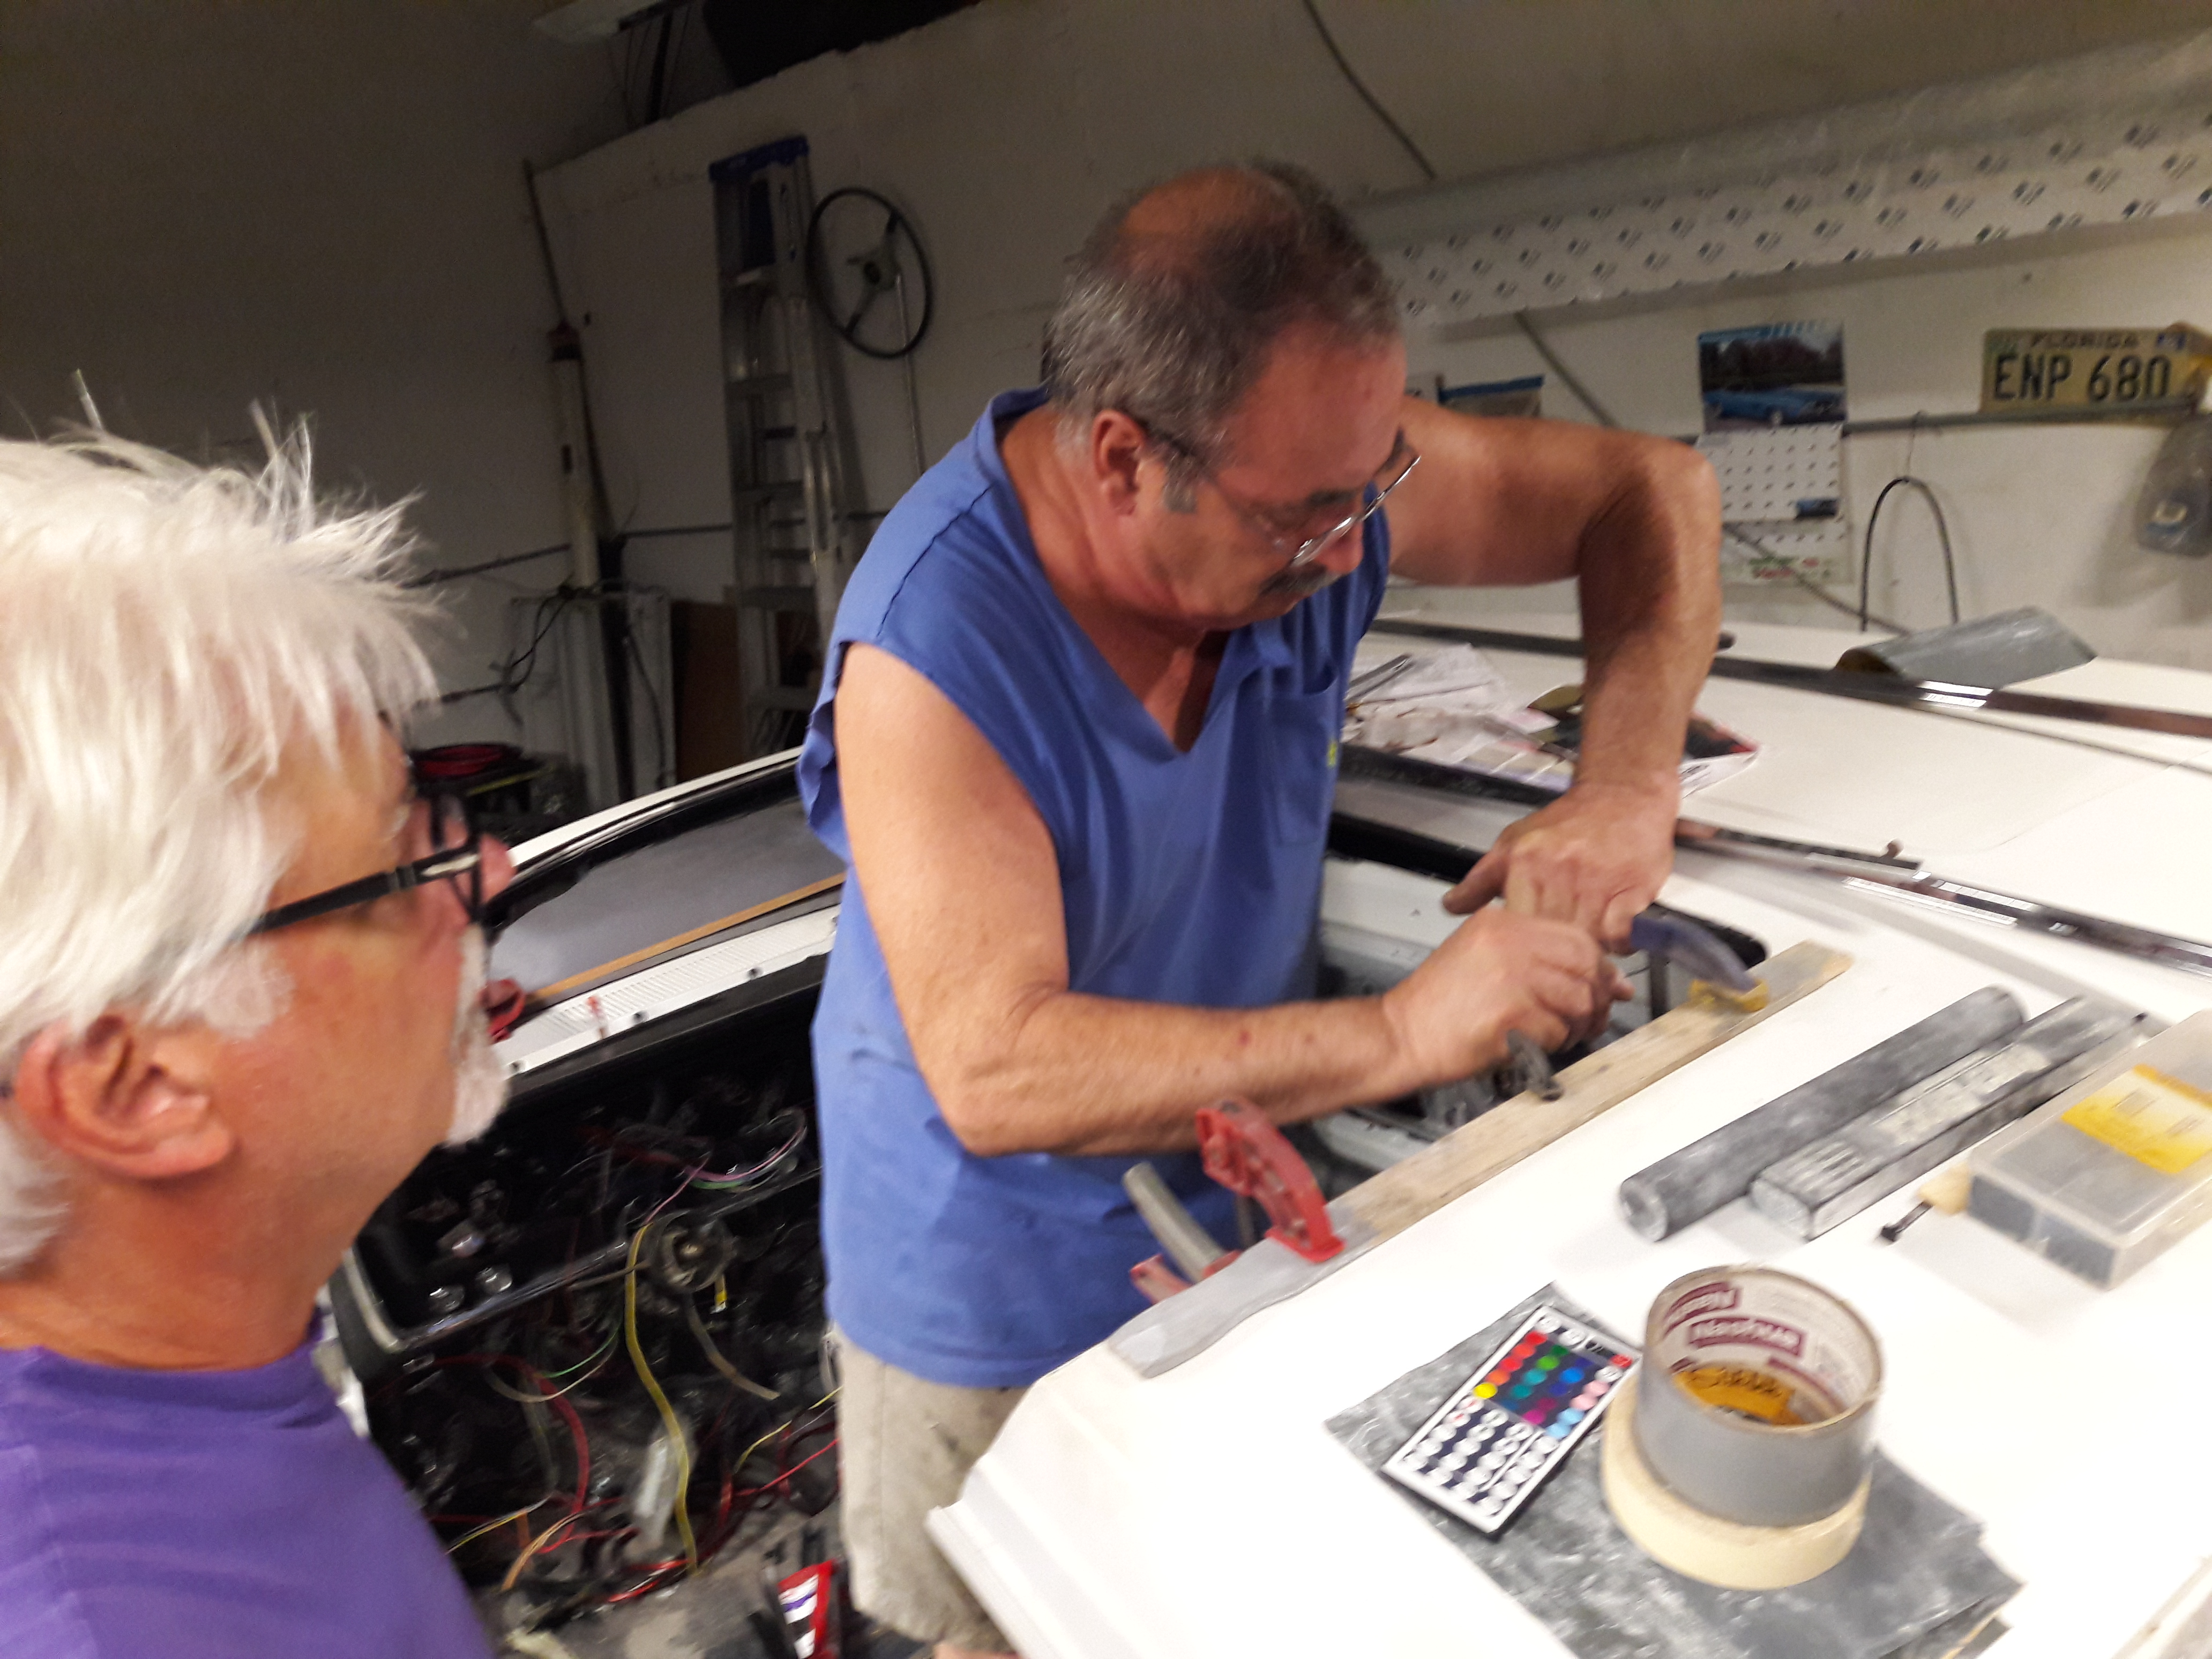
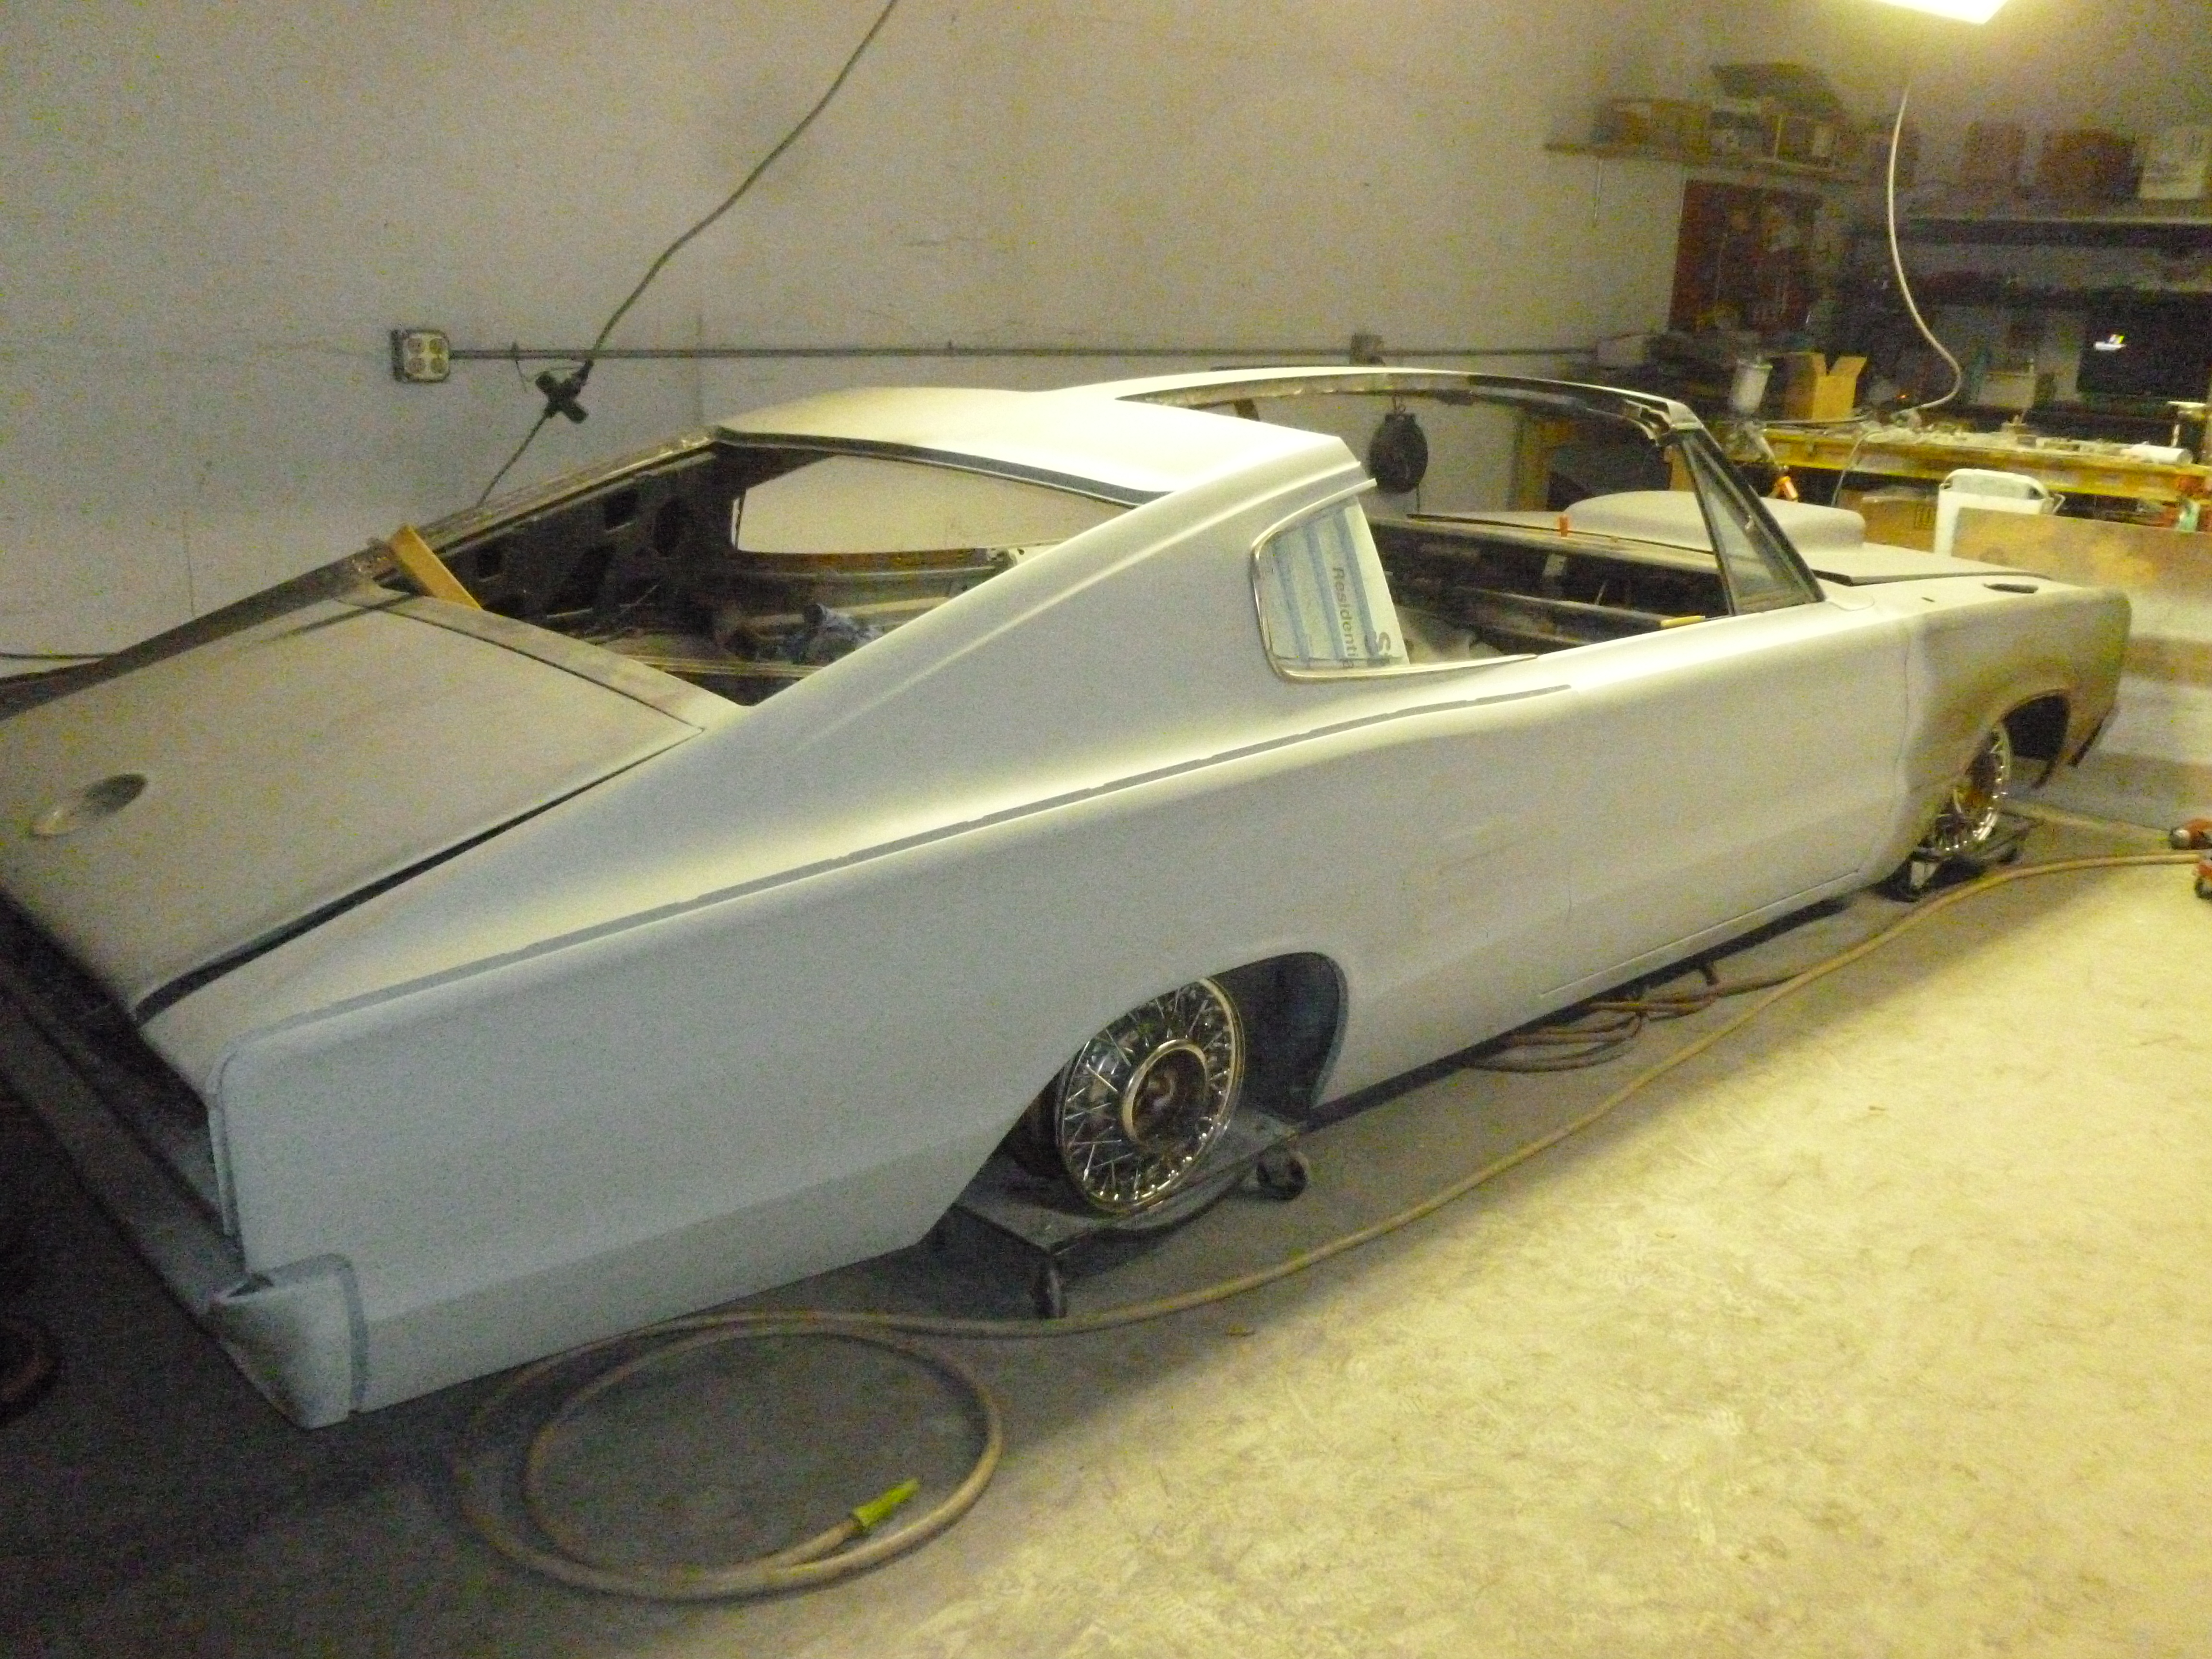
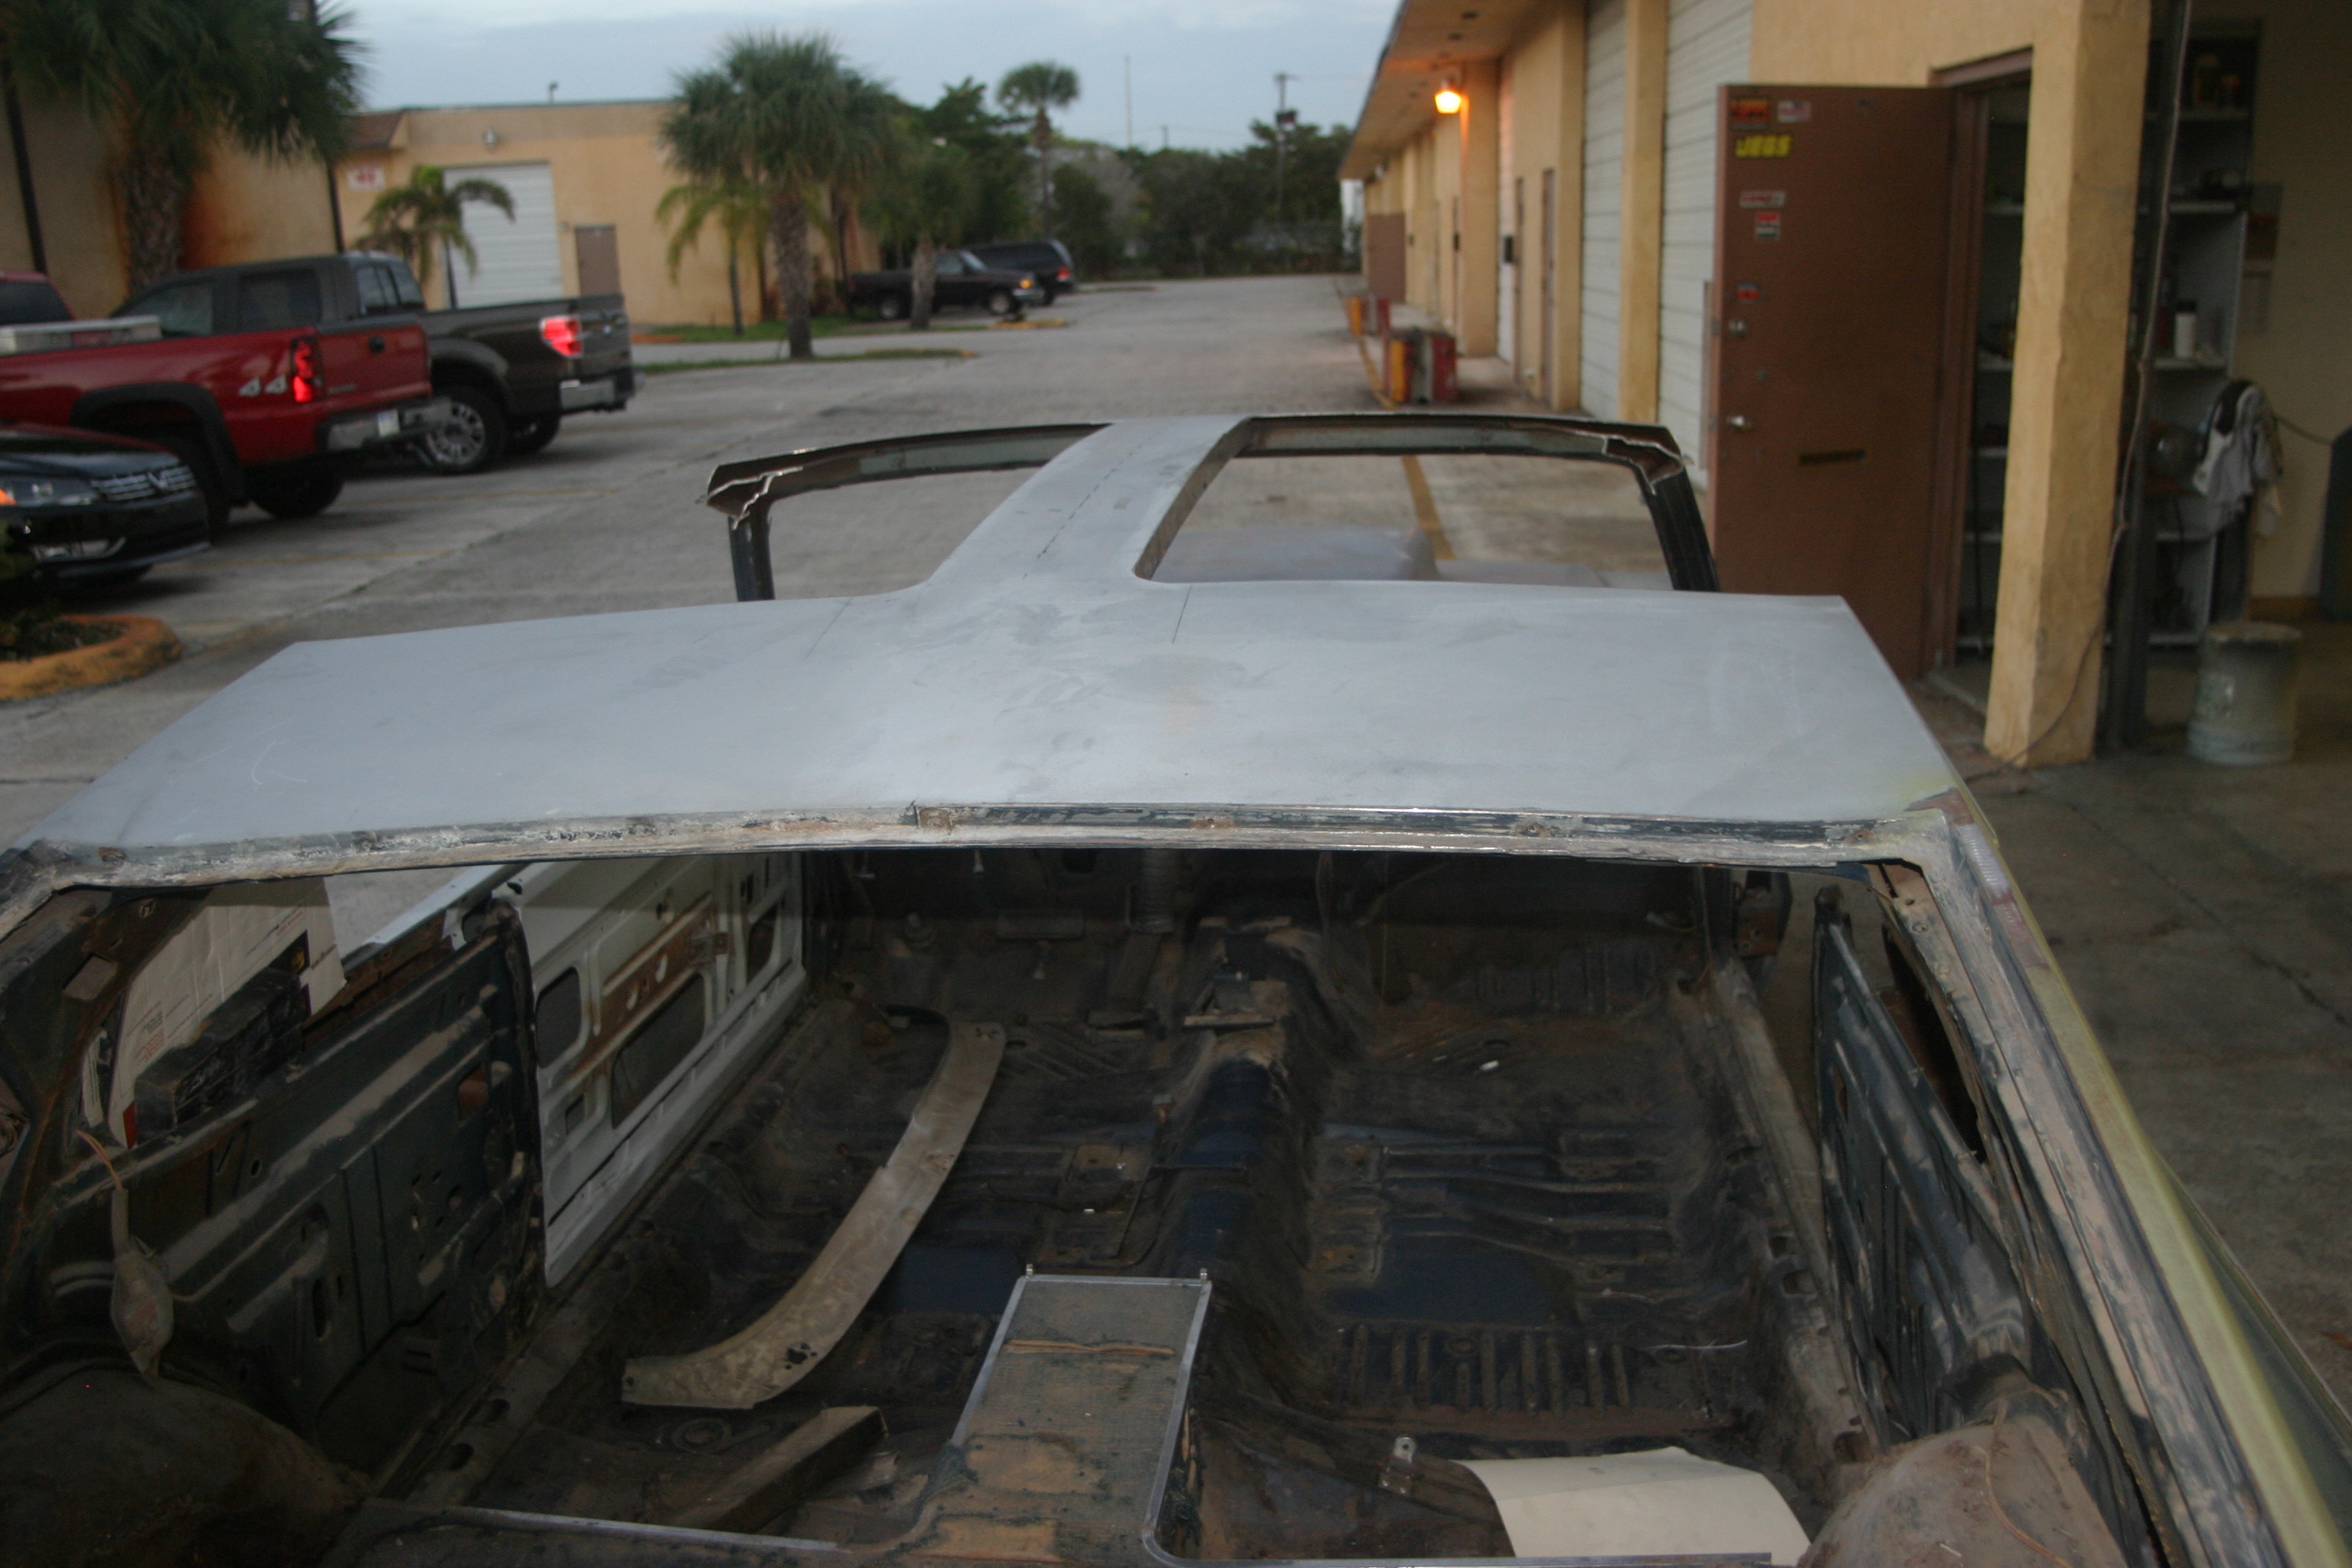
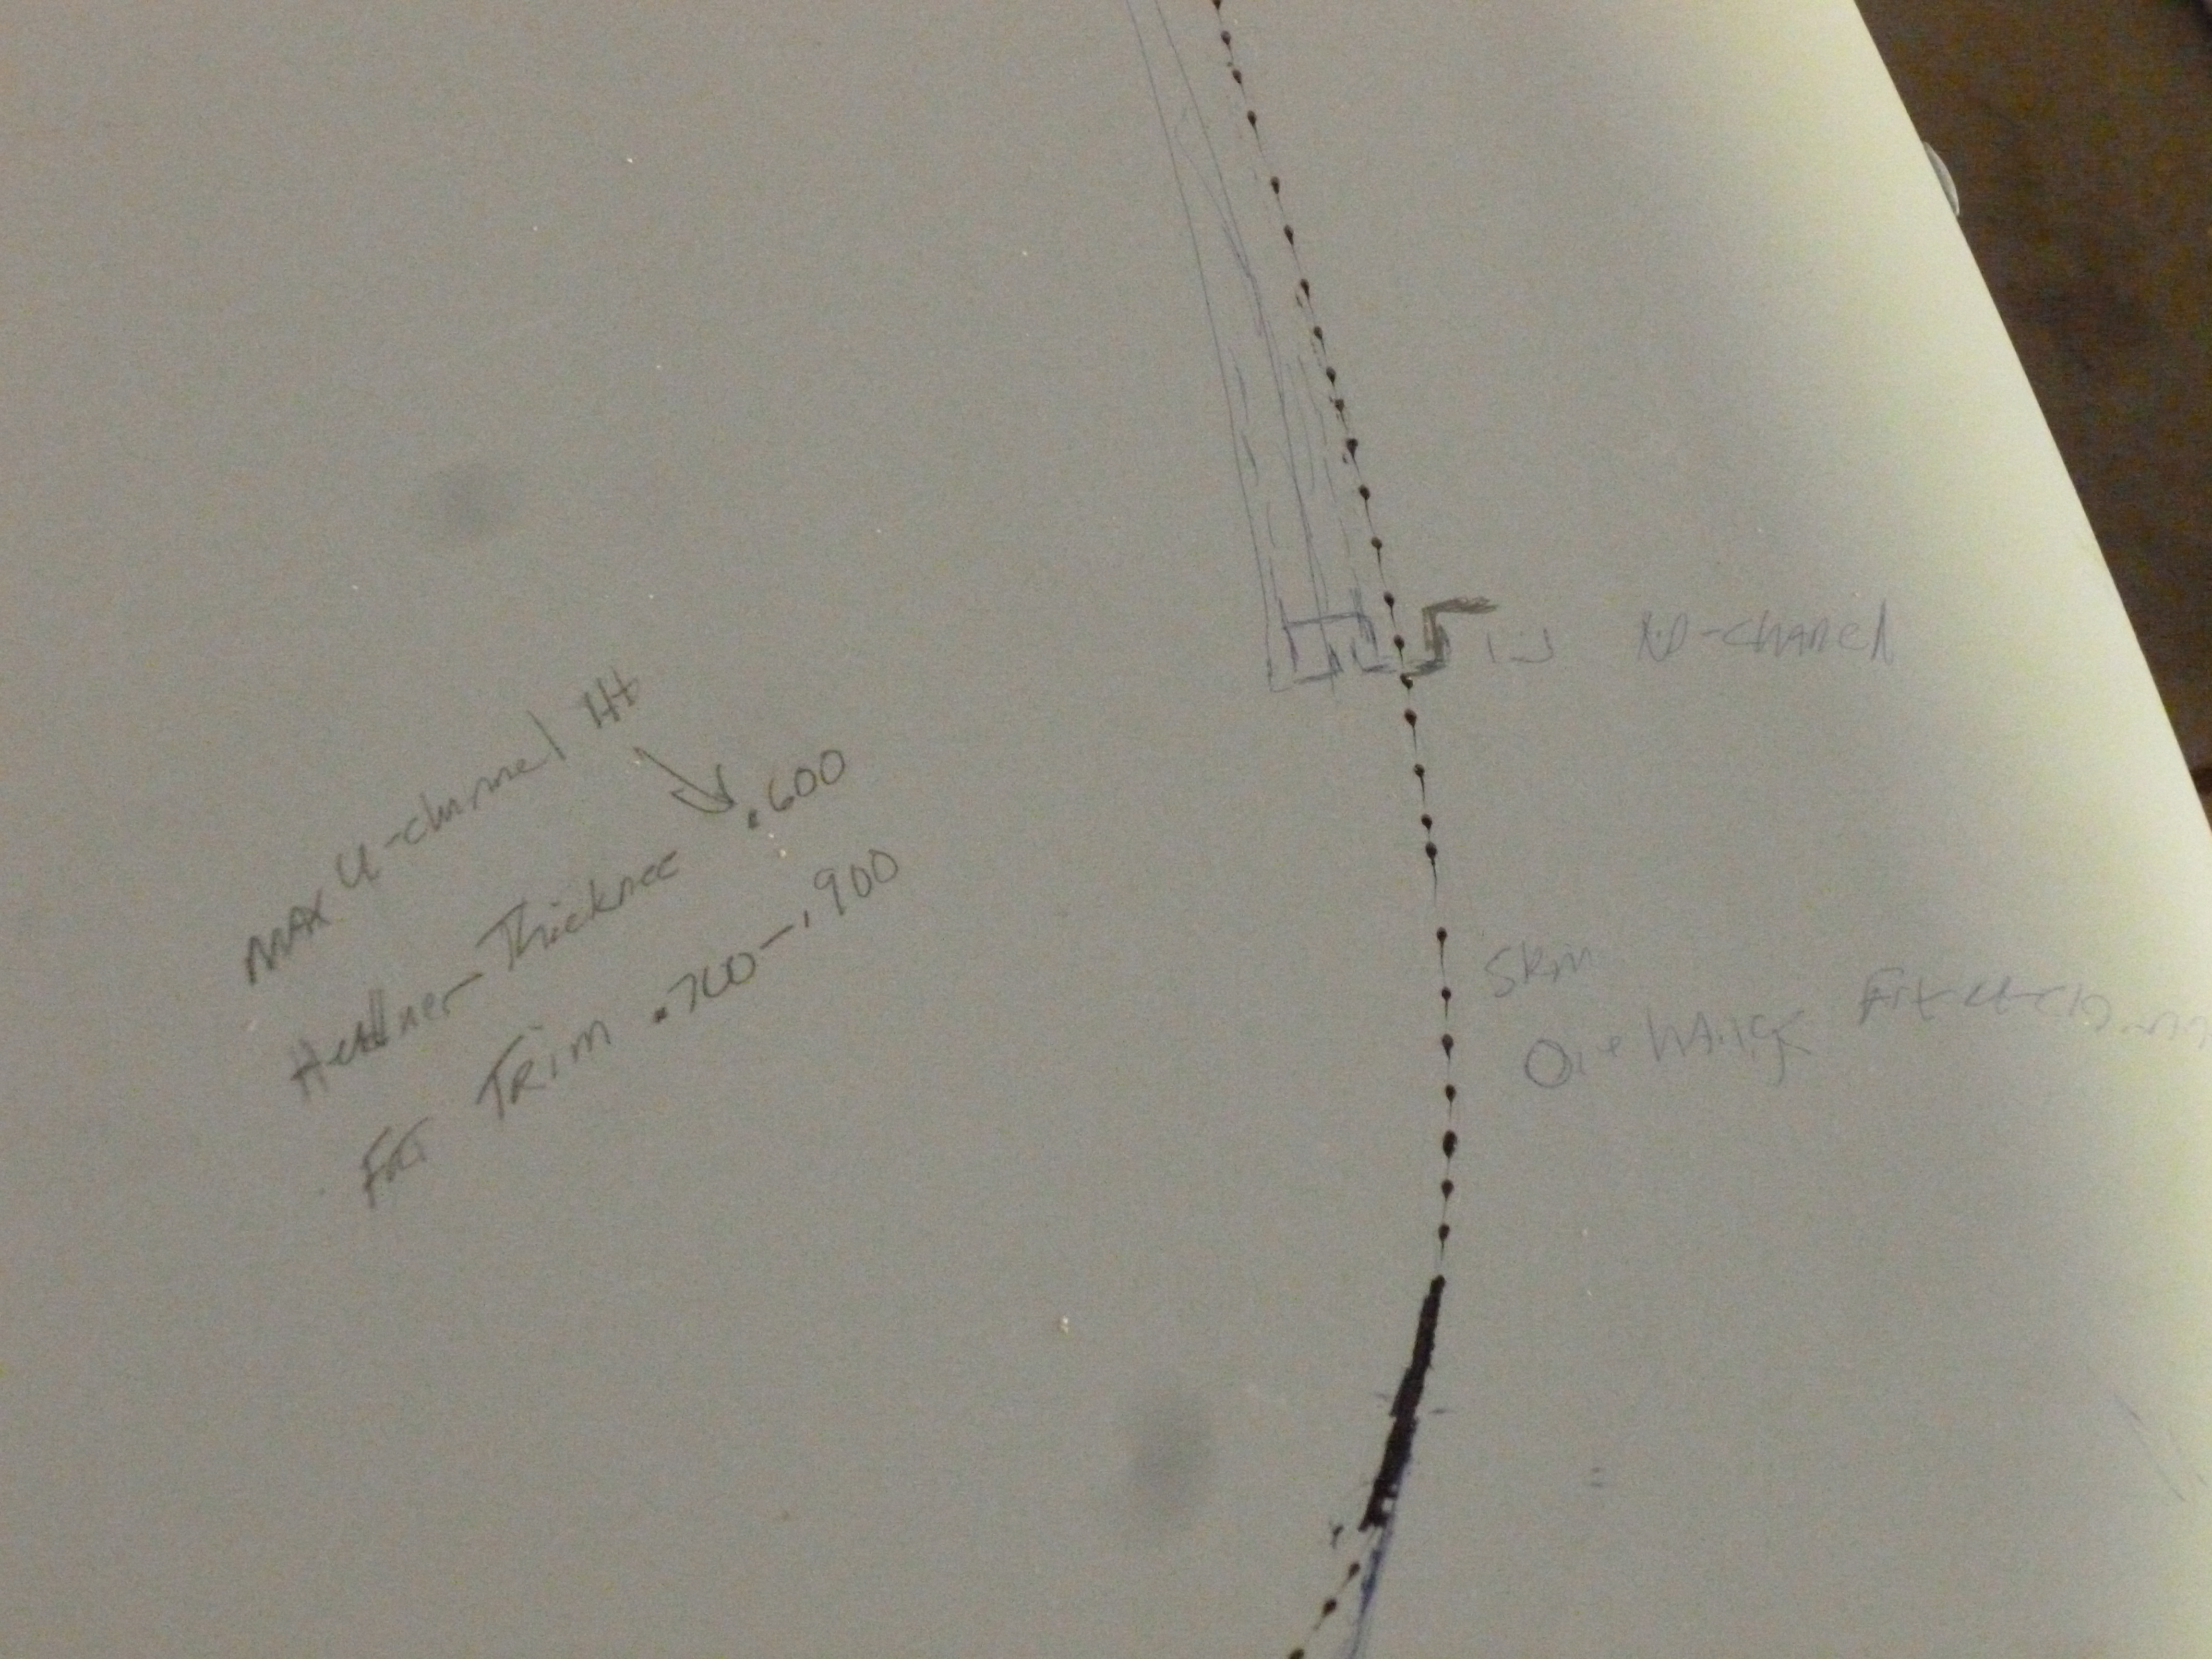
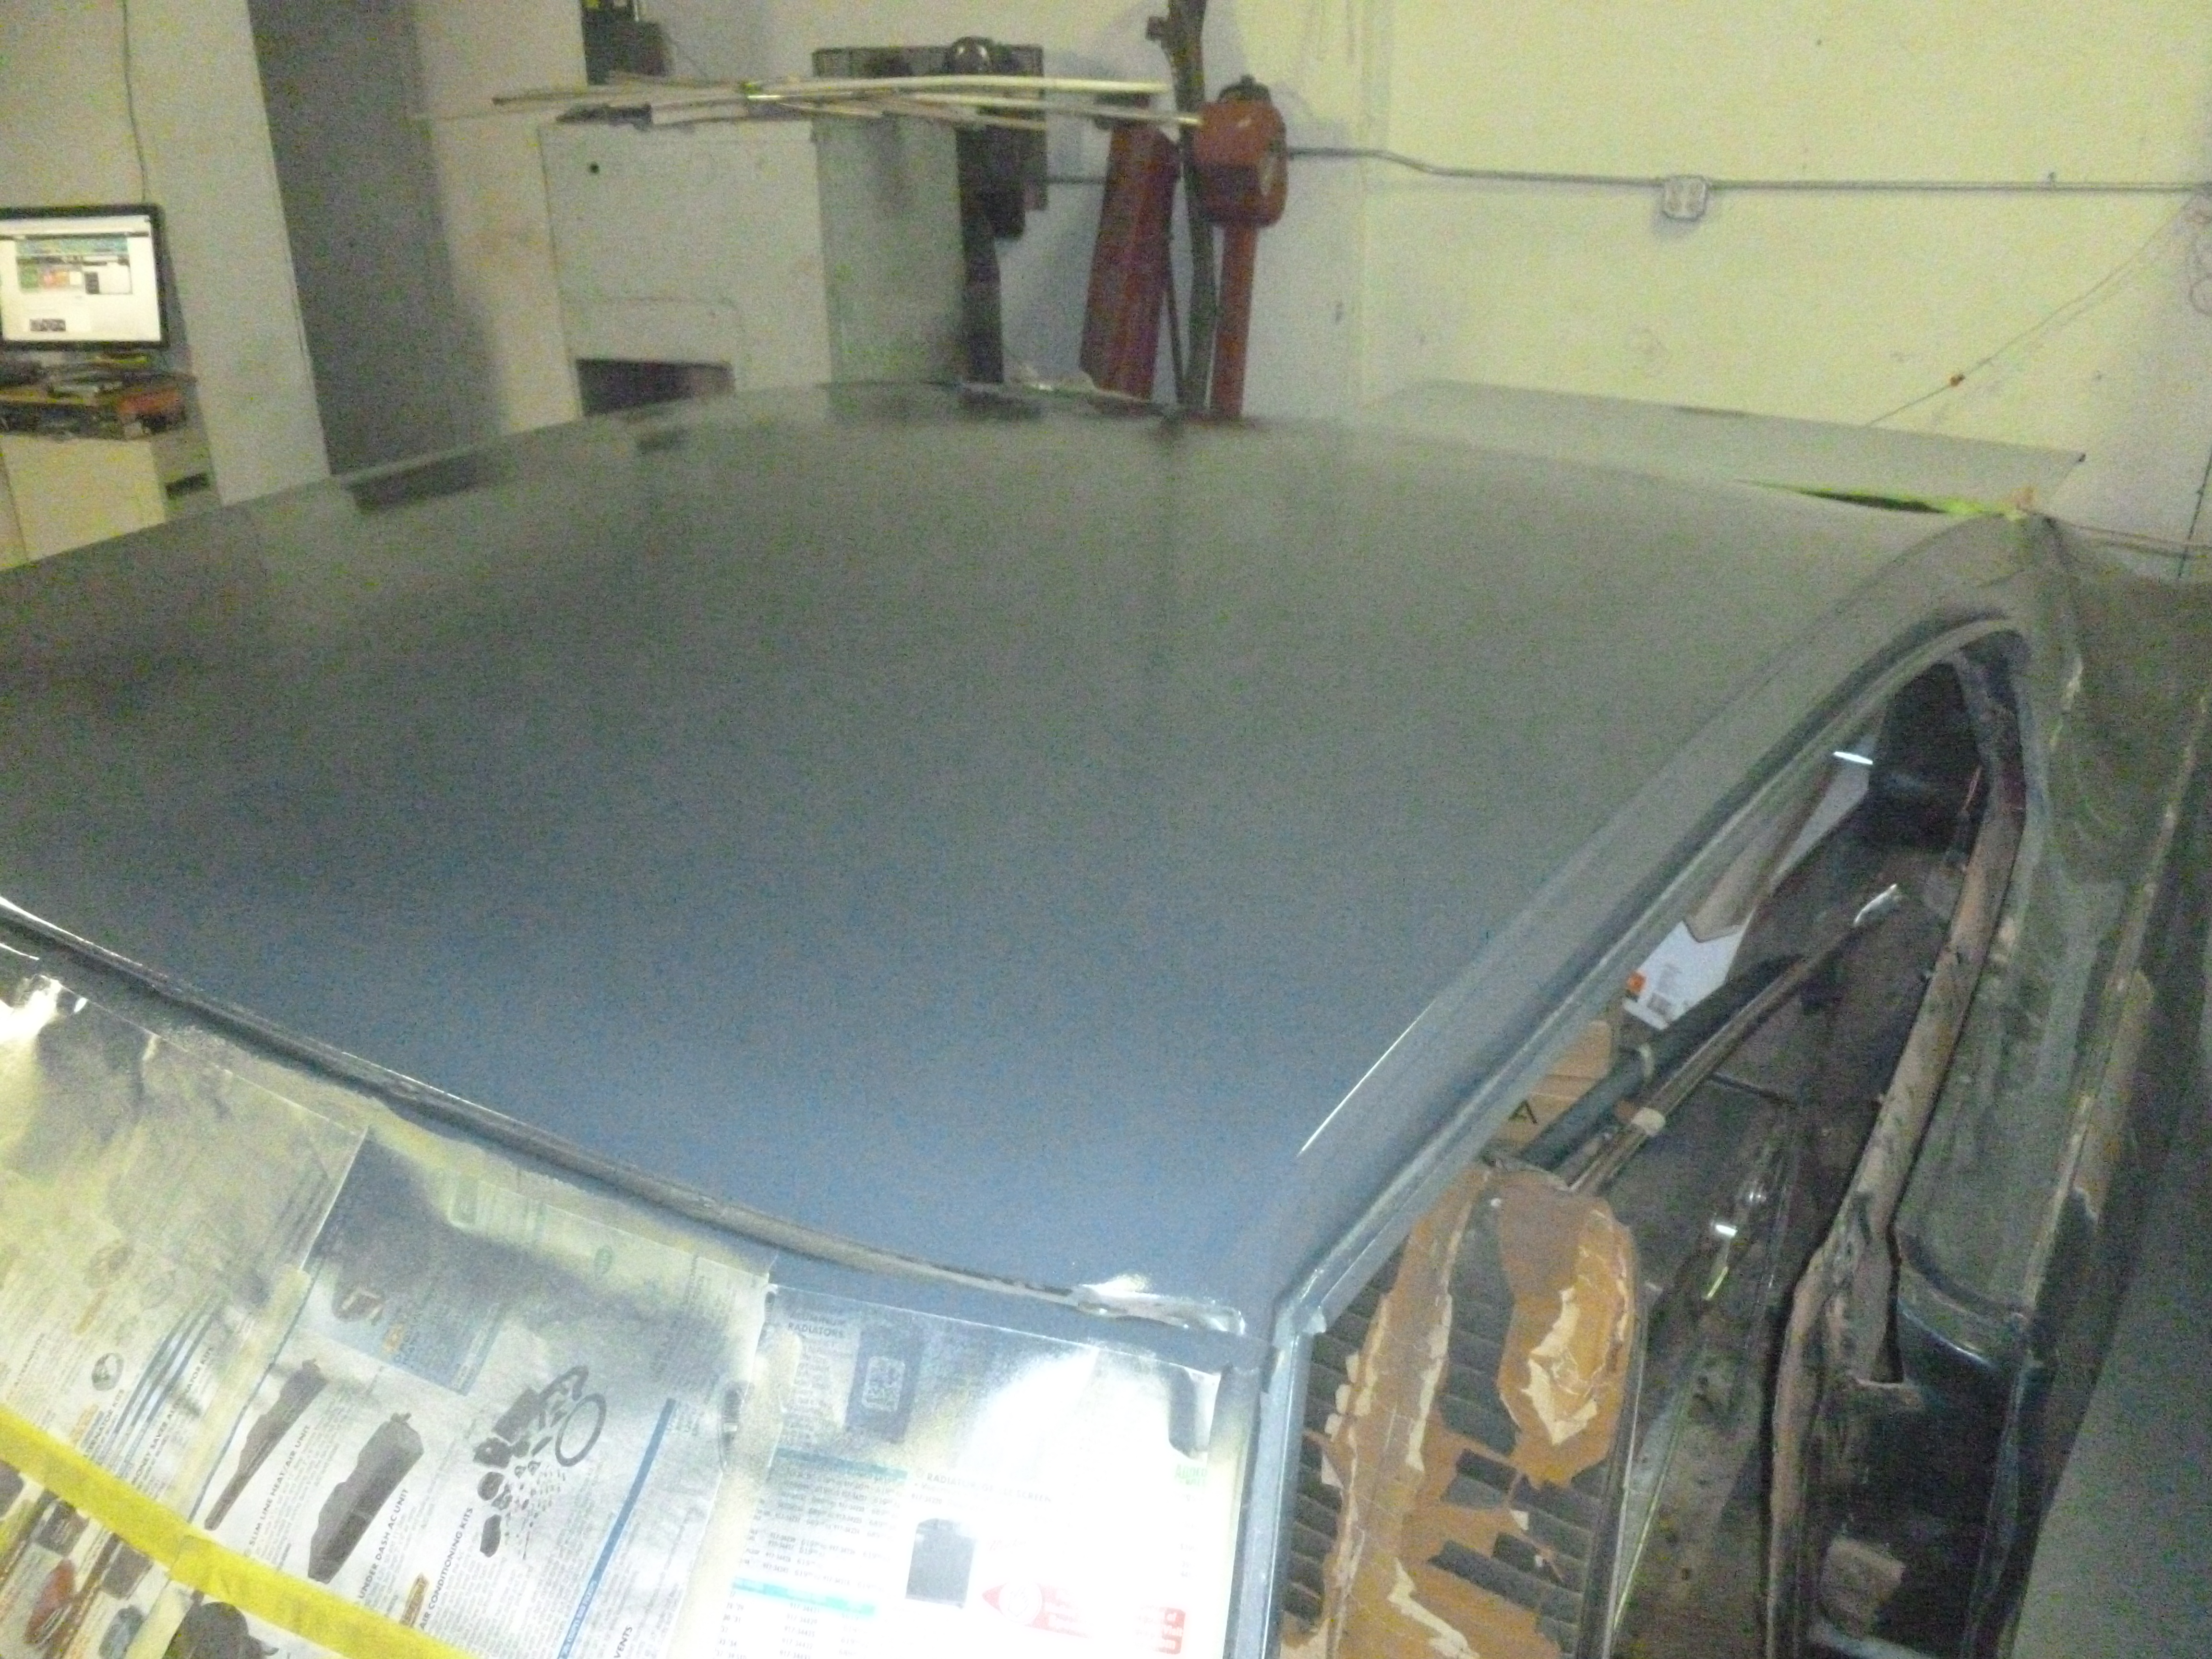
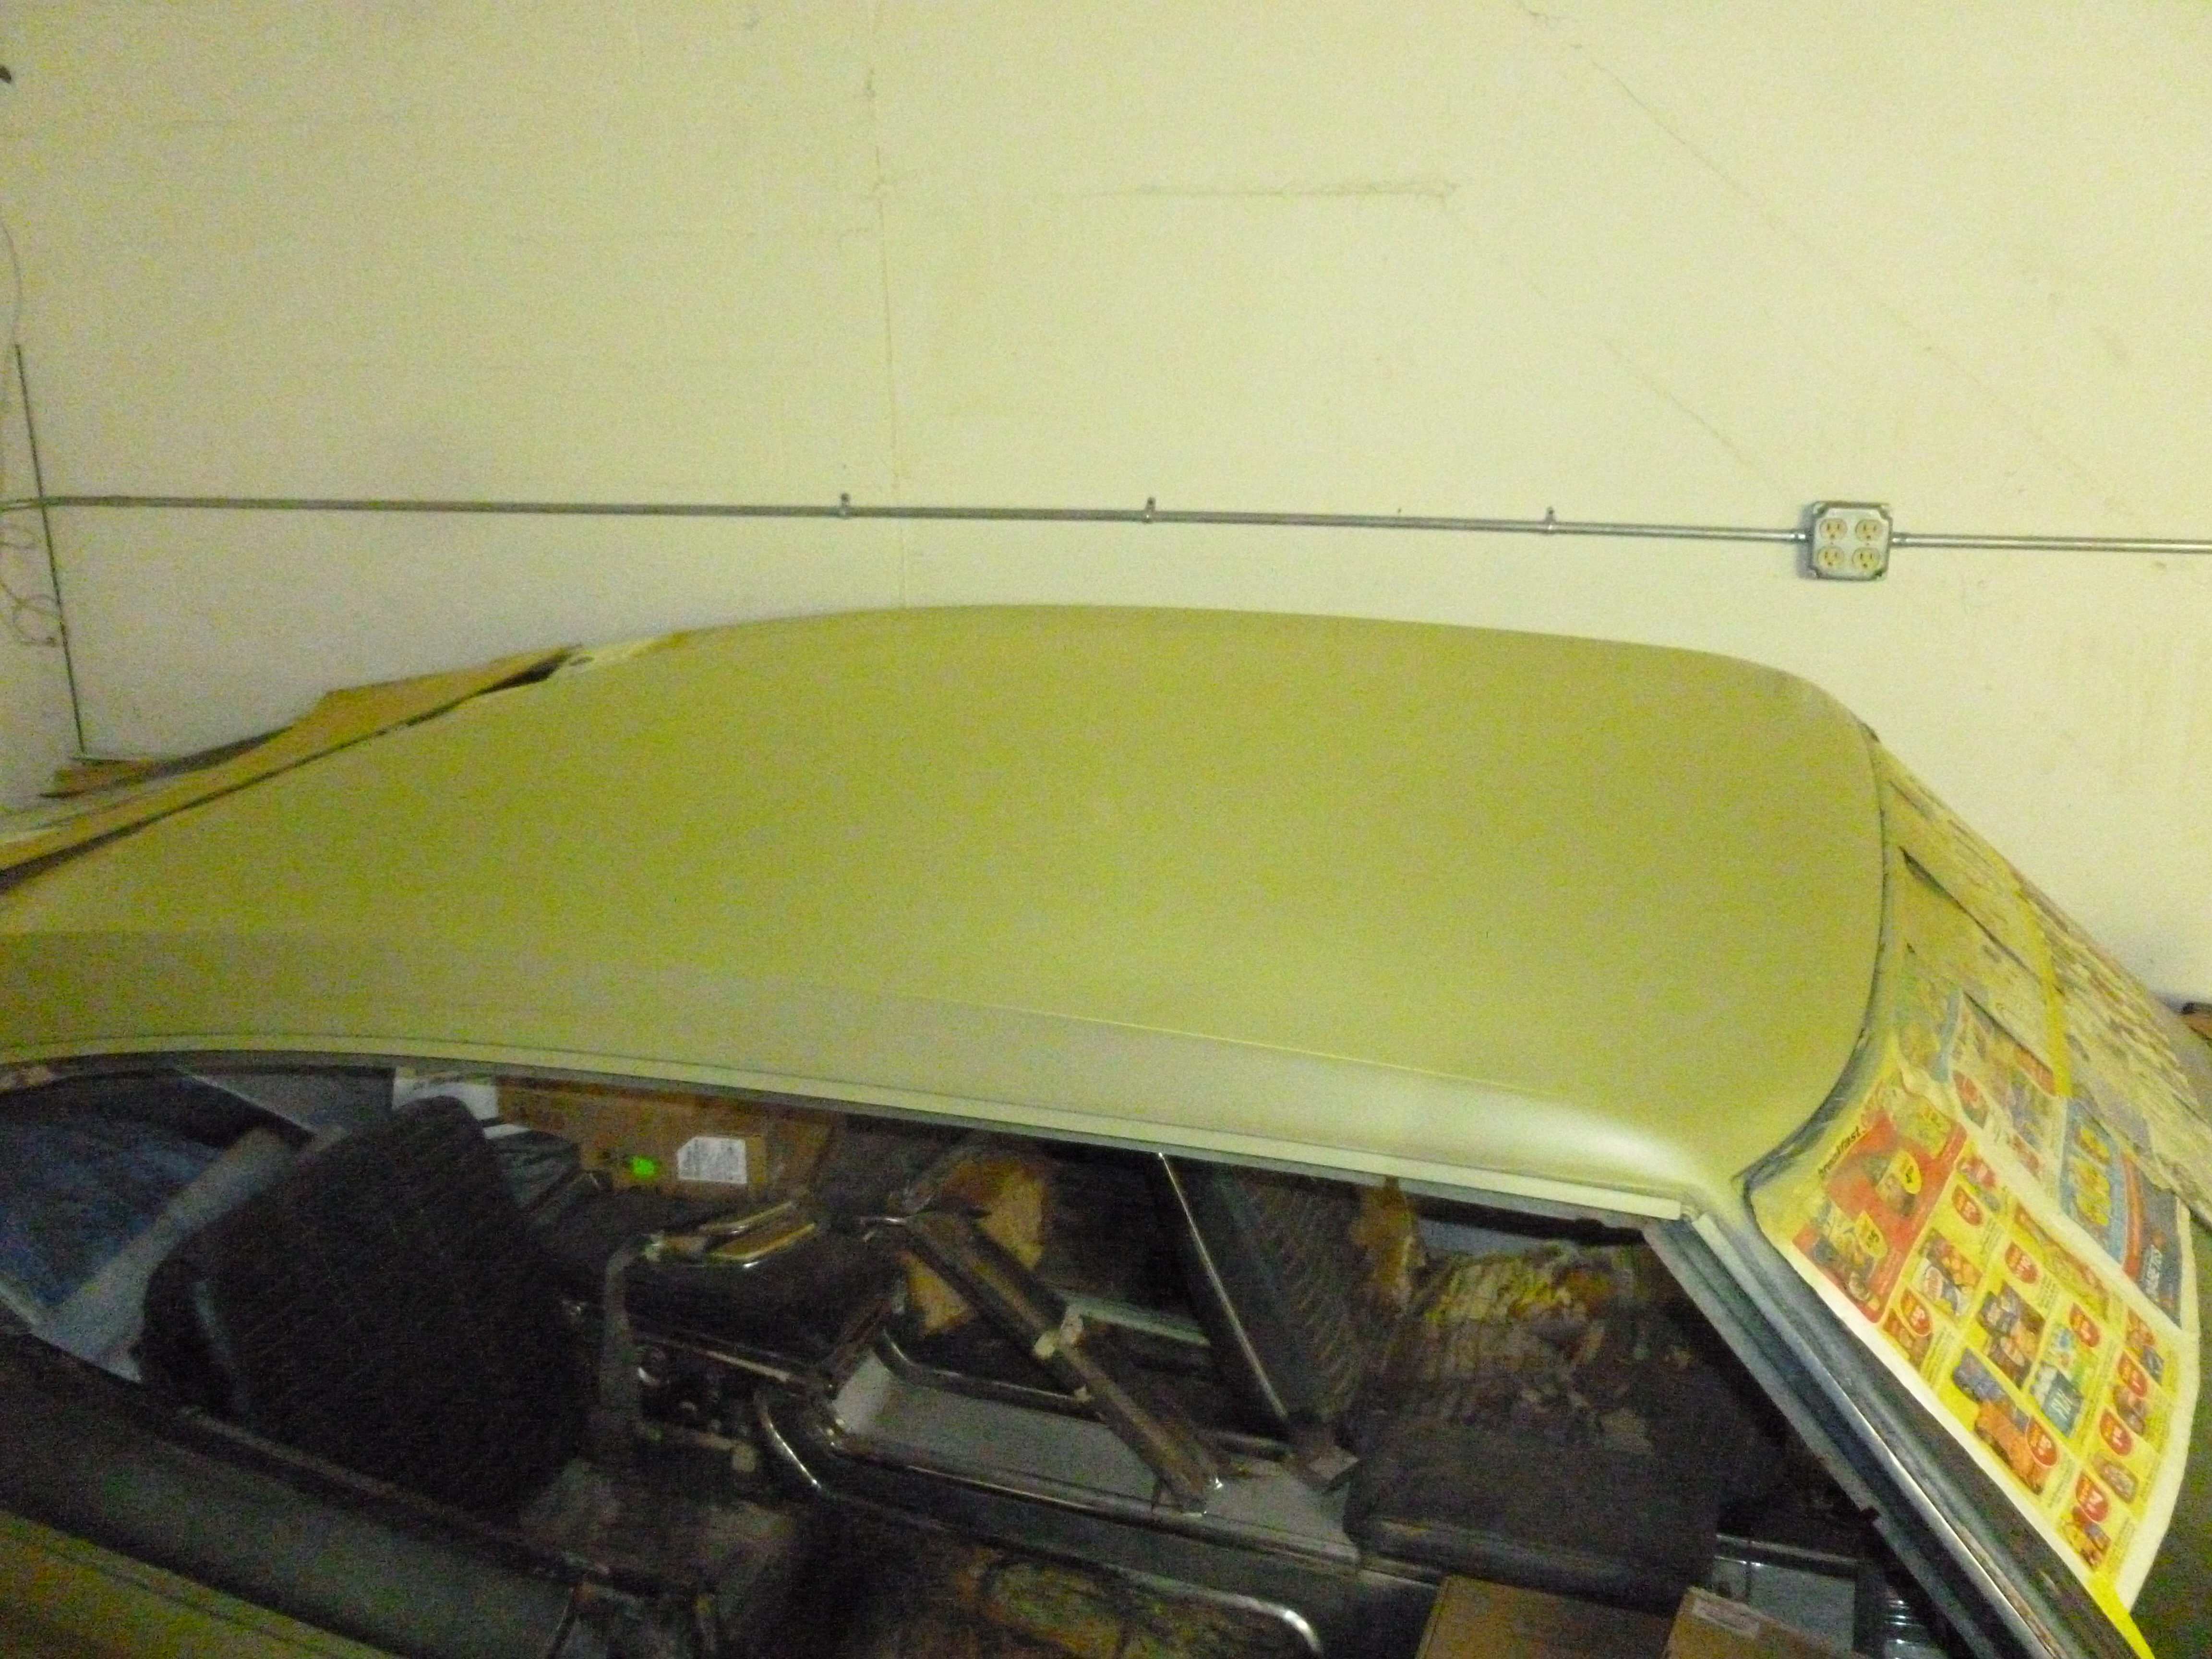
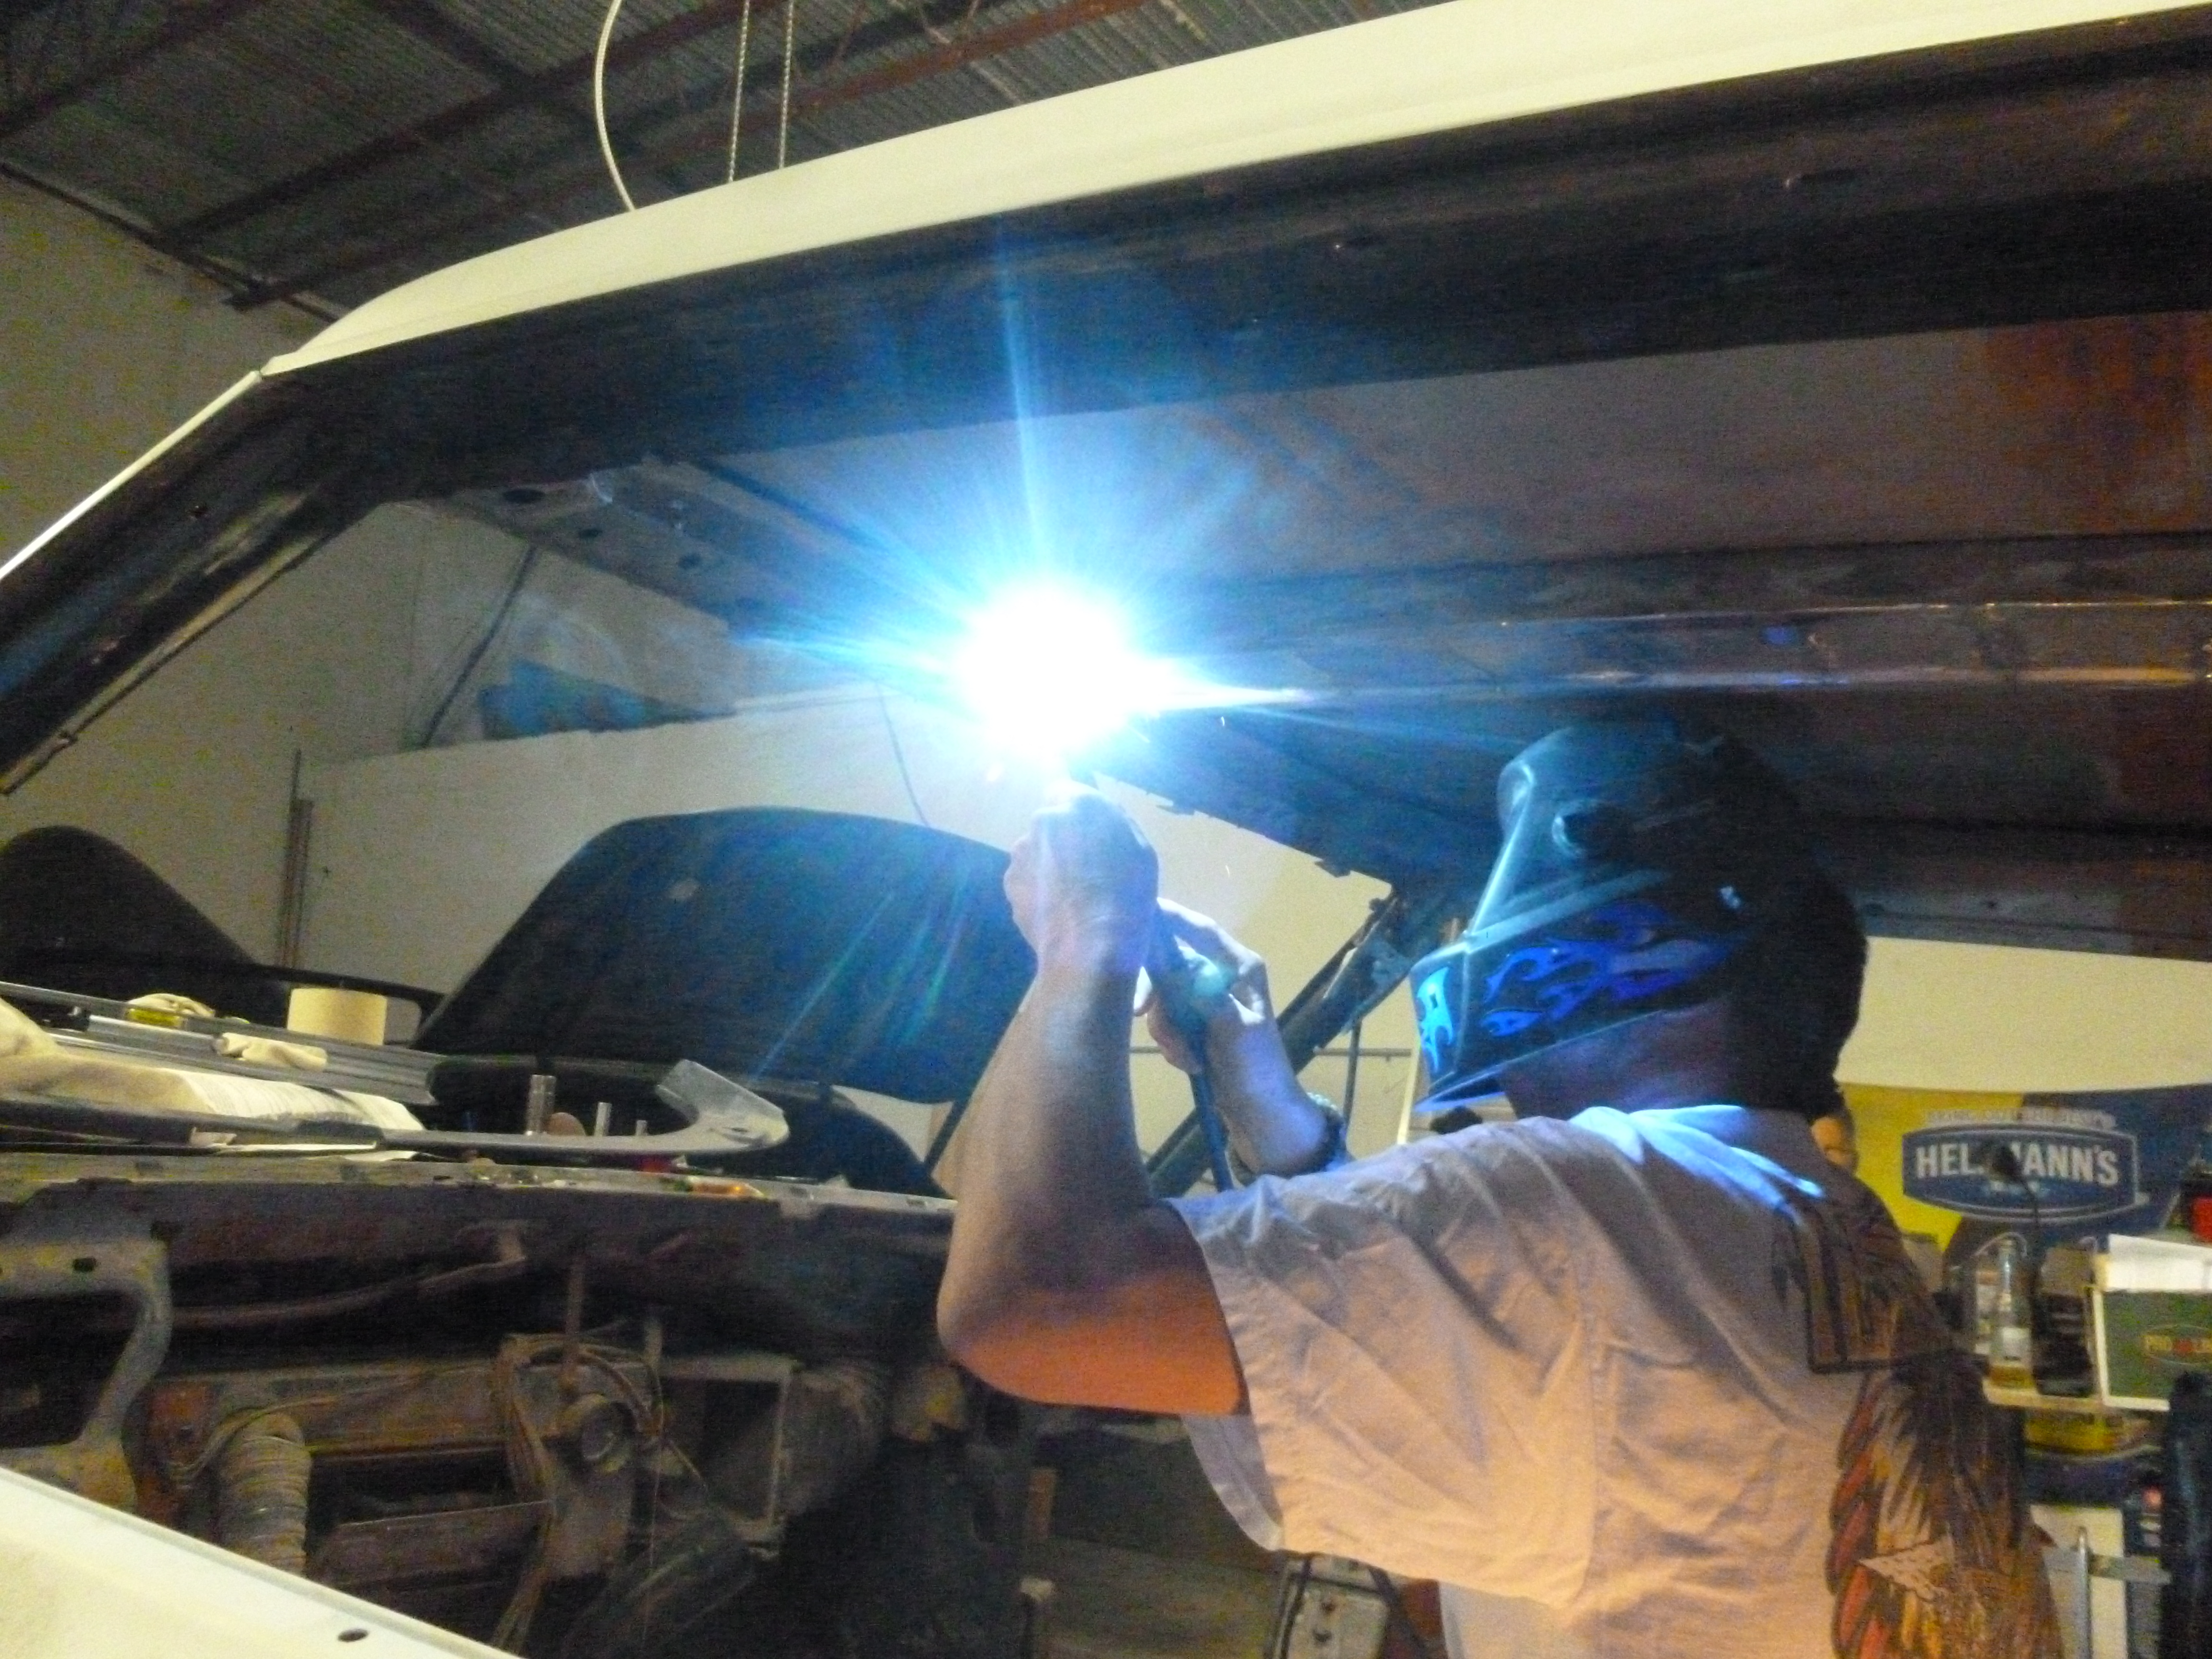
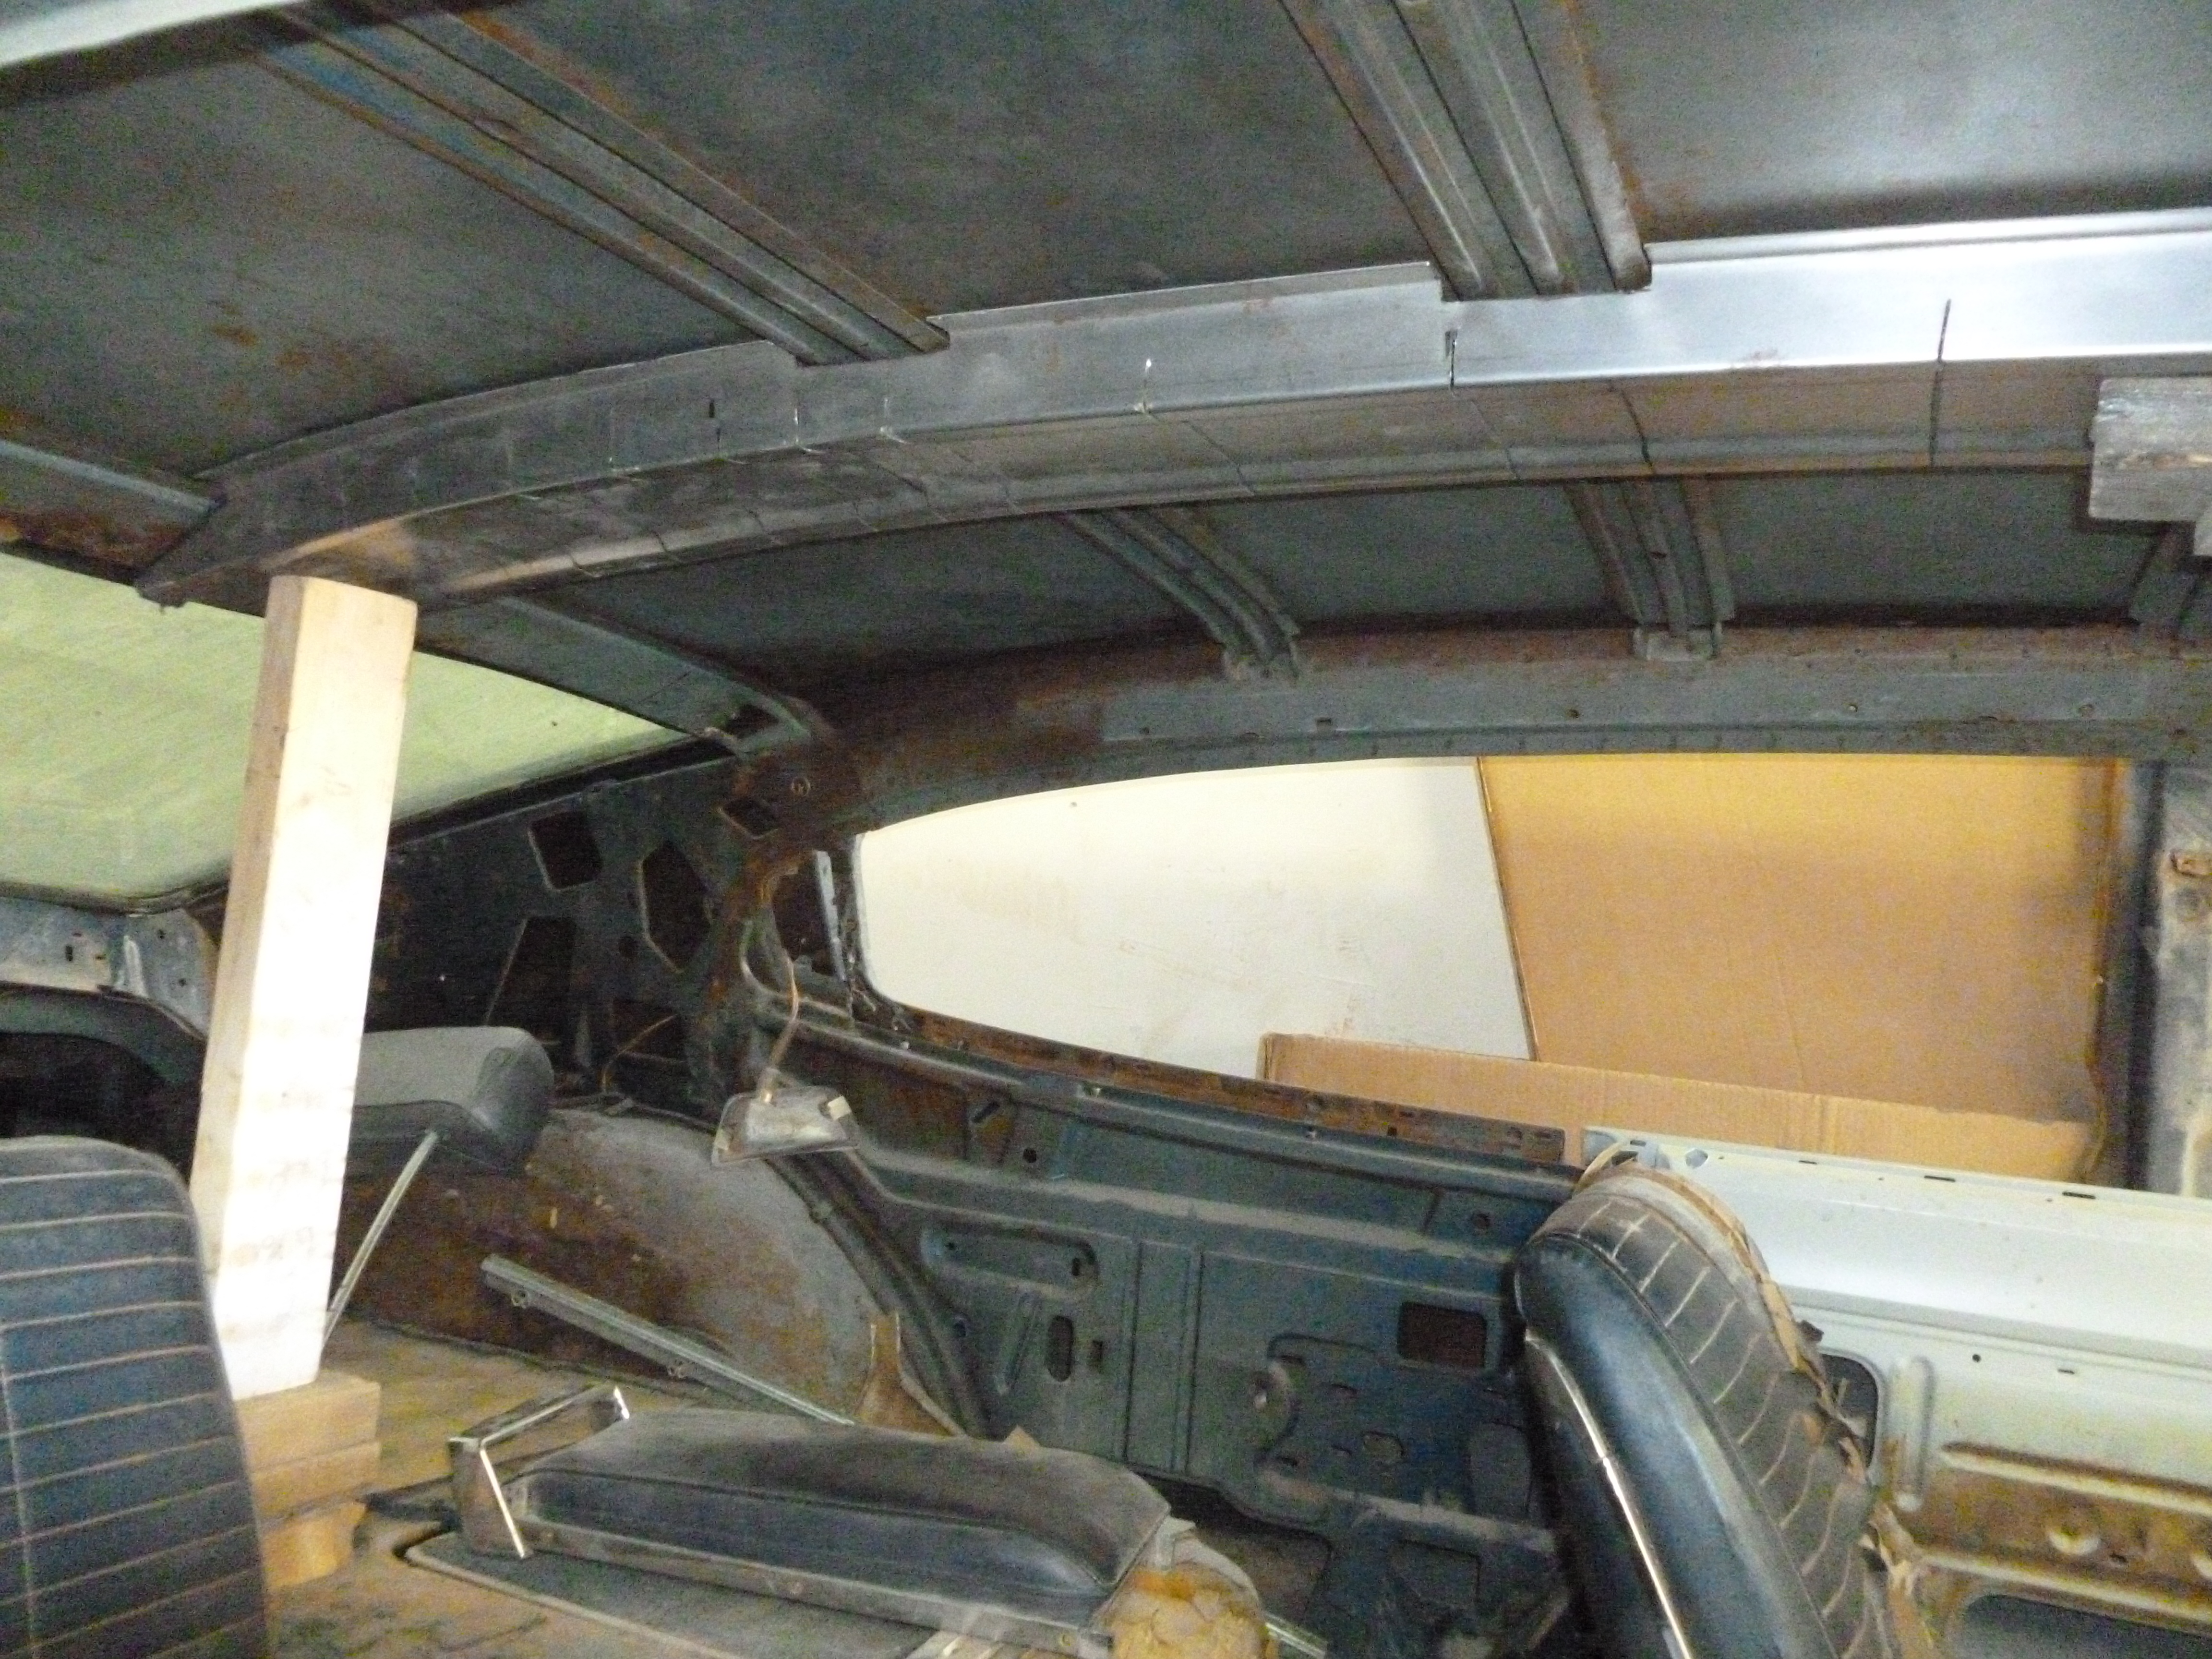
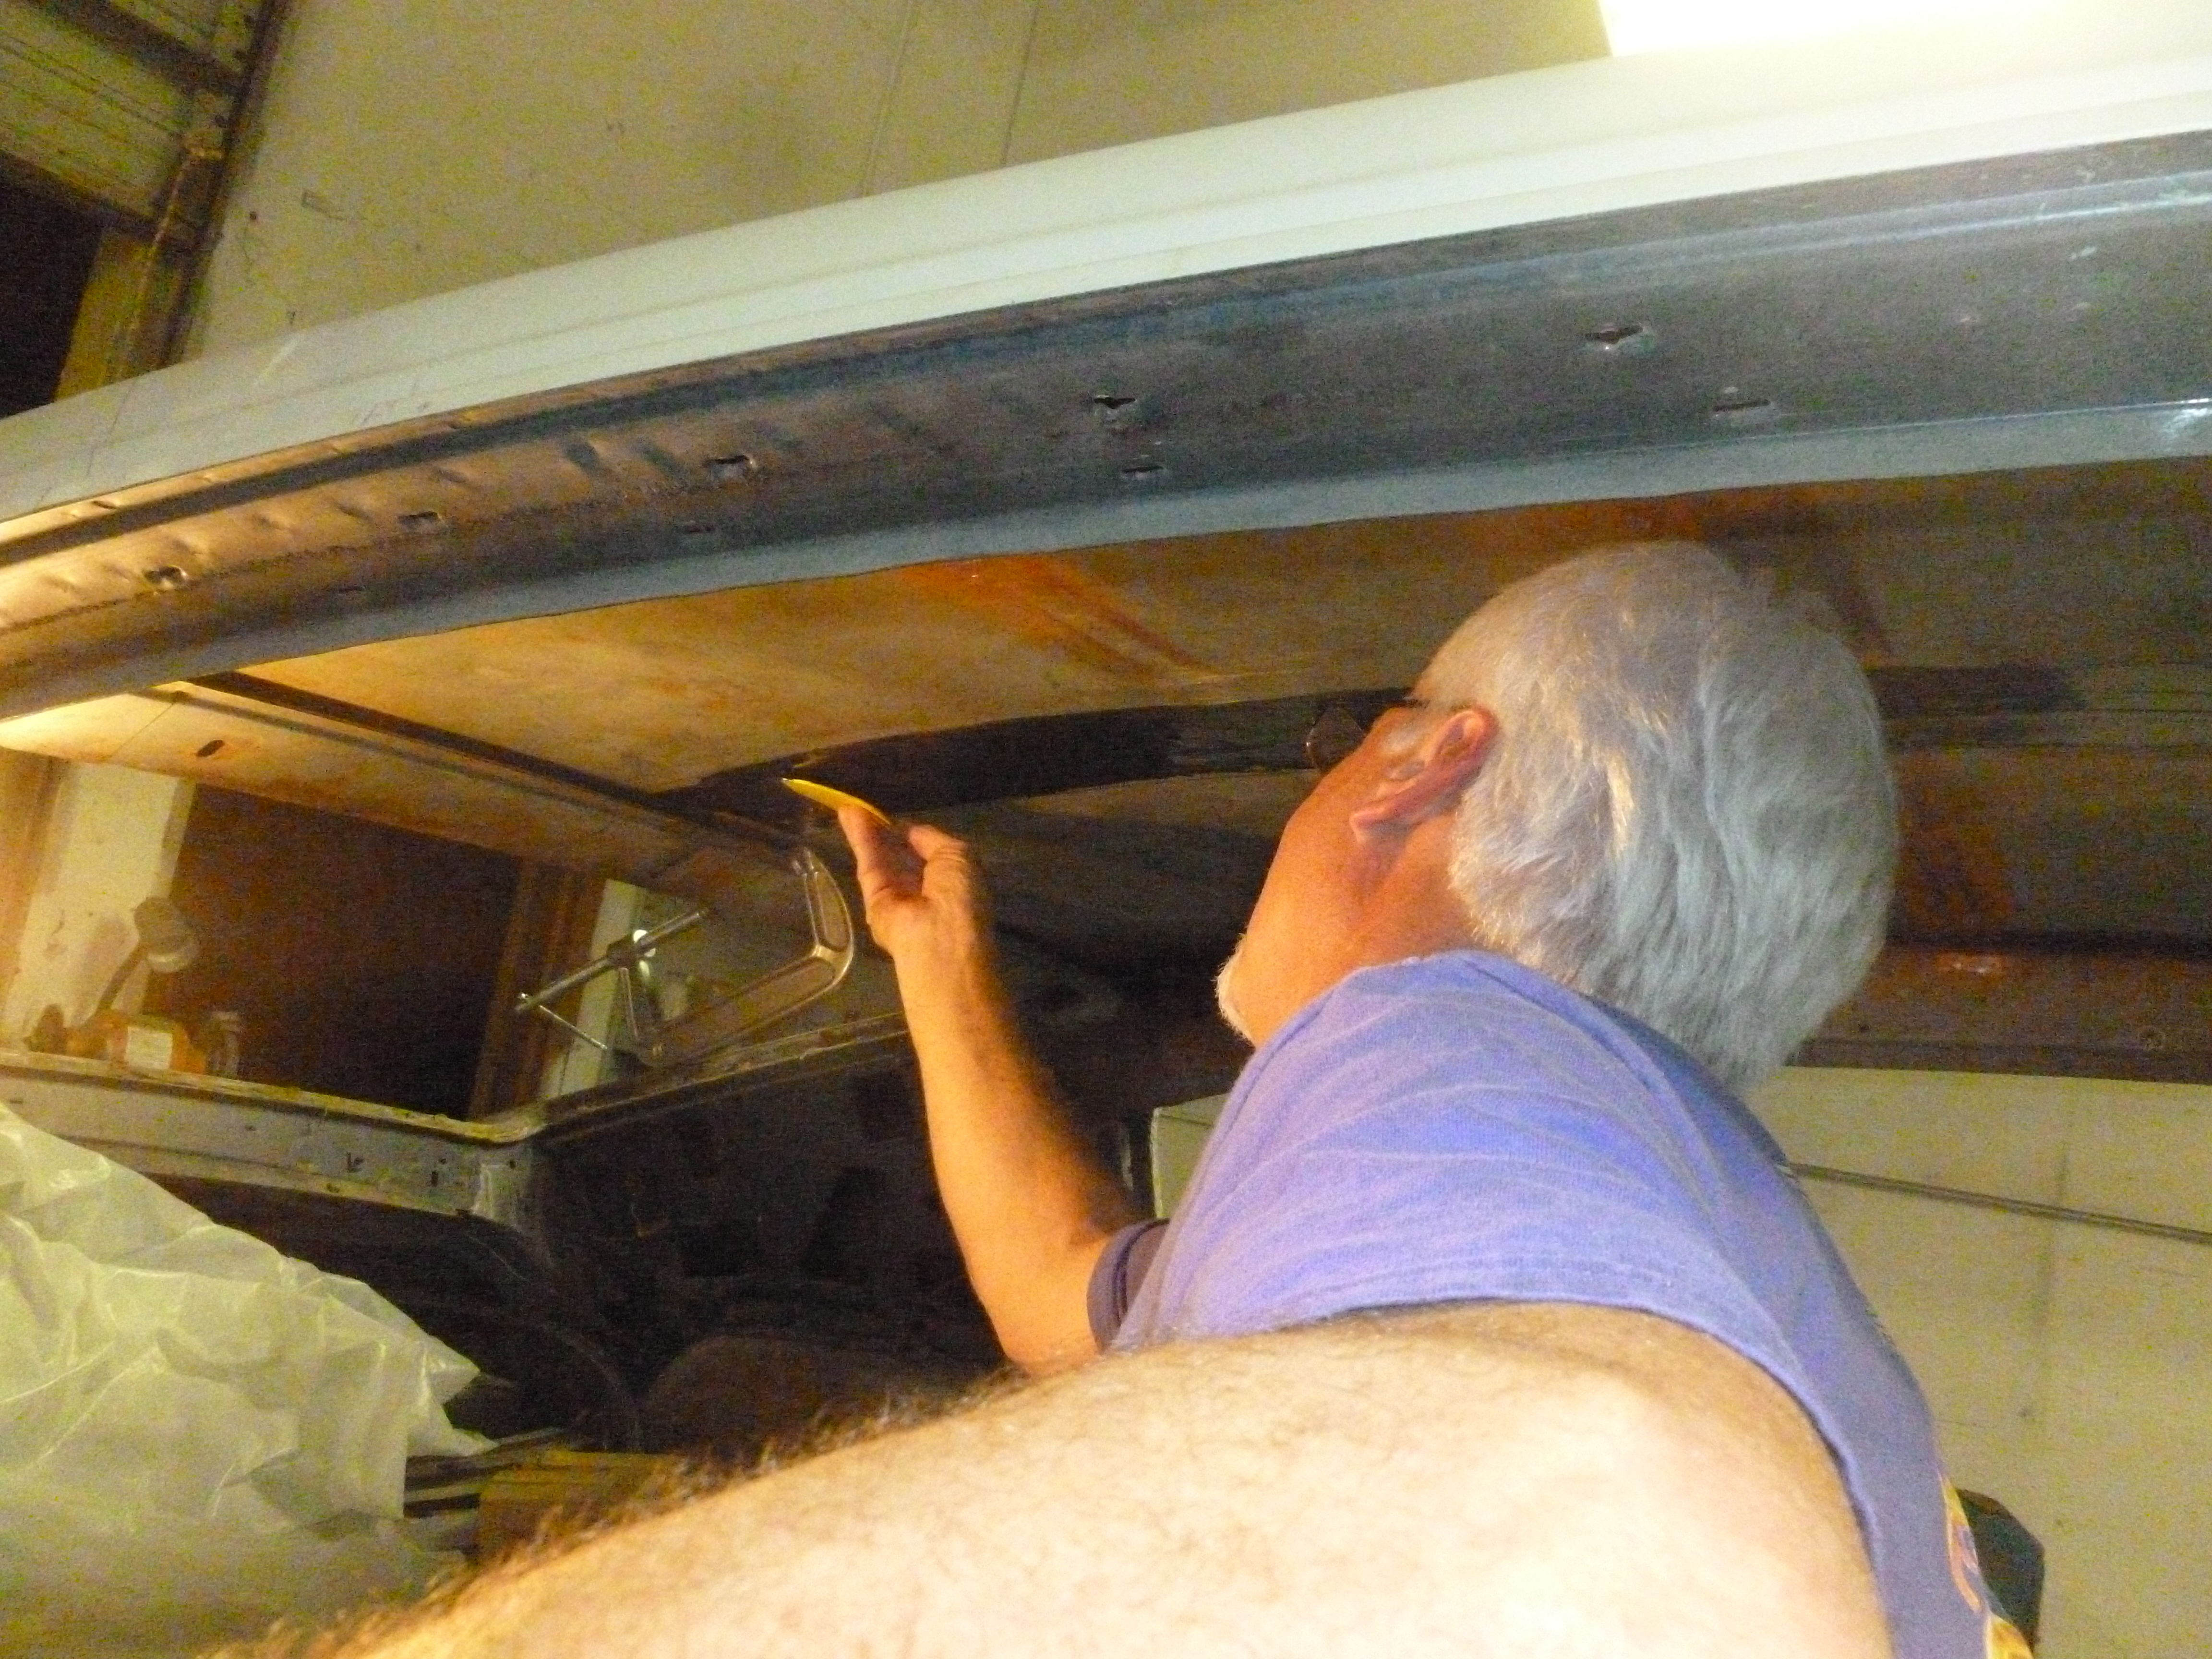
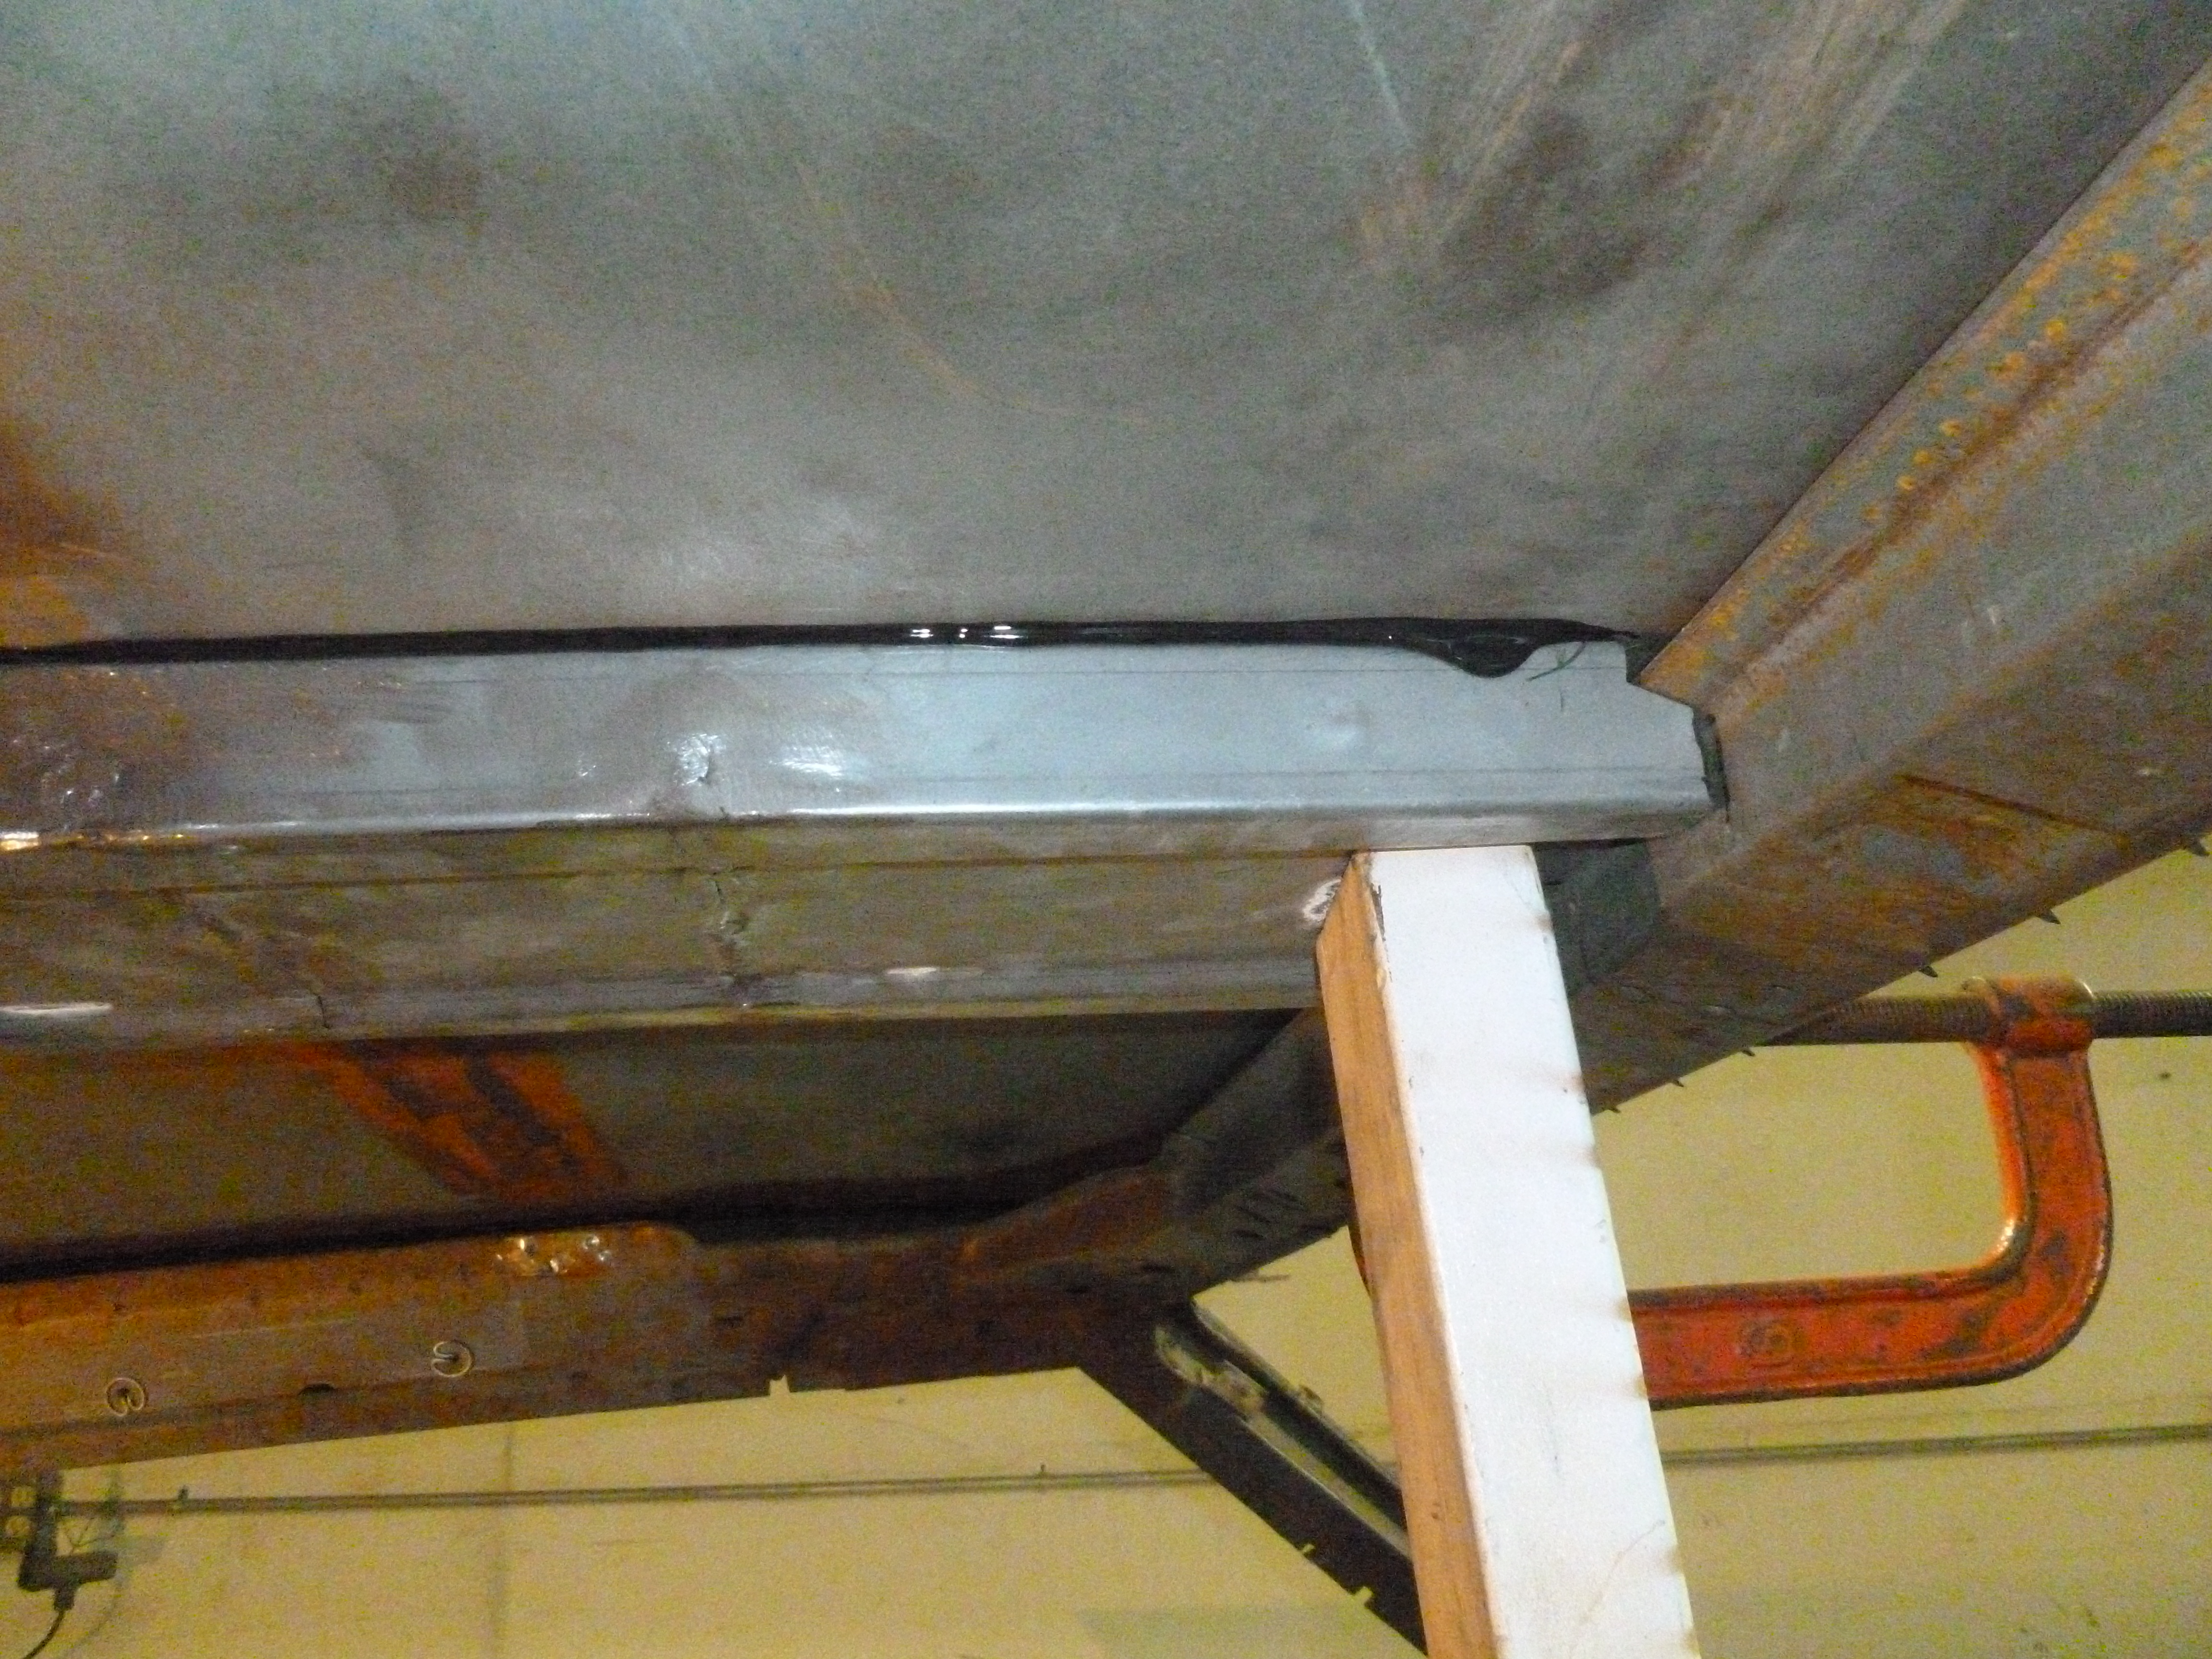
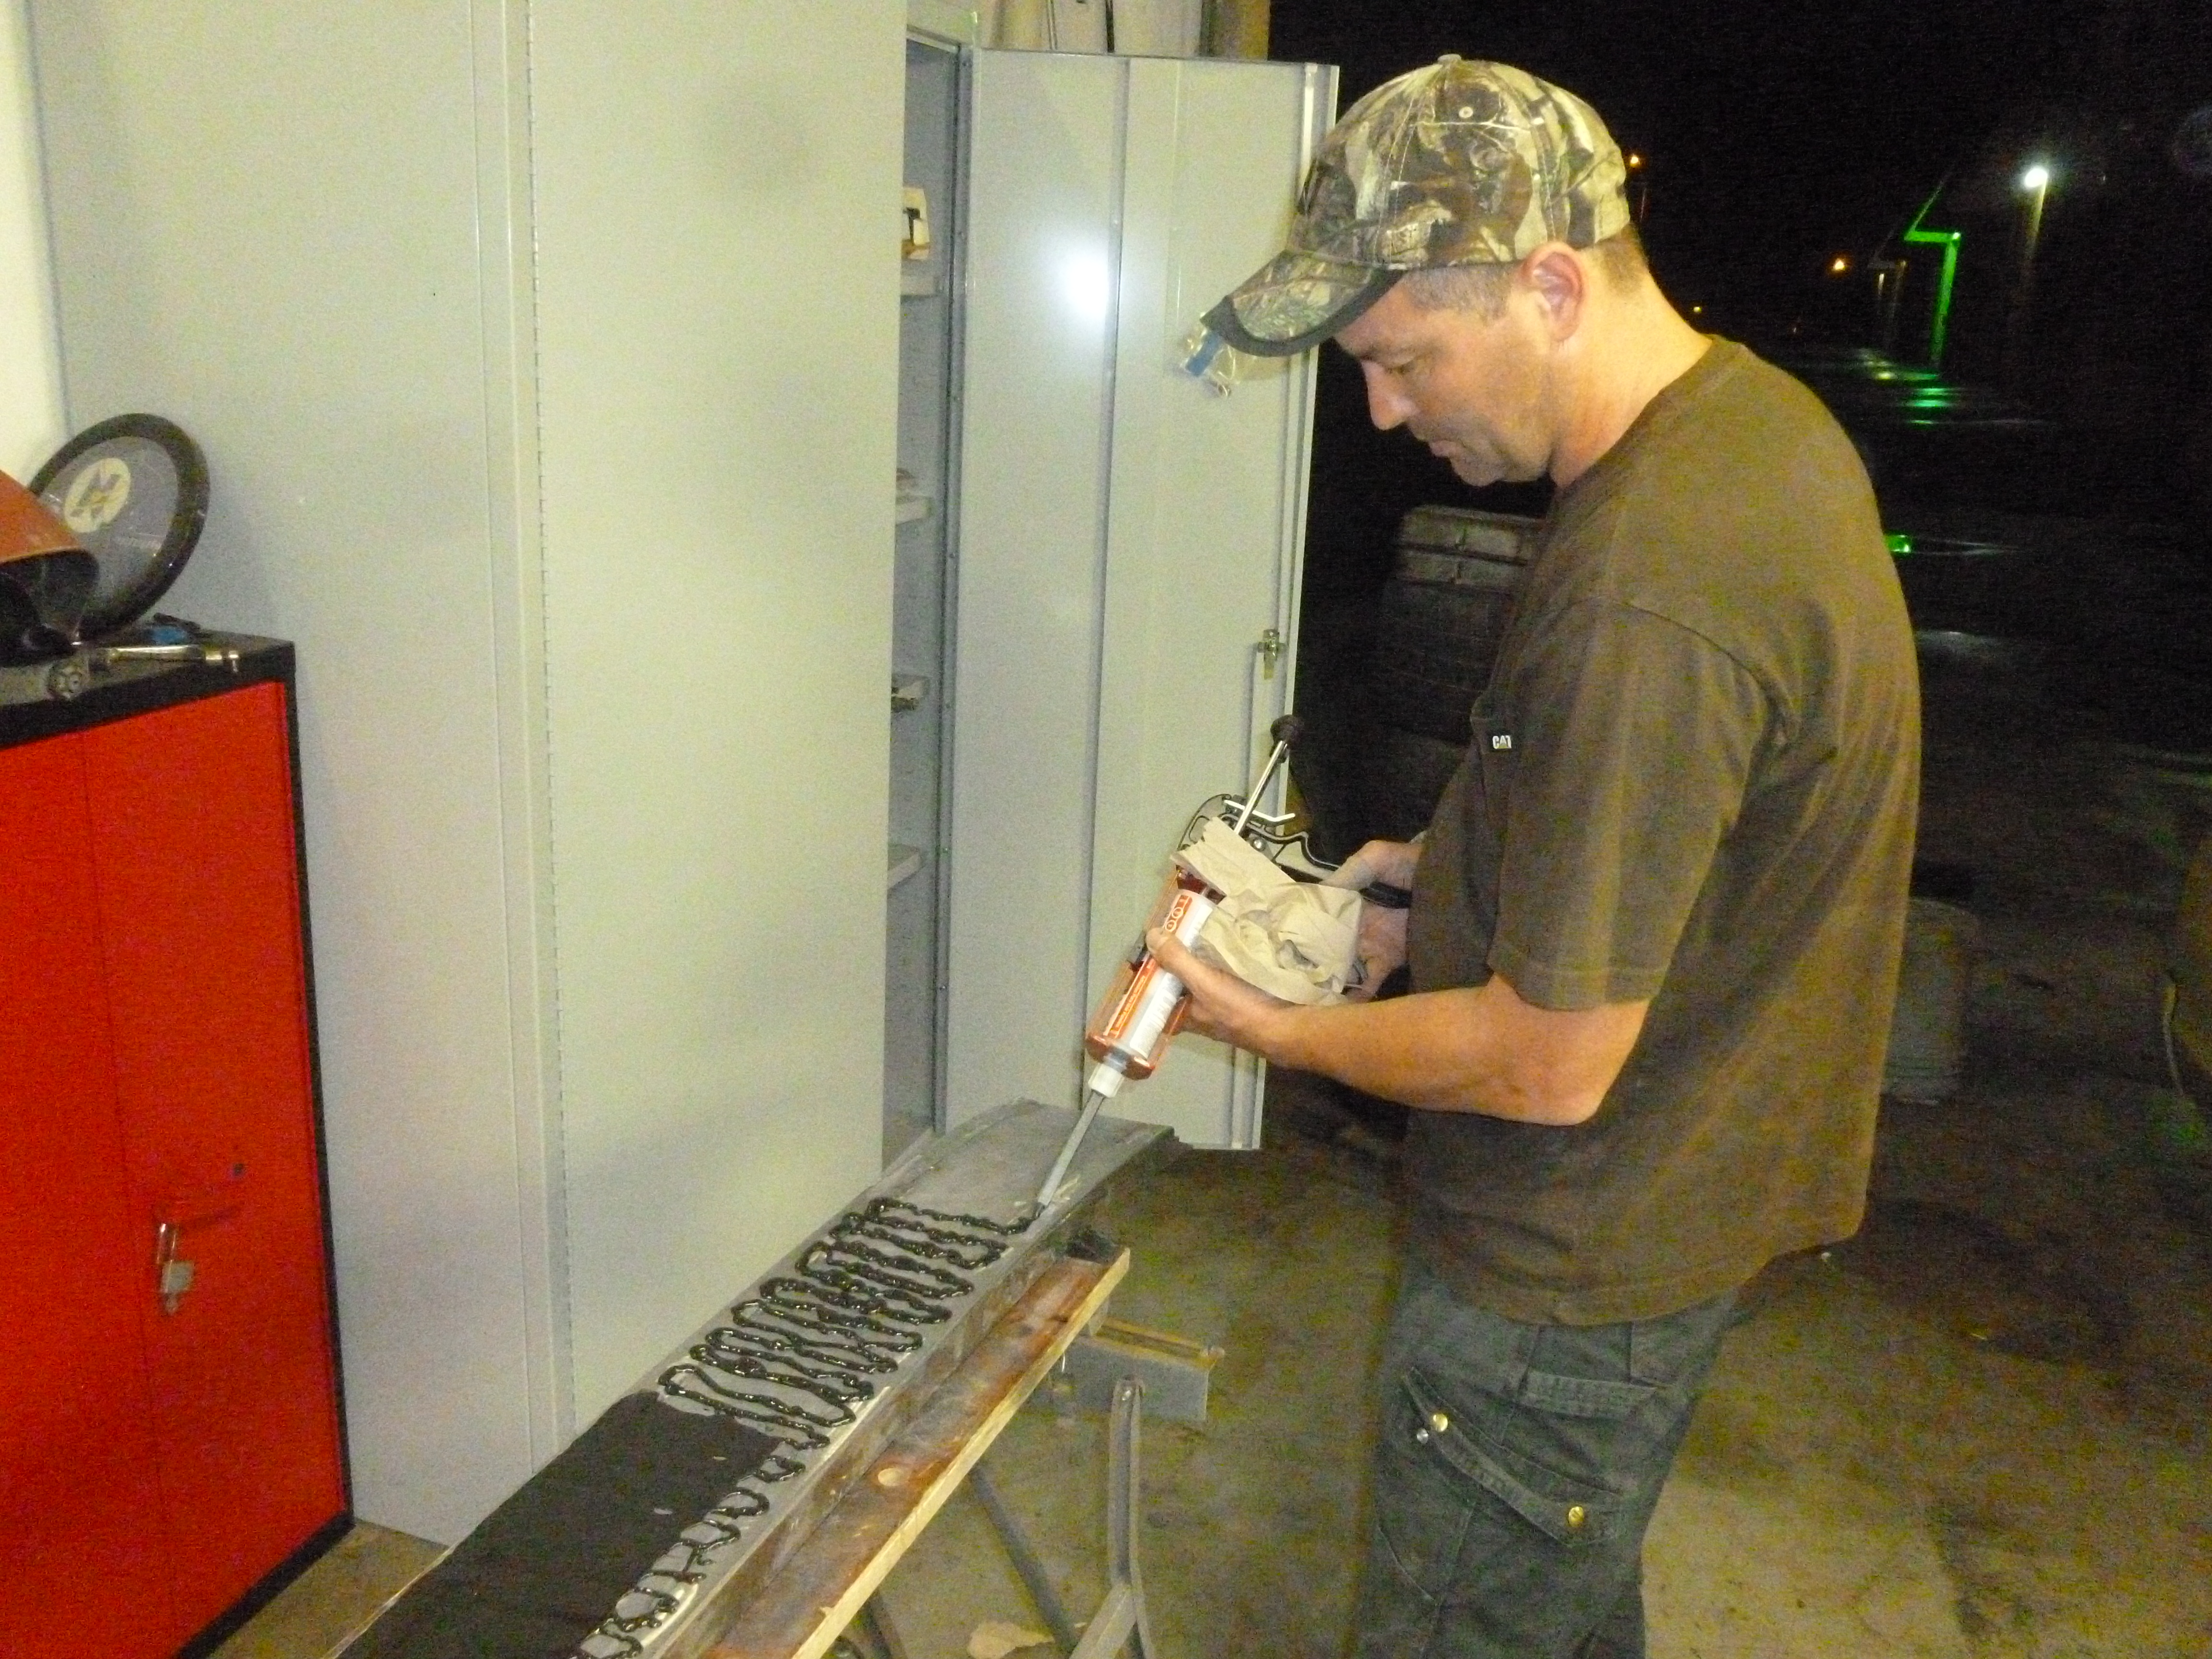
Roof Work
We engineer a complicated center support for the Charger BEFORE we cut the roof. Click Here to see how we did it.
4 Link
I install a 4-link suspension in the rear to allow for air bags in the rear of the vehicle. Click here to see how I did it.
Shockwaves
Suspension Modifications were needed to allow the installation of 5 inch bags in the front. A 1 inch diameter change in the bag allows moving an extra 500 lbs / shock at the same pressure./ Click here to see how I did it.
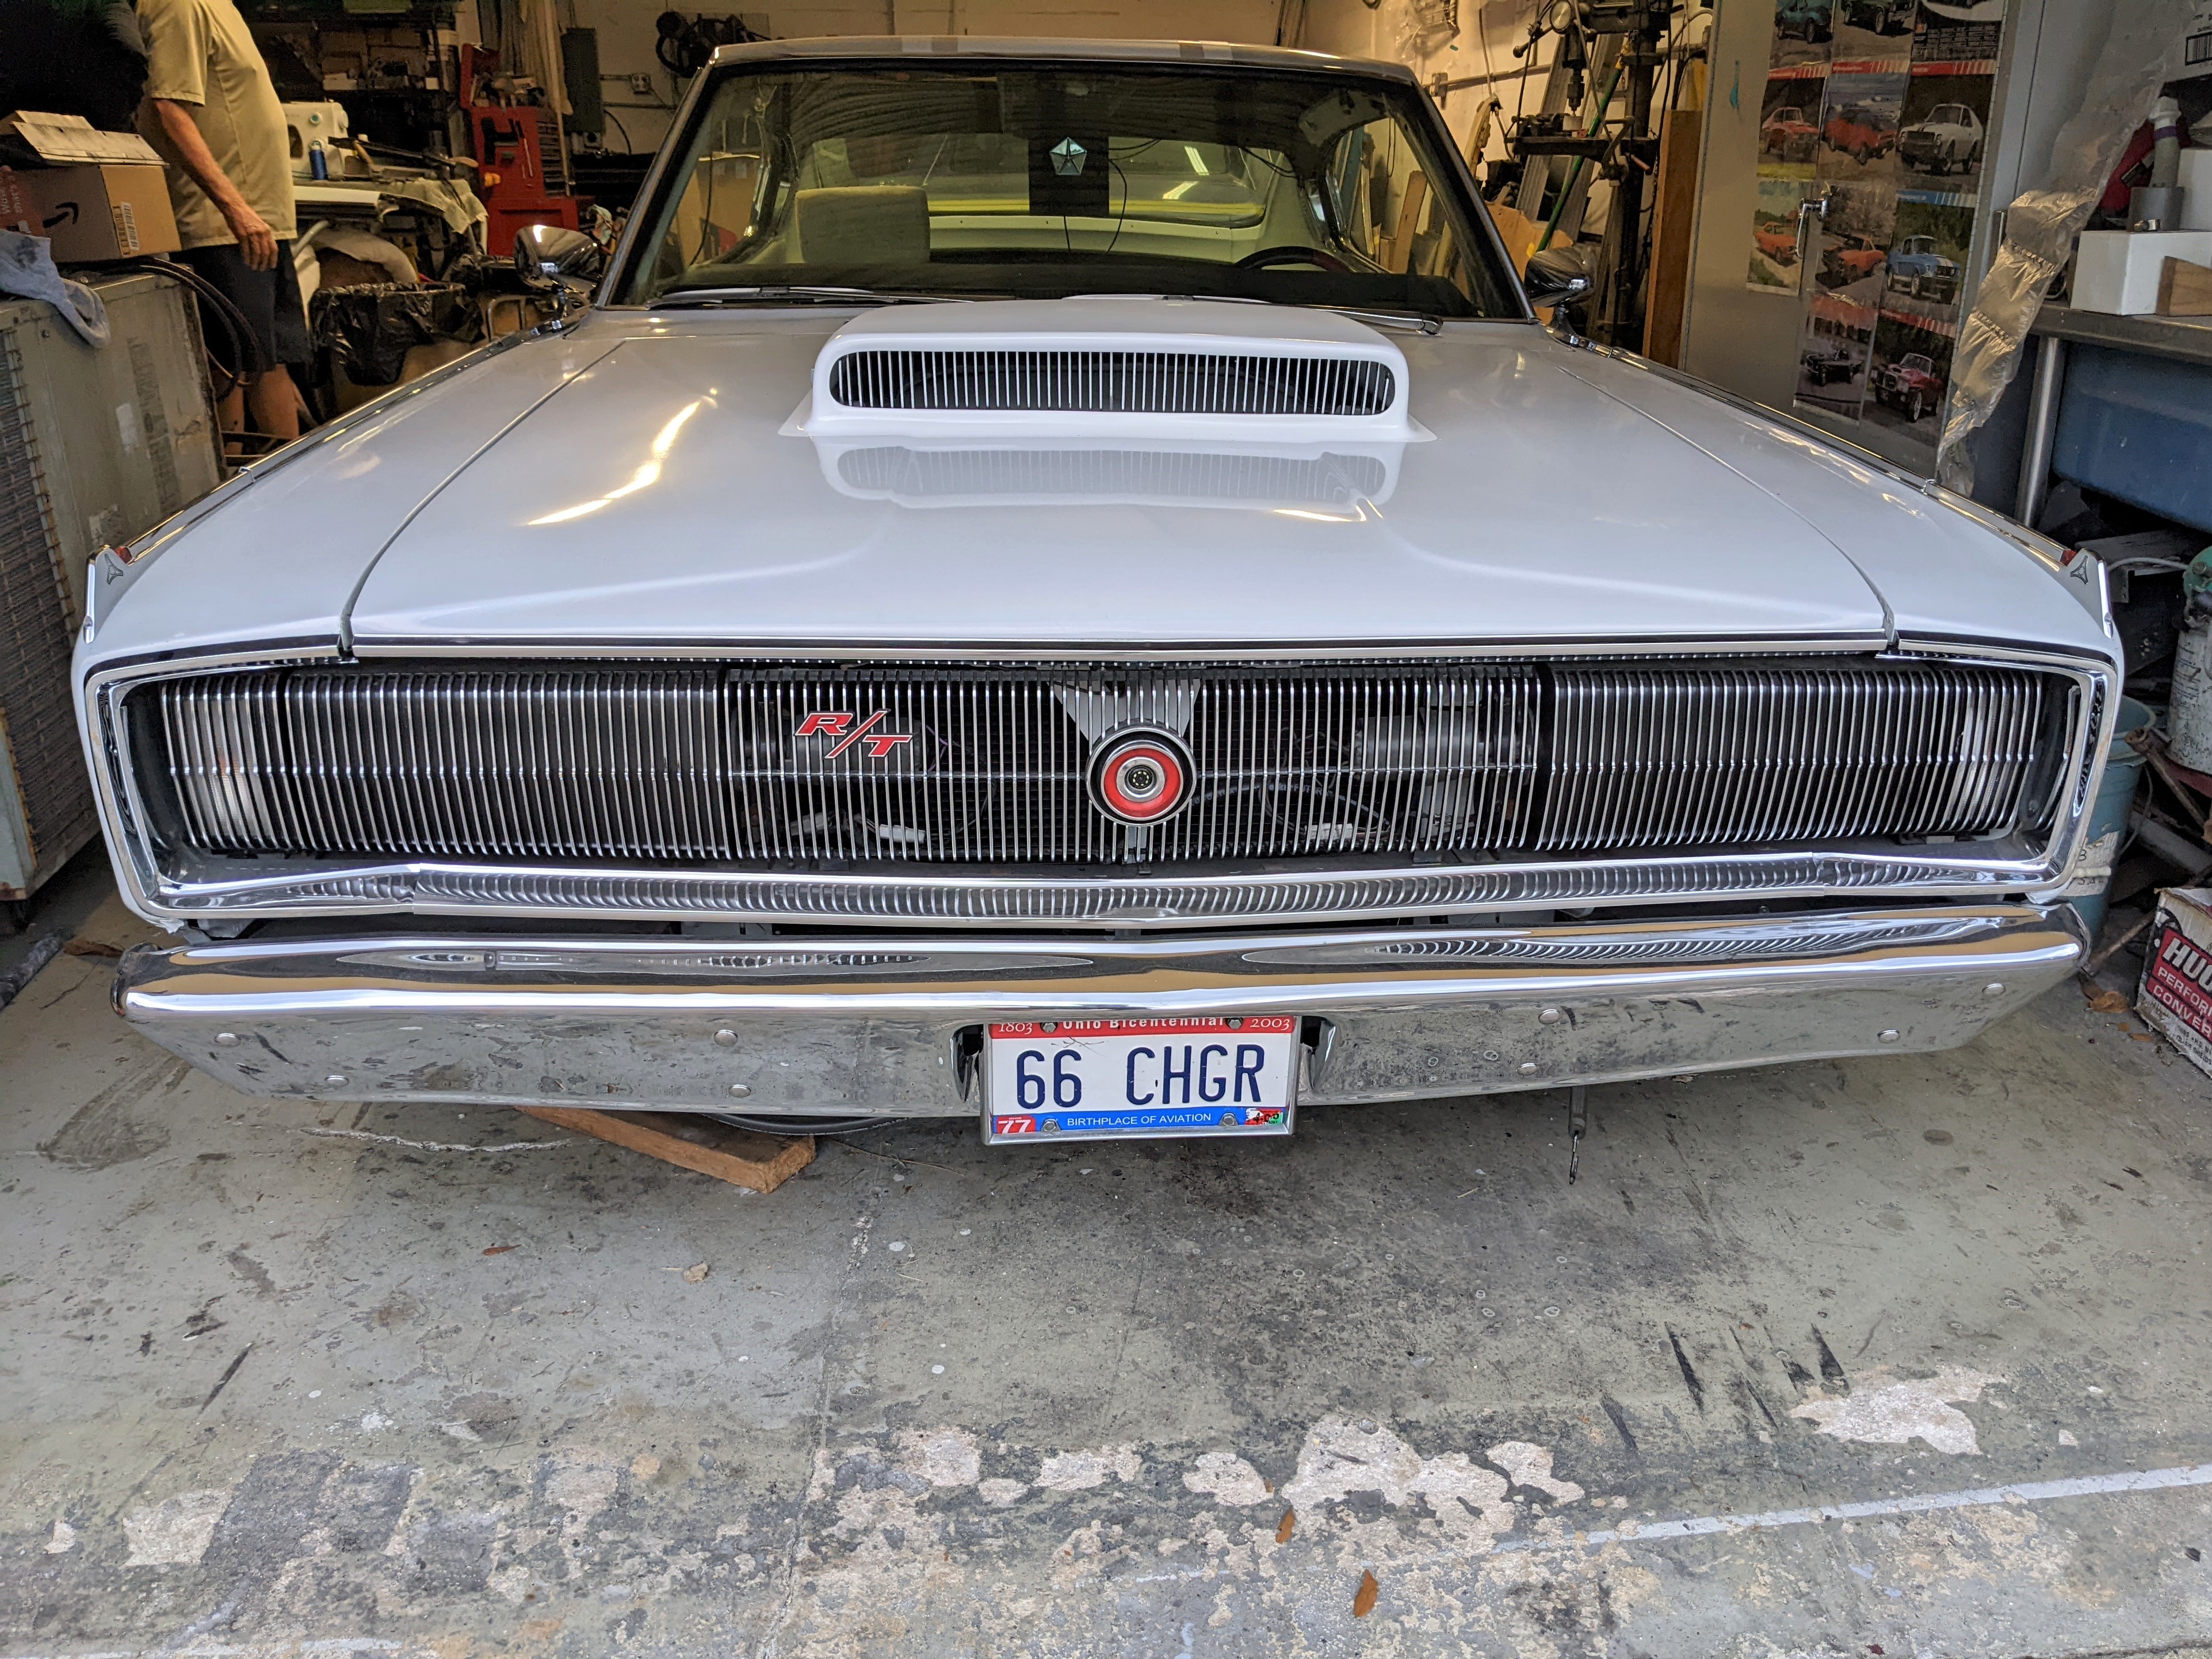
Hood Modifications
I ordered a 1 piece hood with the 6 pak scoop installed, but I still needed a way to attach the inside skin to the new hood. Click here to see how I did it.