Gauges
Gauges are delicate, so if your impatient or clumsy, you may want to pass this job along. There are some basic things you should consider checking yourself before outsourcing you work.
1. Does the guage work? - there are usually electrical components within the guage
2. Are you considering any conversions? Examples of this are converting a cable driven tach to electrical or converting a mechanical clock to electrical. Maybe the tachometer won't work your ignition or isn't accurate enough for performance driving.
3. Do the gauges need to be original or is an aftermarket upgrade a consideration?
Ansawer these questions well before you begin. You will save a lot of time and expense by thinking ahead!
Gauge Assembly
Gauges are delicate, so if your impatient or clumsy, you may want to pass this job along. Although, there are some basic things you should consider checking yourself
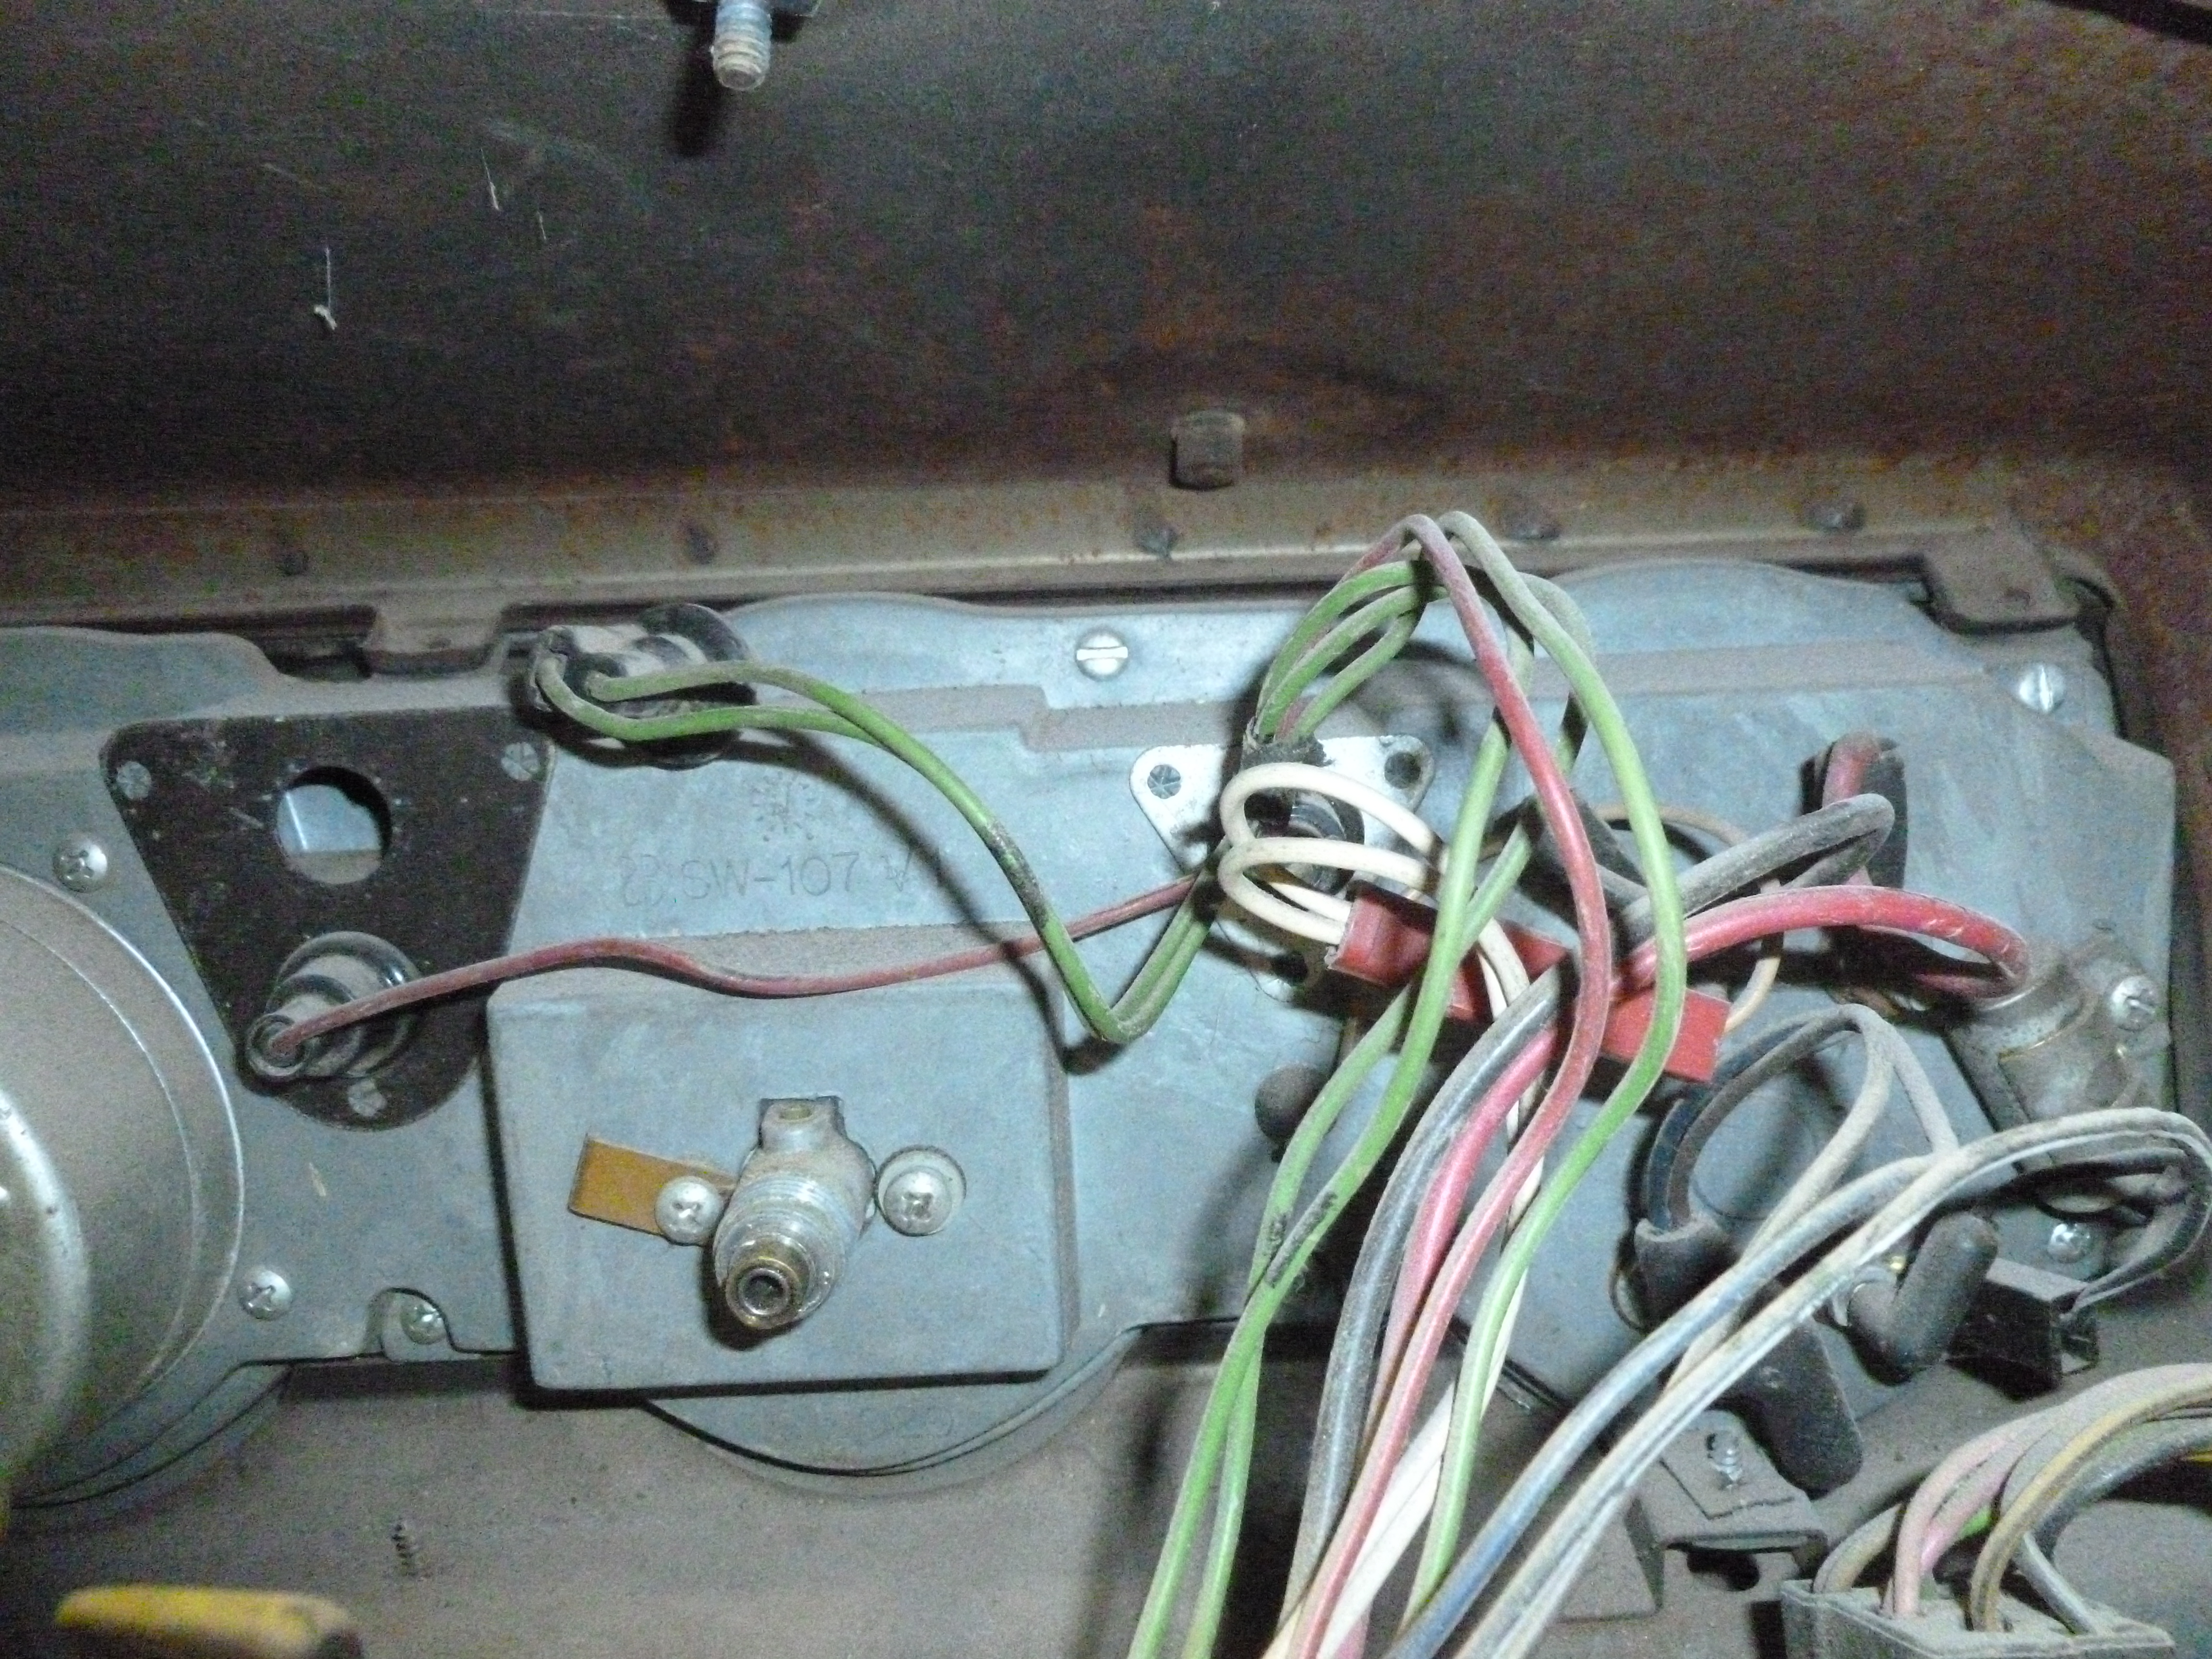
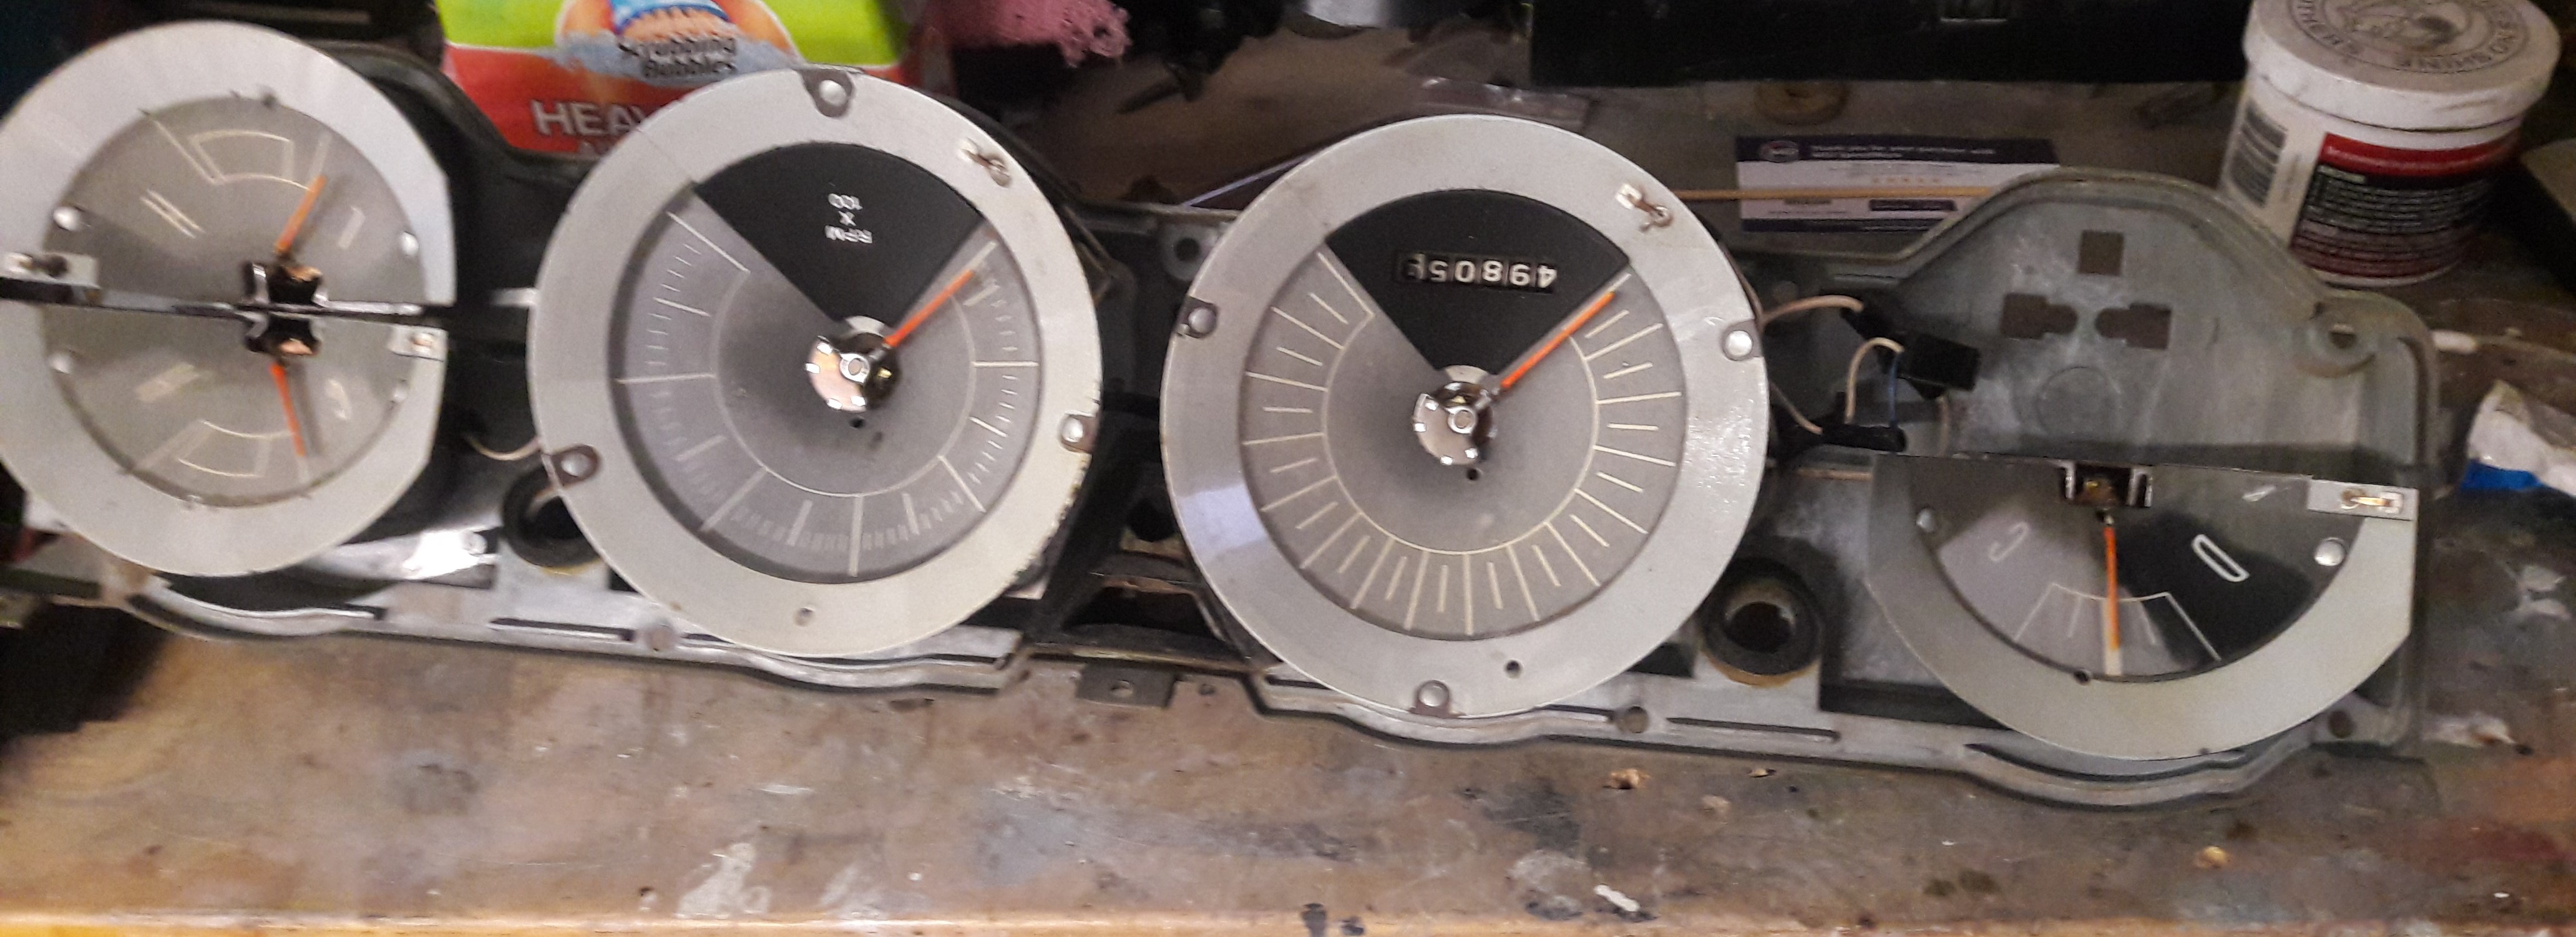
Take Pictures 1rst
Try to remove the assembly as a unit. If possible, do not unplug or disconnect anything until you can take "Before" pictures. Take several pictures from different angles so that you can study them later when it comes time to reconnect everything.
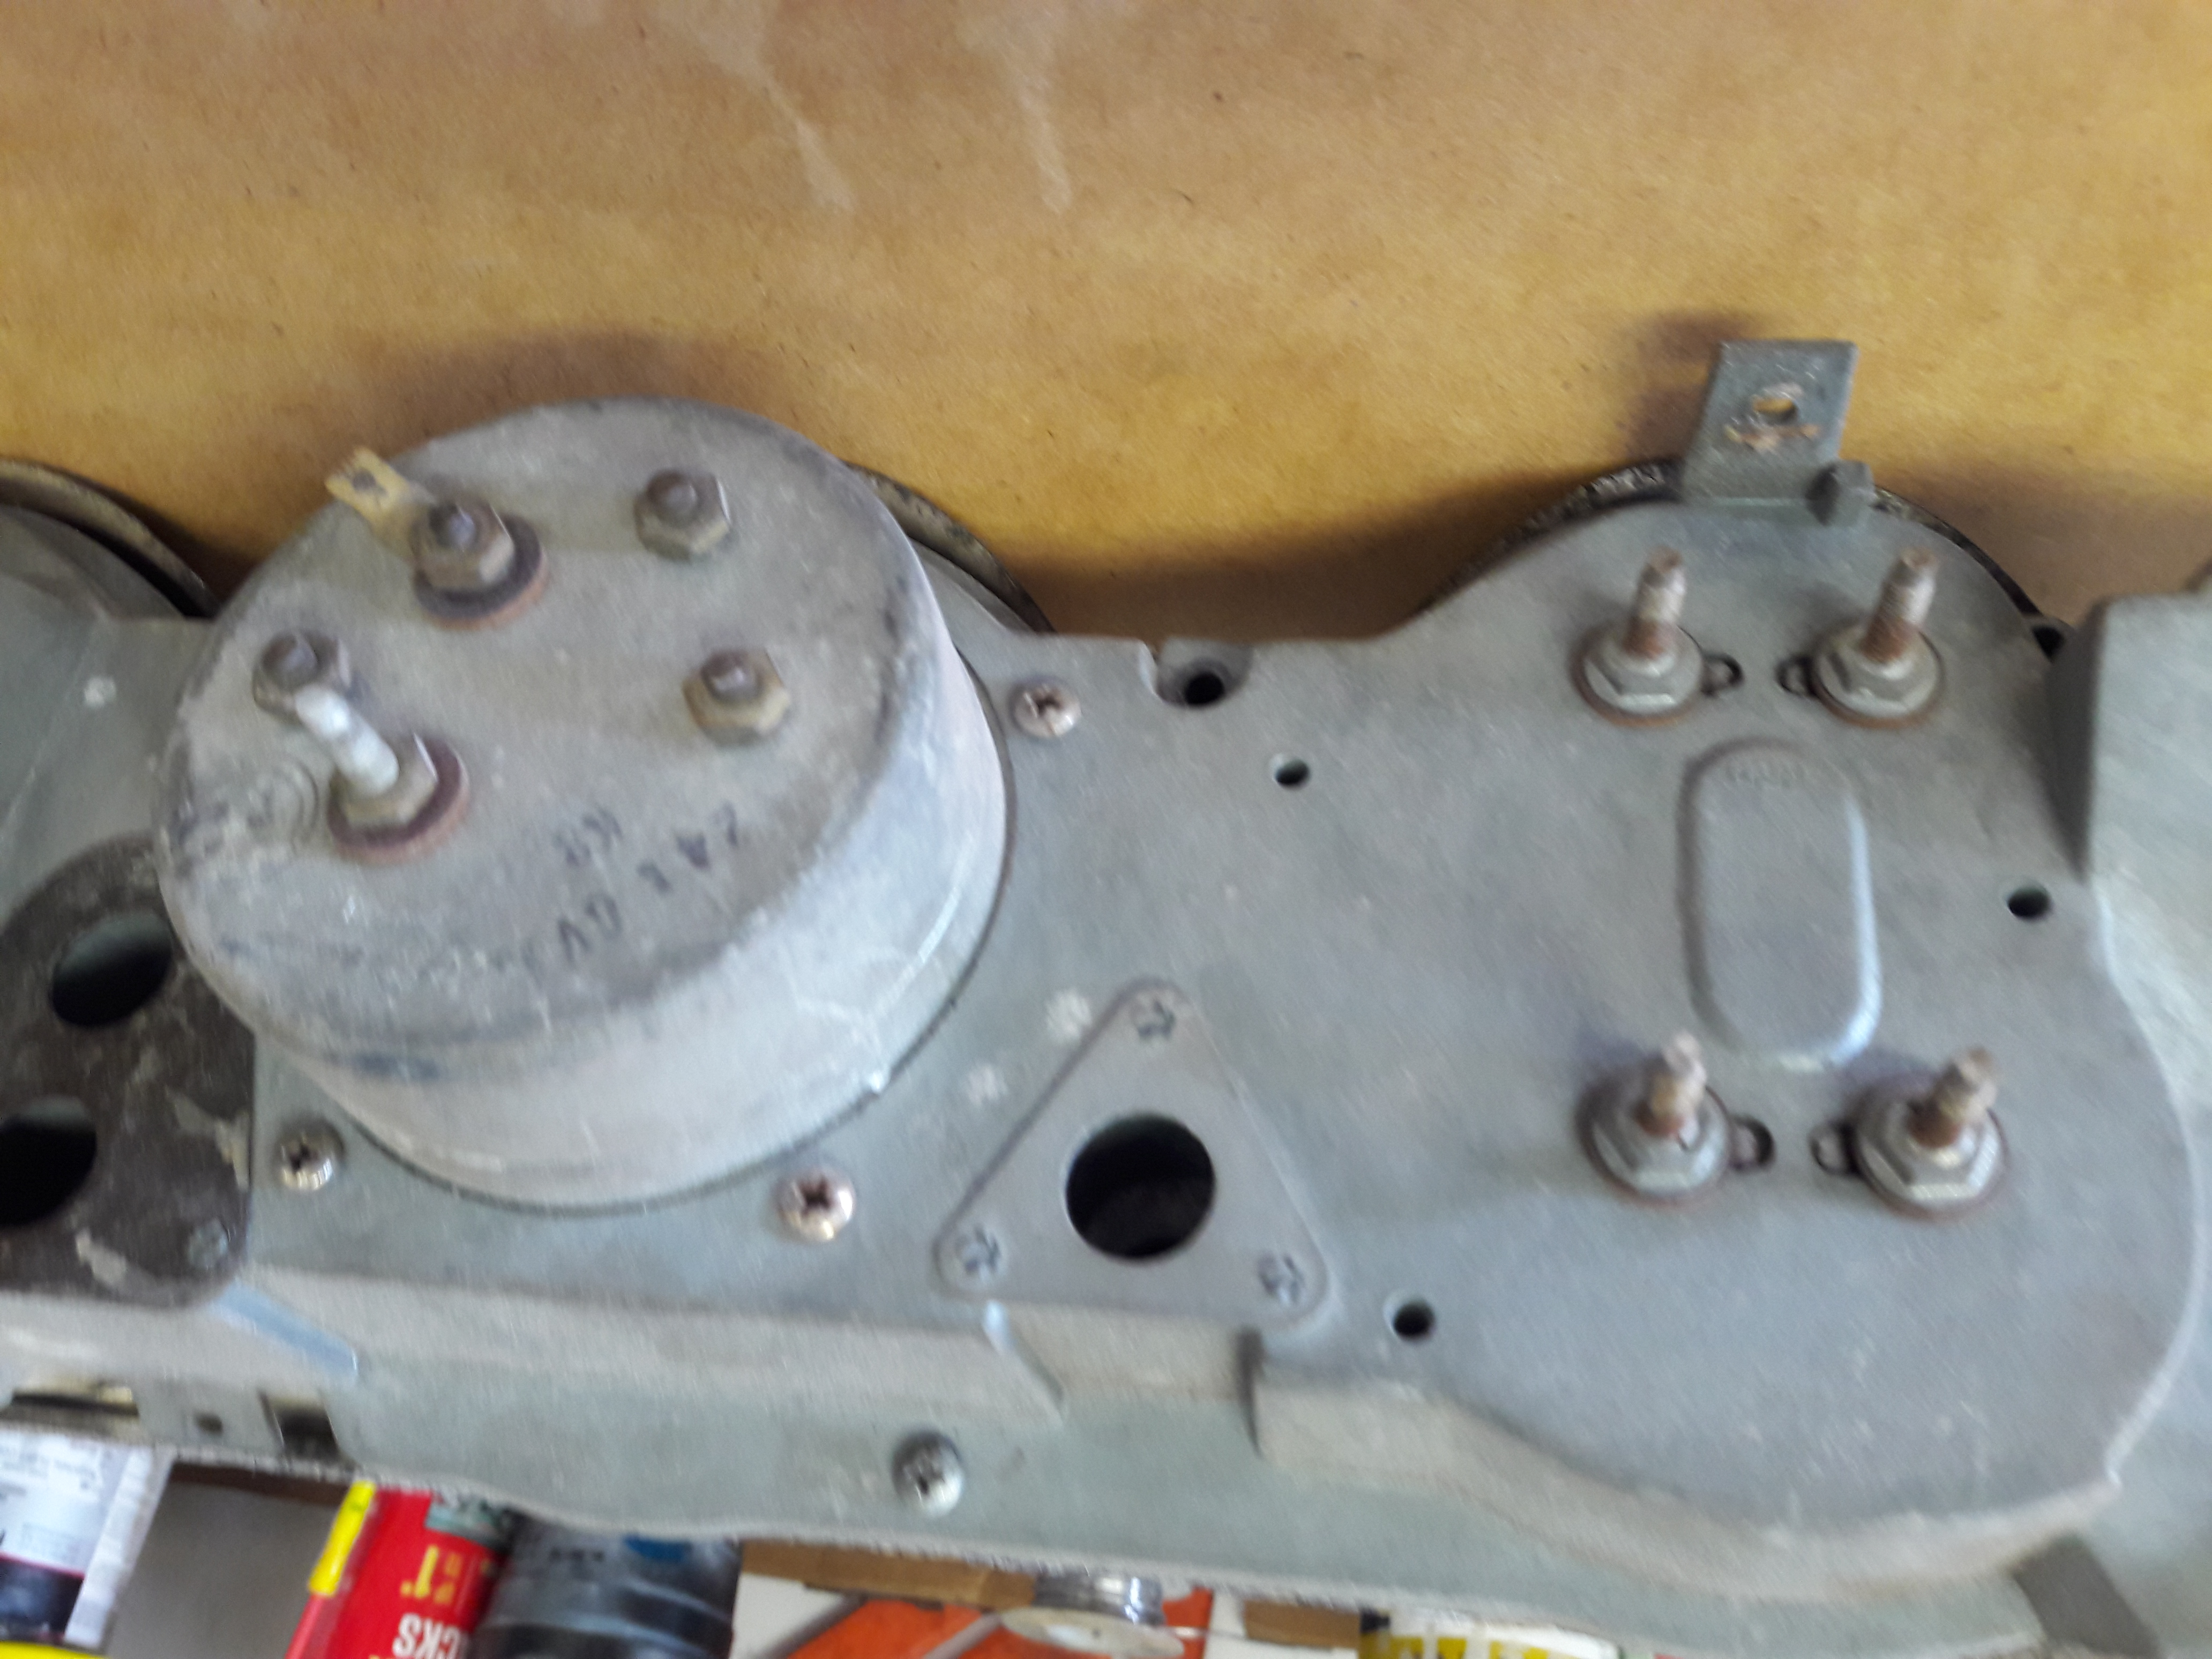
Continuity Check
Most gauges have 2 or more electrical terminals. The basic gauge has 2. Disconnect all wires from the gauge. Using a high impedance ohmmeter, check between the terminals for continuity. You normally will have very low resistance if the gauge is good. If an open circuit is indicated, suspect a bad gauge. No sense working on a bad gauge
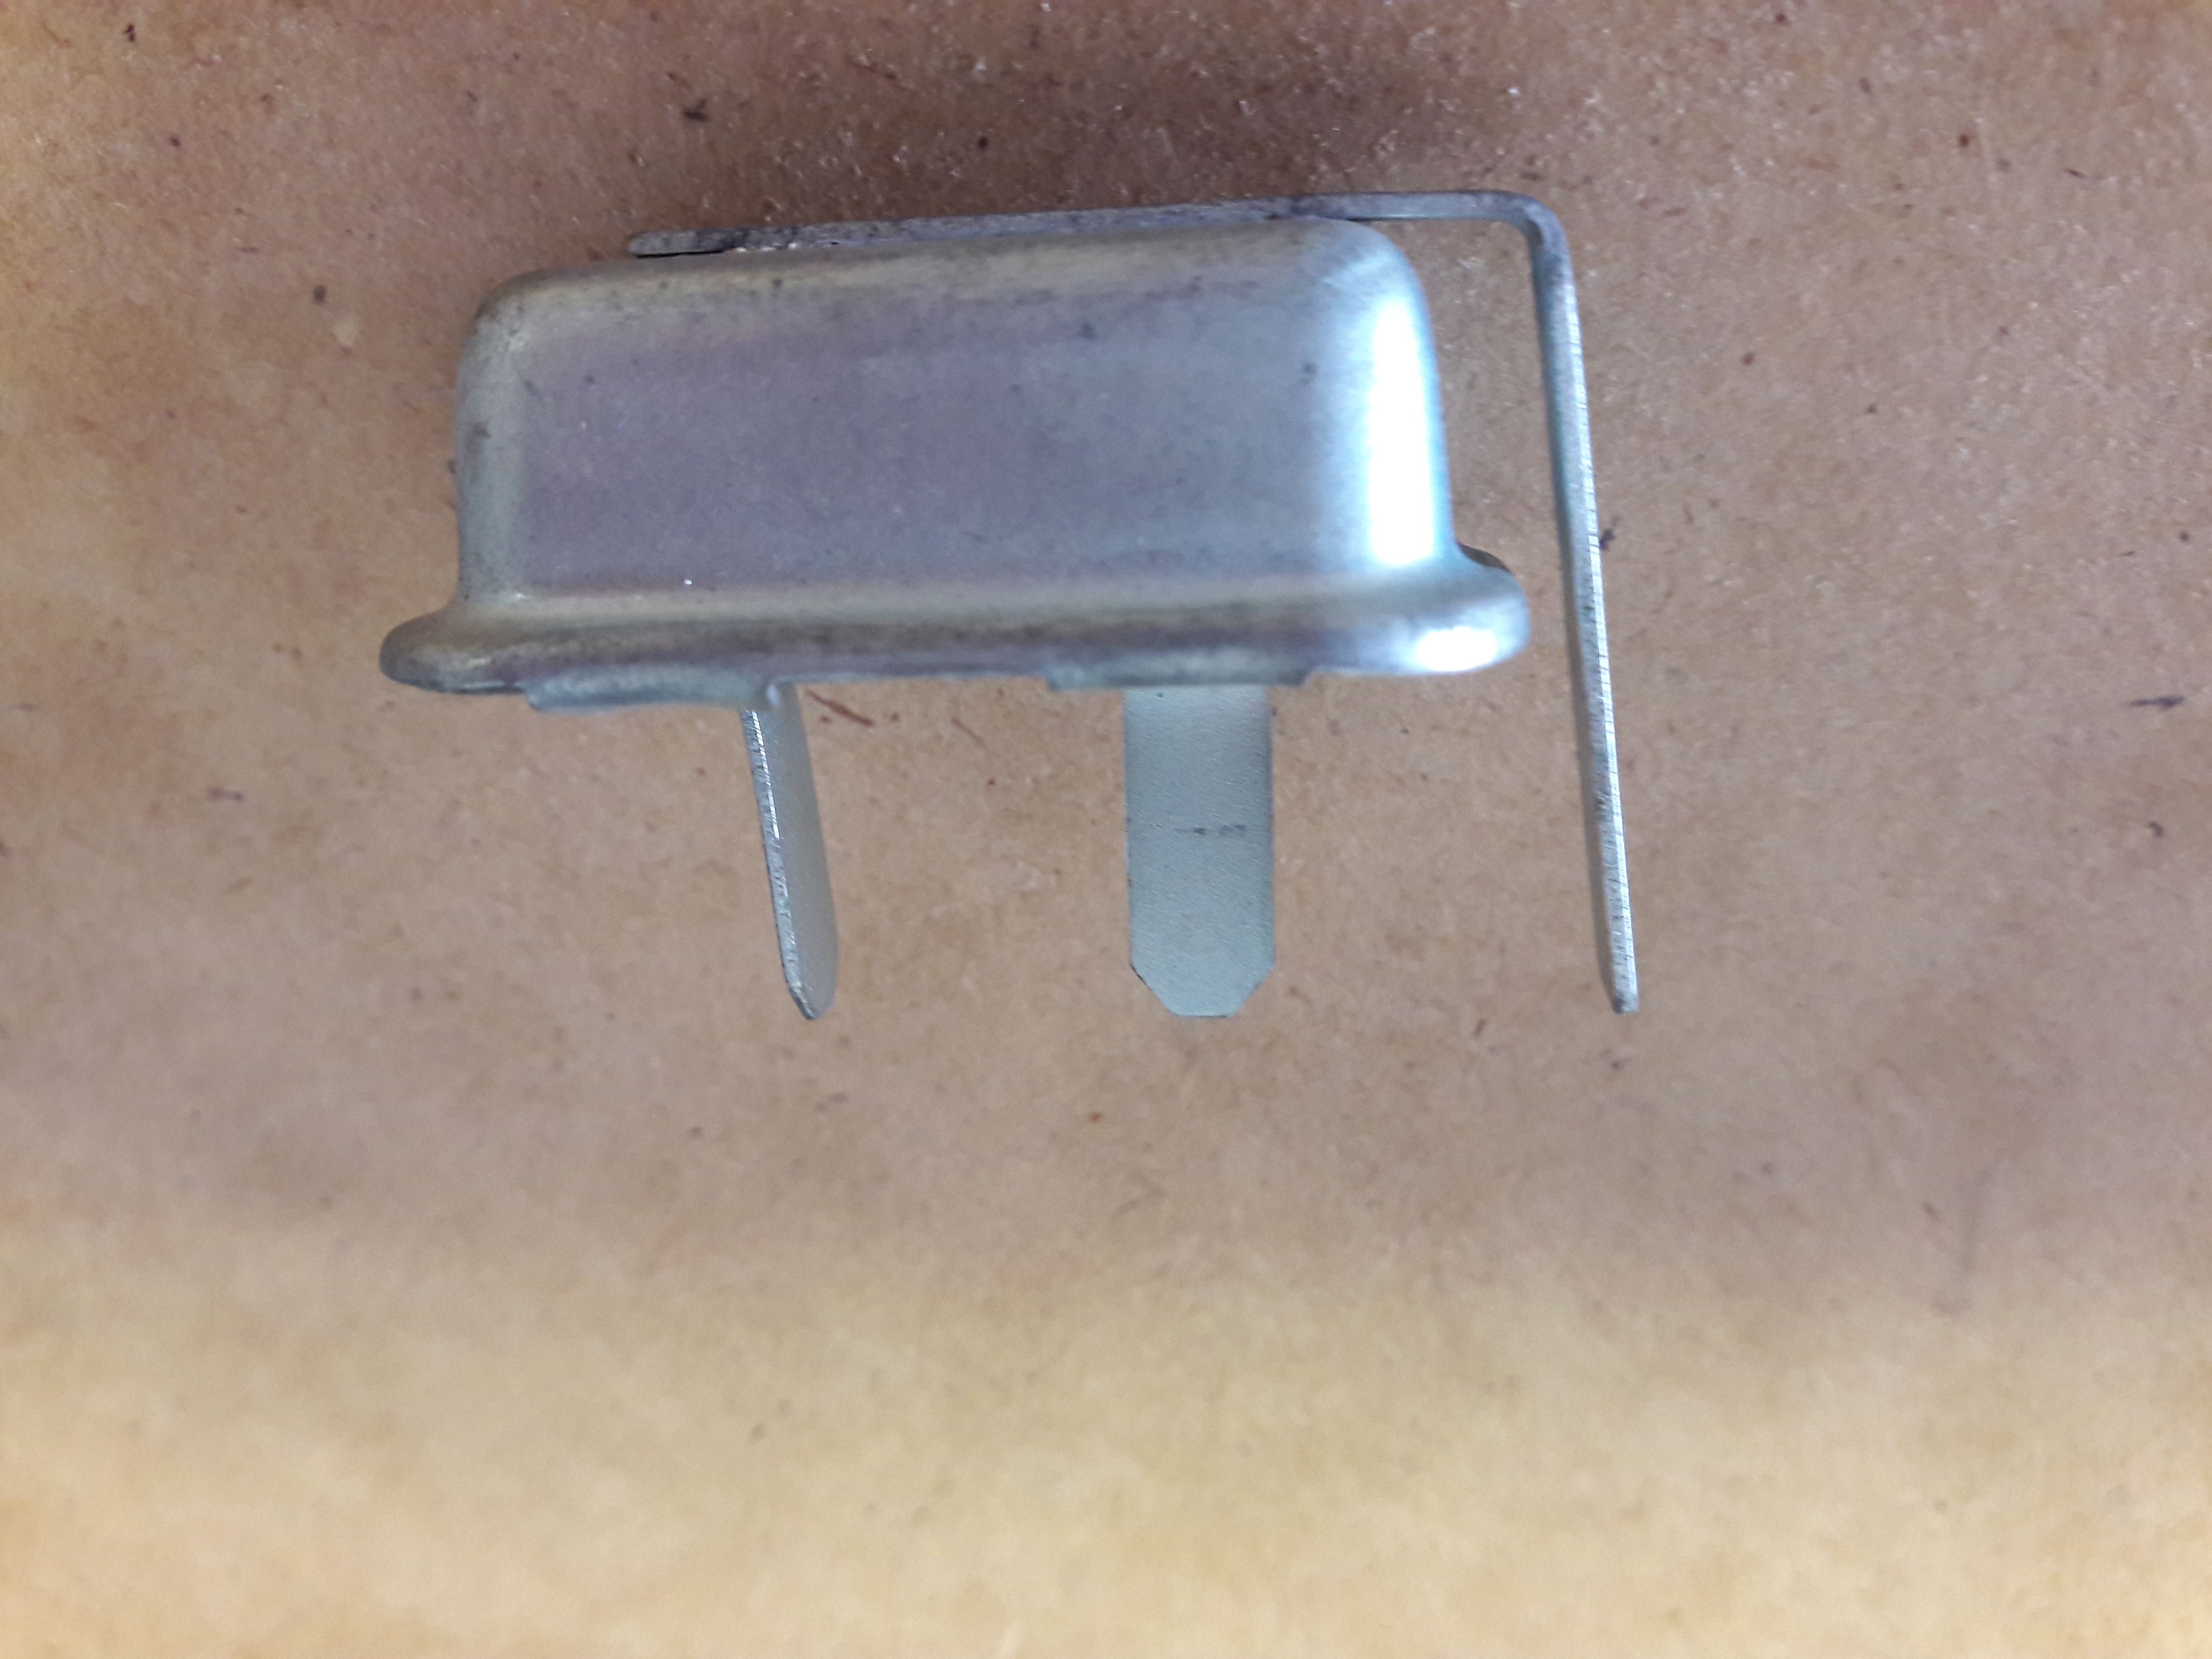
Voltage Limiters
Gauges in modern vehicles are much different than "classic or vintage" vehicles. It was common practice to use voltage limiters to protect the gauge from too much current. DO NOT EVER connect 12v directly to a gauge unless you can verify the design. AGAIN, MOST gauges need a voltage limiter for proper operation. Old voltage limiters can cause permanent damage to your gauges, so make sure you understand the limitiations and solutions available prior to re-assembly!
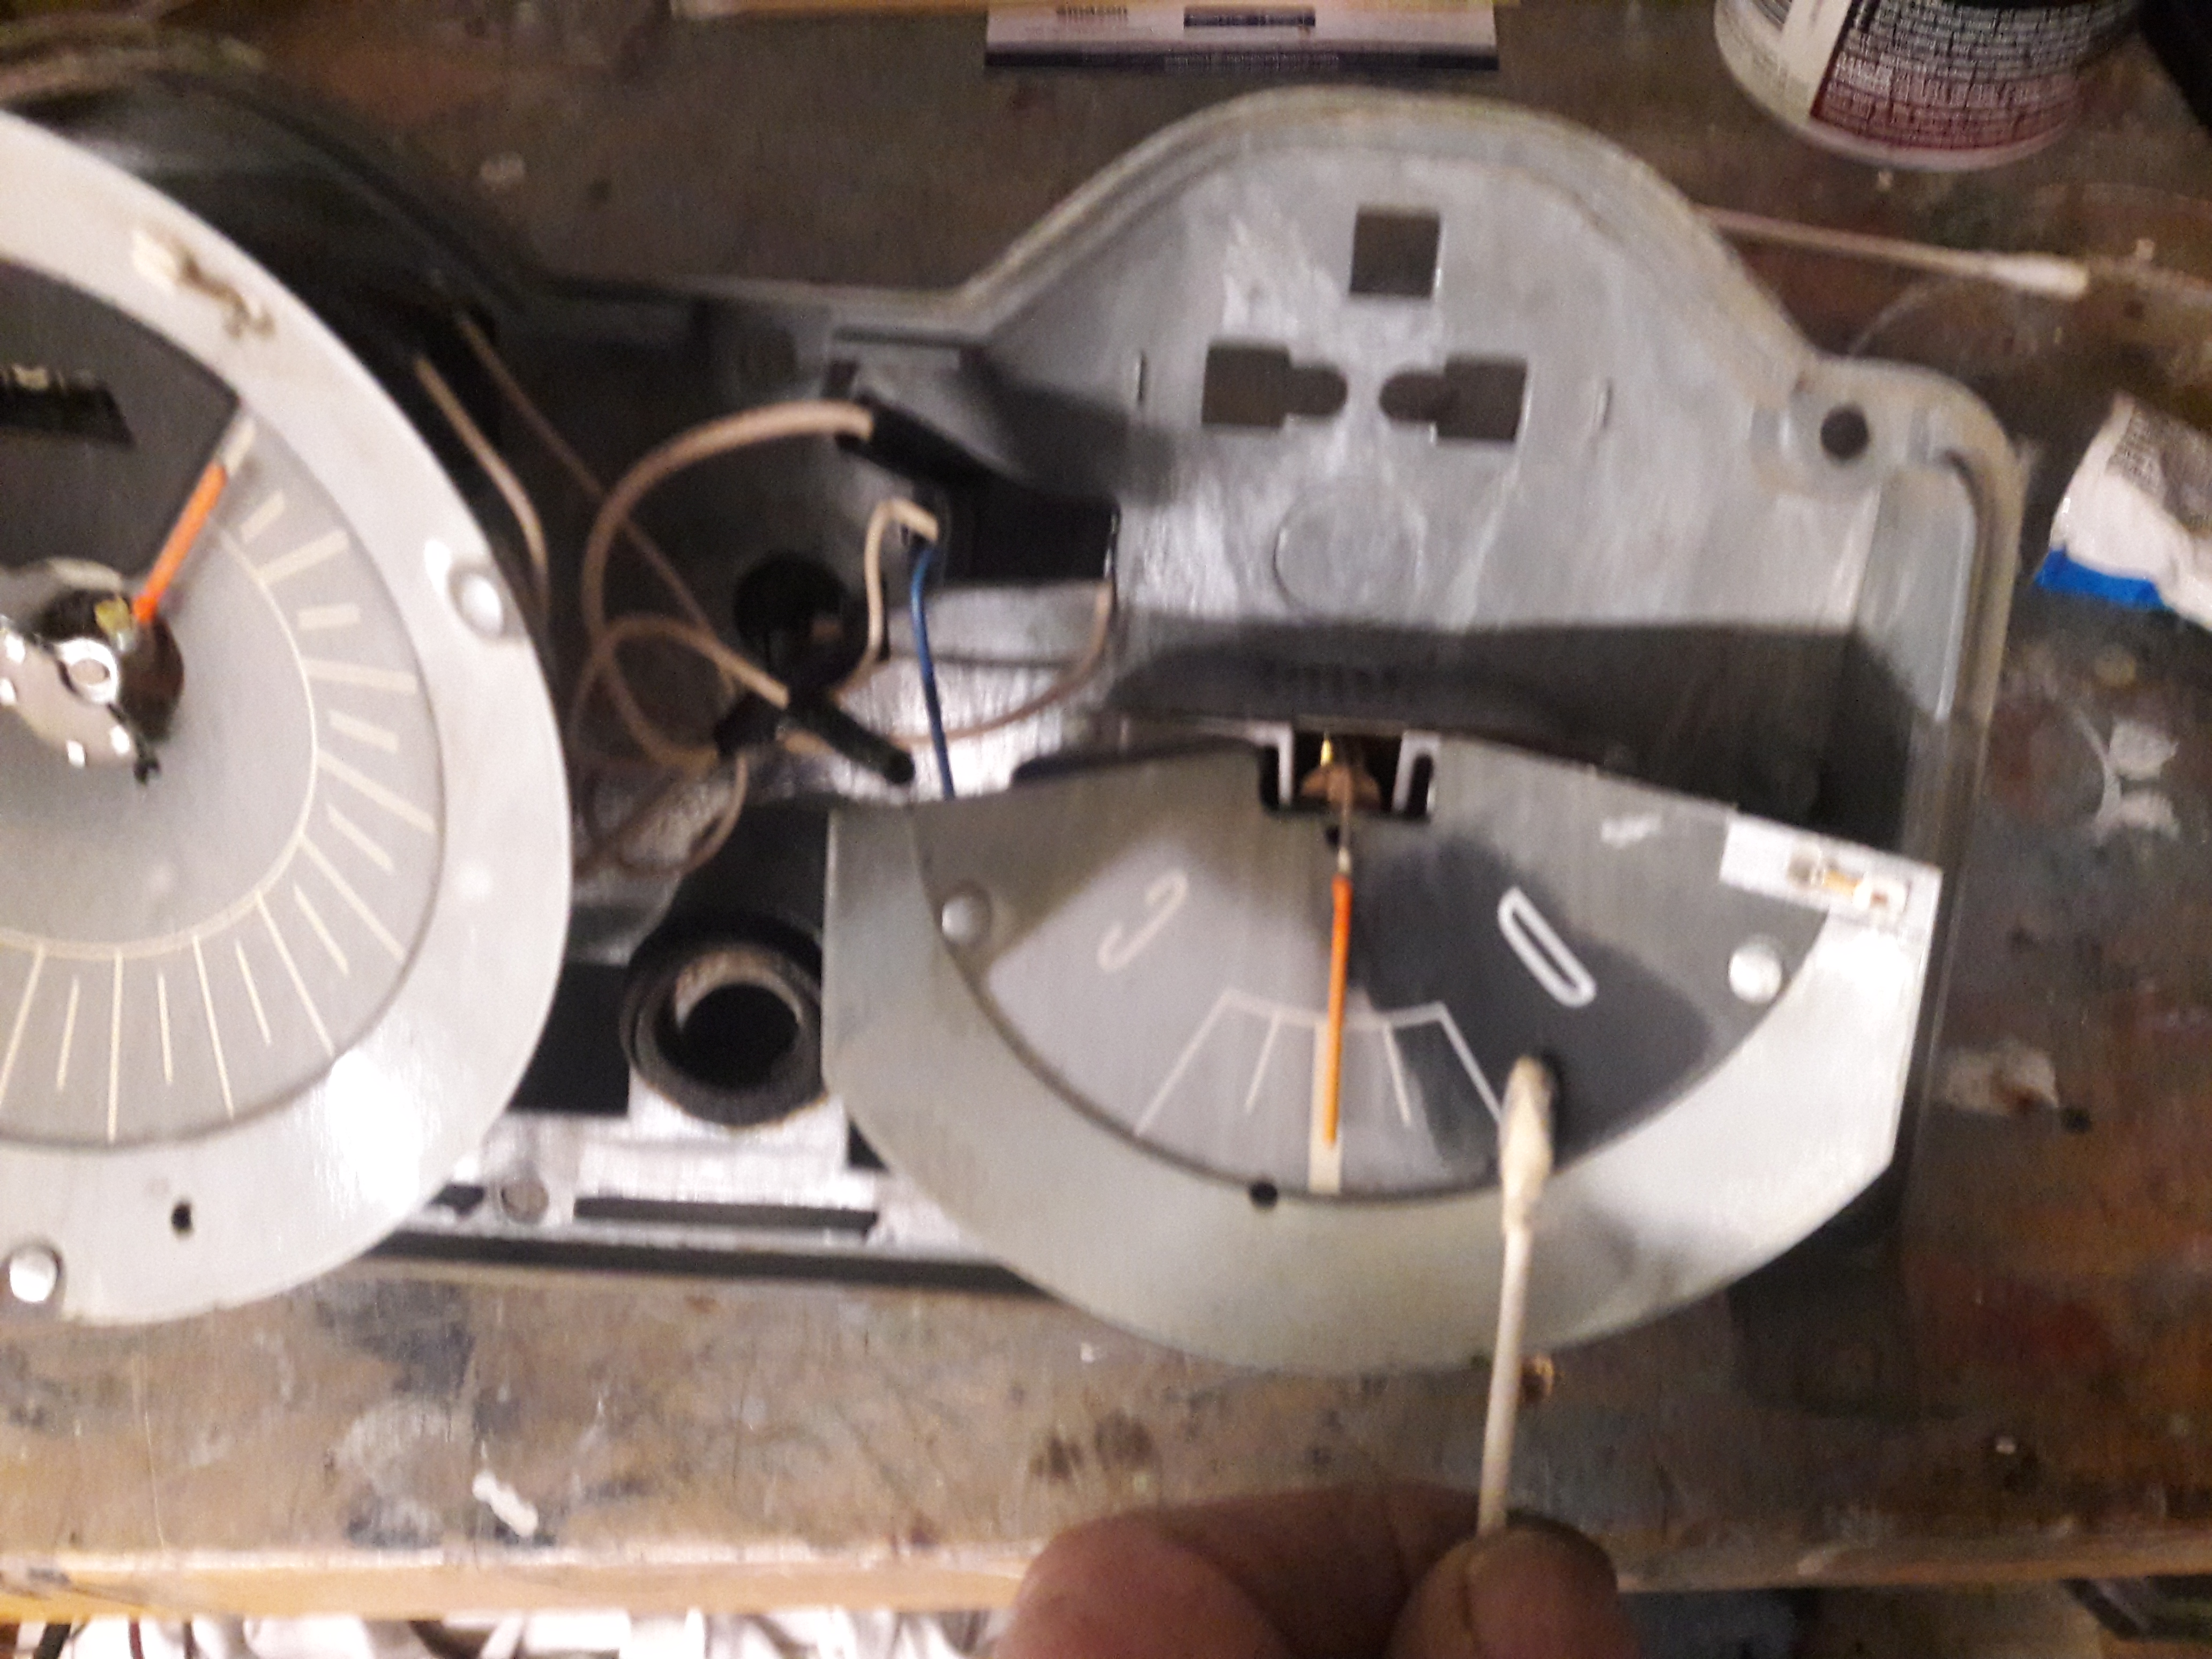
Gauge Faces
Gauge faces vary in construction material and repairs can vary from silk-screen replacments to polishing the painted face. If the gauge face is painted & oxidized, a small amount of polishing compound on a soft cloth or q-tip and a light pressure can bring the luster back. Always test a small area that can not be seen before working on the display area. You will need to carefully move the needle with a q-tip to reach the area underneath. DO NOT force, bend, rub, touch or otherwise mishandle the needle or the gauge will be JUNK! Make sure to protect the face with a UV resistance coating after you are finished.